Introduction
Thank you for choosing the Hournor Kids Sleep Training Alarm Clock. This device is designed to assist children in developing healthy sleep habits through visual cues, customizable night lights, and soothing sounds. Please read this manual carefully to ensure proper use and to maximize the benefits of your new alarm clock.

Image: Front view of the Hournor Kids Sleep Training Alarm Clock, showcasing its digital display and ambient lighting.
Product Overview
Key Features
- Sleep Training System: Visual sun/moon icons and green/orange lights indicate wake-up and bedtime.
- Colorful Night Light: 11 adjustable colors with multiple brightness options.
- Sound Machine: 13 soothing melodies and natural sounds for sleep.
- Child Lock: Prevents accidental changes to settings.
- Dual Alarms: Supports two independent alarm settings.
- Digital Display: Clear time display with adjustable brightness.
Package Contents
- Hournor Kids Sleep Training Alarm Clock (Model 8825)
- Power Adapter
- User Manual (this document)
Setup
Power Connection
The Hournor Kids Sleep Training Alarm Clock operates via a corded electric connection. It is not battery-operated and requires continuous power to function.
- Connect the provided power adapter to the DC input port on the back of the alarm clock.
- Plug the power adapter into a standard electrical outlet.

Image: The alarm clock connected to its power adapter, illustrating the required power source.
Initial Time Setting
Upon first power-up, you may need to set the current time. Refer to the operating instructions for detailed time adjustment procedures.
Operating Instructions
Setting Sleep Training (Ok to Wake)
This feature uses visual cues to help children understand when it's time to sleep and wake up.
- Set Bedtime: Press and hold the Sun/Moon button for 3 seconds. The screen will display either a sun or moon icon. Adjust the time using the + and - buttons. Confirm by pressing the Sun/Moon button again. When the orange light and moon icon are displayed, it indicates bedtime.
- Set Wake-up Time: Press and hold the Alarm 1 button (located at the bottom of the clock) for three seconds. Adjust the desired wake-up time using the + and - buttons. Confirm by pressing the Alarm 1 button again. Ensure the alarm icon is displayed on the screen. When the green light and sun icon appear, it indicates it's time to wake up.

Image: Illustrations showing the alarm clock displaying an orange light and moon icon for bedtime, and a green light and sun icon for wake-up time.
Adjusting Night Light
The clock features 11 different night light colors and multiple brightness levels.
- Change Color: Gently press the top surface of the alarm clock to cycle through the 11 available colors.
- Adjust Brightness: Use the + and - buttons to adjust the brightness of both the night light and the time display.

Image: The alarm clock showcasing its range of 11 night light colors, including red, orange, yellow, green, blue, and rainbow breathing.

Image: The alarm clock demonstrating three brightness settings: High (100%), Medium (50%), and Low (30%).
Using the Sound Machine
The sound machine offers 13 music melodies or natural sounds to create a calming sleep environment.
- Press the Tunes button to cycle through the available sounds.
- Adjust the volume using the + and - buttons.
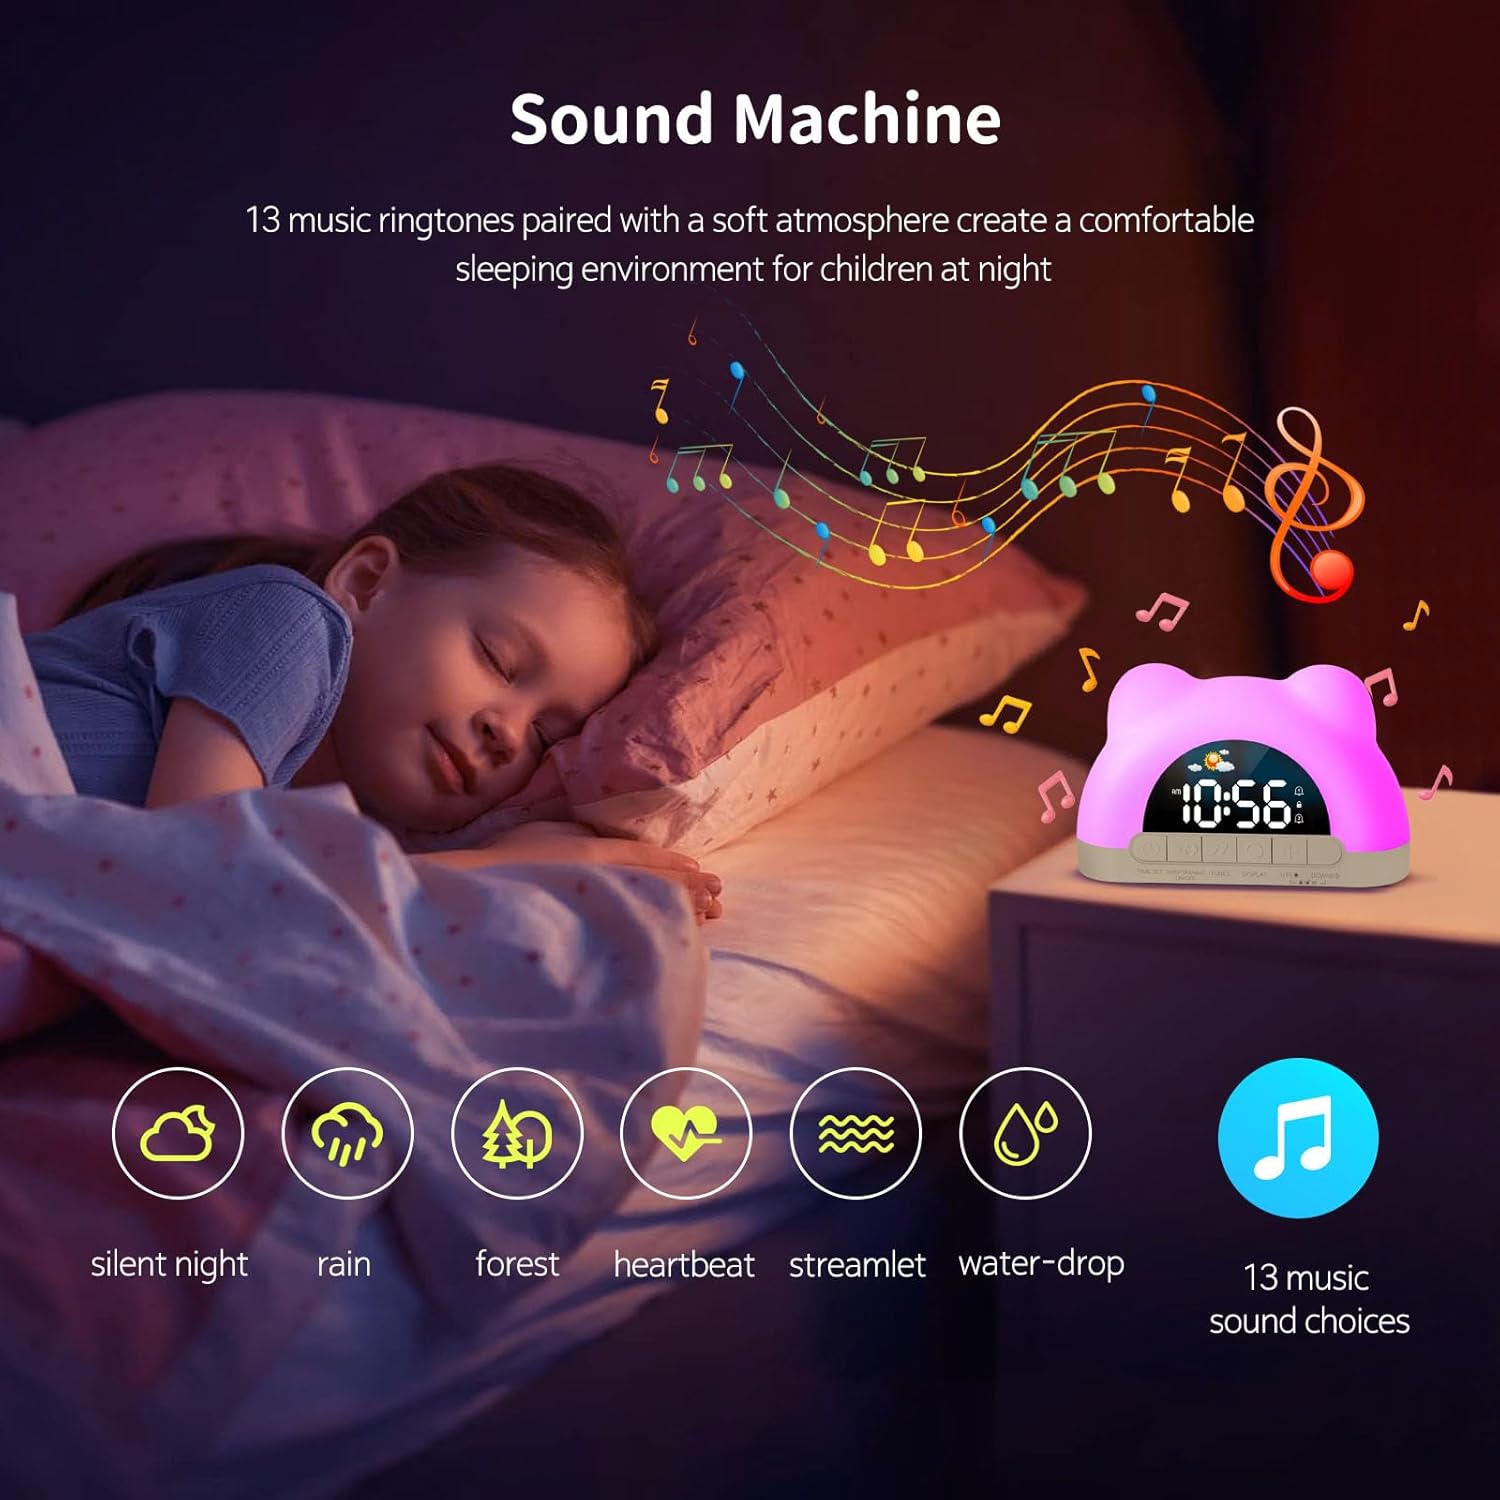
Image: A child sleeping while the alarm clock emits musical notes, illustrating the sound machine feature with icons for silent night, rain, forest, heartbeat, streamlet, and water-drop sounds.
Activating Child Lock
The child lock feature prevents children from accidentally changing settings.
- To activate the child lock, press and hold the + and - buttons simultaneously for three seconds.
- When the child lock is active, only music appreciation and ambient light color adjustments are possible. Other settings are locked.
- To deactivate, repeat the process: press and hold the + and - buttons simultaneously for three seconds.

Image: A child interacting with the alarm clock, highlighting the child lock feature and the location of the '+' and '-' buttons.
Maintenance
To ensure the longevity and proper functioning of your Hournor Kids Sleep Training Alarm Clock, follow these simple maintenance guidelines:
- Cleaning: Use a soft, dry cloth to wipe the surface of the clock. Avoid using abrasive cleaners, solvents, or harsh chemicals, as these can damage the finish.
- Placement: Place the clock on a stable, flat surface away from direct sunlight, excessive heat, or moisture.
- Power: Always use the original power adapter provided with the device.
Troubleshooting
If you encounter any issues with your alarm clock, please refer to the following common problems and solutions:
| Problem | Possible Cause | Solution |
|---|---|---|
| Clock does not turn on. | No power supply. | Ensure the power adapter is securely plugged into both the clock and a working electrical outlet. |
| Sleep training light/icon not changing. | Incorrect settings or child lock active. | Verify that bedtime and wake-up times are correctly set. Check if the child lock is active and deactivate if necessary. |
| Night light not changing colors. | Child lock active. | While child lock allows color changes, ensure you are pressing the top surface correctly. If still an issue, deactivate child lock and retest. |
| Sound machine not playing. | Volume too low or incorrect sound selection. | Increase the volume using the '+' button. Press the 'Tunes' button to cycle through sounds. |
Specifications
- Brand: Hournor
- Model: 8825
- Color: White
- Display Type: Digital
- Style: Modern
- Product Dimensions: 6.3"W x 4.2"H
- Power Source: Corded Electric (Adapter Included)
- Material: Plastic
- Item Weight: 5.6 ounces (0.35 Pounds)
- Special Features: Child Lock, Children's Sleep Training, Colorful Night Light, Sound Machine
Warranty and Support
Hournor is committed to providing high-quality products. For any questions, concerns, or technical support regarding your Hournor Kids Sleep Training Alarm Clock, please contact our customer service team. Please refer to your purchase documentation or the Hournor official website for specific warranty details and contact information.
We recommend keeping your purchase receipt as proof of purchase for warranty claims.