
Introduction
Thank you for purchasing the Fameill Large Sliding Mirror Vanity. This manual provides essential information for the safe assembly, operation, and maintenance of your new vanity. Please read all instructions carefully before beginning assembly and retain this manual for future reference.
Safety Information
- Ensure all parts are present and undamaged before assembly.
- Assemble on a soft, clean surface to prevent scratches.
- Do not overtighten screws during assembly.
- Keep small parts away from children.
- Always unplug the vanity from the power source before cleaning or performing maintenance.
- Do not expose the electrical components to water or excessive moisture.
Package Contents
Verify that all components listed below are included in your package. If any parts are missing or damaged, please contact customer support.
- Vanity Table Components (panels, drawers, hardware)
- Sliding Mirror with Integrated LED Lighting
- Charging Station Unit (pre-installed)
- RGB LED Light Kit (for glass cabinet)
- Assembly Hardware (screws, dowels, cam locks, etc.)
- Instruction Manual
Setup and Assembly Instructions
Follow these steps carefully to assemble your Fameill vanity. It is recommended to have two people for assembly.
Step 1: Unpack and Identify Parts
Carefully remove all components from the packaging. Lay them out on a clean, soft surface. Refer to the parts list in your package to identify each piece.
Step 2: Assemble the Main Frame
Begin by connecting the side panels to the base and back panels using the provided hardware. Ensure all connections are secure but do not overtighten.
Step 3: Install Drawers and Shelves
Assemble the drawers according to the separate drawer instructions. Install the drawer slides onto the vanity frame and then insert the assembled drawers. Place the fixed and adjustable shelves into their designated slots.

Figure 1: Vanity with drawers open and mirror sliding to reveal storage.
Step 4: Attach the Sliding Mirror Unit
Carefully attach the sliding mirror unit to the top section of the vanity. Ensure the sliding mechanism is aligned correctly and secured with the appropriate fasteners. Connect the power cable for the mirror lights to the designated port.

Figure 2: Detail of the sliding mirror revealing hidden shelves.
Step 5: Install Foldable Tabletop and Glass Cabinet
Attach the foldable tabletop extension to the side of the vanity using the provided hinges and supports. Install the glass cabinet door and connect the RGB LED lights if applicable.

Figure 3: Foldable tabletop in extended and compact positions, and glass cabinet.
Step 6: Connect Power
Once fully assembled, plug the vanity's main power cord into a standard electrical outlet. The built-in charging station and mirror lights are now ready for use.

Figure 4: Built-in power station, side shelf, and glass cabinet detail.
Operating Instructions
Using the Lighted Mirror
The sliding mirror features integrated LED lighting with three adjustable color modes and brightness levels.
- Power On/Off: Touch the power icon on the mirror surface to turn the lights on or off.
- Change Light Color: Briefly touch the power icon to cycle through the three color modes: Warm Yellow, Warm White, and Cold White.
- Adjust Brightness: Press and hold the power icon to adjust the brightness level. Release when the desired brightness is reached.

Figure 5: Three adjustable lighting modes and brightness control for the mirror.
Using the Charging Station
The vanity includes a built-in charging station with two AC outlets (125V/12A) and two USB ports (5V/2A). Simply plug your devices into the available ports to charge them.
Operating RGB LED Lights (Glass Cabinet)
The glass cabinet features smart RGB LED lights with over 60,000 color options. These lights can be controlled via a dedicated app or a physical key.
- App Control: Download the specified app (refer to the separate RGB light manual for details) to access multiple colors, styles, music sync, microphone sync, and timing functions.
- Key Control: Use the physical key/button to cycle through basic color options and turn the lights on/off.
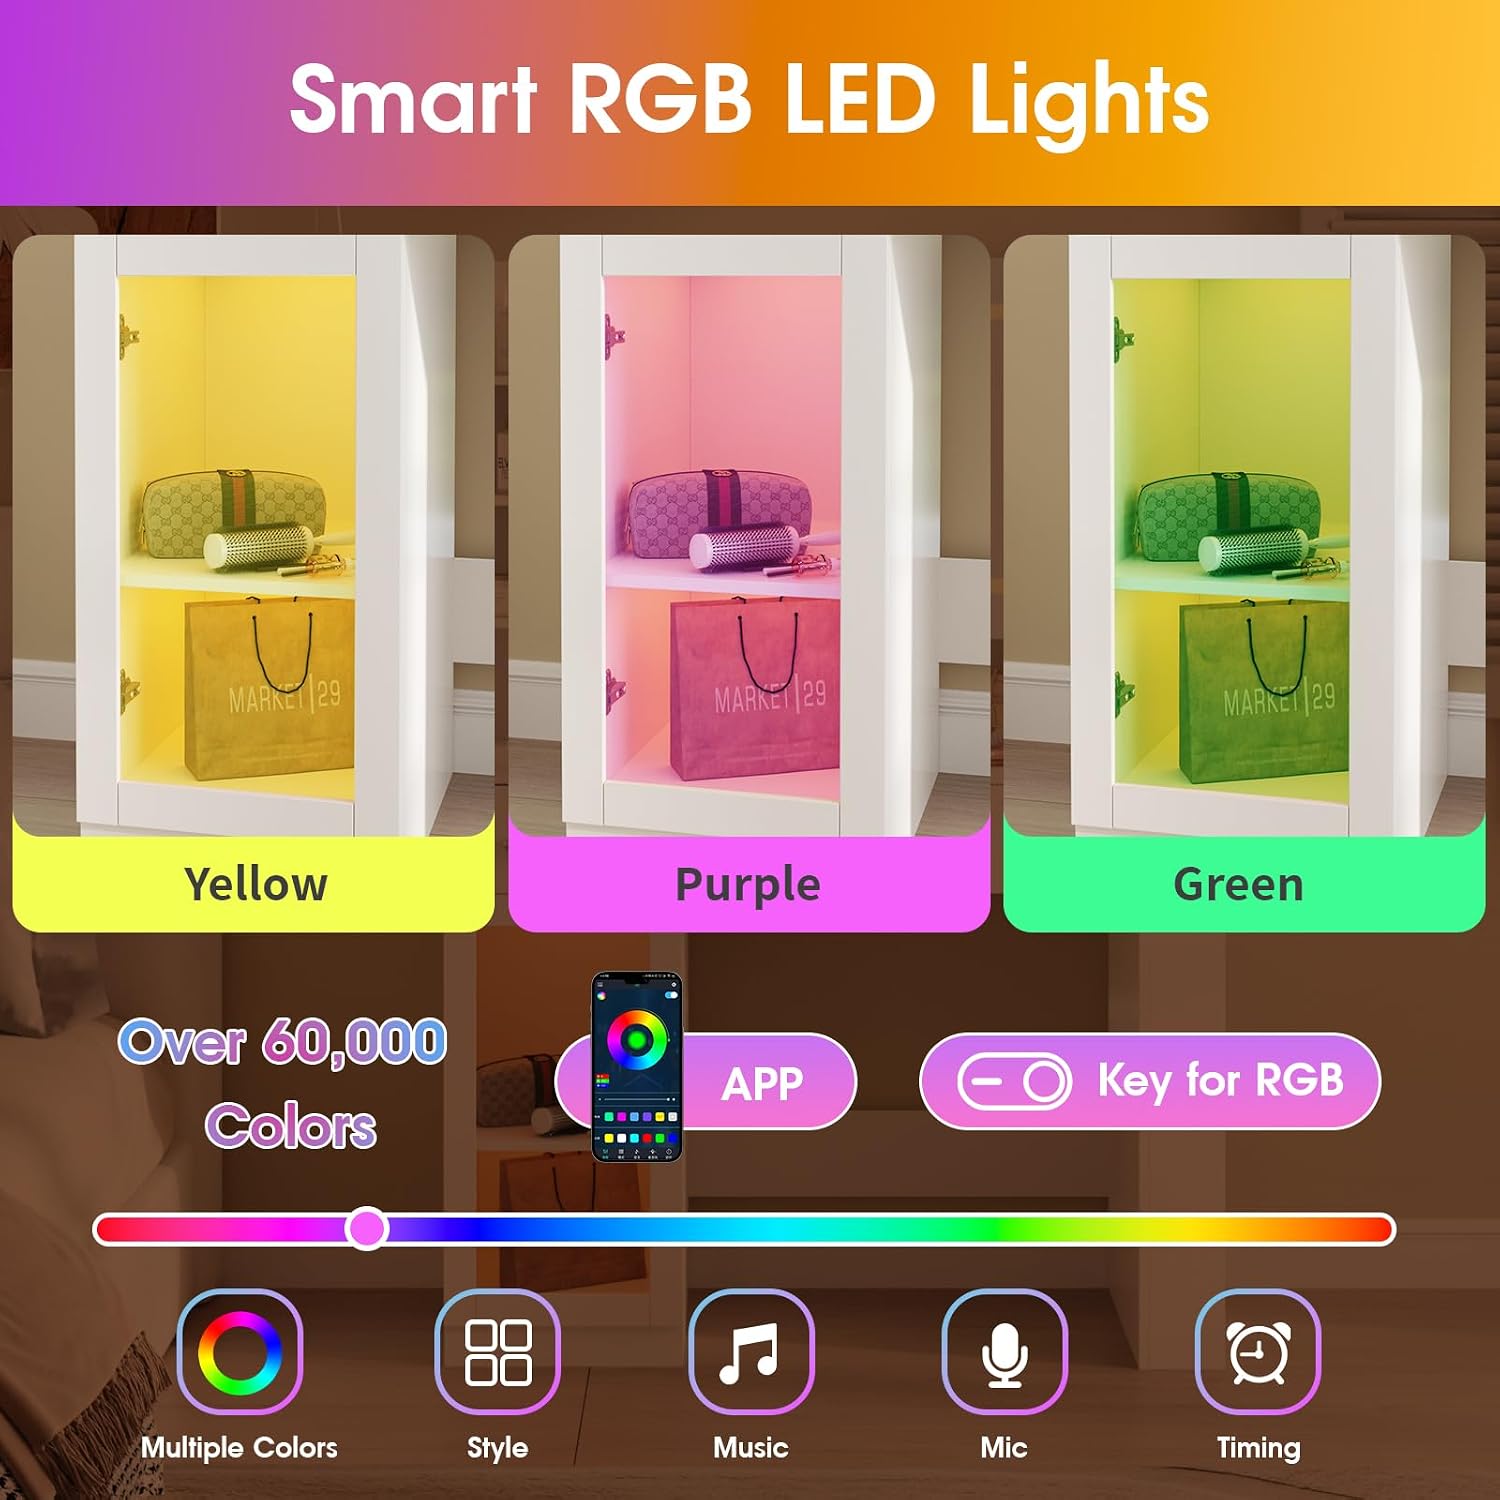
Figure 6: Smart RGB LED lights for the glass cabinet with app and key control options.
Features Overview
- Large Sliding Mirror: Provides a clear reflection and slides to reveal hidden storage shelves behind it.
- Hidden Shelves: Maximize storage space for cosmetics and accessories, keeping your tabletop clutter-free.
- Foldable Tabletop: Offers additional counter space when needed and can be folded down for a compact footprint.
- Spacious Drawers: Two large drawers provide ample storage for various items.
- Glass Door Cabinet: A stylish cabinet with a glass door and RGB lighting for displaying or storing items.
- Side Shelves: Convenient open shelves on the side for easy access to frequently used items.
Maintenance
Cleaning
- Wood Surfaces: Wipe with a soft, damp cloth. Avoid harsh chemicals or abrasive cleaners. Dry immediately.
- Mirror: Use a glass cleaner and a lint-free cloth. Spray cleaner onto the cloth, not directly onto the mirror, to prevent liquid from seeping into the electrical components.
- Electrical Components: Ensure the vanity is unplugged. Wipe the charging station and light controls with a dry, soft cloth.
General Care
- Avoid placing hot items directly on the surface.
- Protect from direct sunlight and extreme temperature changes.
- Periodically check and tighten all assembly hardware to ensure stability.
Troubleshooting
| Problem | Possible Cause | Solution |
|---|---|---|
| Mirror lights do not turn on. | No power, loose connection, faulty switch. | Check if the vanity is plugged in. Ensure the mirror's power cable is securely connected. Try touching the power icon again. |
| Charging station is not working. | No power, device not compatible. | Verify the vanity is plugged in. Test with a different device and cable. Ensure device power requirements are within the station's limits. |
| RGB lights in cabinet not working. | Loose connection, app issue, faulty remote/key. | Check the RGB light power connection. Restart the app. Try using the physical key if app control fails. |
| Drawers are stiff or do not slide smoothly. | Misaligned slides, debris in tracks, overtightened screws. | Ensure drawer slides are correctly installed and aligned. Clean tracks of any debris. Loosen screws slightly if overtightened. |
Specifications
| Feature | Detail |
|---|---|
| Model Number | JY9948 |
| Dimensions (D x W x H) | 15.5" x 35.3" x 55.2" |
| Material | Engineered Wood |
| Color | White |
| Number of Drawers | 2 |
| Mirror Lighting | 3-color adjustable LED, adjustable brightness |
| Charging Station | 2 AC Outlets (125V/12A), 2 USB Ports (5V/2A) |
| RGB Cabinet Lighting | Over 60,000 colors, App/Key control |

Figure 7: Product Dimensions.
Warranty and Support
Fameill products are designed for quality and durability. For warranty information, please refer to the documentation included with your purchase or visit the official Fameill website. If you encounter any issues or have questions regarding your vanity, please contact Fameill customer support for assistance.
Customer Support: Please refer to your purchase receipt or the Fameill brand store for contact details.
Online Resources: For additional support and FAQs, visit the Fameill Brand Store.