1. Introduction
Thank you for choosing the Aumotop HD 1080P Head-Mounted Sports Camera. This compact and lightweight device is designed for capturing high-definition video during various activities such as driving, outdoor sports, and mountain biking. It features a 120-degree ultra-wide-angle lens, a built-in LED headlight, and enhanced night vision capabilities.
Please read this manual thoroughly before using the camera to ensure proper operation and to maximize its performance and lifespan.
2. Package Contents
- Aumotop HD 1080P Head-Mounted Sports Camera
- Adjustable Headband
- USB Charging Cable
- User Manual (this document)
Ensure all items are present and in good condition upon unboxing. If any items are missing or damaged, please contact customer support.

Image: The camera, adjustable headband, and USB charging cable included in the package.
3. Product Overview
Familiarize yourself with the camera's components and controls.

Image: Front view of the camera, highlighting the HD 1080P lens and the integrated LED headlight.

Image: Side view of the camera, illustrating the Micro USB charging port and the Micro SD card slot.

Image: Top view of the camera, displaying the power/record button and the LED headlight control button.
4. Setup
4.1 Charging the Battery
Before first use, fully charge the camera's built-in 1000 mAh lithium-ion battery. Connect the camera to a USB power source (e.g., computer, wall adapter) using the provided USB cable. The charging indicator light will typically show the charging status and turn off or change color when fully charged.
A full charge provides approximately 6 hours of video recording without the LED headlight, or about 1.5 hours with the LED headlight active.
4.2 Inserting a Micro SD Card
The camera supports Micro SD cards up to 32GB. A Micro SD card is required for video recording.
- Locate the Micro SD card slot on the side of the camera.
- Gently insert the Micro SD card into the slot with the contacts facing down until it clicks into place.
- To remove, push the card in slightly until it springs out.
Note: Ensure the camera is powered off before inserting or removing the Micro SD card to prevent data corruption.
4.3 Attaching the Headband
The camera is designed for head-mounted use. Attach the camera to the adjustable headband using the integrated clip mechanism. Adjust the headband for a comfortable and secure fit on your head.

Image: The camera securely attached to the adjustable headband, ready for use.
5. Operating Instructions
5.1 Power On/Off
- To Power On: Press and hold the power/record button (usually the larger button) for a few seconds until an indicator light illuminates.
- To Power Off: Press and hold the power/record button again for a few seconds until the indicator light turns off.
5.2 Video Recording
The camera supports one-touch video recording in 1080P (1920*1080) resolution at 30 frames per second, saving files in AVI format. It also features loop recording with 3-minute segments.
- To Start Recording: With the camera powered on, briefly press the power/record button. The indicator light will change (e.g., flash) to indicate recording is in progress.
- To Stop Recording: Briefly press the power/record button again. The indicator light will return to its standby state.
5.3 LED Headlight Operation
The integrated LED headlight provides illumination for low-light conditions.
- To Turn On/Off: Briefly press the dedicated LED headlight button (usually the smaller button).
- Brightness Modes: Some models may have multiple brightness settings. Repeatedly pressing the LED headlight button may cycle through these modes.
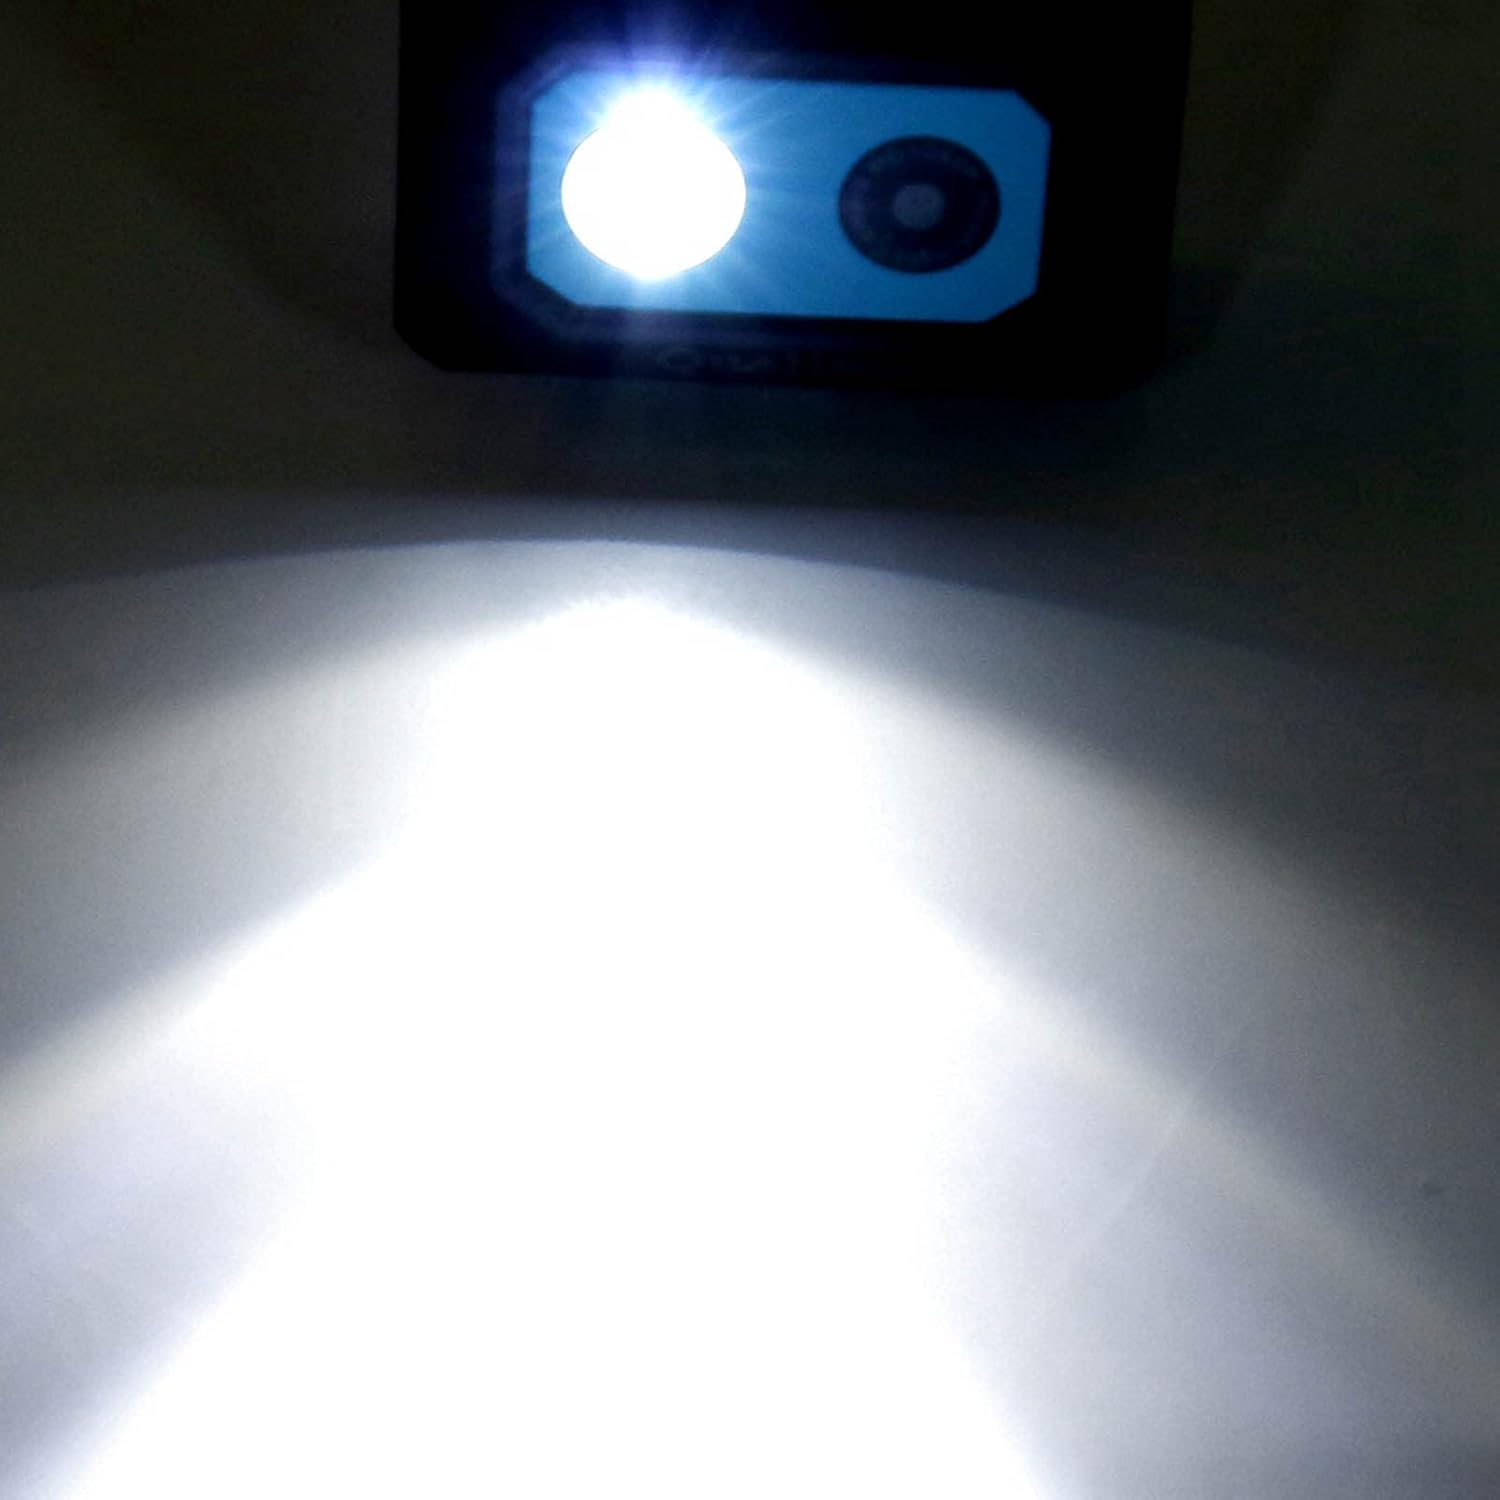
Image: An illustration demonstrating the powerful beam of the integrated LED headlight.
5.4 Night Vision
The camera is equipped with enhanced night vision capabilities to capture clear footage in low-light environments. This feature is typically automatic or activated in conjunction with the LED headlight for optimal performance.
6. Maintenance
- Cleaning: Use a soft, dry cloth to clean the camera body. For the lens, use a specialized lens cleaning cloth and solution. Avoid abrasive materials or harsh chemicals.
- Storage: Store the camera in a cool, dry place away from direct sunlight and extreme temperatures. Remove the Micro SD card if storing for extended periods.
- Battery Care: To maintain battery health, avoid fully discharging the battery frequently. If storing for a long time, charge the battery to about 50% every few months.
7. Troubleshooting
- Camera not turning on: Ensure the battery is charged. Connect to a power source and try again.
- Cannot record video: Check if a Micro SD card is inserted correctly and has sufficient free space. The card may need to be formatted (refer to camera settings if available, or format on a computer).
- Poor video quality: Ensure the lens is clean. Check lighting conditions; use the LED headlight or ensure night vision is active in low light.
- Short battery life: Battery life is reduced when the LED headlight is active. Ensure the camera is fully charged before use.
- Camera unresponsive: If the camera freezes, try pressing and holding the power button for an extended period (e.g., 10-15 seconds) to force a shutdown, then restart.
8. Specifications
| Model | Aumotopg3yvnr8247-02 |
| Video Resolution | 1080P (1920*1080) @ 30fps |
| Video Format | AVI |
| Lens Type | 120-degree Ultra Wide Angle, 1.3MP HD Camera Module |
| Special Features | LED Headlight, Night Vision, Loop Recording |
| Loop Recording Duration | 3 minutes per segment |
| Memory Card Support | Micro SD card, up to 32GB |
| Battery | Built-in 1000 mAh Lithium-ion |
| Battery Life (Video Recording) | Approx. 6 hours (light off), Approx. 1.5 hours (light on) |
| Dimensions (Packaging) | 11 x 9 x 4 cm |
| Weight (Product) | 116 g |
| Sensor Technology | CMOS |
9. Warranty and Support
This product is covered by a standard manufacturer's warranty. Please retain your proof of purchase for any warranty claims. For technical support, troubleshooting assistance, or to inquire about warranty details, please contact the retailer or manufacturer directly.
For further assistance, please visit the Aumotop official website or contact their customer service department.