LEGO Botanicals Mini Orchid Building Set Instruction Manual
Brand: LEGO
Model: 10343
Introduction
Welcome to the world of LEGO Botanicals! This instruction manual provides comprehensive guidance for assembling and maintaining your LEGO Botanicals Mini Orchid building set (Model 10343). Designed for adults, this set allows you to create a beautiful, lifelike artificial orchid display that requires no watering or special care, making it a perfect decorative addition to any home or office space. Follow these instructions carefully to ensure a rewarding building experience and a stunning final product.
Video 1: An official overview video showcasing the LEGO Botanicals Mini Orchid set, highlighting its features and design.
What's in the Box
Your LEGO Botanicals Mini Orchid set contains all the necessary elements to construct your artificial plant. Please verify that all components are present before beginning assembly.
LEGO Building Elements (274 pieces)
Instruction Manual
Figure 1: Contents of the LEGO Botanicals Mini Orchid set, including sealed bags of building elements and the instruction manual.
Assembly Instructions
The assembly process is designed to be relaxing and enjoyable. We recommend sorting your LEGO elements by color and type before you begin. You can also use the LEGO Builder App for an immersive digital building experience.
Estimated Assembly Time: Approximately 20-30 minutes for experienced builders, or up to 2 hours for a family activity.
Step 1: Constructing the Terracotta Pot and Wood-Effect Plinth
Begin by assembling the base of your orchid. The set includes pieces to create a realistic terracotta-colored pot and a brown wood-effect plinth for stability and aesthetic appeal.
Figure 2: The terracotta pot and wood-effect plinth, forming the base of the orchid.
Refer to the instruction manual for detailed step-by-step diagrams for this section. Pay attention to the curved pieces that form the pot's shape and the small elements that create the plinth's feet.
Step 2: Assembling the Stem and Leaves
Next, build the main stem and attach the dark green leaves. These leaves are designed to be posable, allowing you to adjust their position for a natural look.
Figure 3: Detailed view of the dark green leaves, designed for authenticity.
Step 3: Attaching the Orchid Blooms and Buds
The final step involves creating and attaching the beautiful peach-colored orchid blooms and budding flowers. The set features 5 blooming orchids and several buds, adding to the lifelike appearance.
Figure 4: A builder attaching the orchid blooms, highlighting the intricate details.
The petals are cleverly designed using LEGO shield pieces, and the overall structure allows for slight adjustments to achieve your desired floral arrangement.
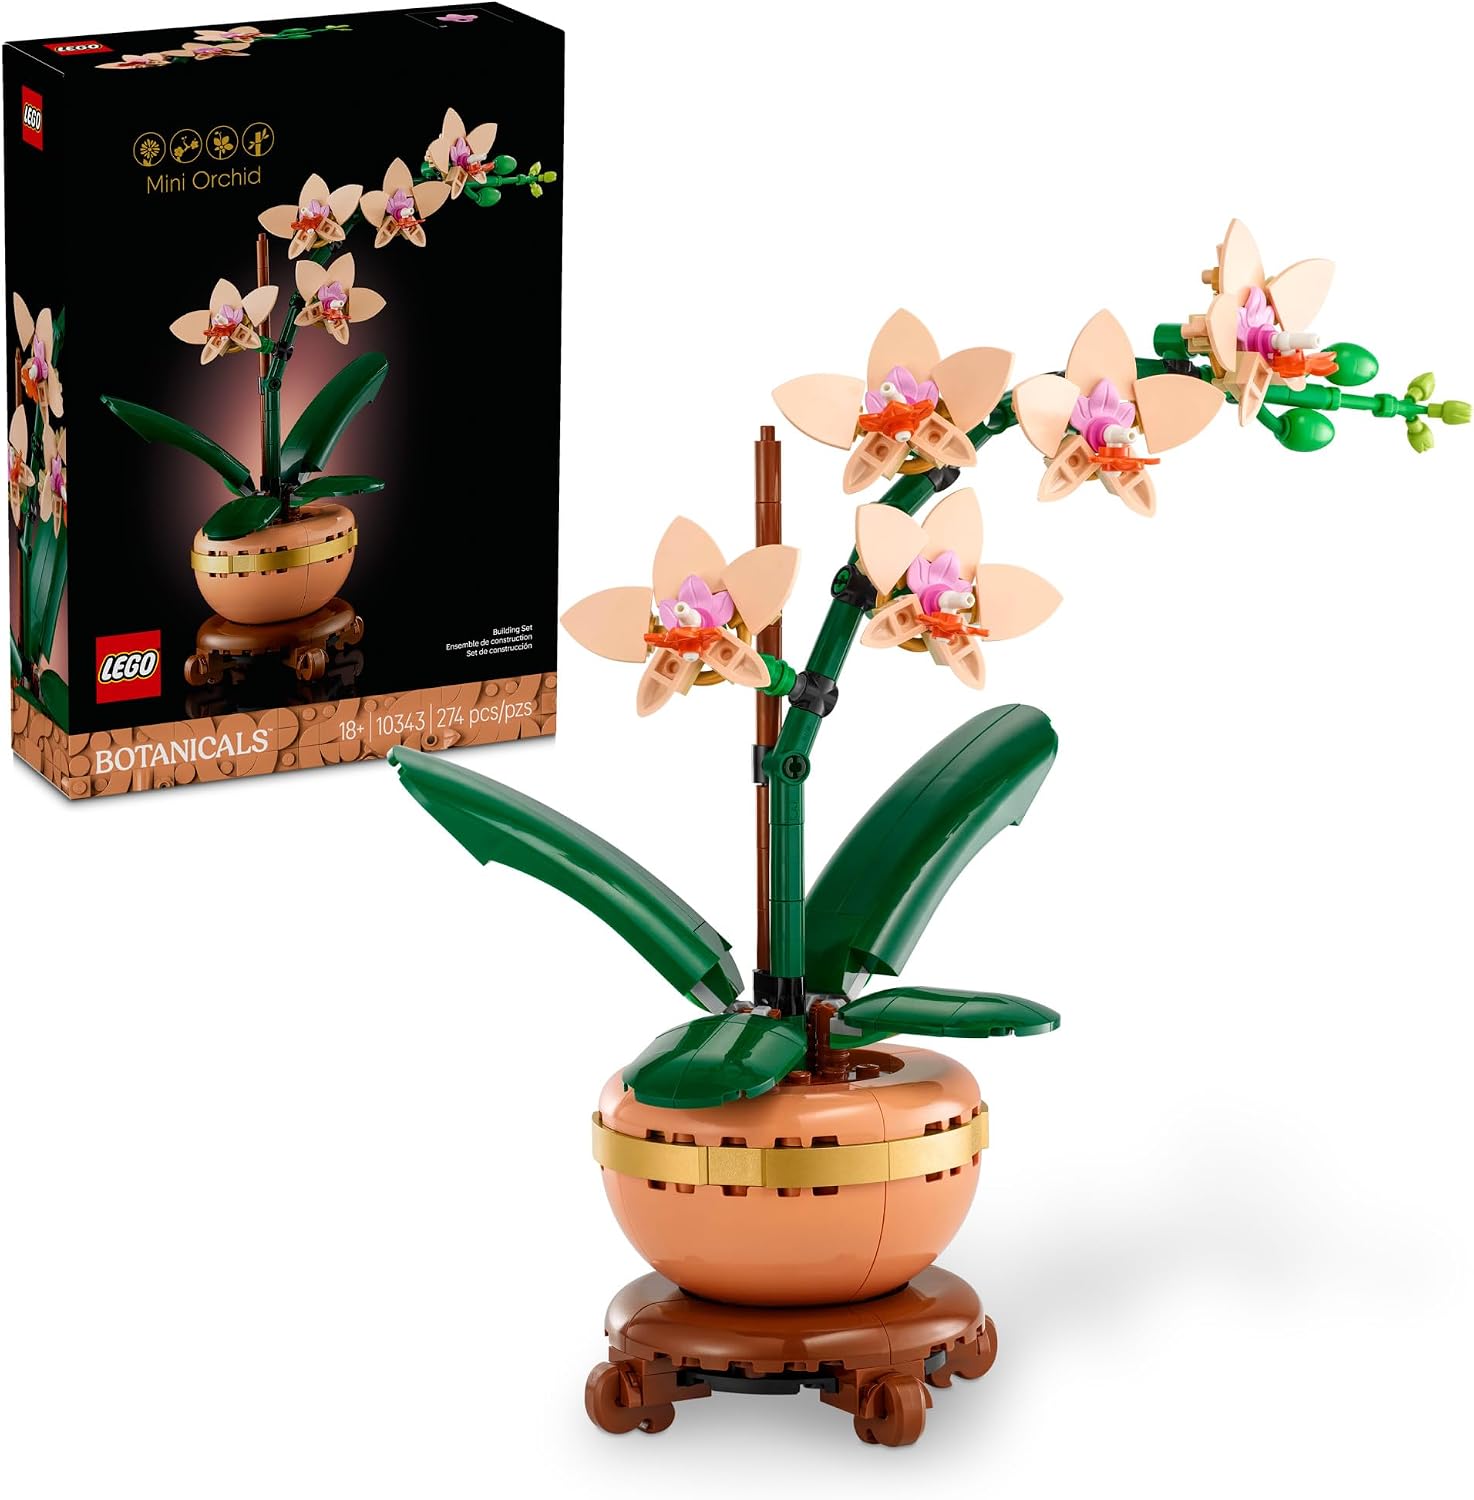
Figure 5: The fully assembled LEGO Botanicals Mini Orchid.
Displaying Your Mini Orchid
Once assembled, your LEGO Botanicals Mini Orchid is ready to be displayed. Its compact and elegant design makes it suitable for various settings.
Home Decor: Place it on a desk, bookshelf, side table, or as a centerpiece to add a touch of nature-themed elegance.
Office Decor: Brighten up your workspace with this maintenance-free plant.
Figure 6: The LEGO Mini Orchid displayed as a decorative piece on a shelf.
This set is part of the larger LEGO Botanicals collection. Consider pairing it with other sets (sold separately) to create a diverse and vibrant botanical display.
Figure 7: The Mini Orchid displayed alongside other LEGO Botanicals sets.
Video 2: An official shopper video demonstrating the LEGO Botanicals Mini Orchid 10343, providing a closer look at its details and how it can enhance your space.
Maintenance
One of the key benefits of your LEGO Botanicals Mini Orchid is its minimal maintenance requirements. Unlike real plants, it does not need watering, sunlight, or pruning.
Cleaning: To keep your orchid looking its best, gently dust it with a soft cloth or a soft-bristled brush as needed. For more stubborn dust, a slightly damp cloth can be used, ensuring no water enters the brick connections.
Storage: If you need to store your orchid, disassemble it carefully and keep the pieces in a sealed container to prevent loss and dust accumulation.
Troubleshooting
While LEGO sets are designed for straightforward assembly, you might encounter minor issues. Here are some common troubleshooting tips:
Problem
Solution
Missing Pieces
Double-check all packaging and sorting areas. If a piece is genuinely missing, contact LEGO Customer Service for replacement parts.
Difficulty Connecting Pieces
Ensure pieces are correctly oriented and aligned. Apply firm, even pressure. Small pieces may require more precision.
Orchid Appears Unstable
Review the assembly steps for the pot and stem to ensure all connections are secure. Adjust the posable leaves and flowers to balance the weight.
Specifications
Product Name: LEGO Botanicals Mini Orchid Building Set
Model Number: 10343
Item Model Number: 6526161
Brand: LEGO
Number of Pieces: 274
Recommended Age: 18 years and up
Product Dimensions: 7.52 x 10.32 x 2.4 inches (packaging)
Item Weight: 12.3 ounces
Country of Origin: Mexico
Release Date: January 1, 2025
Warranty & Support
LEGO products are manufactured to high-quality standards. For information regarding warranty, missing pieces, or any other support needs, please visit the official LEGO customer service website or contact their support team directly.