1. Introduction
Thank you for purchasing the Xiuganpo Retro Handheld Game Console. This device is designed to provide a portable gaming experience with a vast library of pre-installed games. Featuring a 3.5-inch IPS screen, a powerful RK3326 CPU, and 256GB of memory, this console offers hours of entertainment. Please read this manual thoroughly to understand the console's features and ensure proper operation and longevity.
2. Safety Information
- Do not expose the console to extreme temperatures, direct sunlight, or high humidity.
- Avoid dropping or subjecting the console to strong impacts.
- Keep the console away from water and other liquids.
- Use only the specified charging adapter (5V ≥ 1.5A) to prevent damage to the battery and console.
- Do not attempt to disassemble or modify the console. This will void the warranty.
- Keep out of reach of small children due to small parts.
- If the console becomes unusually hot during charging or use, discontinue use immediately and contact support.
3. Package Contents
Please check the package contents upon unboxing. If any items are missing or damaged, contact your retailer.
- Xiuganpo Retro Handheld Game Console (Model R405 PRO)
- USB Charging Cable
- User Manual (this document)
The image displays the Xiuganpo Retro Handheld Game Console alongside its USB charging cable, illustrating the main components included with the product.
4. Product Overview
Familiarize yourself with the console's layout and controls.
4.1 Front View
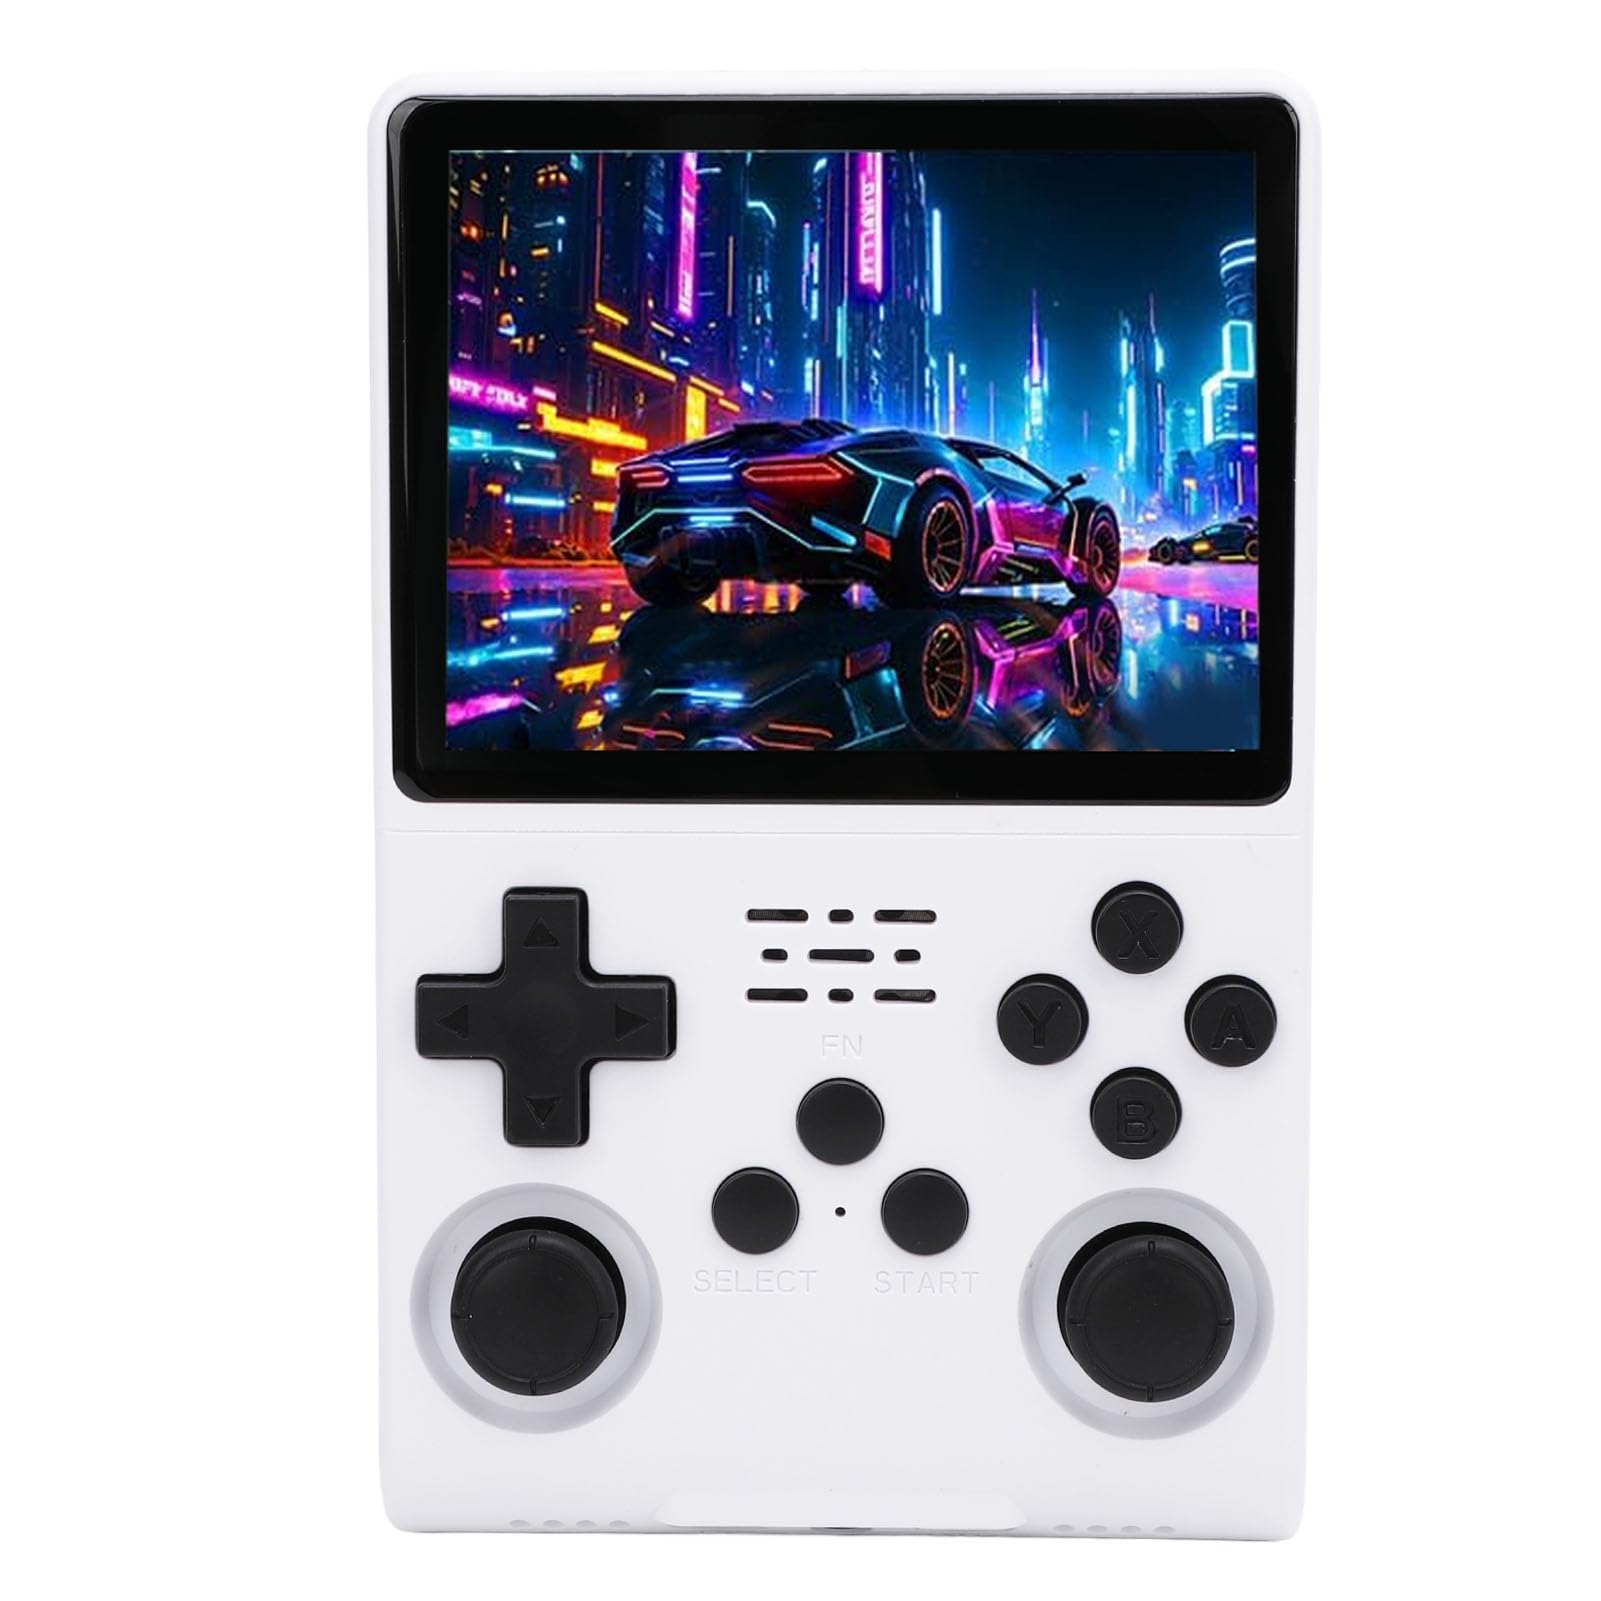
This image shows the Xiuganpo Retro Handheld Game Console being held, highlighting its ergonomic design, the 3.5-inch IPS display, and the layout of the D-pad, action buttons, and analog sticks. Key features like 256GB memory, 30000 pre-installed games, and 640x480 screen resolution are visible.
- 3.5-inch IPS Screen: High-resolution display for clear visuals.
- D-Pad: Directional control for movement in games.
- Analog Sticks: For precise 3D movement and camera control.
- Action Buttons (A, B, X, Y): Primary game input buttons.
- SELECT Button: Typically used for in-game menus or selections.
- START Button: Used to pause games or confirm selections.
- FN Button: Function button, specific uses may vary by system.
4.2 Top and Bottom Views

A detailed view of the console's bottom edge, showing the DC charging port, 3.5mm headphone jack, and OTG (On-The-Go) port for connecting external devices.

This image highlights the top edge of the console, featuring the power button, reset button, and the TF2-GAME card slot, likely for additional game storage.
- DC Port: For connecting the USB charging cable.
- 3.5mm Headphone Jack: For private audio listening.
- OTG Port: On-The-Go port for connecting external USB devices (e.g., external controllers, USB drives).
- Power Button: Press and hold to turn the console ON/OFF.
- Reset Button: Small button to force a system restart if unresponsive.
- TF2-GAME Slot: MicroSD card slot for additional game storage or system files.
4.3 Rear View

This image displays the back of the console, revealing the model number R405 PRO, battery specifications (3.7V 3800mAh Polymer Lithium Ion), and material (ABS). The R1, R2, L1, L2 shoulder buttons are also visible.
- L1/L2 Shoulder Buttons: Left shoulder buttons for in-game actions.
- R1/R2 Shoulder Buttons: Right shoulder buttons for in-game actions.
5. Setup
5.1 Initial Charging
- Before first use, fully charge the console. Connect the included USB charging cable to the DC port on the console.
- Connect the other end of the USB cable to a compatible USB power adapter (5V, 1.5A or higher recommended, not included) or a computer's USB port.
- The charging indicator light will illuminate. Charging typically takes 2-3 hours. The light will change or turn off once fully charged.
5.2 Powering On/Off
- To Power On: Press and hold the Power Button located on the top edge of the console for a few seconds until the screen illuminates.
- To Power Off: Press and hold the Power Button for a few seconds until a power-off menu appears on the screen. Select "Power Off" or "Shutdown". If the system is unresponsive, press and hold the Power Button for approximately 10 seconds to force a shutdown.
- To Reset: In case of a system freeze, use a thin object (like a paperclip) to press the Reset Button on the top edge. This will restart the console without losing data.
6. Operating Instructions
6.1 Navigating the Interface
- Use the D-Pad or Analog Sticks to navigate through menus and select options.
- Press the A Button (or equivalent action button) to confirm selections.
- Press the B Button (or equivalent action button) to go back to the previous menu.
6.2 Playing Games
The console comes with 30,000 pre-installed games across various systems. These are typically organized into categories or emulators.
- From the main menu, select the desired emulator or game category.
- Browse the list of games using the D-Pad or Analog Sticks.
- Select a game by pressing the A Button to start playing.
- During gameplay, specific button combinations (often involving the FN Button + SELECT or START) may bring up in-game menus for saving, loading, or exiting. Refer to the on-screen prompts or emulator-specific instructions if available.
6.3 Two-Player Online Gaming
The console supports two-player online gaming. This feature typically requires a stable internet connection and compatible games/emulators. Further details on setting up online play may be available within the console's system settings or specific emulator configurations. An external USB Wi-Fi adapter (not included) may be required for network connectivity via the OTG port.
6.4 Expanding Storage
The console includes 256GB of internal memory. If additional storage is needed for more games or system files, you can insert a compatible MicroSD card into the TF2-GAME Slot on the top of the console. Ensure the card is formatted correctly (e.g., FAT32 or exFAT) for the console to recognize it.
7. Maintenance
- Cleaning: Use a soft, dry cloth to wipe the console's exterior. For the screen, use a microfiber cloth specifically designed for electronics. Do not use liquid cleaners or abrasive materials.
- Storage: When not in use, store the console in a cool, dry place, away from direct sunlight and dust.
- Battery Care: To prolong battery life, avoid fully discharging the battery frequently. Charge the console regularly, even if not in use for extended periods (e.g., once every 3 months).
- Software Updates: Periodically check the manufacturer's website or console settings for available software updates to improve performance and add features.
8. Troubleshooting
| Problem | Possible Cause | Solution |
|---|---|---|
| Console does not power on. | Low battery; System crash. | Charge the console for at least 30 minutes. If still unresponsive, press the Reset button. |
| Screen is frozen or unresponsive. | Software error; System crash. | Press the Reset button to restart the console. |
| Games are not loading or performing slowly. | Corrupted game files; System overload; Incompatible game. | Ensure the game is compatible. Try restarting the console. If using an external SD card, ensure it is properly inserted and formatted. |
| No sound. | Volume too low; Headphone issue; Software glitch. | Check volume settings. Ensure headphones are properly connected. Restart the console. |
| Console not charging. | Faulty cable/adapter; Dirty charging port. | Try a different USB cable and power adapter. Clean the DC port gently. |
9. Specifications

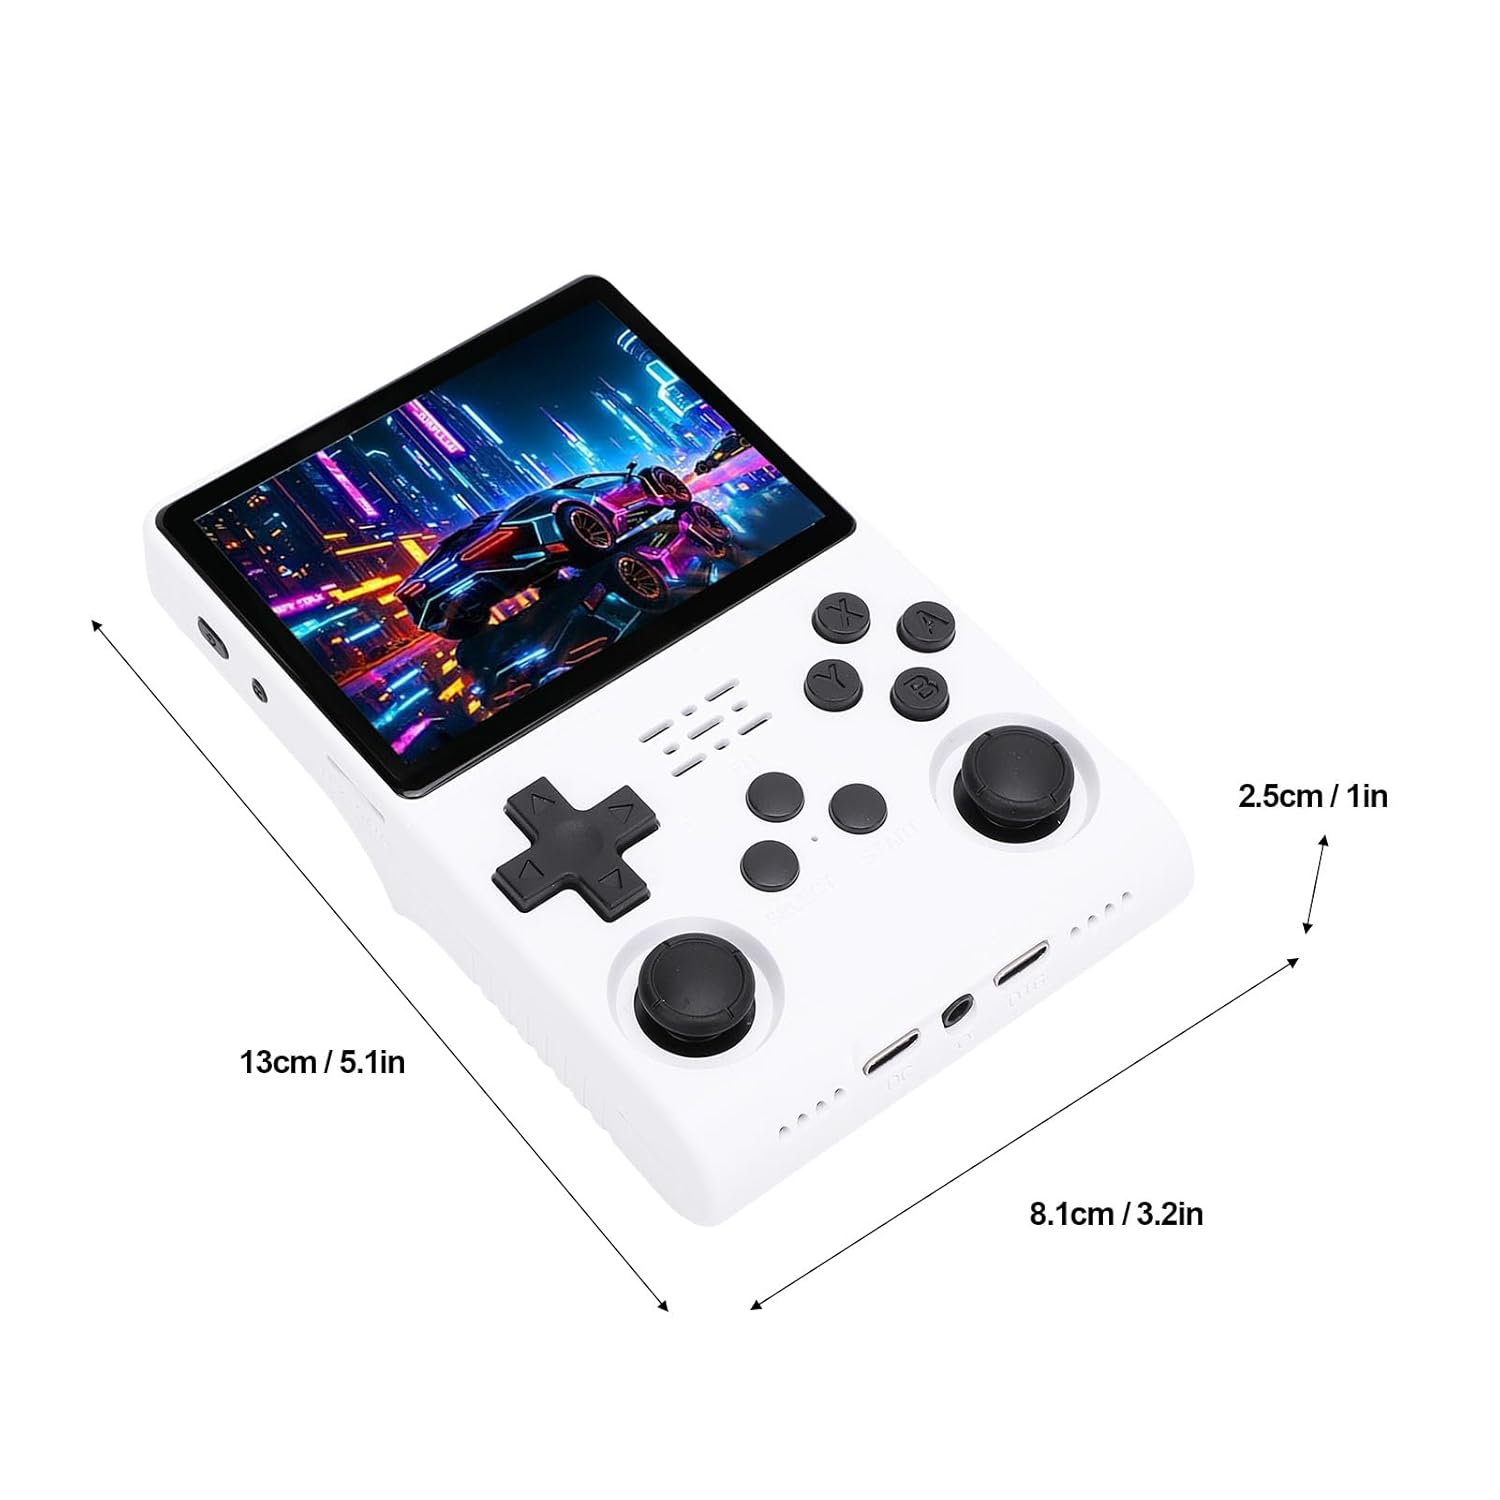
This image provides the physical dimensions of the console, showing its length as 13cm (5.1 inches), width as 8.1cm (3.2 inches), and thickness as 2.5cm (1 inch), indicating its compact and portable design.

An illustrative image focusing on the internal processing unit, detailing the console's CPU (RK3326 64-bit quad-core Cortex-A35 up to 1.5GHz) and GPU (Mali G31MP 520MHz), along with the built-in 3800mAh battery.
| Model: | R405 PRO |
| Screen: | 3.5-inch IPS Display, 640 x 480 Resolution |
| CPU: | RK3326 (64-bit quad-core Cortex-A35 CPU up to 1.5GHz) |
| GPU: | Mali G31MP (520MHz) |
| RAM: | 4GB |
| Internal Memory: | 256GB (with 30,000 pre-installed games) |
| External Storage: | MicroSD card via TF2-GAME slot |
| Battery: | 3800mAh Polymer Lithium Ion (Built-in) |
| Charging Input: | DC 5V, ≥ 1.5A |
| Material: | ABS |
| Dimensions: | 13cm (5.1in) x 8.1cm (3.2in) x 2.5cm (1in) |
10. Warranty and Support
The Xiuganpo Retro Handheld Game Console comes with a standard manufacturer's warranty. Please refer to the warranty card included in your package or contact your retailer for specific warranty terms and conditions.
For technical support, troubleshooting assistance, or inquiries regarding your product, please contact Xiuganpo customer service through the retailer's platform or the official brand website (if available). Please have your model number (R405 PRO) and purchase details ready when contacting support.