Product Overview
The MERITLINE Twin Horizontal Murphy Bed is a space-saving furniture solution designed for multi-use rooms such as guest rooms, home offices, or home gyms. This unit features a folding bed that tucks away into a cabinet, along with integrated storage including open shelves, lockers with doors, and large drawers. It is constructed from durable MDF and a metal frame, ensuring stability and longevity.
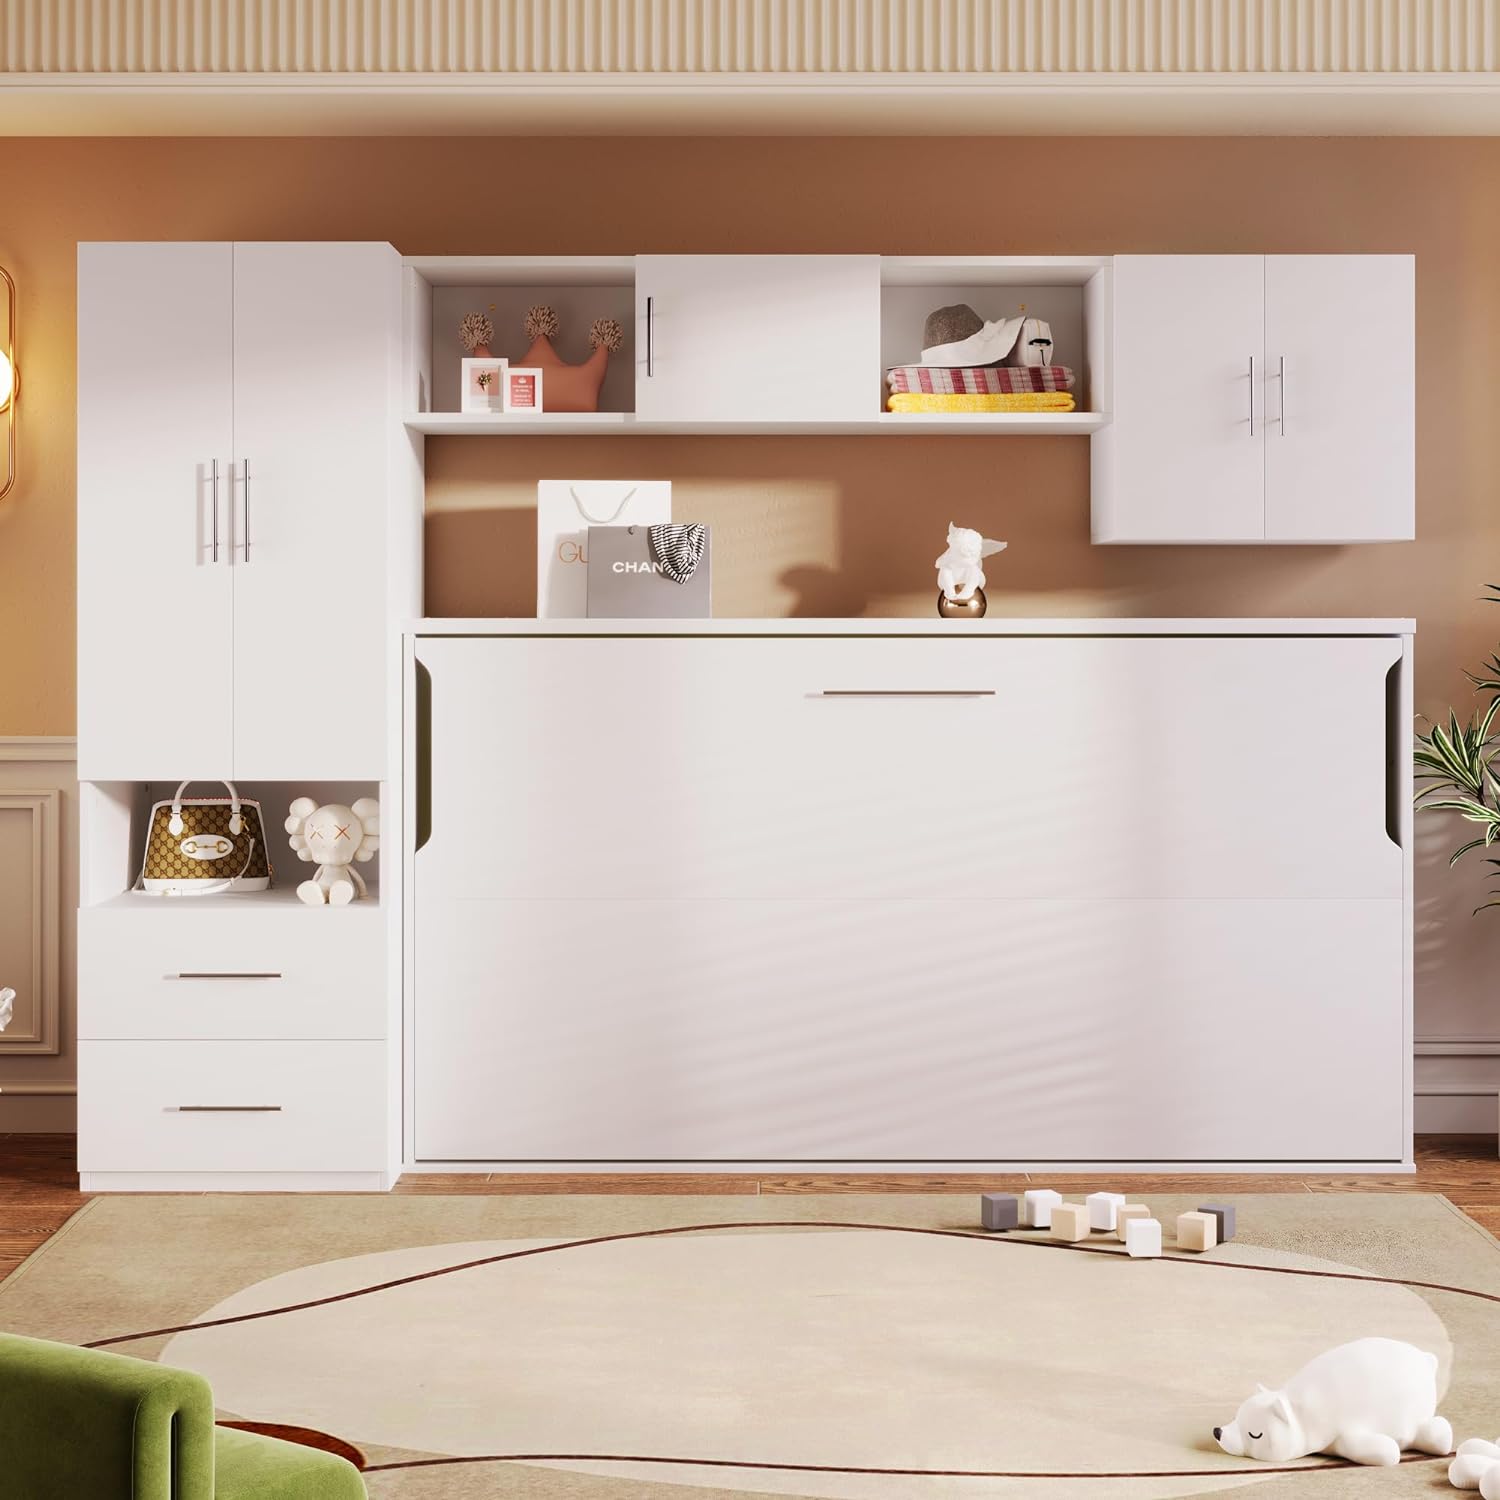
Image: The MERITLINE Twin Horizontal Murphy Bed in its closed cabinet configuration, flanked by additional storage units.
Important Safety Information
- Always secure the bed to the wall using the provided hardware to prevent tip-over.
- Be cautious of sharp edges during assembly and use.
- Do not exceed the weight capacity of 800 lbs.
- Follow the assembly instructions carefully to ensure safe use.
Setup and Assembly Instructions
This section provides detailed steps for assembling your MERITLINE Twin Horizontal Murphy Bed. It is recommended to have at least two people for assembly, especially for steps involving the drawer slide rails.
Assembly Video Guide
Video: A comprehensive guide demonstrating the step-by-step assembly process for the Murphy Bed components.
Key Assembly Steps:
- Prepare Drawer Slides: Separate the plastic piece from the sub-rail of the drawer slides (Y x 6).
- Attach Slides to Drawer Sides: Secure the drawer slides (Y x 2) to panels 10 and 11 using screws (T x 8).
- Assemble Drawer Box: Connect panels 10 and 11 to panel 12 using dowels (A x 4) and screws (Q x 4).
- Install Cam Locks: Insert cam locks (B x 6) into panel 5.
- Connect Drawer Sides to Base: Attach panels 10 and 11 to panel 5 using dowels (A x 4) and cam locks (C x 6).
- Assemble Upper Frame: Connect panel 7 to the assembled structure using dowels (A x 2) and screws (Q x 2).
- Install Cam Locks on Main Panels: Insert cam locks (B x 18) into panels 3 and 4.
- Connect Main Panels: Attach panel 3 to panel 5 and 7 using dowels (A x 5) and cam locks (C x 7).
- Add Back Panel: Secure panel 8 and 6 to the structure using dowels (A x 1) and cam locks (C x 2).
- Attach Side Panel: Install panel 4 and lock screws from the bottom, ensuring all side panels are securely in the slot.
- Secure Side Panel: Lock the screws from the bottom for panel 4 using cam locks (C x 5).
- Install Power Outlet: Secure the power outlet (K x 1) to the side panel using screws (V x 2).
- Attach Top Panel: Secure panel 8 to the top of the structure.
- Install Top Board: Attach panel 1 to the top using dowels (A x 4), cam locks (B x 4), and cam lock covers (C x 4).
- Attach Front Panel: Secure panel 2 using corner brackets (a x 2).
- Install Magnetic Catches: Attach magnetic catches (H x 3) to the top board.
- Install Hinges: Secure hinges (S x 12) to the top board.
- Attach Door Catches: Install door catches (L x 14) to the cabinet frame.
- Assemble Drawer Fronts: Attach drawer slides (Y x 2) to panels 15 and 16 using screws (T x 14).
- Connect Drawer Fronts: Attach panels 15 and 16 to panel 21 using dowels (A x 4), screws (O x 4), and cam lock covers (P x 4). Ensure the groove faces outward.
- Install Rollers: Attach rollers (F x 2) to the drawer assembly.
- Assemble Second Drawer Front: Attach drawer slides (Y x 2) to panels 17 and 18 using screws (T x 14).
- Connect Second Drawer Fronts: Attach panels 17 and 18 to panel 22 using dowels (A x 4), screws (O x 4), and cam lock covers (P x 4). Ensure the groove faces outward.
- Install Second Set of Rollers: Attach rollers (F x 2) to the second drawer assembly.
- Assemble Third Drawer Front: Attach drawer slides (Y x 2) to panel 19 using screws (T x 6) and rollers (F x 4).
- Assemble Fourth Drawer Front: Attach drawer slides (Y x 2) to panel 20 using screws (T x 6) and rollers (F x 4).
- Attach Drawer Back: Connect panels 19 and 20 to panel 23 using screws (Q x 6).
- Install Drawer Bottom: Secure panels 26 (x 2) to the drawer frame using screws (Q x 4).
- Insert Drawer Divider: Place panel 27 into the drawer.
- Attach Drawer Top: Secure panel 24 to the drawer frame using dowels (A x 4) and cam lock covers (C x 6).
- Install Drawer Slides (Part 2): Ensure the balls in the tracks on both sides are pulled to the top, then insert the tracks. This step requires two people.
- Insert Drawer into Cabinet: Align the tracks on either side and slowly push them in together. If the drawer does not go in smoothly, take it out and repeat the steps.
- Install Second Drawer into Cabinet: Repeat the process for the second drawer.
- Install Bed Base Panels: Place panels M (x 8) into the bed base and secure with covers (X x 4).
- Attach Bed Handles: Secure handles (D x 4) and hinges (I x 2) to panel 14 using screws (U x 8).
- Attach Bed Base to Cabinet: Secure panel 14 to the cabinet using hinges (G x 8) and screws (U x 48).
- Fold Bed Base: Fold the bed base into the cabinet.
- Secure Bed Base: Use the magnetic catches to hold the bed base in place.
- Install Wall Brackets: Attach wall brackets (Z x 2) to the top of the cabinet for securing to the wall.
- Secure Bed to Wall: Use the wall brackets to securely fasten the bed to a sturdy wall.
Operating Instructions
This section details how to safely open and close your Murphy bed, as well as how to utilize its integrated storage features.
Opening and Closing Video Guide
Video: Demonstrates the process of opening the cabinet bed for use and closing it for storage, highlighting key steps.
Steps to Open the Bed:
- Access Storage Drawer: Pull out the bottom drawer to reveal internal storage space for pillows and covers.
- Fold Drawer Bars: Fold all three drawer bars vertically to clear the space.
- Open Top Panel: Lift and open the top panel of the cabinet.
- Unstrap Belt: Unstrap the belt from the door that secures the mattress.
- Flip Down Door: Carefully flip down the main cabinet door.
- Unfold Legs: Unfold the support legs until you hear a click sound, ensuring they are locked into place.
- Pull Door Forward: Pull the belt to fold the door to the front of the drawer, extending the bed platform.
- Position Mattress: Set the mattress onto the extended bed platform.
Steps to Close the Bed:
- Remove Bedding: Remove pillows and covers, placing them into the storage drawer.
- Fold Mattress: Fold the mattress and place it back into the box.
- Fold Door Back: Pull the belt to fold the back door onto the front door, collapsing the bed platform.
- Unlock and Flip Legs: Press the button on each leg to unlock and flip them down.
- Flip Up Cabinet Door: Flip up the cabinet door and attach the belt to secure it.
- Close Top Panel: Close the top panel of the cabinet.
- Fold Drawer Bar: Fold the drawer bar to the side.
- Close Drawer: Close the bottom storage drawer.
Maintenance
Proper care and maintenance will extend the life of your Murphy bed.
- Cleaning: Wipe surfaces with a soft, damp cloth. Avoid harsh chemicals or abrasive cleaners that may damage the wood or MDF finish.
- Hardware: Periodically check all screws and fasteners to ensure they are tight. Tighten as needed to maintain stability.
- Moving the Unit: If you need to move the bed, ensure it is fully closed and secured. Lift with assistance to avoid dragging, which can damage the legs or frame.
- Environmental Conditions: Avoid placing the bed in direct sunlight or near heat sources, as this can cause warping or discoloration. Maintain a stable humidity level in the room.
Troubleshooting
If you encounter any issues with your Murphy bed, refer to the following common problems and solutions:
- Drawer not sliding smoothly: Ensure the balls in the tracks on both sides are pulled to the top before inserting the drawer. If it still doesn't slide smoothly, remove the drawer, check for obstructions, and re-insert it carefully.
- Bed not closing properly: Check that the mattress is correctly folded and positioned within the bed box. Ensure all support legs are fully folded and locked. Verify that no bedding or other items are obstructing the closing mechanism.
- Unstable frame: Recheck all assembly screws and fasteners. Tighten any loose connections. Ensure the unit is securely anchored to the wall as per safety instructions.
Product Specifications
| Feature | Detail |
|---|---|
| Material | Pine Wood + MDF, Engineered Wood, Metal |
| Size | Twin |
| Color | White |
| Overall Product Dimension | 102.4''L x 43.9''W x 70.8''H |
| Bed Dimension | 75.2'' x 38.6'' |
| Total Height | 70.8'' |
| Recommended Mattress Thickness | 6'' |
| Overall Product Weight | 421 lbs |
| Bed Weight Capacity | 800 lbs |
| Assembly Required | Yes |
| Number of Packages | 5 |
| Spring Box | Not needed |
| UPC | 198573928286 |

Image: Detailed dimensional drawing of the Murphy bed and its components.

Image: Internal view of the Murphy bed cabinet, illustrating the storage compartments and the folded bed frame.
Warranty Information
The MERITLINE Twin Horizontal Murphy Bed comes with a One Year Quality Guarantee. This warranty covers manufacturing defects and issues arising from normal use within one year of purchase.
Customer Support
If you have any questions, concerns, or require assistance with your MERITLINE Twin Horizontal Murphy Bed, please feel free to contact us. We are committed to providing satisfactory service within 24 hours.
For support, please refer to the contact information provided at the point of purchase or on the official MERITLINE website.