Introduction
This manual provides essential instructions for the safe and effective installation, operation, and maintenance of the Generic PS-5221-06A1-ROHS-220W Power Supply Unit (PSU), compatible with Acer X3990 and similar systems. Please read this manual thoroughly before use.
Safety Information
WARNING: To prevent electric shock and ensure safe operation, observe the following precautions:
- HAZARDOUS AREA: This unit contains high voltage components.
- DO NOT REMOVE THE COVER: There are no user-serviceable parts inside. Opening the unit voids any warranty and exposes you to dangerous voltages.
- REFER SERVICING TO QUALIFIED SERVICE PERSONNEL: All internal repairs or inspections must be performed by trained professionals.
- Ensure the power supply is disconnected from the AC outlet before installation or removal.
- Use only the specified power cables and connectors.
This device complies with FCC Standards for Home or Office Use.

Image 1: Top view of the PSU, showing the model label and safety warnings. The label indicates Model No. PS-5221-06A1 ROHS, AC Input 100-127V / 220-240V, and various DC outputs. It also displays safety certifications and warnings against opening the unit.
Setup and Installation
- Preparation:
Before beginning installation, ensure your computer system is completely powered off and unplugged from the wall outlet. It is recommended to wear an anti-static wrist strap to prevent damage to components.
- Remove Old PSU (if applicable):
Carefully disconnect all power cables from the motherboard, graphics card, drives, and other components. Unscrew and remove the old power supply from the computer chassis.
- Install New PSU:
Position the Generic PS-5221-06A1-ROHS-220W PSU into the designated power supply bay in your computer case. Secure it with screws, typically four, from the rear of the chassis.

Image 2: Side view of the PSU, illustrating the main ATX connector and peripheral power cables. These cables are used to connect to the motherboard, CPU, and other internal components.
- Connect Power Cables:
Connect the main 20+4 pin ATX power connector to your motherboard. Connect the 4-pin or 8-pin CPU power connector to the appropriate socket on your motherboard. Connect SATA power cables to your hard drives and SSDs, and Molex connectors to any other required peripherals. Ensure all connections are firm and secure.
- Connect AC Power:
Once all internal connections are made, connect the AC power cord to the PSU's input socket and then to a grounded wall outlet or surge protector.
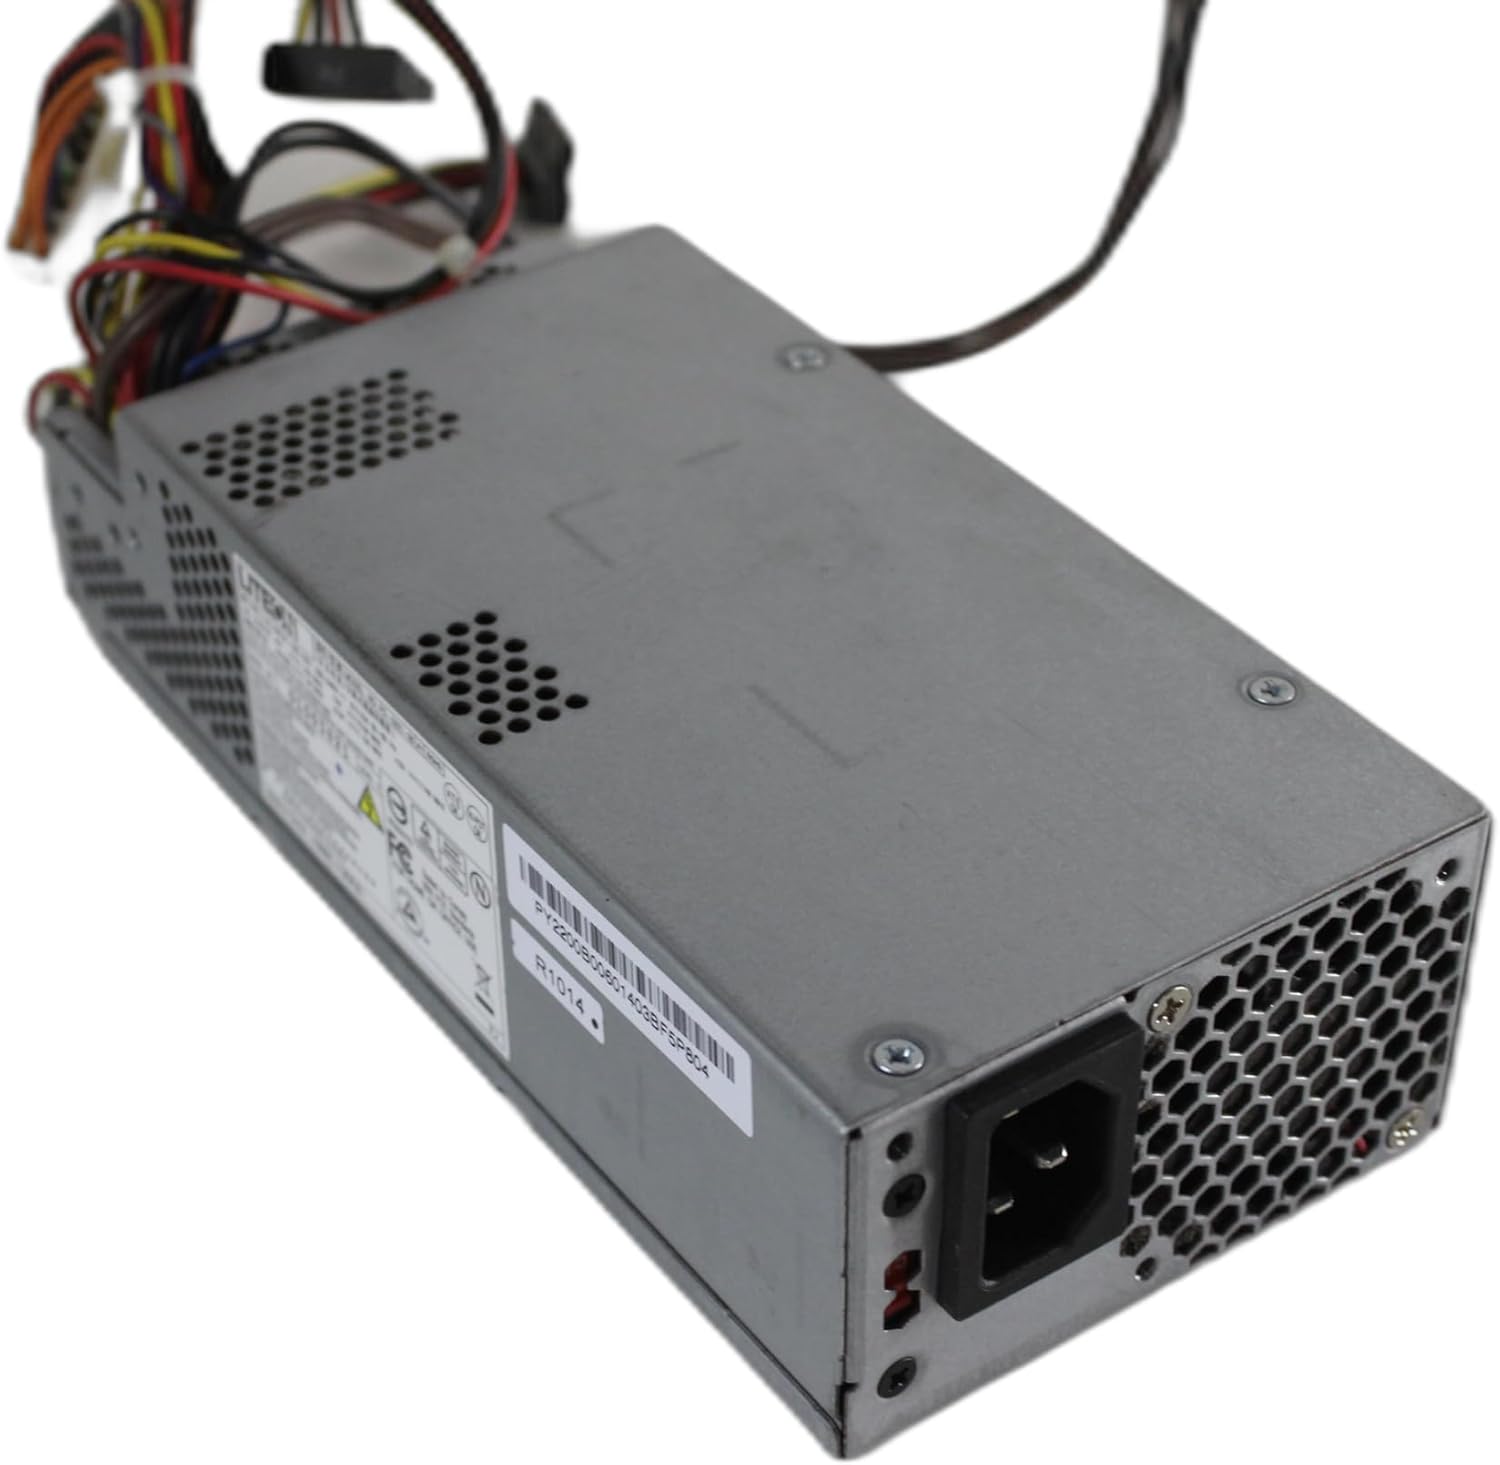
Image 3: Rear view of the PSU, highlighting the AC power input socket and the ventilation grille. This is where the main power cable connects to the unit.
Operation
After successful installation, the PSU will provide stable power to your computer system. Simply power on your computer as usual. The PSU operates automatically, converting AC power from the wall outlet into the DC voltages required by your computer components.
- Power Output: This PSU delivers a total output of 220 Watts.
- Cooling: The unit uses an air cooling method to dissipate heat generated during operation. Ensure adequate airflow around the PSU.
Maintenance
The PS-5221-06A1-ROHS-220W PSU is designed for reliable, maintenance-free operation. However, to ensure longevity and optimal performance, consider the following:
- Keep Clean: Periodically clean the exterior of the PSU and the computer case vents to prevent dust buildup, which can impede airflow and lead to overheating. Use compressed air for best results, ensuring the system is powered off and unplugged.
- Ensure Airflow: Do not obstruct the ventilation openings of the PSU or the computer case. Proper airflow is crucial for cooling.
- Do Not Open: As stated in the safety section, never open the PSU casing. There are no user-serviceable parts inside, and doing so can be dangerous.
Troubleshooting
If you encounter issues after installing the PSU, perform the following basic checks:
- No Power:
- Ensure the AC power cord is securely plugged into both the PSU and a working wall outlet.
- Verify that the power switch on the back of the PSU (if present) is in the 'ON' position.
- Check all internal power connections (motherboard, CPU, drives) to ensure they are firmly seated.
- System Instability/Random Shutdowns:
- While this PSU is rated for 220W, ensure your system's total power consumption does not exceed this limit.
- Check for proper ventilation and ensure the PSU fan is operating. Overheating can cause instability.
- Unusual Noises:
- A slight fan noise is normal. However, if you hear grinding or excessive noise, power down the system immediately.
If problems persist after performing these checks, discontinue use and consult a qualified computer technician. Do not attempt to repair the unit yourself.
Specifications
| Manufacturer | LITEON |
| Model Number | PS-5221-06A1-ROHS |
| Output Wattage | 220 Watts |
| Form Factor | ATX |
| Connector Type | ATX |
| Compatible Devices | Acer Systems |
| Cooling Method | Air |
| Minimum Input Voltage | 220 Volts (AC) |
| Serial Number (Example) | 01003821 |
| Part Number (Example) | PY2200B00601403BF5P804 |
Warranty and Support
Specific warranty terms and conditions for this Generic product may vary. Please refer to the documentation provided at the time of purchase or contact your seller for detailed warranty information. For technical support, it is recommended to contact the vendor from whom the product was purchased.