
1. Introduction
Thank you for choosing the Inefala Android 13 Car Stereo Radio. This manual provides detailed instructions for the installation, operation, and maintenance of your new car stereo system. This unit is designed for Mazda 3 models manufactured between 2006 and 2012, featuring a 9-inch HD touch screen, wireless CarPlay, Android Auto, GPS navigation, WiFi, Bluetooth, and steering wheel control compatibility.
Please read this manual thoroughly before installation and use to ensure proper function and to maximize your user experience.
2. Safety Information
- Always consult a professional for installation if you are unsure about any steps. Incorrect installation can damage the vehicle's electrical system or the unit itself.
- Do not operate the device in a way that distracts you from driving. Always prioritize road safety.
- Ensure all wiring is properly insulated and secured to prevent short circuits or electrical hazards.
- Avoid exposing the unit to extreme temperatures, direct sunlight for prolonged periods, or excessive moisture.
- Before performing any maintenance or installation, ensure the vehicle's ignition is off and the battery is disconnected.
3. Package Contents
Verify that all items are present in the package:
- 1 x Android Car Radio Unit
- 1 x Power Cord
- 1 x GPS Antenna
- 1 x Backup Camera Input Cable
- 1 x RCA Cable
- 3 x USB Cables
- 2 x Mounting Brackets
- 1 x Installation Tool
- 1 x External Microphone
- 1 x Backup Camera
- 1 x Canbus Decoder
- 1 x Mounting Bracket (additional)
4. Specifications
| System | Android 13 |
| Chipset | 8227L |
| Screen Size | 9 inches |
| Memory (RAM+ROM) | 2GB (RAM) + 32GB (ROM) |
| Display Resolution | 1024 x 600 |
| Output Power | 4 x 45 W (TDA7388 Amplifier Chip) |
| Working Temperature | -20℃ to 75℃ |
| Radio Band | FM/RDS |
| Connectivity | Bluetooth, USB, Wi-Fi |
| Supported Audio Formats | APE/FLAC/WAV/MP3/WMA, etc. |
| Supported Video Formats | MKV/RMVB/AVI/MP4/MDV, etc. |
| Supported Picture Formats | PNG/JPEG/JPG/GIF/WBMP/BNP, etc. |
| Dimensions (D x W x H) | 5D x 26.3W x 14H Centimetres |
5. Setup and Installation
5.1 Compatibility Check
This car radio is specifically designed for Mazda 3 models from 2006 to 2012. Before installation, it is crucial to verify your vehicle's compatibility, especially regarding the wiring harness.

Image: Compatibility check for Mazda 3 car stereo installation. The image illustrates two scenarios: if the original car accessories include a 12-pin plug, the new screen will not display. If the original car accessories do not include a 12-pin plug, the screen will display correctly. This highlights a critical wiring compatibility point for installation.
Important Note: If your original car accessories include a 12-pin plug, the new screen may not display. Please check your vehicle's wiring before proceeding. If you encounter any compatibility issues (e.g., wiring or shape mismatch), contact customer support with your car's model, year, and a photo of your center console for assistance.
5.2 Wiring and Connection
- Disconnect Battery: Before starting, disconnect the negative terminal of your car battery to prevent electrical shorts.
- Remove Old Unit: Carefully remove the existing car stereo and trim panels.
- Connect Wiring Harness: Connect the provided power cord, RCA cables, USB cables, GPS antenna, and backup camera input cable to the corresponding ports on the new unit. Use the Canbus decoder if your vehicle requires it for steering wheel controls or other integrated functions.
- External Microphone: Connect the external microphone for improved call quality.
- Backup Camera: Install the backup camera at the rear of your vehicle and route its cable to the head unit.
- Mounting: Secure the new unit using the provided mounting brackets.
- Test Connections: Before fully reassembling, reconnect the car battery and perform a quick test to ensure the unit powers on and basic functions work.
- Reassemble: Once verified, carefully reassemble all trim panels.
6. Operating Instructions
6.1 Power On/Off and Basic Controls
Press the power button (usually located on the front panel) to turn the unit on or off. Adjust volume using the physical knobs or on-screen controls. Navigate through menus using the touch screen.
6.2 Wireless CarPlay & Android Auto
The unit supports both wireless CarPlay and Android Auto. Connect your compatible smartphone to access navigation, music, calls, and messages directly on the car stereo screen. Voice control is available via "Hey Siri" or "Hello Google" commands.

Image: The car stereo display showcasing the Wireless/Wired CarPlay and Android Auto functionalities. The screen displays various application icons such as Audible, Spotify, Phone, Messages, YouTube, and Waze, indicating seamless smartphone integration for navigation, music, and communication.
6.3 GPS Navigation & WiFi Connection
The unit comes with a built-in GPS antenna and supports both online and offline maps. Connect to a mobile hotspot or WiFi network to download map data, browse the internet, and use streaming apps like YouTube or Spotify.
6.4 Bluetooth Functionality
Pair your smartphone via Bluetooth for hands-free calling, audio streaming (A2DP), and access to your phone book. The external microphone enhances call clarity.
6.5 FM/RDS Radio
Tune into your favorite FM radio stations. The RDS (Radio Data System) feature provides additional information such as station name, program type, and real-time traffic updates where available.

Image: A composite image demonstrating key features: GPS Navigation with map display, WiFi Connection showing internet browsing, Bluetooth interface for phone calls and music, and FM/RDS Radio with station tuning and information. This illustrates the multi-functional capabilities of the car stereo.
6.6 Backup Camera
When the vehicle is shifted into reverse gear, the system automatically displays the rear view from the included AHD/CVBS backup camera, enhancing parking safety. The camera features HD resolution, night vision, and a 170° viewing angle.

Image: The car stereo screen displaying the backup camera view with parking guidelines. The image highlights features such as High Definition, Waterproof design, Night Vision, and a 170° Viewing Angle, demonstrating how the camera assists in safer reversing.
6.7 Steering Wheel Control (SWC)
The unit supports original car steering wheel controls, allowing you to manage audio playback, volume, and calls without taking your hands off the wheel. This functionality is typically enabled via the Canbus decoder.
6.8 File Manager & USB Playback
Utilize the built-in file manager to browse and play media files from connected USB devices. The dual USB interface allows for multiple connections.
6.9 Desktop Themes
Personalize your user interface with a selection of 28 different desktop themes to match your preference.
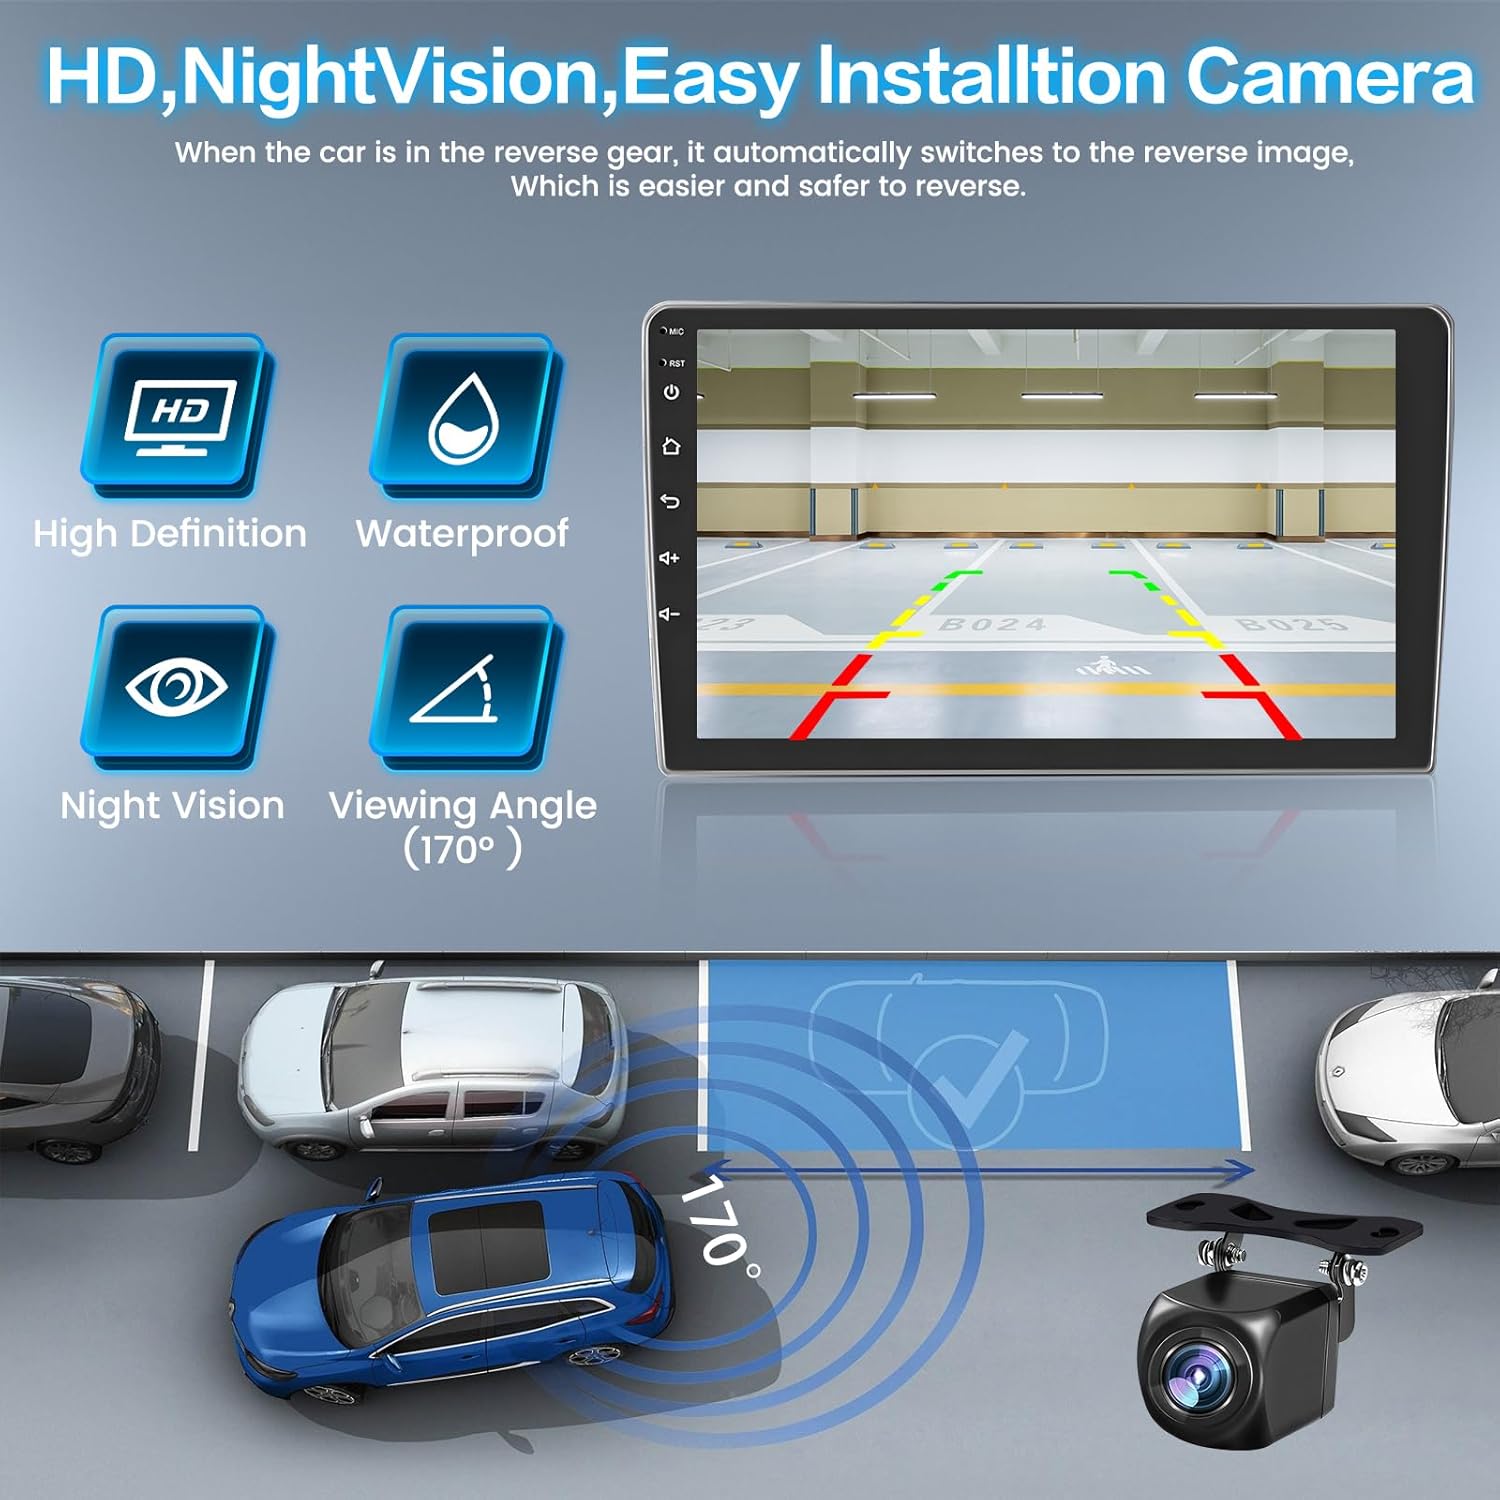
Image: A collage showcasing 28 distinct desktop themes available for the car stereo. Each theme presents a different layout and aesthetic for the home screen, allowing users to customize the interface.
7. Maintenance
- Screen Cleaning: Use a soft, lint-free cloth to gently wipe the touch screen. For stubborn smudges, slightly dampen the cloth with water or a screen-safe cleaner. Avoid harsh chemicals.
- Software Updates: Periodically check for software updates to ensure optimal performance and access to new features. Follow the on-screen instructions for any available updates.
- General Care: Keep the unit free from dust and debris. Ensure proper ventilation around the unit to prevent overheating.
8. Troubleshooting
- No Power: Check all power connections and fuses. Ensure the car battery is properly connected.
- No Sound: Verify speaker connections. Check volume levels and ensure the mute function is not active.
- Touch Screen Unresponsive: Try restarting the unit. If the issue persists, a factory reset may be necessary.
- GPS Not Working: Ensure the GPS antenna is properly installed and has a clear view of the sky. Check GPS settings in the system menu.
- Bluetooth Connection Issues: Ensure Bluetooth is enabled on both the unit and your phone. Delete previous pairings and try reconnecting.
- Factory Reset: If experiencing persistent software issues, you can perform a factory reset. The factory setting keyword is 1234. Note that this will erase all user data and settings.
9. Warranty and Support
Inefala provides comprehensive customer support for your product:
- After-Sales Service: 7 days a week, 24 hours a day support.
- Money-Back Guarantee: 30-day money-back policy.
- Warranty: 2-year after-sales support.
- Compatibility Assistance: If the wiring harness received does not fit your vehicle, please contact us immediately for a suitable replacement.

Image: An overview of Inefala's customer support offerings, including 24/7 after-sales service, a 30-day money-back guarantee, and 2 years of after-sales support. It also mentions a commitment to replacing ill-fitting harnesses.
For any questions or assistance, please contact Inefala customer support directly via Amazon.