aphqua CAR0924-A75
APHQUA 722 Motorcycle CarPlay & Android Auto System User Manual
Model: CAR0924-A75
1. Introduction
This user manual provides detailed instructions for the installation, operation, and maintenance of your APHQUA 722 Motorcycle GPS Navigation System. This 7-inch waterproof touchscreen device integrates Apple CarPlay and Android Auto, offering seamless access to navigation, music, calls, and smart assistant features while riding. Its robust design ensures durability in various weather conditions.
2. What's in the Box
Verify that all components are present before proceeding with installation.
- 1x CarPlay Screen
- 1x Mount
- 4x Silicone Gaskets (Stackable)
- 1x USB Cable
- 1x Power Cable ACC Fuse
- 1x User Manual

3. Specifications
| Feature | Detail |
|---|---|
| Model Name | APHQUA 722 |
| Item Model Number | CAR0924-A75 |
| Display Size | 7 Inches |
| Resolution | 1600x600 |
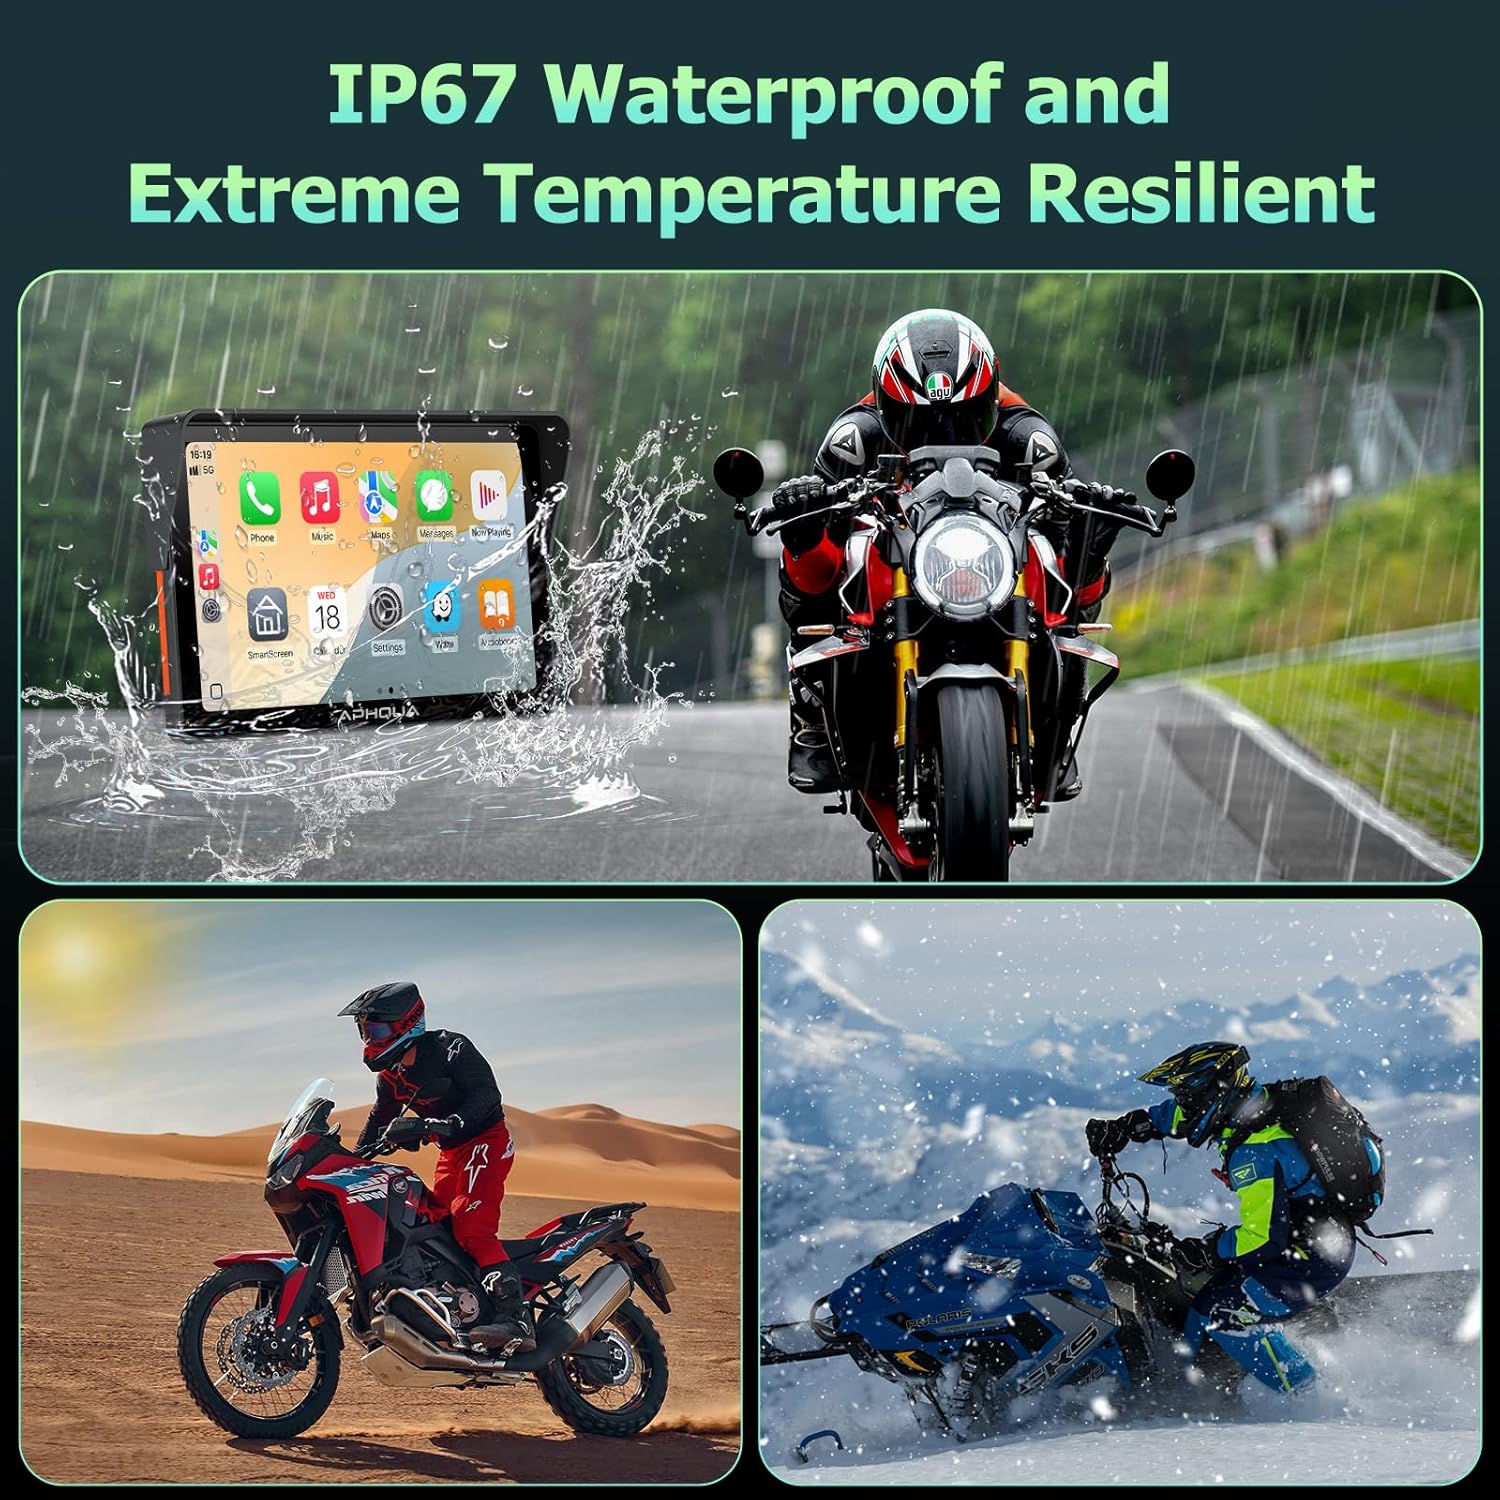
| Waterproof Rating | IP67 |
| Connectivity Technology | Bluetooth, Wireless Apple CarPlay, Wireless Android Auto |
| Voice Control | Siri, Google Assistant |
| Audio Output Mode | Stereo (supports Bluetooth headphones/helmets) |
| Mounting Type | Handlebar Mount |
| Item Weight | 1.81 pounds |
| Package Dimensions | 8.43 x 5.31 x 3.94 inches |
4. Setup and Installation
The APHQUA 722 is designed for straightforward installation on most motorcycles. Follow these steps for proper setup.
4.1 Mounting the Device
- Choose Silicone Gaskets: Select the appropriate thickness of silicone pads (12mm, 22mm, 25.4mm, or 28mm) based on your motorcycle's handlebar diameter. Stack them for added thickness if needed.
- Attach Metal Mount: Secure the metal mount to the handlebar using a Phillips screwdriver.
- Clamp Connecting Rod: Clamp the connecting rod to the metal mount. Ensure it is securely fastened.
- Insert Device and Adjust Position: Insert the CarPlay screen onto the mount. Adjust its position as desired and tighten the adjustment ring to secure it.


4.2 Power Connection
The APHQUA 722 can be powered via a USB cable or by direct connection to your motorcycle's battery using the provided ACC fuse power cable.
- USB Power: Connect the provided USB cable to the device and a compatible USB power source on your motorcycle.
- Direct Battery Connection: For a more permanent installation, connect the ACC fuse power cable directly to your motorcycle's battery terminals. Ensure correct polarity (red to positive, black to negative).

Video 4.1: 722 Operation Tutorial. This video demonstrates the installation process and initial setup of the APHQUA 722 system, including mounting and power connections.
5. Operating Instructions
The APHQUA 722 offers intuitive operation through its touchscreen and voice control features.
5.1 Initial Power On and Connection
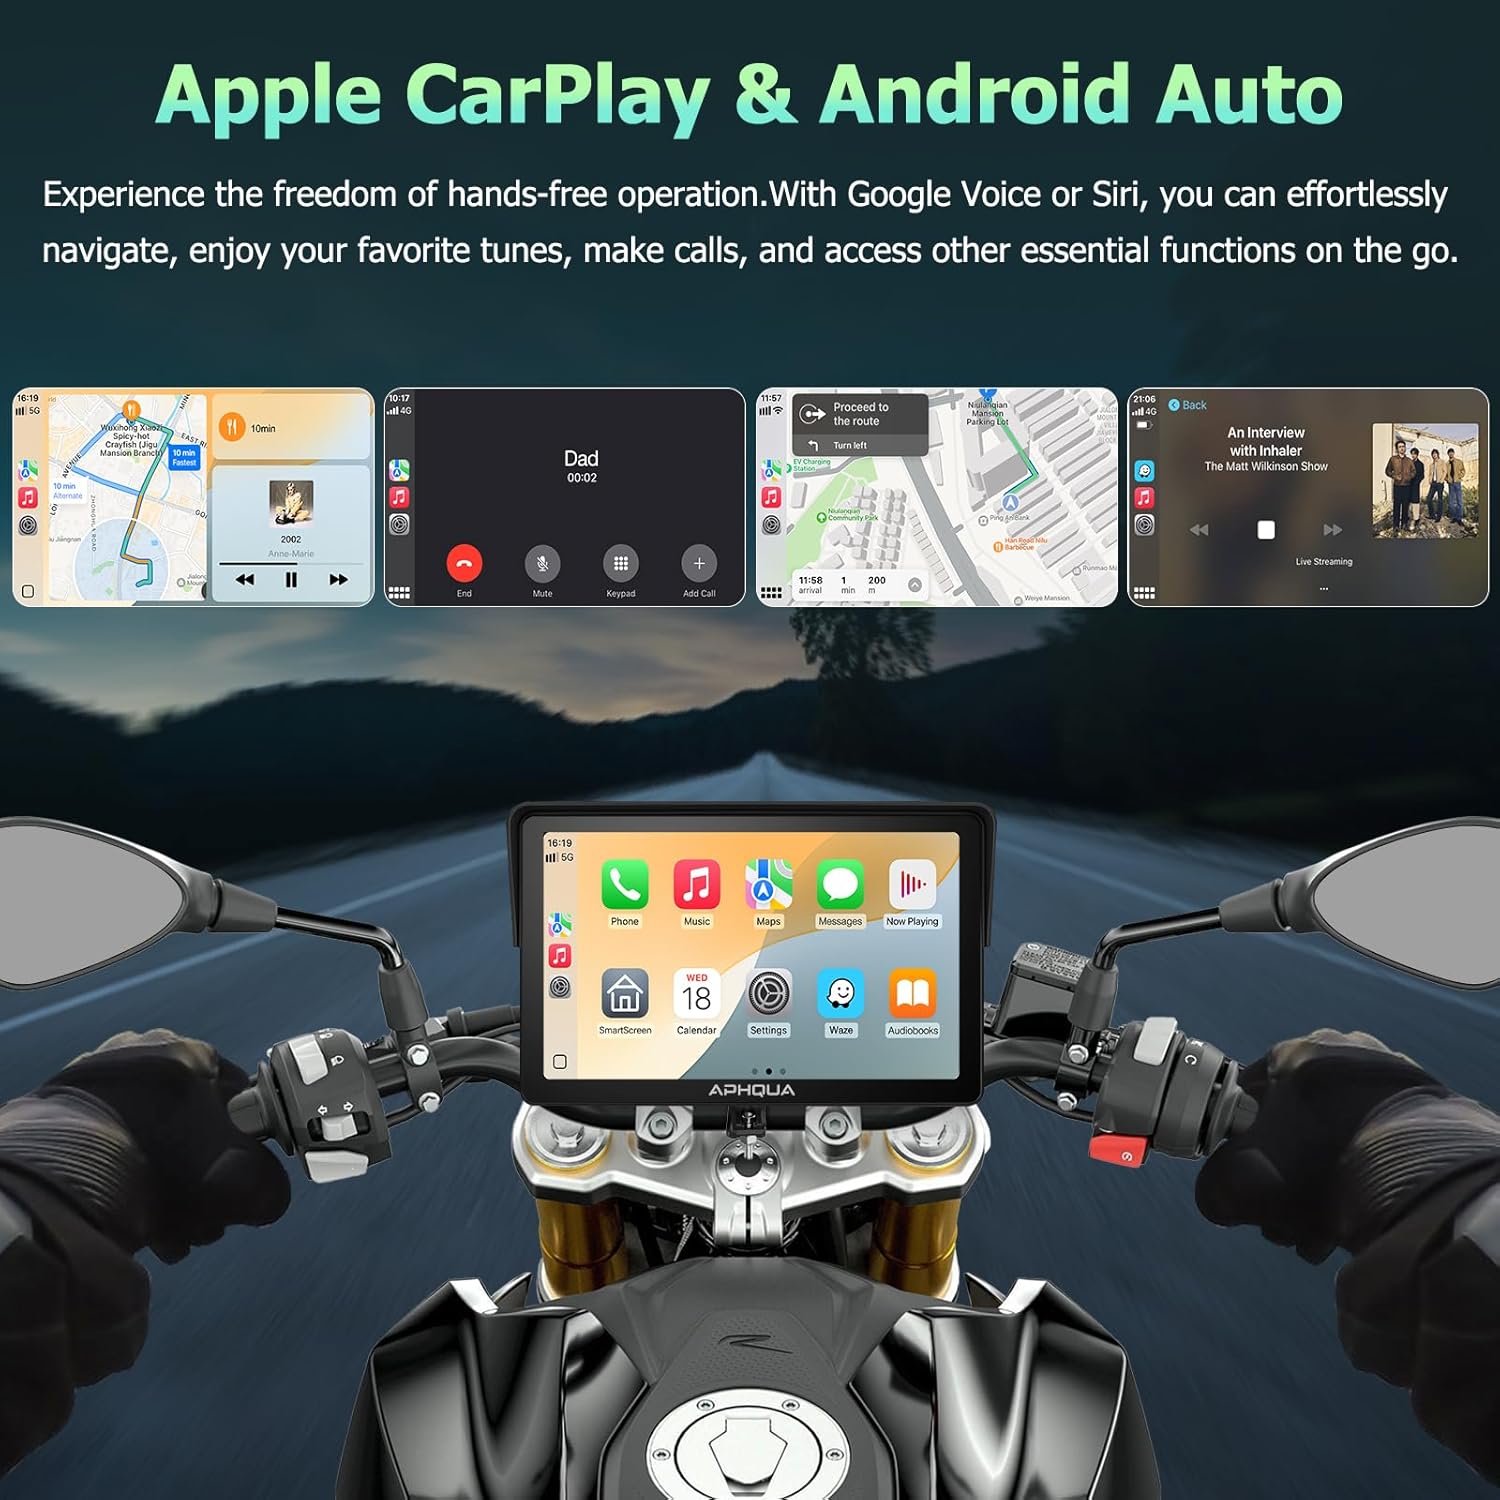
Once powered on, the device will automatically attempt to connect to your smartphone via wireless Apple CarPlay or Android Auto. Ensure Bluetooth and Wi-Fi are enabled on your phone.

5.2 Using Apple CarPlay
To connect your iPhone to Apple CarPlay:
- Open the i-Play application on the APHQUA 722 screen.
- On your iPhone, go to Bluetooth settings and search for "carpuride-xxxx" to pair.
- Click "Allow" and then "Use CarPlay" on your iPhone when prompted.
- The connection should be successful, and the CarPlay interface will appear on the screen.

5.3 Using Android Auto
To connect your Android phone to Android Auto:
- Open the A-Auto application on the APHQUA 722 screen.
- On your Android phone, find the connected devices in Bluetooth settings.
- Add a new device "APHQUA-xxxx" and click "Pair".
- The connection should be successful, and the Android Auto interface will appear on the screen.

5.4 Voice Control (Siri & Google Assistant)
The system supports voice commands for navigation, calls, and music playback, enhancing safety by minimizing manual interaction while riding.
- Activate Siri or Google Assistant through the touchscreen or a connected headset.
- Use commands like "Hey Siri, go home" or "Hey Google, play music."
5.5 Bluetooth Connectivity for Audio
The device supports dual Bluetooth connectivity, allowing simultaneous pairing with your smartphone and a Bluetooth helmet or headset for clear audio.
- Navigate to the Bluetooth settings on the APHQUA 722.
- Search for and connect to your Bluetooth helmet or headset.
- Audio from navigation, music, and calls will be routed to your connected audio device.
6. Maintenance
To ensure the longevity and optimal performance of your APHQUA 722 system, follow these maintenance guidelines:
- Cleaning: Use a soft, damp cloth to clean the touchscreen and exterior. Avoid abrasive cleaners or solvents that could damage the surface.
- Waterproof Integrity: While the device is IP67 waterproof, ensure all ports and covers are securely closed before exposure to water or dust. Do not intentionally submerge the device.
- Temperature: Avoid exposing the device to extreme temperatures for prolonged periods. The operating temperature range is typically between -20°C and 70°C.
- Storage: When not in use for extended periods, store the device in a cool, dry place away from direct sunlight.
7. Troubleshooting
If you encounter issues with your APHQUA 722, refer to the following common problems and solutions:
| Problem | Possible Cause | Solution |
|---|---|---|
| Device does not power on. | No power supply or loose connection. | Check power cable connection to the device and power source (USB or battery). Ensure the motorcycle's ignition is on if connected to ACC. |
| Cannot connect to Apple CarPlay/Android Auto. | Bluetooth/Wi-Fi off on phone, incorrect pairing, or software glitch. | Ensure Bluetooth and Wi-Fi are enabled on your phone. Forget previous pairings and re-attempt connection. Restart both the device and your phone. |
| No audio output. | Bluetooth headset/helmet not connected or volume too low. | Verify your Bluetooth headset/helmet is paired and connected to the APHQUA 722. Check volume levels on both the device and your audio accessory. |
| Touchscreen unresponsive. | Temporary software issue or extreme conditions. | Restart the device. Ensure the screen is clean and dry. If wearing gloves, ensure they are compatible with capacitive touchscreens. |
8. Warranty and Support
APHQUA provides comprehensive support for its products. Your APHQUA 722 comes with a 1-year warranty from the date of purchase, covering manufacturing defects.
- Warranty Period: 1 year (as per product specifications).
- Professional Support: Our expert support team is available to assist with all your CarPlay & Android Auto needs, including installation, functionality, and after-sales service.
- Contact: For assistance, please refer to the contact information provided in the packaging or visit the official APHQUA website.