1. Introduction
This instruction manual provides detailed guidance for the setup, operation, and maintenance of your DOBE FOMIS ELECTRONICS Charging Dock. This dock is specifically designed for Meta Quest 3 and Meta Quest 3S VR headsets and their controllers, offering a convenient and organized charging solution.
The ultra-thin design allows for effortless use, cleaning, storage, and portability, saving valuable space. It provides a dedicated spot for your VR gear, ensuring it's always ready for immersive gaming sessions and reducing storage complexity.

Figure 1.1: The charging dock provides a neat and organized storage solution for your Meta Quest 3/3S headset and controllers.
2. What's in the Box
Please verify that all the following items are included in your package:
- 1 x Charging Dock Station
- 2 x 900mAh Rechargeable Batteries (for controllers)
- 2 x Controller Battery Covers (with charging contacts)
- 1 x USB-C to USB-C Charging Cable (for dock power)
- 2 x Magnetic USB-C Adapters (for headset charging)
3. Setup Instructions
3.1 Controller Setup
- Remove the original battery covers from your Meta Quest 3/3S controllers.
- Insert the provided 900mAh rechargeable batteries into each controller. Ensure the silver contact strips on the batteries face outwards to allow proper charging.
- Replace the original battery covers with the provided DOBE battery covers, which feature charging contacts.
- Remove any protective film from the battery contacts on the new covers to ensure proper connection.

Figure 3.1: Proper installation of rechargeable batteries and specialized covers for controllers.
3.2 Headset Setup
- Insert one of the magnetic USB-C adapters into the charging port of your Meta Quest 3/3S headset. This adapter will remain in the headset for convenient magnetic charging.

Figure 3.2: Installing the magnetic USB-C adapter into the VR headset.
3.3 Dock Power Connection
- Connect the provided USB-C to USB-C charging cable to the USB-C input port on the rear of the charging dock.
- Connect the other end of the USB-C cable to a power adapter (not included) with a power output of 15W or higher for optimal charging performance.

Figure 3.3: The rear of the charging dock features a USB-C input and a USB-A output port.
4. Operating Instructions
4.1 Charging Your VR Headset
- Gently place your Meta Quest 3/3S headset onto the central stand of the charging dock. The magnetic USB-C adapter previously installed in your headset will automatically connect to the dock's charging pin.
- The LED indicator on the headset will illuminate orange to signify charging and turn green when fully charged.

Figure 4.1: The magnetic connection ensures effortless charging for the VR headset.
4.2 Charging Your Controllers
- Place your Meta Quest 3/3S controllers into their respective left (L) and right (R) slots on the charging dock. Ensure the charging contacts on the controller covers align with the pins on the dock.
- The LED indicators on the dock for each controller will light up orange when charging and turn green when fully charged.

Figure 4.2: Controllers charging wirelessly on the dock via specialized battery covers.
4.3 LED Charging Indicators
- The charging dock features stylish LED indicator lights:
- Orange: Device is currently charging.
- Green: Device is fully charged.
- You can conveniently toggle the LED lights on and off using the switch located at the rear of the dock. This allows for a minimalist, light pollution-free design, suitable for various environments including bedrooms.
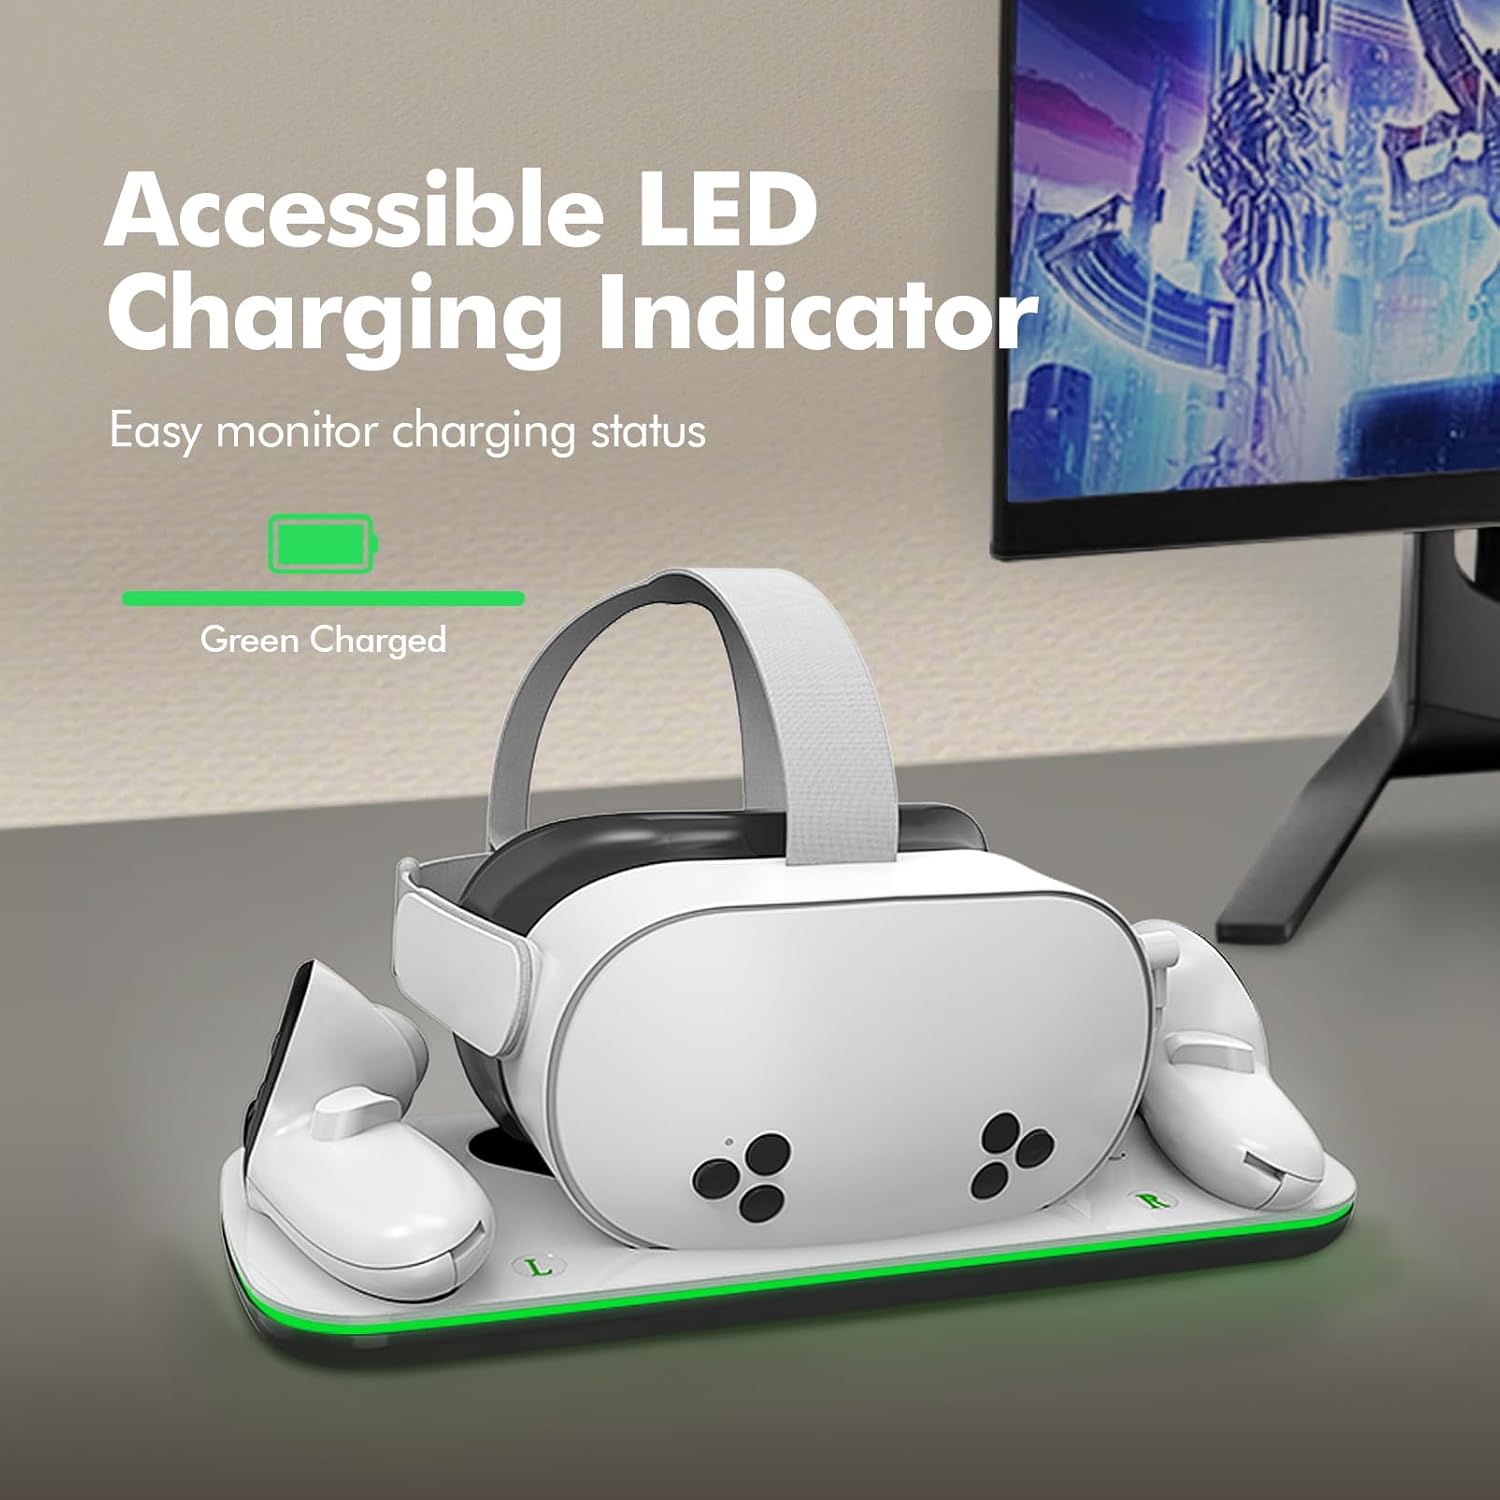
Figure 4.3: The accessible LED indicator shows a green light when devices are fully charged.

Figure 4.4: The power button for the LED lights is located on the rear of the dock.
4.4 Simultaneous Charging & Battery Life Extension
- The charging station can charge both your VR headset and controllers simultaneously.
- To extend the VR headset's battery longevity, the controllers will only begin charging once the headset reaches 80% battery capacity. At this point, the headset's charging speed is also reduced.

Figure 4.5: Fast charging capabilities of the dock, showing estimated charging times.

Figure 4.6: The charging dock prioritizes headset charging to 80% before initiating controller charging to extend overall battery life.
4.5 Additional USB-A Output
- The charging dock includes a USB-A output port on the rear, allowing you to charge an additional device, such as a battery head strap or battery pack, simultaneously.

Figure 4.7: The 3-in-1 charging station with USB-A output for additional accessories.
5. Maintenance
- Keep the charging contacts on the dock and controller covers clean and free of debris to ensure optimal charging.
- Do not use silicone covers with the Meta Quest 3/3S or its controller as it may prevent charging.
- If the controllers are fully drained and subsequently recharged, they may inaccurately detect battery status. The solution is to remove and reinstall the batteries after charging, which typically resolves the detection issue.
6. Troubleshooting
- Charging Issues: Ensure you are using the original Meta charger or a charger with a power of 15W or higher. This will maximize the charging success rate.
- Controller Not Charging: Verify that the silver contact strips on the rechargeable batteries are facing outwards when inserted into the controllers. Incorrect orientation will prevent charging.
- Inaccurate Battery Status: If controllers show inaccurate battery levels after being fully drained and recharged, remove and reinstall the rechargeable batteries. This often resolves the detection issue.
- Overheat/Short-circuit Protection: The dock is equipped with multiple safety features including overcharge, short-circuit, and over-heating protection. If charging stops unexpectedly, check for any obstructions or excessive heat.

Figure 6.1: The charging dock includes multiple safety protections for stable charging.
7. Specifications
- Model Number: TY-3868
- Product Dimensions: 12.64 x 6.26 x 0.98 inches
- Item Weight: 15.2 ounces
- Rechargeable Batteries: 2 x 900mAh Lithium Ion (included)
- Input: USB-C
- Output: USB-A (for additional device charging)
- Compatibility: Meta Quest 3/3S only
8. Warranty & Support
8.1 Activate Your 24-Month Warranty
To activate your 24-month warranty, simply send the following information to us:
- Email: dobeservice@hotmail.com
- Include your Order Number.
Tip: Activate within 7 days after receiving your new product to ensure your purchase is 100% covered.
8.2 Customer Support
For any questions or assistance before or after your order, please contact our 24/7 online support team via email at dobeservice@hotmail.com.

Figure 8.1: Contact customer support for any inquiries.
9. Official Product Video
Video 9.1: An overview of the DOBE FOMIS ELECTRONICS Charging Dock, demonstrating its features and compatibility with Meta Quest 3 and 3S.