Introduction
Thank you for choosing the ANDELI MONER LED PRO Welding Helmet. This manual provides essential information for the safe and effective operation, maintenance, and troubleshooting of your welding helmet. Please read this manual thoroughly before use and retain it for future reference.
Safety Information
Always prioritize safety when welding. This helmet is designed to protect your eyes and face from sparks, spatter, and harmful radiation under normal welding conditions. However, it is not a substitute for other personal protective equipment (PPE).
- Eye Protection: Always wear appropriate primary eye protection (safety glasses) under the welding helmet.
- Ventilation: Ensure adequate ventilation in your work area to avoid inhaling hazardous fumes.
- Inspection: Before each use, inspect the helmet for any damage, cracks, or loose parts. Do not use a damaged helmet.
- Temperature: Do not expose the helmet to extreme temperatures or direct sunlight for prolonged periods.
- Cleaning: Clean the helmet and lens according to the maintenance instructions to ensure optimal performance and visibility.
- Modifications: Do not modify the helmet or its components. Unauthorized modifications can compromise safety and void the warranty.
- Arc Sensors: Ensure the arc sensors are clean and unobstructed for proper auto-darkening function.
Product Features
- Panoramic Large Viewing Screen: Features a 3.94" x 3.74" main viewing area with an additional 3.72" x 1.76" side view (DIN4, non-auto-darkening) for an expanded field of vision.
- Integrated LED Lights: Equipped with 4 LED lights providing up to 400 lumens for enhanced visibility in low-light conditions.
- True Color View: Offers 1/1/1/2 optical clarity for a natural and clear view of the weld puddle and surrounding area.
- UV/IR Protection: Provides constant UV/IR protection up to Shade DIN16, safeguarding eyes from harmful radiation.
- Advanced Auto-Darkening: Utilizes 4 premium arc sensors for rapid switching from light to dark in 1/25000 seconds, protecting eyes instantly upon arc strike.
- Interference Suppression: Designed to minimize false triggers from sunlight or workshop lighting, ensuring consistent auto-darkening performance.
- Type-C Charging: Features a Type-C charging port for convenient and fast recharging of the internal battery, offering 3 to 6 hours of continuous LED operation.
- Digital Controls: Microprocessor-controlled settings for precise adjustment of delay, shade, and sensitivity.
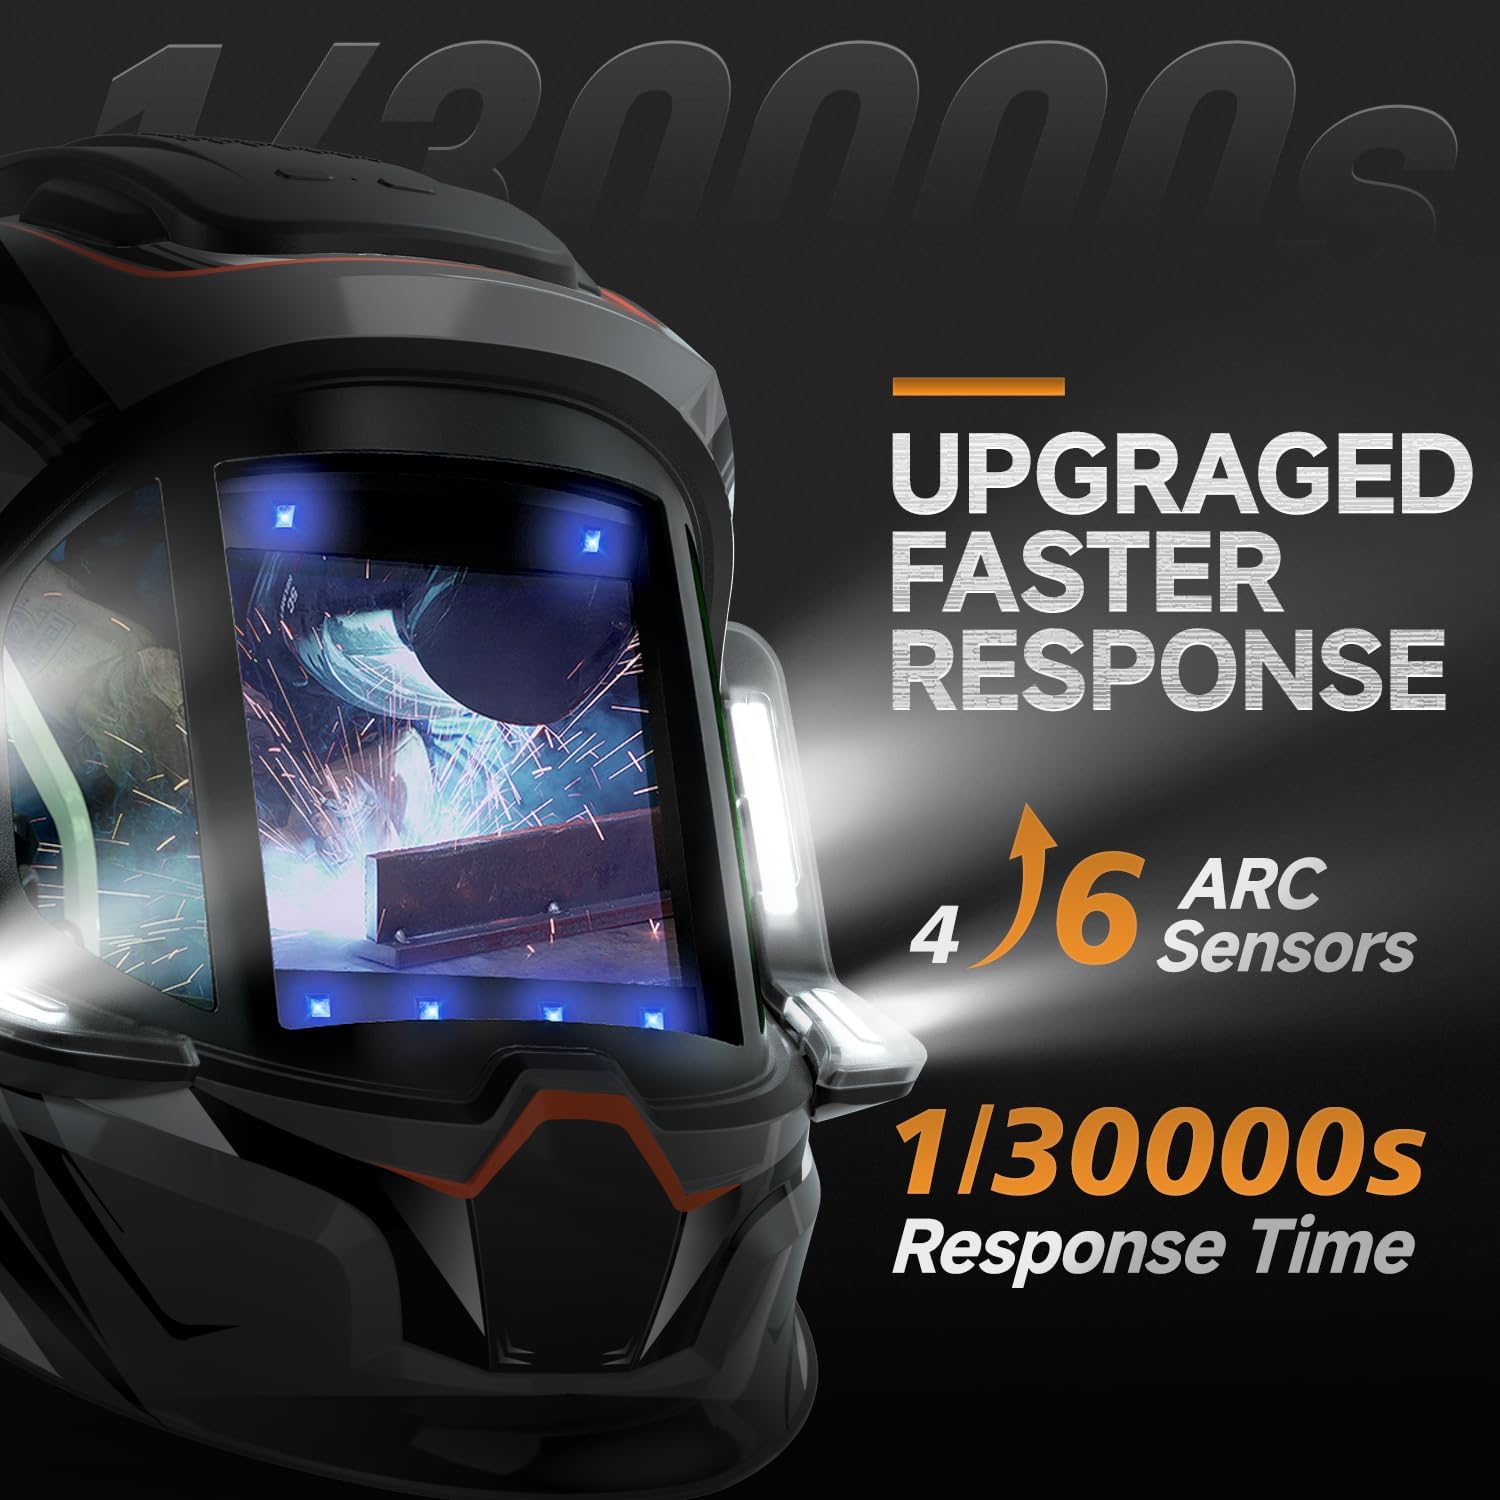
Image: Illustration of the helmet's 4 arc sensors and fast response time of 1/30000 seconds for quick auto-darkening.
Setup
- Unpacking: Carefully remove the welding helmet and all accessories from the packaging. Inspect for any shipping damage.
- Headgear Assembly and Adjustment: Attach the headgear to the helmet shell if not already assembled. Adjust the headgear for a comfortable and secure fit on your head. This includes adjusting the angle, tightness, and distance from your face.

Image: Headgear adjustment points including angle, tightness, distance, and comfort cushion for optimal fit and stability.
- Charging the Battery: Before first use, fully charge the helmet's internal battery using the provided Type-C charging cable. The charging port is typically located on the side or bottom of the helmet. A full charge provides 3 to 6 hours of continuous LED operation.

Image: Overview of the welding helmet, highlighting the Type-C rechargeable battery and digital lens assembly.
- Protective Films: Remove any protective films from the inner and outer lenses before use.
- Initial Function Test: Perform a function test as described in the "Operating Instructions" section to ensure the auto-darkening feature is working correctly.
Operating Instructions
The ANDELI MONER LED PRO welding helmet features digital controls for precise adjustment of welding parameters.
- Power On/Off: The helmet typically powers on automatically when exposed to light or an arc. Some models may have a manual power button.
- Shade Adjustment: Select the appropriate shade level (DIN) for your welding process and amperage. Refer to welding safety standards for recommended shade levels. The helmet supports shades 4/5-9/9-13.
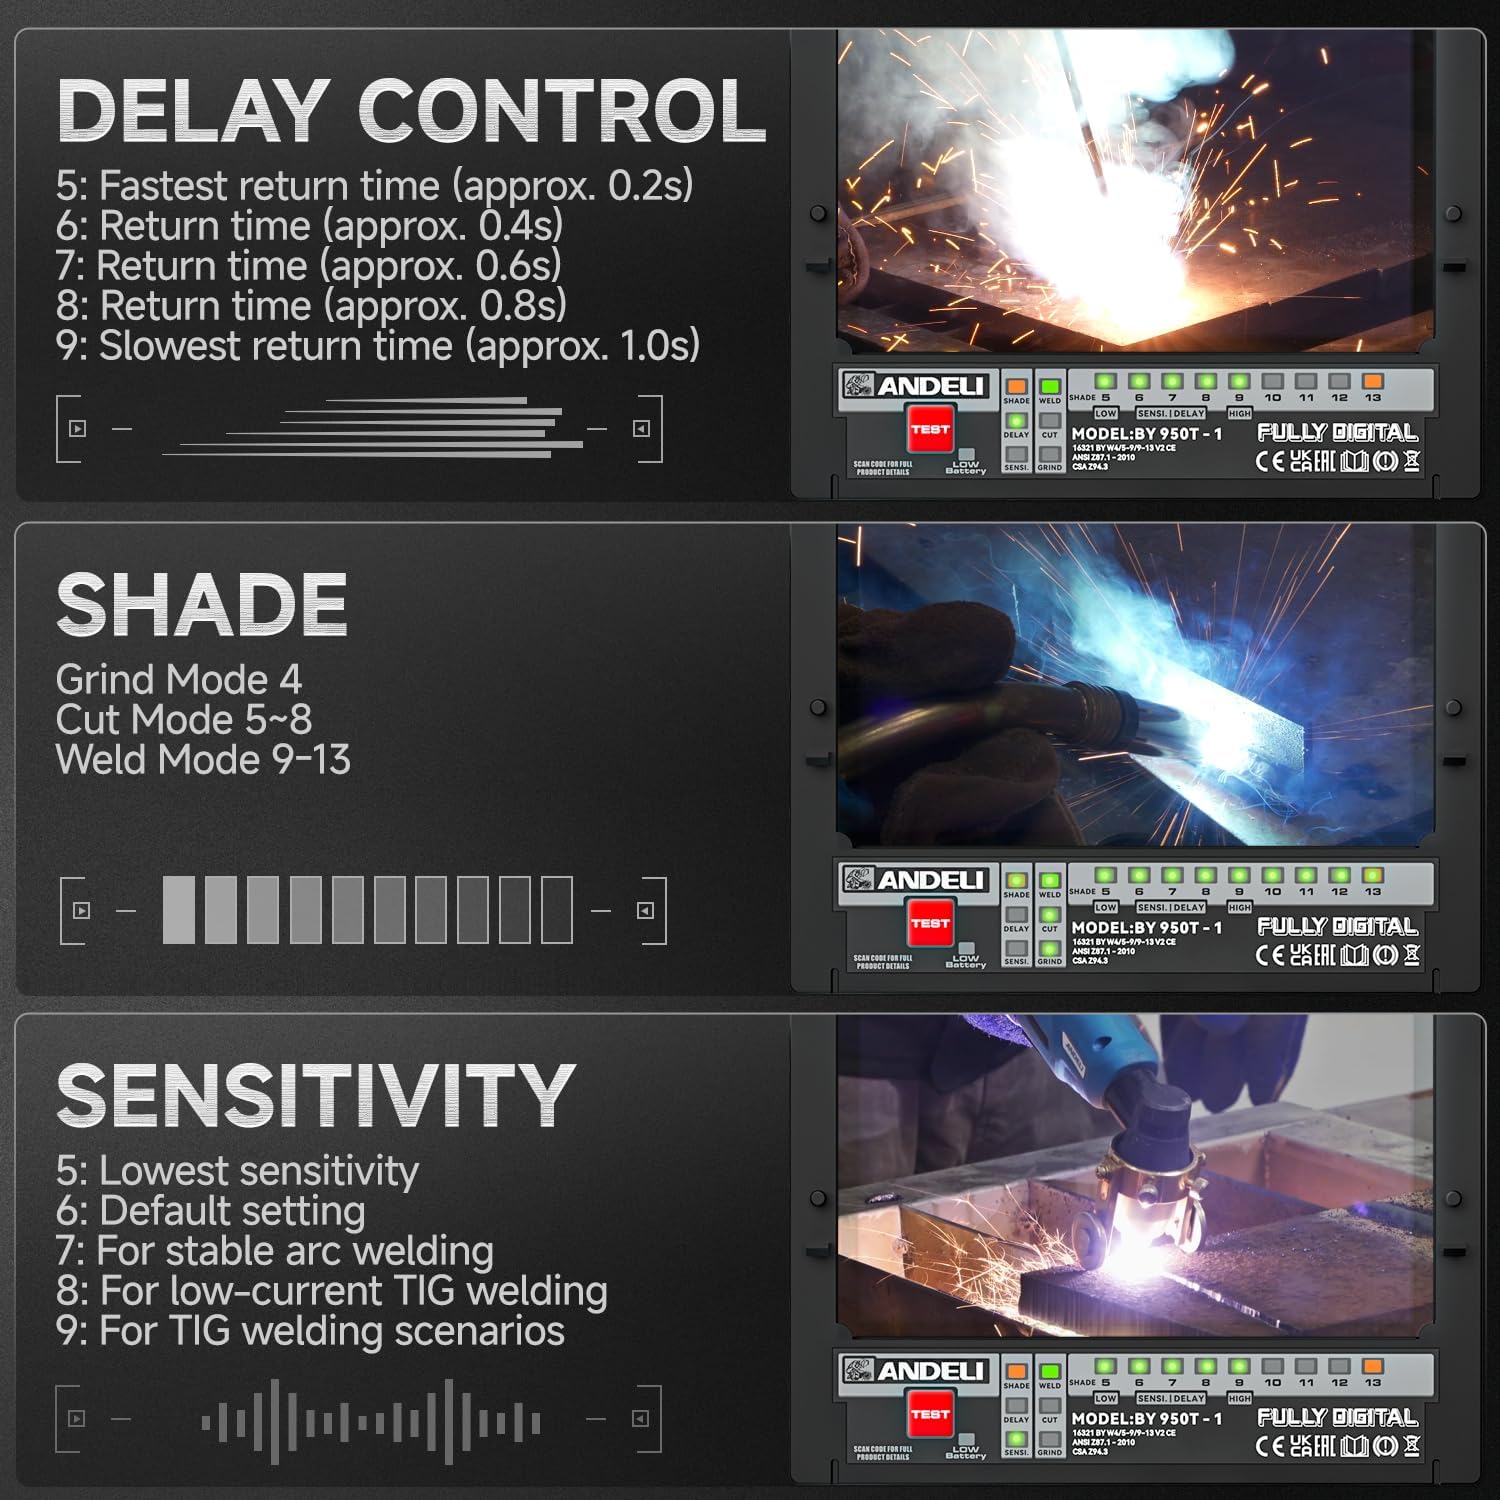
Image: Digital controls for adjusting shade, delay, and sensitivity settings on the welding helmet.
- Sensitivity Adjustment: Adjust the sensitivity to detect the welding arc. Higher sensitivity is suitable for low amperage TIG welding, while lower sensitivity helps prevent false darkening from ambient light.
- Setting 5: Lowest sensitivity
- Setting 6: Default setting
- Setting 7: For stable arc welding
- Setting 8: For low-current TIG welding
- Setting 9: For TIG welding scenarios
- Delay Control: Set the delay time for the lens to return from dark to light after the arc stops. A longer delay is useful for high amperage welding to prevent eye fatigue from afterglow.
- Setting 5: Fastest return time (approx. 0.2s)
- Setting 6: Return time (approx. 0.4s)
- Setting 7: Return time (approx. 0.6s)
- Setting 8: Return time (approx. 0.8s)
- Setting 9: Slowest return time (approx. 1.0s)
- Grind Mode: Activate grind mode (typically Shade 4) when grinding to prevent the lens from darkening. Ensure you switch back to weld mode before striking an arc.
- LED Lights: Activate the integrated LED lights for improved visibility in dark work environments. The lights provide up to 400 lumens.
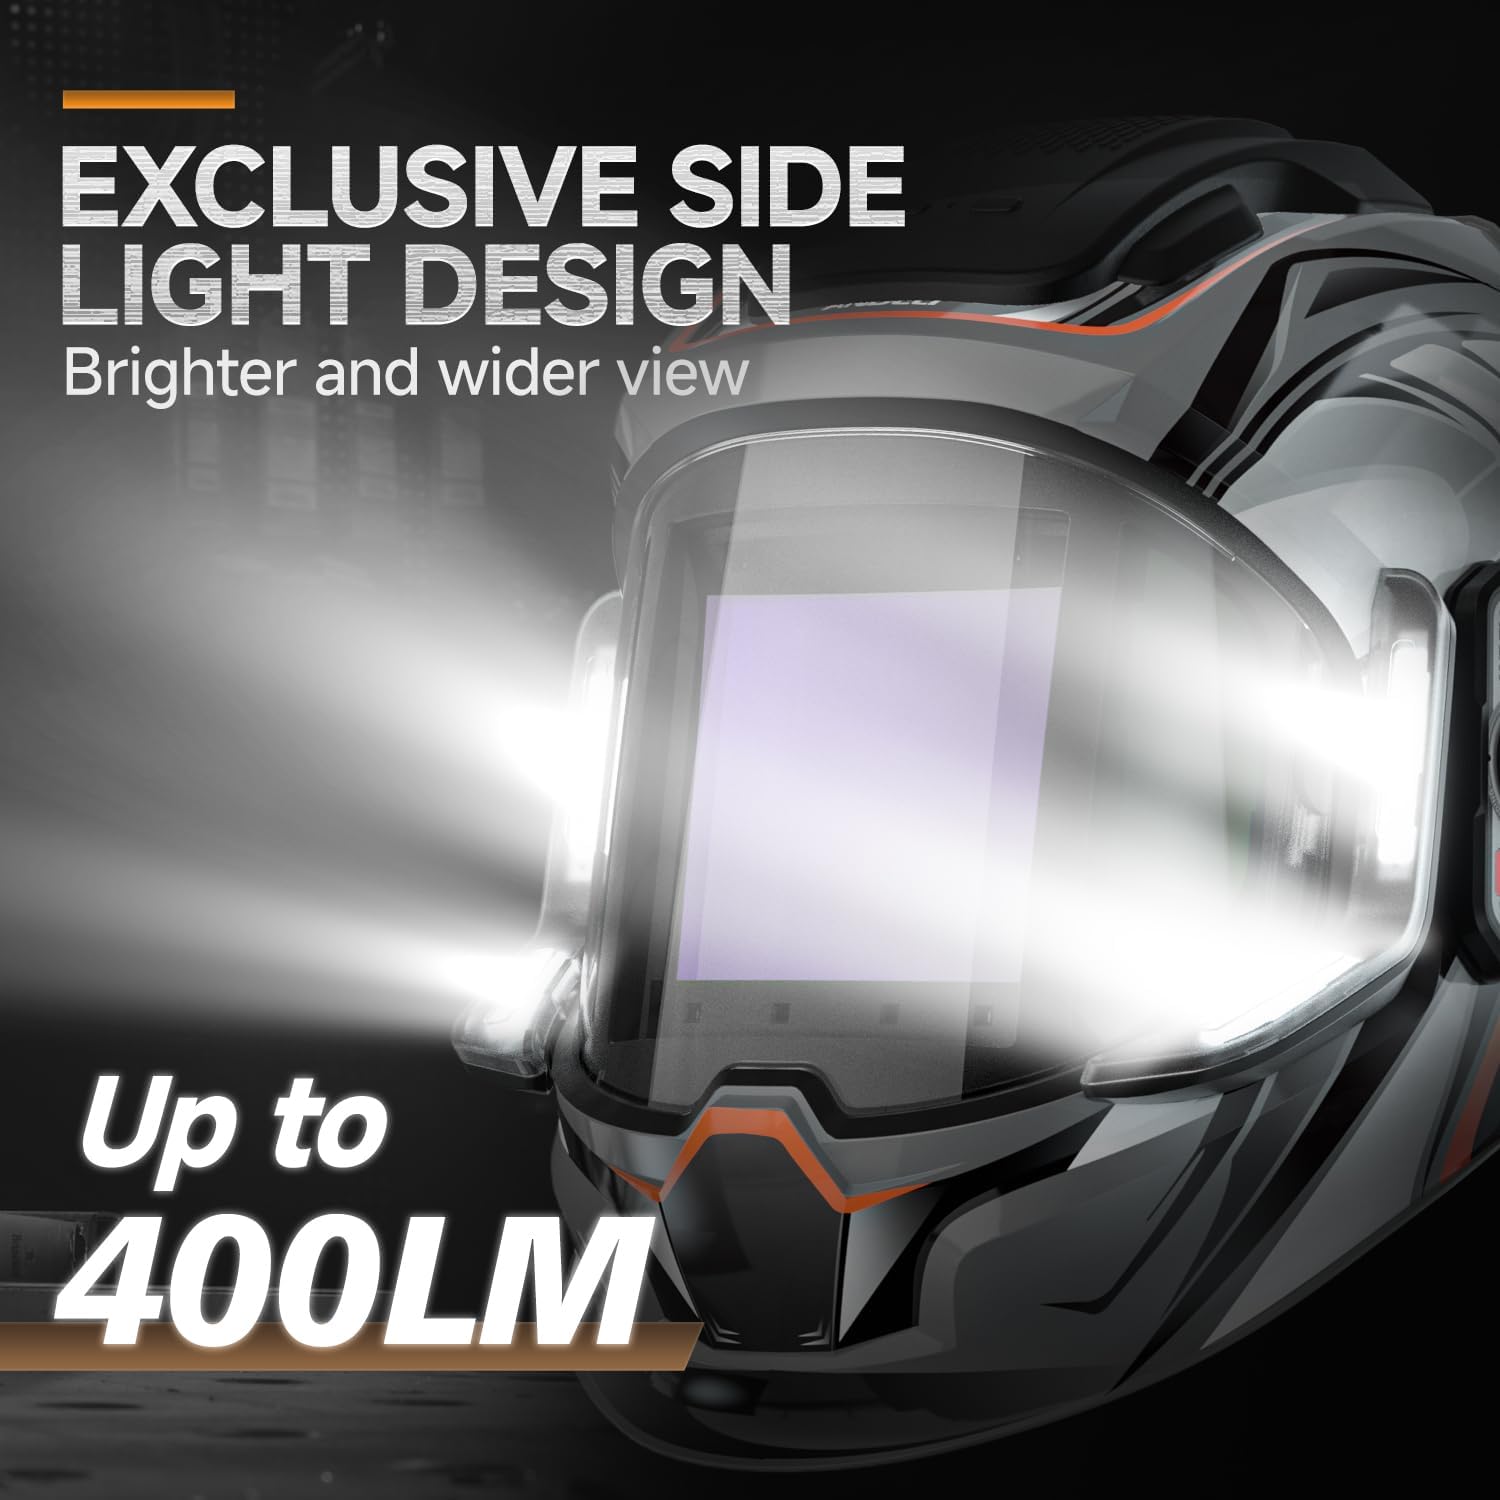
Image: Close-up view of the helmet's side light design, illustrating the 400 lumen output for enhanced visibility.
- True Color View: The helmet's true color technology provides a clearer and more natural view of the weld puddle.

Image: Examples of the true color enhancement feature, showing improved clarity and natural color perception during welding.
Maintenance
Regular maintenance ensures the longevity and optimal performance of your welding helmet.
- Cleaning the Lens: Clean the outer and inner protective lenses regularly with a soft, clean cloth and a mild cleaning solution. Do not use abrasive cleaners or solvents.
- Cleaning the Helmet Shell: Wipe the helmet shell with a damp cloth. Avoid harsh chemicals.
- Arc Sensors: Keep the arc sensors clean and free from dust, dirt, and spatter to ensure proper auto-darkening function.
- Battery Charging: Recharge the internal battery as needed. Avoid fully discharging the battery frequently to prolong its lifespan.
- Storage: Store the helmet in a dry, clean place away from direct sunlight and extreme temperatures.
- Inspection: Periodically inspect the headgear, lenses, and helmet shell for any signs of wear, damage, or cracks. Replace damaged parts immediately.
Troubleshooting
| Problem | Possible Cause | Solution |
|---|---|---|
| Lens does not darken when arc is struck. |
|
|
| Lens darkens intermittently or falsely. |
|
|
| Poor visibility through the lens. |
|
|
| LED lights not working. |
|
|
Specifications
| Feature | Detail |
|---|---|
| Model | MONER LED PRO |
| Brand | ANDELI |
| Main Viewing Screen Size | 3.94" x 3.74" (100mm x 95mm) |
| Side View Screen Size | 3.72" x 1.76" (DIN4, non-auto-darkening) |
| Optical Clarity | 1/1/1/2 |
| UV/IR Protection | Up to Shade DIN16 |
| Arc Sensors | 4 |
| Light State | DIN 4 |
| Dark State | Variable Shade 5-9 / 9-13 |
| Switching Time | 1/25000 seconds (Light to Dark) |
| Delay Time | Adjustable (0.2s - 1.0s) |
| Power Supply | Rechargeable Lithium Battery (Type-C Charging) |
| LED Light Output | Up to 400 Lumens |
| LED Light Operating Time | 3 to 6 hours (continuous) |
| Material | PP |
| Item Weight | 771 g |
Warranty and Support
For warranty information and technical support, please refer to the documentation provided with your purchase or contact ANDELI customer service. Keep your purchase receipt as proof of purchase.