1. Introduction
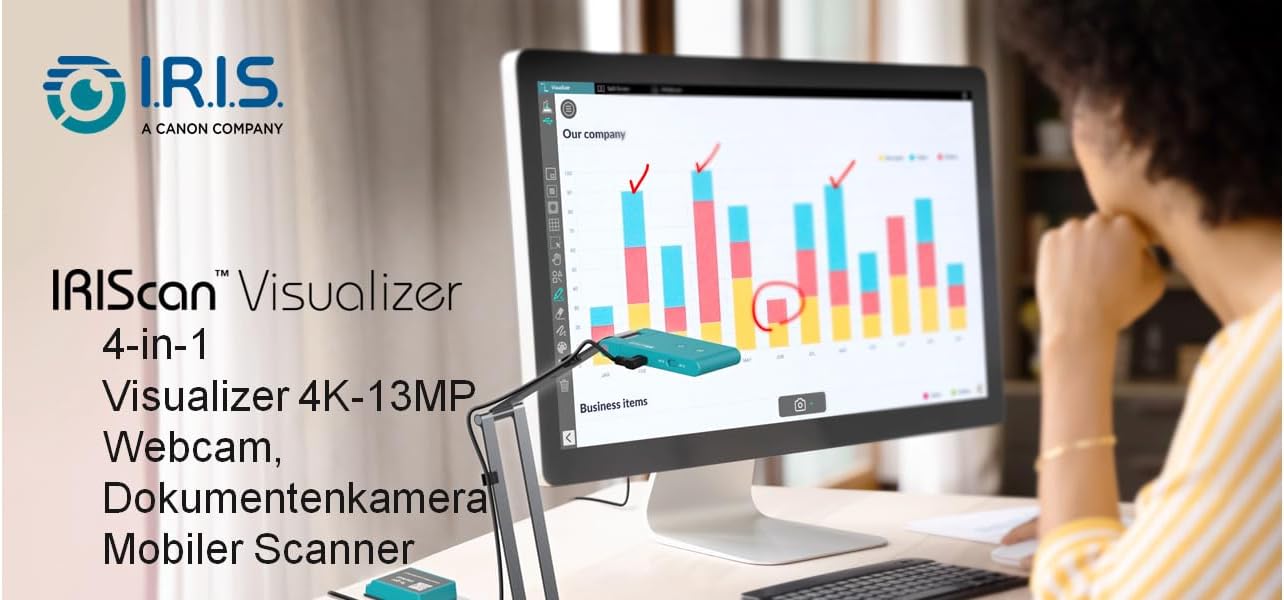
The IRIScan Visualizer 4K-13MP is a versatile 4-in-1 device designed for various applications including webcam functionality, visual presentations, document scanning, and remote teaching. This manual provides essential information for setting up, operating, and maintaining your device to ensure optimal performance.
2. Package Contents
Verify that all items listed below are included in your product box:
- IRIScan Visualizer Device
- USB Cable
- USB C to A Adapter
- 2 x Cable Clips
- Quick Start Guide
- Carry Bag
3. System Requirements
To ensure proper functionality, your computer must meet the following minimum specifications:
- Operating System: Windows 7, 8, 10, 11 or macOS 10.15 or higher
- Processor: Intel Core i5 or higher
- RAM: 8GB or more
- Hard Drive Space: 20GB free for recorded videos
- Port: USB port
4. Setup
4.1 Physical Setup
- Unfold the Device: Gently unfold the mechanical arm of the IRIScan Visualizer until it is in the desired position for your task. The device is designed to be ultra-portable and can be folded compactly for storage.
- Connect to Computer: Use the provided USB cable to connect the IRIScan Visualizer to an available USB port on your computer. The device is UVC (USB Video Device Class) compliant, meaning it is plug-and-play and generally does not require specific drivers for basic functionality.

The IRIScan Visualizer features a foldable multi-joint arm, allowing for flexible positioning to capture documents or objects from various angles. It can be adjusted for A3 or A4 document sizes.

4.2 Software Installation
For enhanced functionality, install the Readiris Visual software. This software unlocks advanced features for scanning, presentations, and interactive whiteboarding.
- Download Software: Visit irislink.com/start to download the Readiris Visual software compatible with your operating system (Windows or macOS).
- Install: Follow the on-screen instructions to complete the software installation.
5. Operating Instructions
5.1 Basic Document Scanning
The IRIScan Visualizer can be used to quickly scan documents, books, and other physical objects.
- Place Document: Position the document or object flat beneath the camera lens. Ensure it is within the camera's field of view.
- Adjust Camera: Adjust the flexible arm to achieve the desired height and focus. The minimum shooting distance is 10cm.
- Use Control Panel: The device features an easily operable control panel. Use the buttons on the device or within the Readiris Visual software to initiate a scan.
- Review and Save: The scanned image will appear in the software. You can then review, edit, and save it in various formats (JPG, PDF, searchable PDF).

5.2 Webcam and Visualizer Mode
The IRIScan Visualizer functions as a high-quality webcam and visualizer for presentations, web conferencing, and remote teaching.
- Switch Mode: The main camera of the advanced version can rotate 90° to switch between landscape (webcam) and portrait (document) modes.
- Connect to Conferencing Software: The device is UVC/UAC compliant, making it compatible with most video conferencing software (e.g., Zoom, Microsoft Teams, Google Meet, FaceTime, Skype) without additional drivers.
- Present Content: Position documents, textbooks, or physical objects under the camera for live display.
5.3 Autofocus and Lighting
The IRIScan Visualizer is equipped with dual-mode autofocus and an adjustable LED light for optimal image clarity.
- Autofocus (AF): Switch the slider to choose between Auto Focus-Single (AF-S) for static document sharing or Auto Focus-Continuous (AF-C) for dynamic presentations and face showing.
- LED Light: The fill light automatically turns on when the device is powered on. You can adjust the brightness or turn off the light using the LED Touch Button on the device.

5.4 Readiris Visual Software Features
The included Readiris Visual software enhances the device's capabilities with various functions:
- Split-screen comparison
- Picture-in-picture recording
- Stop motion
- Interactive whiteboard
- OCR (Optical Character Recognition) for 138 languages (JPG/PDF/searchable PDF)

5.5 Official Product Video
Watch this video for a quick overview of the IRIScan Visualizer's features and functionality:
6. Maintenance
To ensure the longevity and optimal performance of your IRIScan Visualizer, follow these maintenance guidelines:
- Cleaning: Use a soft, dry cloth to clean the device. Avoid abrasive cleaners or solvents.
- Storage: When not in use, fold the device into its compact form and store it in the provided carry bag to protect it from dust and damage.
- Lens Care: Keep the camera lens clean and free from fingerprints or smudges for clear image capture.
7. Troubleshooting
If you encounter issues with your IRIScan Visualizer, try the following solutions:
- Device Not Recognized: Ensure the USB cable is securely connected to both the device and your computer. Try a different USB port or restart your computer.
- Poor Image Quality: Check the lighting conditions. Adjust the LED light brightness. Ensure the document is flat and the camera is in focus (use autofocus or manual focus).
- Software Issues: Ensure you have the latest version of Readiris Visual software installed. Reinstall the software if problems persist.
8. Specifications
| Feature | Detail |
|---|---|
| Image Sensor | 1/3.06” Sony CMOS camera 13MP |
| Resolution | 4160 x 3120 pixels (4K-13MP) |
| Scanning Area | A3 format (440 x 330mm / 17.32 x 12.99 inches) |
| Digital Zoom | Up to 10x (Software) |
| Autofocus | Dual-mode (AF-C / AF-S) |
| Light Source | Built-in LED light |
| Microphone | Embedded AI noise reduction technology |
| Connectivity | USB Type-C (UVC/UAC compliant) |
| G-Sensor | Built-in, automatically rotates video |
| Dimensions | 7.48 x 1.97 x 0.79 inches (folded) |
| Item Weight | 14.5 ounces |
9. Warranty and Support
For warranty information, technical support, or to access additional resources and tutorials, please visit the official IRIScan support website: