1. Important Safeguards
When using electrical appliances, basic safety precautions should always be followed to reduce the risk of fire, electric shock, and/or injury to persons, including the following:
- Read all instructions before using the coffee maker.
- Do not touch hot surfaces. Use handles or knobs.
- To protect against electric shock, do not immerse cord, plugs, or coffee maker in water or other liquid.
- Close supervision is necessary when any appliance is used by or near children.
- Unplug from outlet when not in use and before cleaning. Allow to cool before putting on or taking off parts, and before cleaning the appliance.
- Do not operate any appliance with a damaged cord or plug, or after the appliance malfunctions or has been damaged in any manner. Contact customer support for examination, repair, or adjustment.
- The use of accessory attachments not recommended by the appliance manufacturer may result in fire, electric shock, or injury to persons.
- Do not use outdoors.
- Do not let cord hang over edge of table or counter, or touch hot surfaces.
- Do not place on or near a hot gas or electric burner, or in a heated oven.
- Always attach plug to appliance first, then plug cord into the wall outlet. To disconnect, turn any control to 'off', then remove plug from wall outlet.
- Do not use appliance for other than intended use.
- Use only cold water in the water reservoir.
- Do not remove the K-Cup® pod holder or ground coffee filter during brewing.
- This appliance is for household use only.
2. Product Overview
Familiarize yourself with the components of your Tastyle Single Serve Coffee Maker.
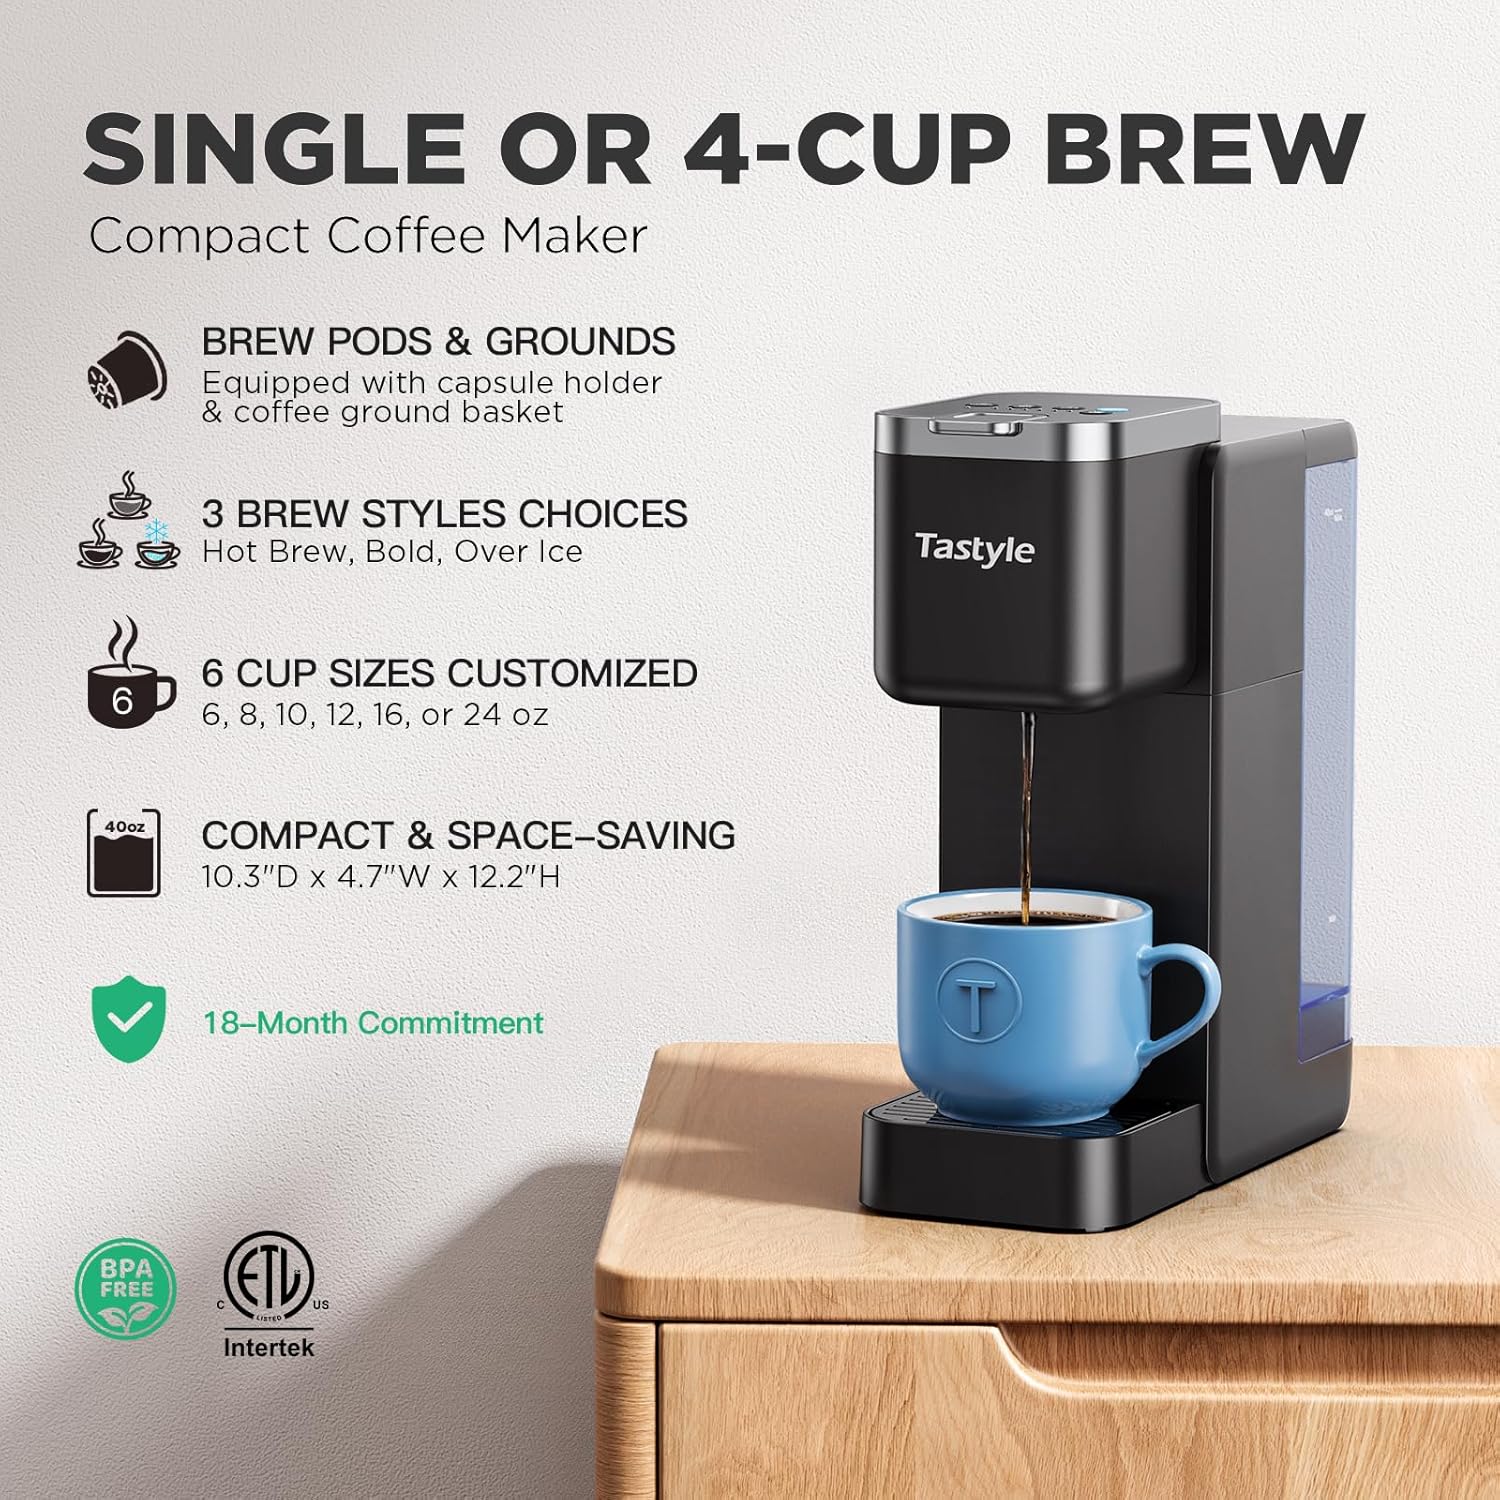
Image: Overview of the Tastyle Single Serve Hot & Iced Coffee Maker, highlighting its compact design and key features like the removable water reservoir and control panel.
Components:
- Main Coffee Maker Unit
- 40 oz Removable Water Reservoir
- K-Cup® Pod Holder
- Reusable Ground Coffee Filter Basket
- Drip Tray (with removable plate for travel mugs)
- Power Cord
3. Setup
3.1 Unpacking and Initial Cleaning
- Remove all packaging materials, labels, and stickers from the coffee maker.
- Wash the removable water reservoir, K-Cup® pod holder, reusable ground coffee filter, and drip tray in warm, soapy water. Rinse thoroughly and dry.
- Wipe the exterior of the coffee maker with a damp cloth.
3.2 Positioning the Coffee Maker
- Place the coffee maker on a clean, dry, and level surface.
- Ensure there is adequate space around the unit for ventilation and access to the water reservoir.
3.3 First Use (Rinse Cycle)
Before brewing coffee, perform a rinse cycle to clean the internal components.
- Fill the water reservoir with fresh, cold water up to the MAX fill line.
- Place a large mug (at least 12 oz) on the drip tray.
- Do not insert a K-Cup® pod or ground coffee filter.
- Press the 'ON/OFF' button to power on the machine.
- Select the 'HOT BREW' option and then choose the '12 oz' brew size.
- The machine will dispense hot water. Discard the water once the cycle is complete.
- Repeat this process once more for thorough cleaning.
4. Operating Instructions
4.1 Filling the Water Reservoir
The 40 oz removable water reservoir allows for multiple brews before refilling.
- Remove the water reservoir from the back of the coffee maker.
- Fill with fresh, cold water up to the desired level, not exceeding the MAX fill line.
- Place the reservoir back onto the coffee maker, ensuring it is securely seated.
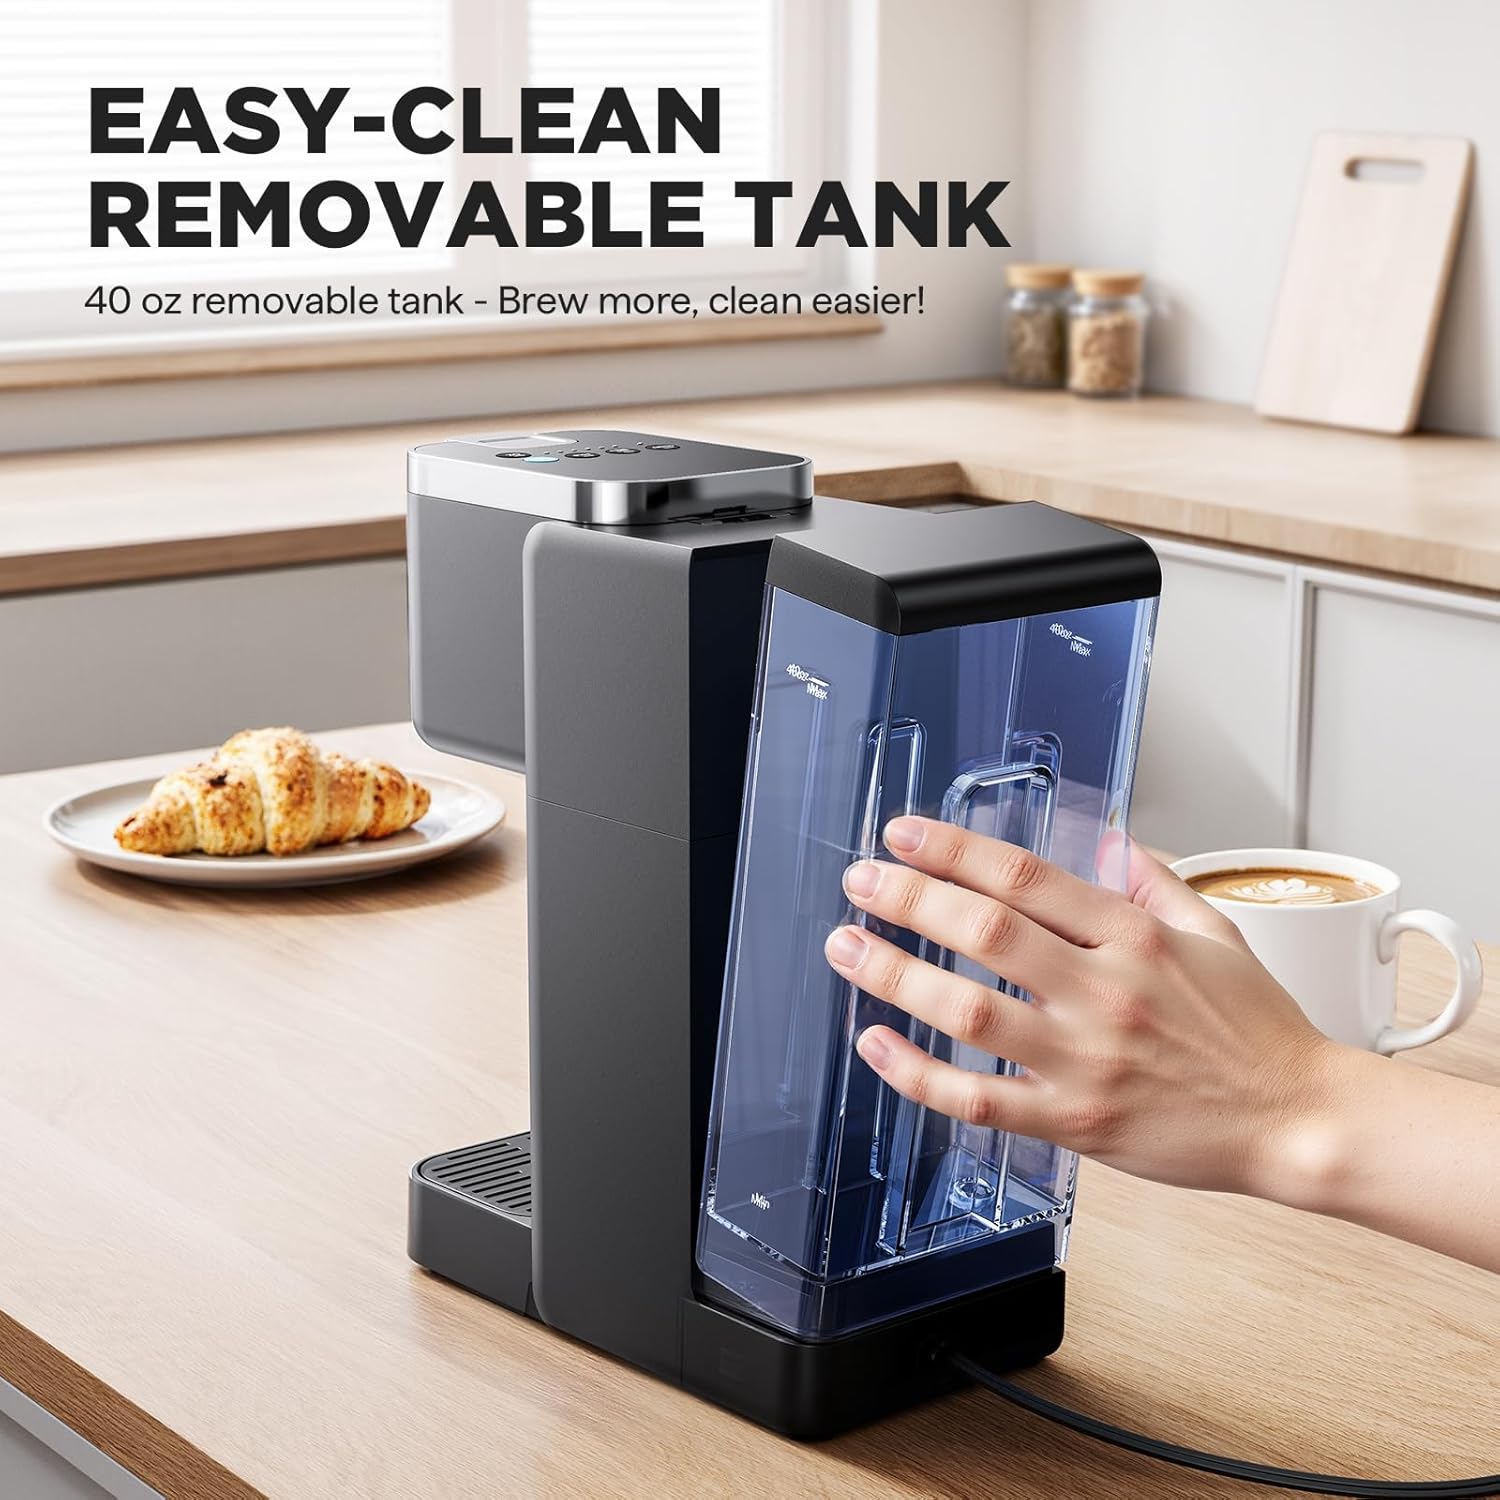
Image: The removable 40 oz water tank being lifted from the coffee maker, demonstrating its ease of access for filling and cleaning.
4.2 Brewing with K-Cup® Pods
- Ensure the coffee maker is plugged in and the water reservoir is filled.
- Lift the handle to open the brew chamber.
- Insert a K-Cup® pod into the K-Cup® pod holder. Ensure it is seated firmly.
- Close the handle firmly until it clicks.
- Place your mug on the drip tray. For travel mugs up to 7.3 inches tall, remove the drip tray plate.
- Press the 'ON/OFF' button to power on.
- Select your desired brew style: 'HOT BREW', 'BOLD', or 'OVER ICE'.
- Select your desired brew size: 6, 8, 10, 12, 16, or 24 oz.
- The brewing process will begin. The machine will automatically stop when the selected amount is dispensed.
- Carefully remove the hot K-Cup® pod after brewing and discard.
4.3 Brewing with Ground Coffee
- Ensure the coffee maker is plugged in and the water reservoir is filled.
- Lift the handle to open the brew chamber.
- Insert the reusable ground coffee filter basket into the K-Cup® pod holder.
- Add your desired amount of ground coffee to the filter basket (do not overfill).
- Close the handle firmly until it clicks.
- Place your mug on the drip tray.
- Press the 'ON/OFF' button to power on.
- Select your desired brew style: 'HOT BREW', 'BOLD', or 'OVER ICE'.
- Select your desired brew size: 6, 8, 10, 12, 16, or 24 oz.
- The brewing process will begin. The machine will automatically stop when the selected amount is dispensed.
- Carefully remove and clean the reusable ground coffee filter after brewing.

Image: Demonstrates how to use both K-Cup pods and ground coffee with the reusable filter basket in the Tastyle coffee maker.
4.4 Brewing Over Ice
For a refreshing iced coffee, follow these steps:
- Fill your cup with ice cubes.
- Place the cup on the drip tray.
- Insert a K-Cup® pod or ground coffee into the brew chamber as described above.
- Press the 'ON/OFF' button to power on.
- Select the 'OVER ICE' brew style.
- Select your desired brew size. The machine will automatically adjust the brewing temperature to minimize ice melting.
- Enjoy your iced coffee.
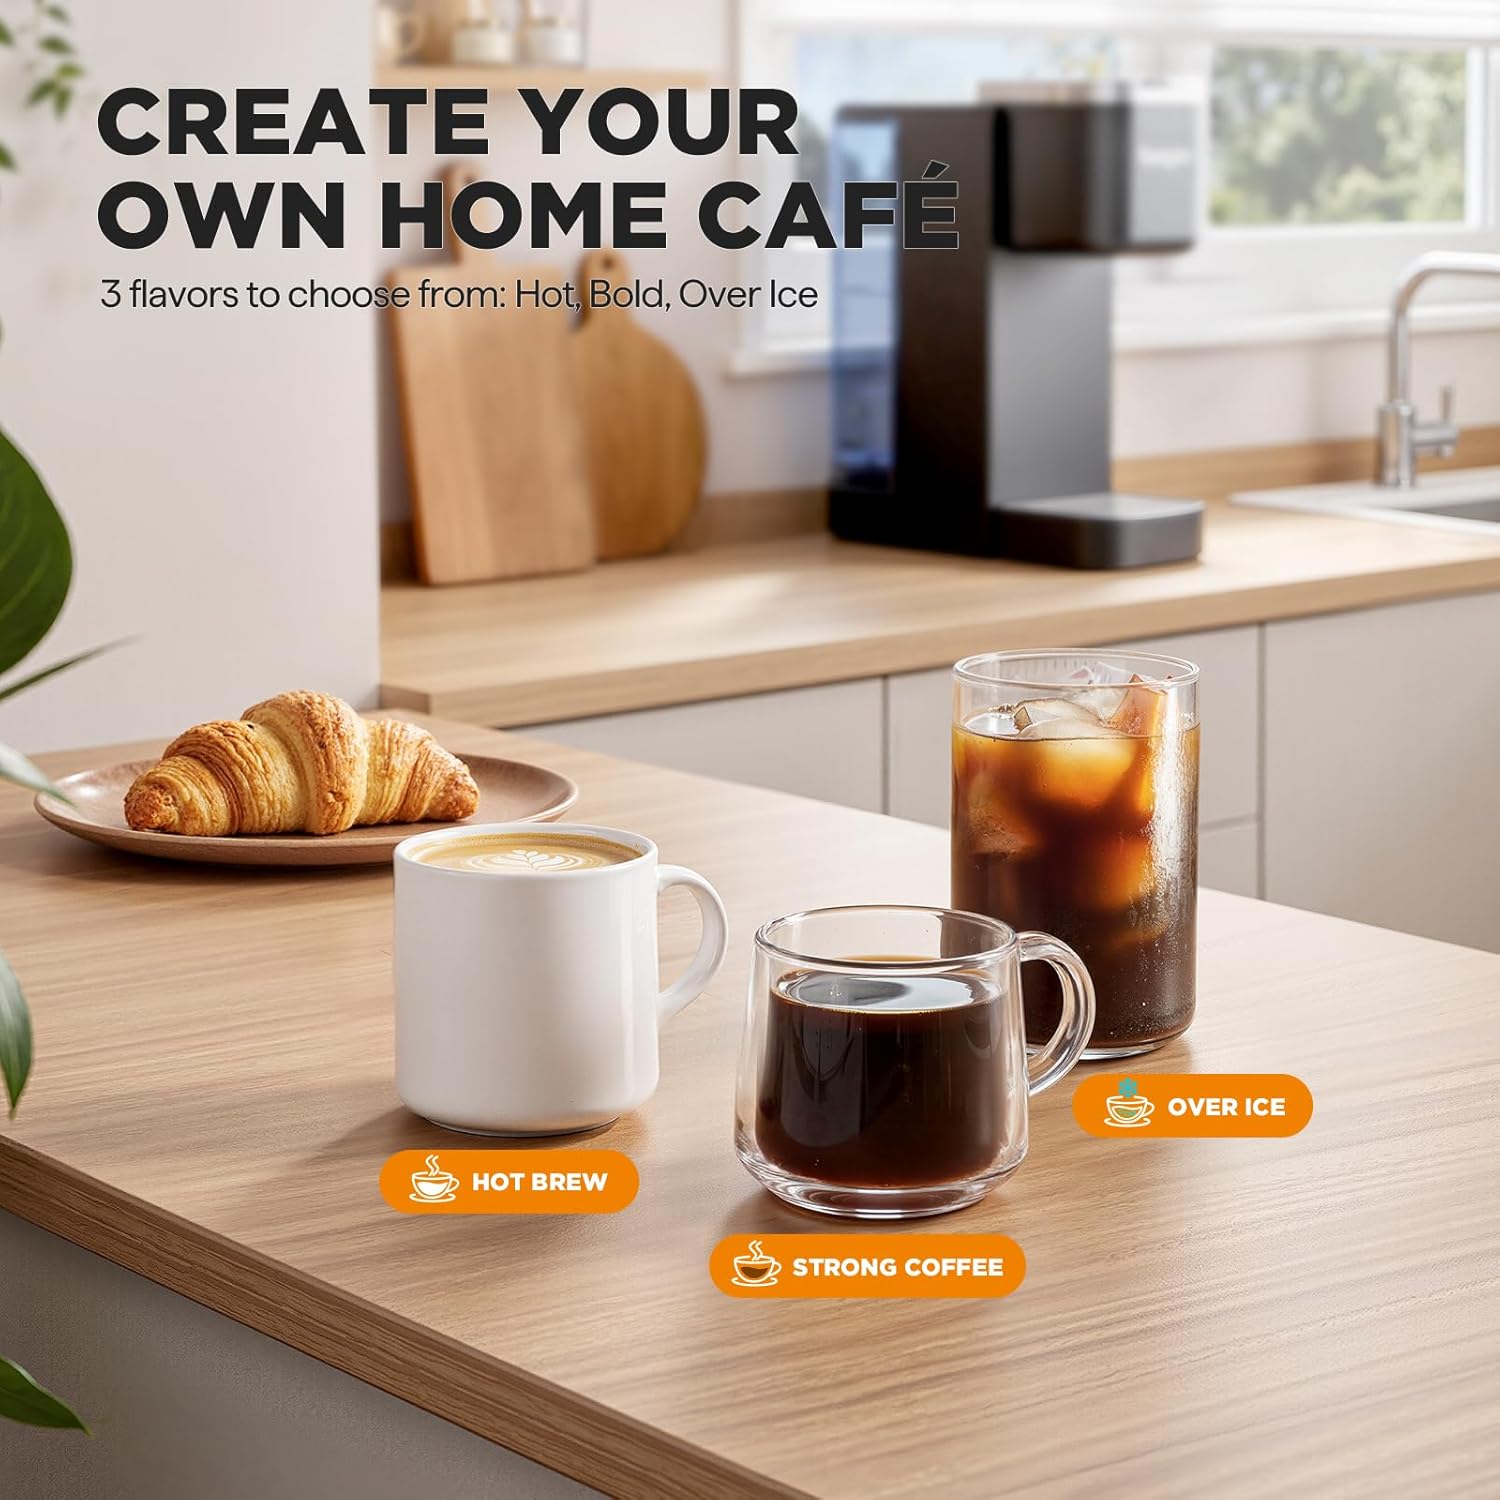
Image: Visual representation of the three available brew styles: Hot Brew, Strong Coffee (Bold), and Over Ice, showcasing the versatility of the coffee maker.
4.5 Brew Strength and Size Selection
The control panel allows you to customize your coffee experience:
- HOT BREW: Standard hot coffee.
- BOLD: For a stronger, more intense hot coffee flavor.
- OVER ICE: Specifically designed for brewing over ice, ensuring optimal flavor and minimal dilution.
- Brew Sizes: Choose from 6 oz, 8 oz, 10 oz, 12 oz, 16 oz, or 24 oz to match your cup size and preference.
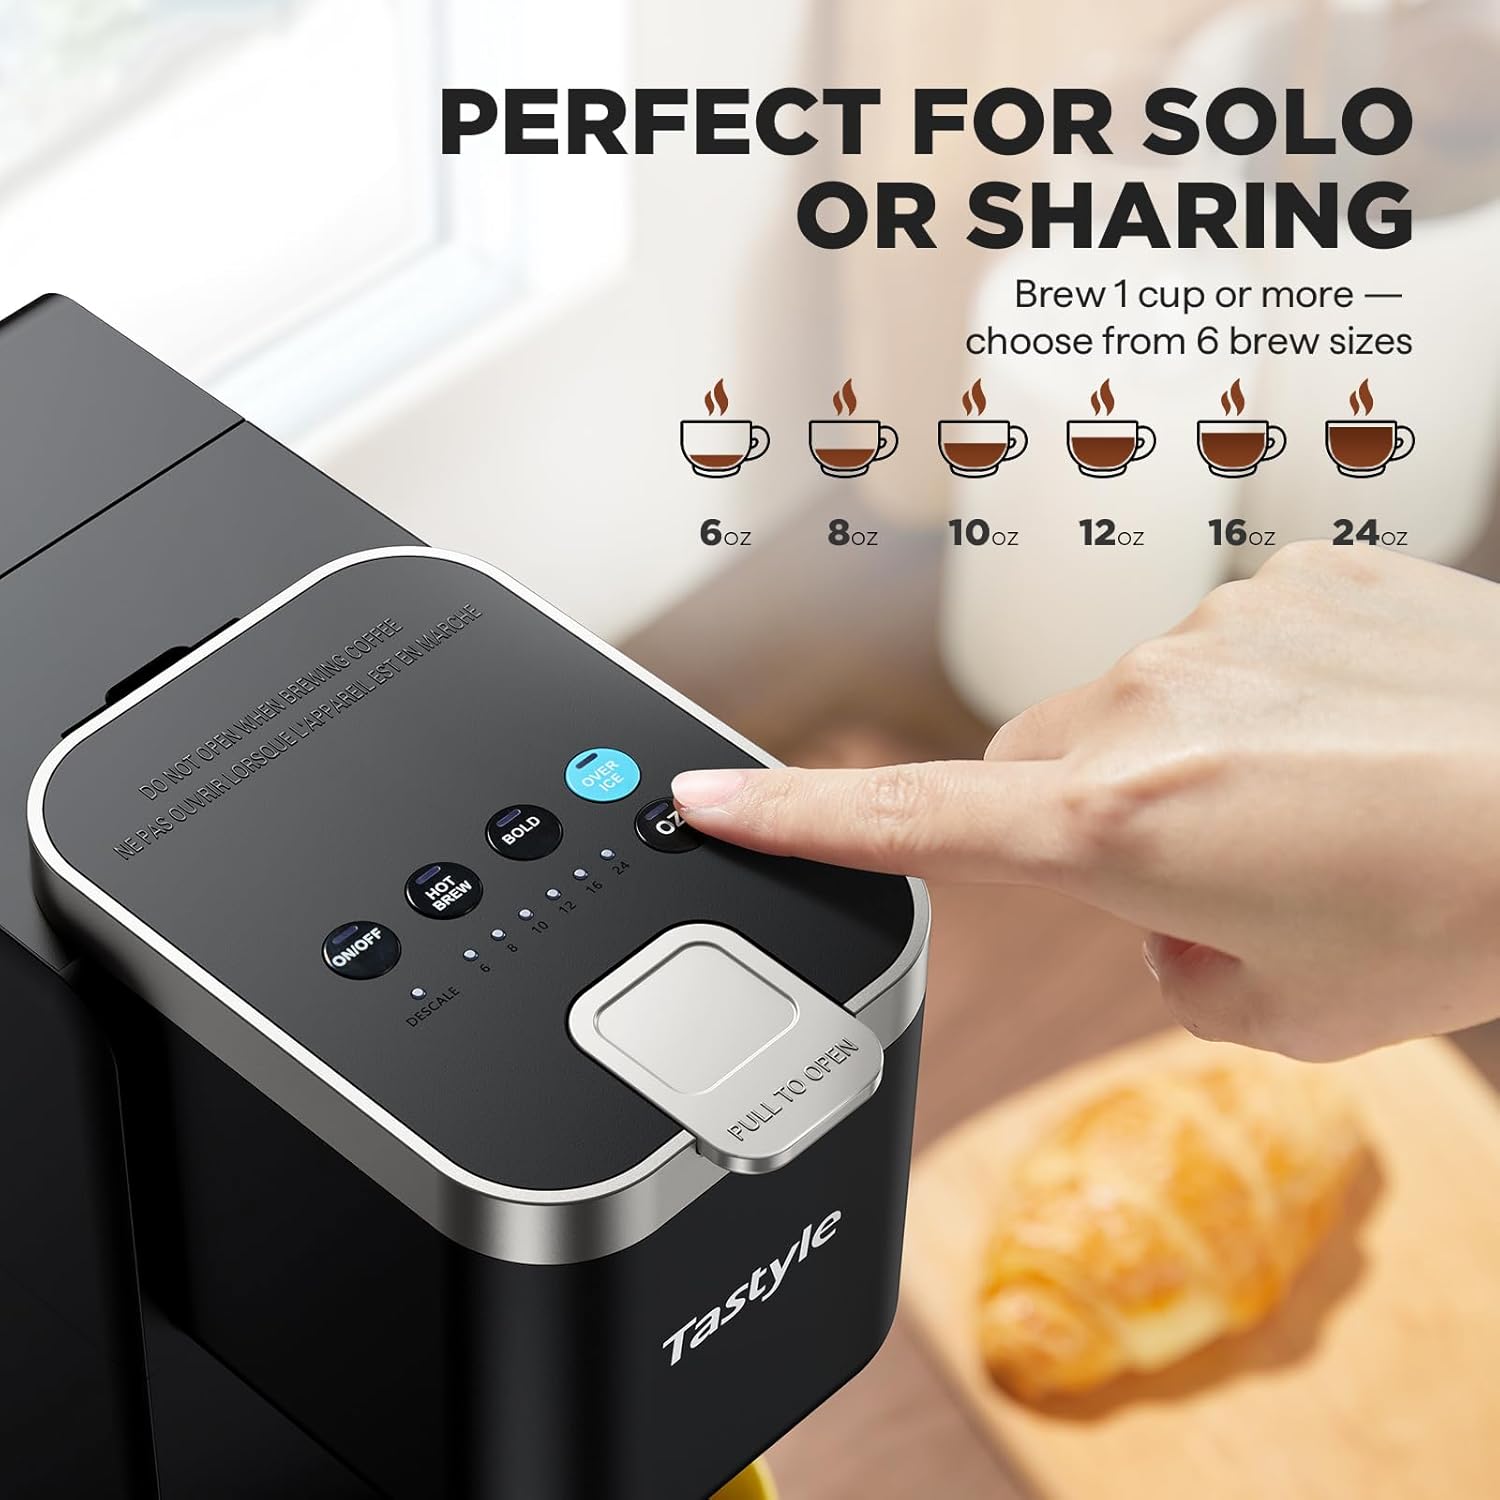
Image: The control panel of the Tastyle coffee maker, showing the 'ON/OFF', 'HOT BREW', 'BOLD', 'OVER ICE' buttons, and the six customizable brew size options (6oz, 8oz, 10oz, 12oz, 16oz, 24oz).
5. Maintenance and Cleaning
5.1 Daily Cleaning
Regular cleaning ensures optimal performance and taste.
- Drip Tray: Empty and rinse the drip tray after each use or when the indicator shows it's full. The drip tray plate can be rotated 180 degrees to elevate smaller cups and prevent splashing.
- K-Cup® Pod Holder & Ground Coffee Filter: Remove and rinse under tap water after each use. These parts are also dishwasher safe (top rack recommended).
- Water Reservoir: Clean the water reservoir weekly with warm, soapy water. Rinse thoroughly.
- Exterior: Wipe the exterior of the coffee maker with a damp, soft cloth. Do not use abrasive cleaners.
5.2 Descaling
Mineral deposits (calcium) can build up in your coffee maker over time, affecting performance and taste. The machine has a built-in cleaning function to assist with descaling. Descale every 3-6 months, or more frequently if you have hard water.
- Ensure the coffee maker is unplugged and cooled.
- Empty the water reservoir.
- Fill the reservoir with a mixture of one part white vinegar and one part water, or use a descaling solution specifically designed for coffee makers.
- Place a large mug on the drip tray.
- Plug in the coffee maker and press the 'ON/OFF' button.
- Press the 'DESCALE' button (if available, otherwise run several 'HOT BREW' cycles with the largest size).
- Allow the machine to complete the descaling cycle. This may involve pauses.
- After the cycle, empty the mug and rinse the reservoir thoroughly.
- Fill the reservoir with fresh, cold water and run at least two full 'HOT BREW' cycles (largest size) to rinse out any remaining descaling solution.
6. Troubleshooting
If you encounter issues with your coffee maker, refer to the following common problems and solutions:
| Problem | Possible Cause | Solution |
|---|---|---|
| Coffee maker does not turn on. | Not plugged in; power outlet malfunction. | Ensure the power cord is securely plugged into a working outlet. |
| No water dispenses or brewing stops prematurely. | Water reservoir is empty or low; air in pump. | Fill the water reservoir. If still an issue, run a few rinse cycles without a pod/grounds to prime the pump. |
| Coffee tastes weak. | Insufficient coffee grounds; incorrect brew size selected; machine needs descaling. | Use more coffee grounds or a 'BOLD' brew setting. Select a smaller brew size. Descale the machine. |
| Grounds in coffee. | K-Cup® pod punctured incorrectly; reusable filter overfilled or not seated correctly. | Ensure K-Cup® pod is properly inserted. Do not overfill the reusable filter and ensure its lid is closed. Clean the brew chamber. |
| Water leaking from machine. | Water reservoir not seated correctly; drip tray full. | Ensure the water reservoir is firmly in place. Empty the drip tray. |
| Coffee is not hot enough. | Machine needs descaling. | Perform a descaling cycle to remove mineral buildup. |
If the problem persists after trying these solutions, please contact Tastyle customer support.
7. Specifications
| Feature | Detail |
|---|---|
| Model | Single Serve Hot & Iced Coffee Maker (2.0 Version) |
| Brand | Tastyle |
| Dimensions (L x W x H) | 26 x 12 x 31 cm (10.3 x 4.7 x 12.2 inches) |
| Weight | 1.59 kg (3.5 lbs) |
| Water Reservoir Capacity | 40 oz (approx. 1.18 Liters) |
| Power | 1000 Watts |
| Voltage | 120 Volts |
| Material | Polypropylene Plastic (BPA-free) |
| Brew Styles | Hot Brew, Bold, Over Ice |
| Brew Sizes | 6 oz, 8 oz, 10 oz, 12 oz, 16 oz, 24 oz |
| Auto Shut-Off | Yes (after 10 minutes of inactivity) |
| Special Features | Adjustable Brew Strength, Permanent Filter, Removable Tank, Splatter-Preventing Design, Water-shortage alert, Dry boil protection |
8. Warranty and Support
8.1 Warranty Information
The Tastyle Single Serve Hot & Iced Coffee Maker (Model 2.0) comes with an 18-month commitment from the date of purchase, covering manufacturing defects under normal household use.
This warranty does not cover damage resulting from accident, misuse, abuse, commercial use, unauthorized modification, or failure to follow the instructions in this manual.
8.2 Customer Support
For technical assistance, troubleshooting beyond this manual, or warranty claims, please contact Tastyle customer support. Please have your product model and purchase information ready when contacting support.
Contact information can typically be found on the product packaging, the official Tastyle website, or through your retailer's customer service portal.


