
1. Product Overview
The Fischer PUP M3 Metal Foam Gun is designed for the precise and controlled application of 1-component polyurethane (PU) foams. Its robust metal construction ensures durability and a long service life, even under demanding construction site conditions. The ergonomic handle provides an optimal center of gravity for comfortable and accurate handling, while the continuous flow adjustment allows for controlled filling and insulation.
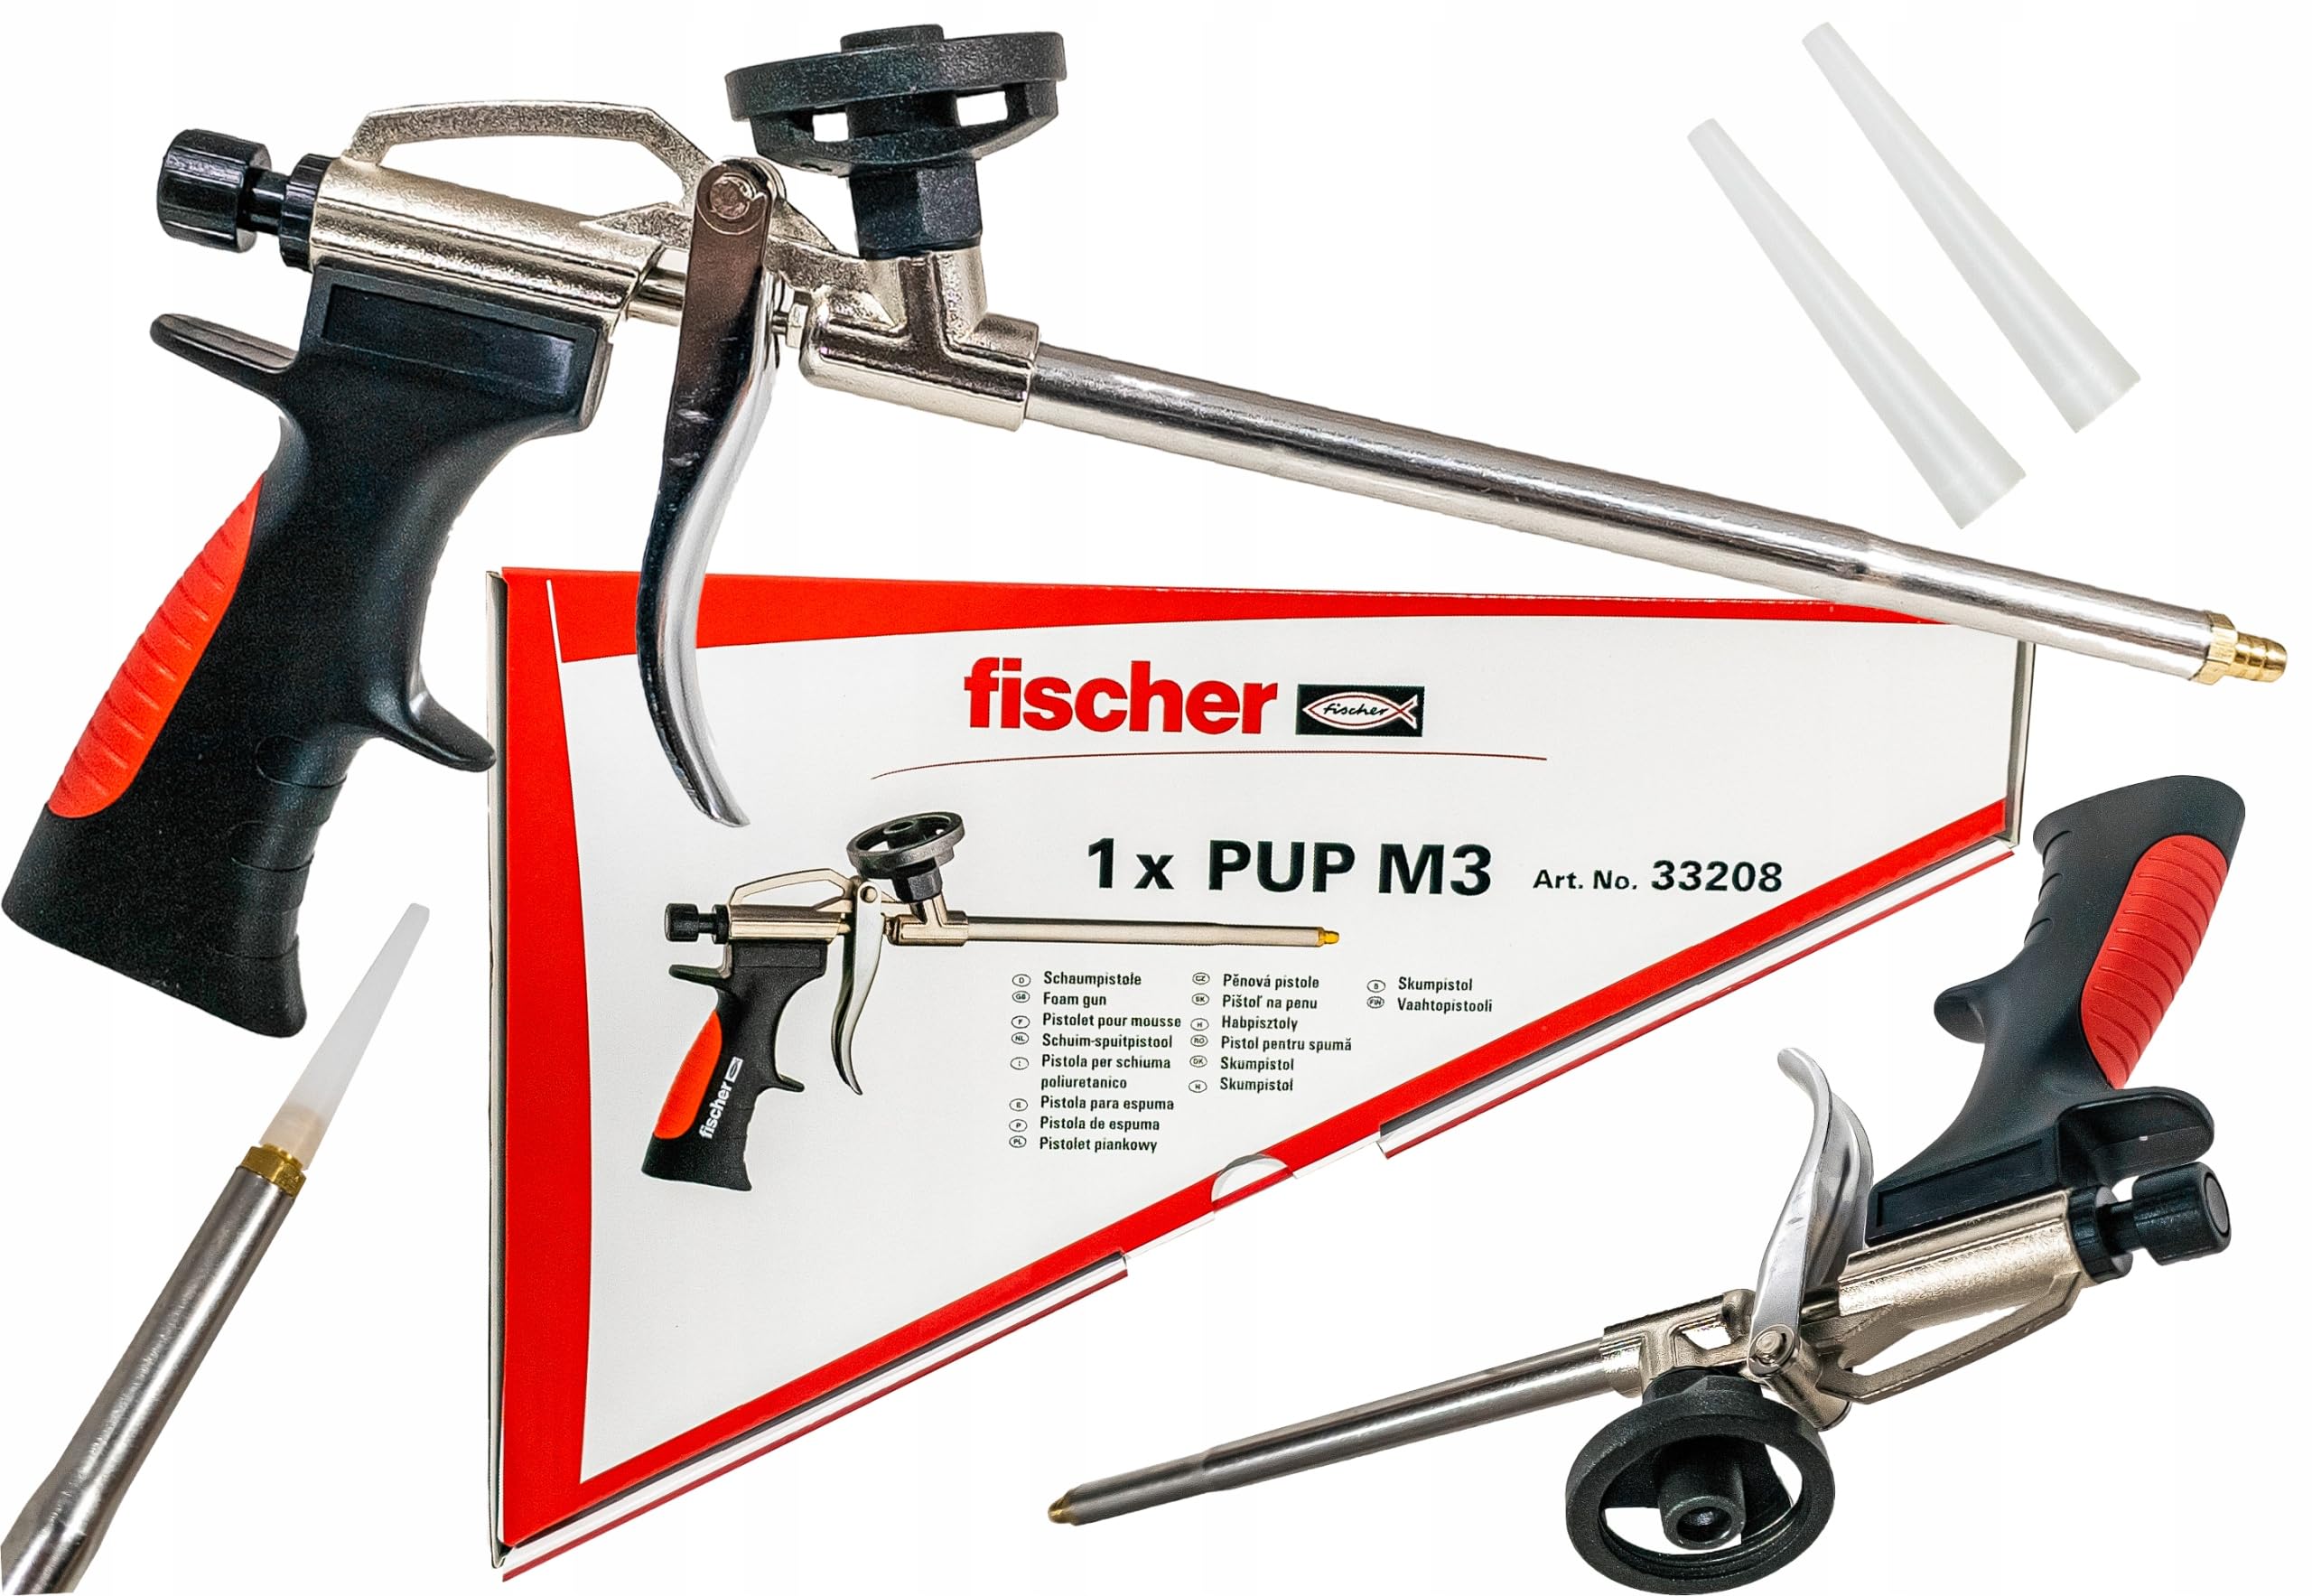
Figure 1: Fischer PUP M3 Metal Foam Gun. This image displays the overall design of the foam gun, highlighting its metal barrel, ergonomic handle, and foam can attachment point.
2. Safety Instructions
Always read and understand the safety data sheet (SDS) of the foam product before use. Failure to follow safety instructions can result in serious injury or property damage.
- Personal Protective Equipment (PPE): Always wear appropriate PPE, including safety glasses, gloves, and protective clothing, when handling PU foam and operating the foam gun.
- Ventilation: Use in well-ventilated areas. If working indoors, ensure adequate air circulation or use respiratory protection.
- Flammability: PU foams are often flammable. Keep away from open flames, sparks, and other ignition sources. Do not smoke while using the product.
- Pressure: Foam cans are under pressure. Do not puncture, incinerate, or expose to high temperatures.
- Cleaning Agents: Use only recommended PU foam cleaners. Follow the cleaner's safety instructions.
- Children and Pets: Keep the foam gun and foam products out of reach of children and pets.
3. Product Components
The Fischer PUP M3 Metal Foam Gun consists of several key parts designed for efficient foam application:
- Barrel: The long metal tube through which the foam is dispensed.
- Nozzle: The tip of the barrel where foam exits. Can be fitted with plastic extensions for precise application.
- Adapter: The threaded connection point for attaching the foam can.
- Flow Adjustment Screw: Located at the rear of the gun, this screw controls the foam output volume.
- Trigger: Activates the foam flow when pressed.
- Ergonomic Handle: Provides a secure and comfortable grip during operation.

Figure 2: Angled view of the Fischer PUP M3. This image provides a clearer perspective of the trigger, handle, and the foam can adapter.
4. Setup Instructions
Follow these steps to prepare your Fischer PUP M3 Metal Foam Gun for use:
- Prepare the Foam Can: Shake the 1-component PU foam can vigorously for at least 20-30 seconds to ensure proper mixing of components.
- Attach the Foam Can: Carefully screw the foam can onto the adapter of the foam gun. Ensure it is securely tightened to prevent leaks, but do not overtighten.
- Adjust Flow: Turn the flow adjustment screw counter-clockwise to open the valve for foam dispensing. Start with a moderate setting.
- Test Dispense: Point the gun into a waste container and briefly press the trigger to check for proper foam flow and to purge any air from the barrel.

Figure 3: Close-up of the foam gun nozzle. This image shows the brass tip where foam is dispensed, and where plastic extensions can be attached.
5. Operating Instructions
Operating the Fischer PUP M3 for effective foam application:
- Application Angle: Hold the foam gun with the can facing upwards during application to ensure optimal foam dispensing.
- Dispensing Foam: Press the trigger to release foam. The amount of foam dispensed is controlled by both the trigger pressure and the flow adjustment screw.
- Adjusting Flow: Turn the flow adjustment screw clockwise to reduce foam output or counter-clockwise to increase it. This allows for precise control over filling and insulation tasks.
- Interruption of Work: For short breaks, the foam can can remain screwed onto the gun without the foam hardening inside the gun, provided the flow adjustment screw is closed. Ensure the gun is stored upright.
- Filling Gaps: Fill gaps and cavities partially, as PU foam expands significantly after application. Follow the foam manufacturer's recommendations for fill volume.
6. Maintenance
Proper maintenance ensures the longevity and reliable performance of your foam gun:
- Immediate Cleaning After Use: After each use, or if the foam can is removed, the foam gun must be cleaned immediately with a suitable PU foam cleaner (e.g., Fischer PU Cleaner PUR 500).
- Cleaning Procedure:
- Remove the foam can.
- Screw the PU cleaner can onto the foam gun adapter.
- Press the trigger until only clear cleaner liquid is dispensed.
- Allow the cleaner to sit in the gun for a few minutes, then dispense again.
- Remove the cleaner can and wipe the gun clean.
- Storage: Store the cleaned foam gun in a dry, cool place, away from direct sunlight and extreme temperatures.
- Do Not Disassemble: Do not attempt to disassemble the foam gun for cleaning beyond what is described. This can damage internal components.
7. Troubleshooting
Common issues and their solutions:
- No Foam Dispensed:
- Check if the foam can is securely attached.
- Ensure the flow adjustment screw is open (turned counter-clockwise).
- The nozzle or barrel might be clogged. Clean the gun thoroughly as per maintenance instructions.
- The foam can might be empty or expired.
- Inconsistent Foam Flow:
- Shake the foam can vigorously before and during use.
- Ensure the foam can is held upright during application.
- Check for partial clogging in the nozzle or barrel and clean if necessary.
- Foam Leaking from Adapter:
- Ensure the foam can is screwed on tightly, but do not overtighten.
- Check the adapter for damage or dried foam residue and clean if necessary.
8. Specifications
| Feature | Detail |
|---|---|
| Model Number | 547126 |
| Manufacturer | Fischer |
| Material | Metal (robust construction) |
| Compatibility | 1-component PU foam cans |
| Flow Control | Continuous adjustment screw |
| Power Source | None (manual operation) |
9. Warranty and Support
For information regarding warranty coverage, please refer to the documentation provided at the time of purchase or contact your retailer. For technical support or inquiries, please reach out to Fischer customer service through their official website or contact channels.
