SASKATE SASKATE4h2tg3saw9
Straight Stitch Needle Plate User Manual
Brand: SASKATE | Model: SASKATE4h2tg3saw9
Product Overview
This manual provides essential information for the installation, operation, and maintenance of your SASKATE Straight Stitch Needle Plate.
The Straight Stitch Needle Plate is a crucial component for sewing machines, designed to ensure precise and stable stitching. It features a transparent cover plate for clear visibility of the sewing process and is constructed from durable Q235 carbon steel and plastic for longevity.
Compatible Models: Juki HZL-353, HZL-355, HZL-357, HZL-358, HZL-359, 8032MC, 8206, VS-380AT.

Image: The SASKATE Straight Stitch Needle Plate, showcasing its overall design and transparent cover.
Product Specifications
| Attribute | Detail |
|---|---|
| Brand | SASKATE |
| Model Number | SASKATE4h2tg3saw9 |
| Material | Q235 Carbon Steel, Plastic |
| Approximate Size | 8.2cm x 8cm (3.23in x 3.15in) |
| Item Weight | 2.57 ounces |
| Package Dimensions | 6.69 x 4.72 x 0.39 inches |
| ASIN | B0DHPD2SM3 |
| Date First Available | September 21, 2024 |

Image: The Straight Stitch Needle Plate with its approximate dimensions (8.2cm x 8cm) overlaid, providing a clear understanding of its size.
Setup and Installation
The Straight Stitch Needle Plate is designed for simple and effortless installation. Follow these general steps for replacement or initial setup:
- Power Off: Ensure your sewing machine is turned off and unplugged from the power source before beginning any installation or maintenance.
- Remove Old Plate (if applicable): Carefully remove the existing needle plate from your sewing machine. This usually involves unscrewing one or two small screws. Refer to your sewing machine's specific manual for detailed instructions on removing its needle plate.
- Position New Plate: Align the SASKATE Straight Stitch Needle Plate with the mounting holes on your sewing machine's bed.
- Secure Plate: Insert and tighten the screws to secure the new needle plate firmly in place. Do not overtighten.
- Verify Fit: Gently check that the needle plate is stable and flush with the machine bed. Ensure the transparent cover plate is properly seated.

Image: The Straight Stitch Needle Plate positioned next to a compatible sewing machine, illustrating its intended use and scale.
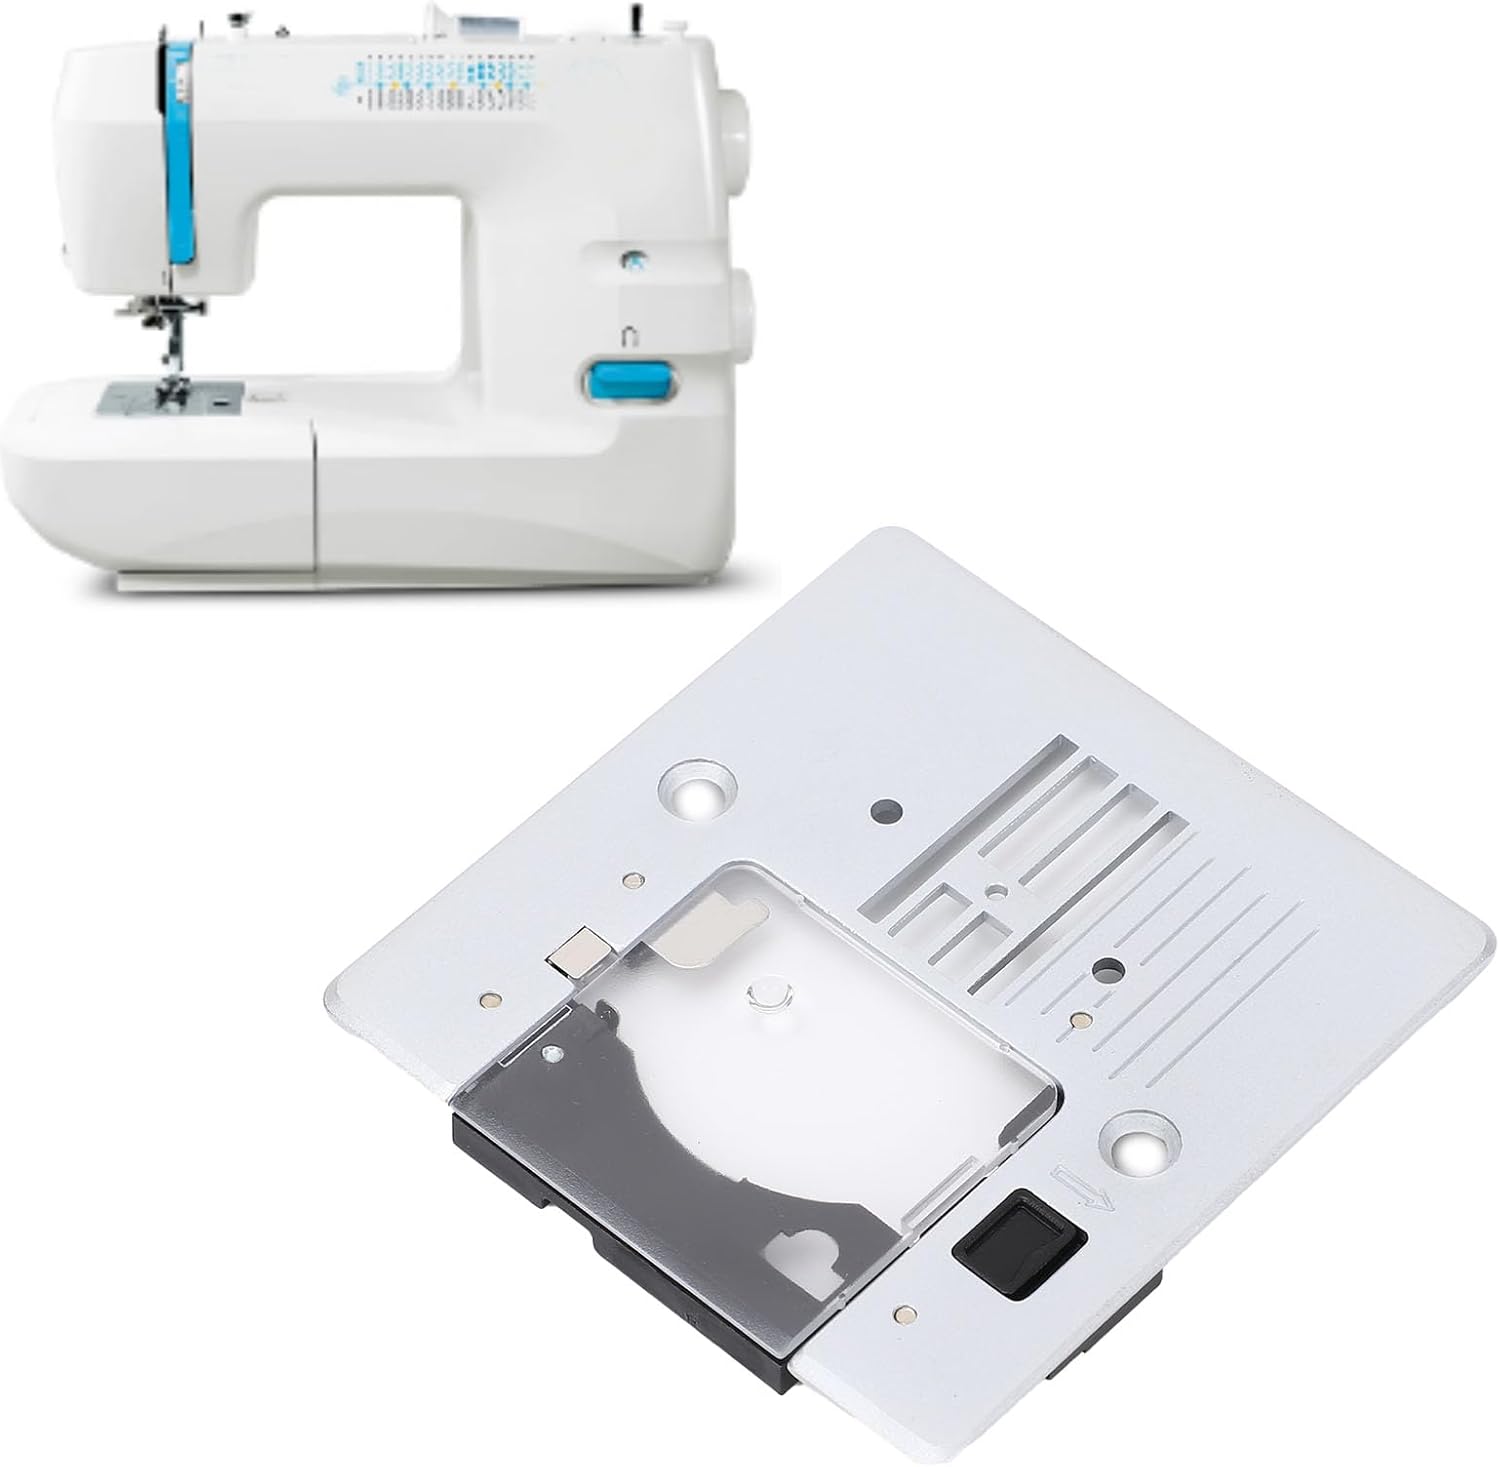
Image: An alternative view of the Straight Stitch Needle Plate alongside a sewing machine, highlighting its design and compatibility.
Operating Instructions
Once installed, the Straight Stitch Needle Plate functions as a standard needle plate, optimized for straight stitching. Its design enhances the overall sewing experience by providing clear visibility and stable fabric feeding.
- Transparent Cover Plate: The transparent cover plate allows for convenient observation of the sewing process. This feature provides a clear display of the needle movement trajectory, helping users accurately grasp the sewing progress and ensure precise stitch formation.
- Fabric Feeding: Ensure fabric is placed flat on the needle plate. The plate's smooth surface and feed dog openings facilitate consistent fabric movement during stitching.
- Needle Compatibility: Use appropriate needles for your fabric type and sewing machine model. Ensure the needle passes cleanly through the needle plate's opening without obstruction.

Image: A user operating a sewing machine, with the transparent cover of the needle plate clearly visible, demonstrating its utility during the sewing process.
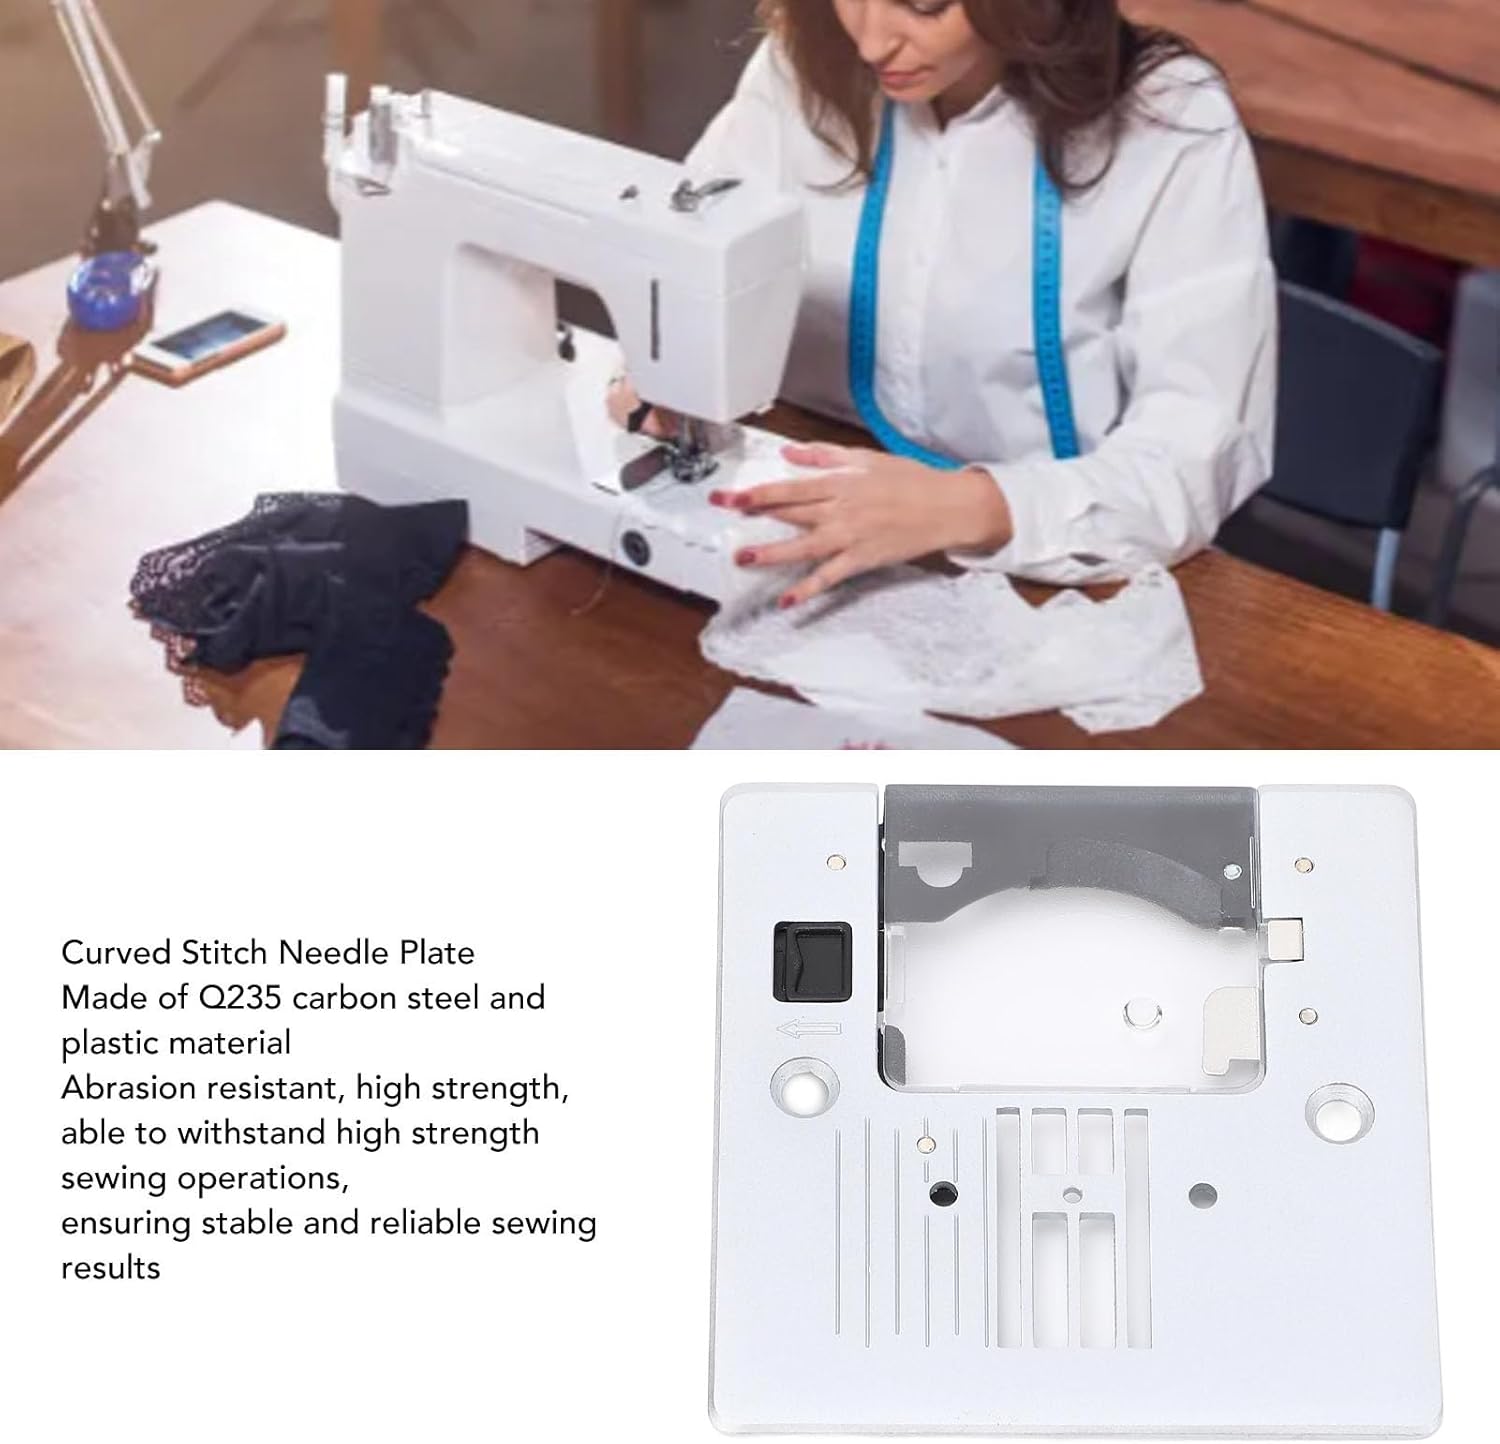
Image: A close-up view of a person sewing, focusing on the needle plate area, illustrating how the transparent cover aids in observing stitch formation.
Maintenance
Proper maintenance ensures the longevity and optimal performance of your Straight Stitch Needle Plate.
- Regular Cleaning: Periodically remove the needle plate and clean any lint, dust, or thread buildup from underneath and around the feed dogs. A small brush or vacuum cleaner attachment can be used.
- Inspect for Damage: Regularly inspect the needle plate for any signs of wear, scratches, or burrs, especially around the needle hole. A damaged needle plate can cause skipped stitches or fabric damage.
- Handle with Care: Although made of durable carbon steel and plastic, avoid dropping the plate or subjecting it to excessive force to prevent deformation.
- Storage: If removing the plate for extended periods, store it in a clean, dry place to prevent dust accumulation.

Image: A detailed close-up of the needle plate's surface, highlighting the feed dog slots and needle opening, areas important for cleaning and inspection.
Troubleshooting
If you encounter issues related to the needle plate, consider the following:
- Skipped Stitches: Ensure the needle plate is correctly installed and not loose. Check the needle for bends or dullness.
- Fabric Not Feeding Properly: Clean any lint or debris from the feed dogs and underneath the needle plate. Ensure the feed dogs are engaged and functioning correctly.
- Needle Hitting Plate: This indicates a potential issue with needle installation, a bent needle, or incorrect needle plate alignment. Re-install the needle, check for bends, and ensure the plate is securely fastened.
- Unusual Noises: Remove the needle plate and inspect for any foreign objects or loose components.
If the product shows signs of damage, deformation, or abnormal performance, discontinue use immediately and contact customer support.

Image: A multi-language warning sign indicating to stop use and contact support if the product is damaged or performs abnormally.
Warranty and Support
SASKATE products are manufactured to high-quality standards. For specific warranty details, please refer to the product packaging or contact your retailer.
For technical support, troubleshooting assistance, or inquiries regarding your Straight Stitch Needle Plate, please contact SASKATE customer service through the platform where the product was purchased or refer to the contact information provided with your product packaging.
Manufacturer: SASKATE
no relevant documents
Ask a question about this manual
Ask about setup, troubleshooting, compatibility, parts, safety, or missing instructions. Manuals+ will review the question and use this page’s manual context to help answer it.