Introduction
Welcome to the Canslab Ultrablade SE Electric Can Opener user manual. This device is designed for effortless can opening, featuring a rechargeable battery, automatic operation, and a smooth-edge side-cut mechanism. It is suitable for various can sizes and offers a hands-free experience, particularly beneficial for individuals with arthritis or limited hand strength.
Important Safety Instructions
- Read all instructions before use.
- Keep out of reach of children.
- Do not immerse the unit in water or other liquids.
- Do not operate if the unit is damaged.
- Use only the provided USB-C charging cable.
- Avoid contact with the cutting blade.
- Do not attempt to open rimless soda cans.
- Ensure the can opener is properly aligned on the can before starting.
Product Overview
Components

Image: Labeled diagram of the Canslab Ultrablade SE, highlighting key components such as the cutting blade, driving wheel, magnet, charging port, on/off button, and indicator light.
- On/Off Button: Press to start and stop operation.
- Indicator Light: Shows operational status and charging status.
- Cutting Blade: Internal blade that cuts along the side of the can.
- Driving Wheel: Grips the can rim to rotate the opener.
- Magnet: Holds the can opener in place and lifts the lid.
- Charging Port (USB-C): For recharging the internal battery.
- Retractable Lid Remover: Tool to assist in removing stubborn lids.
Setup
Initial Charging
Before first use, fully charge your Canslab Ultrablade SE.
- Locate the USB-C charging port on the device.
- Connect the provided USB-C cable to the can opener and a compatible USB power adapter (not included).
- The indicator light will illuminate during charging. It will change color or turn off when fully charged.
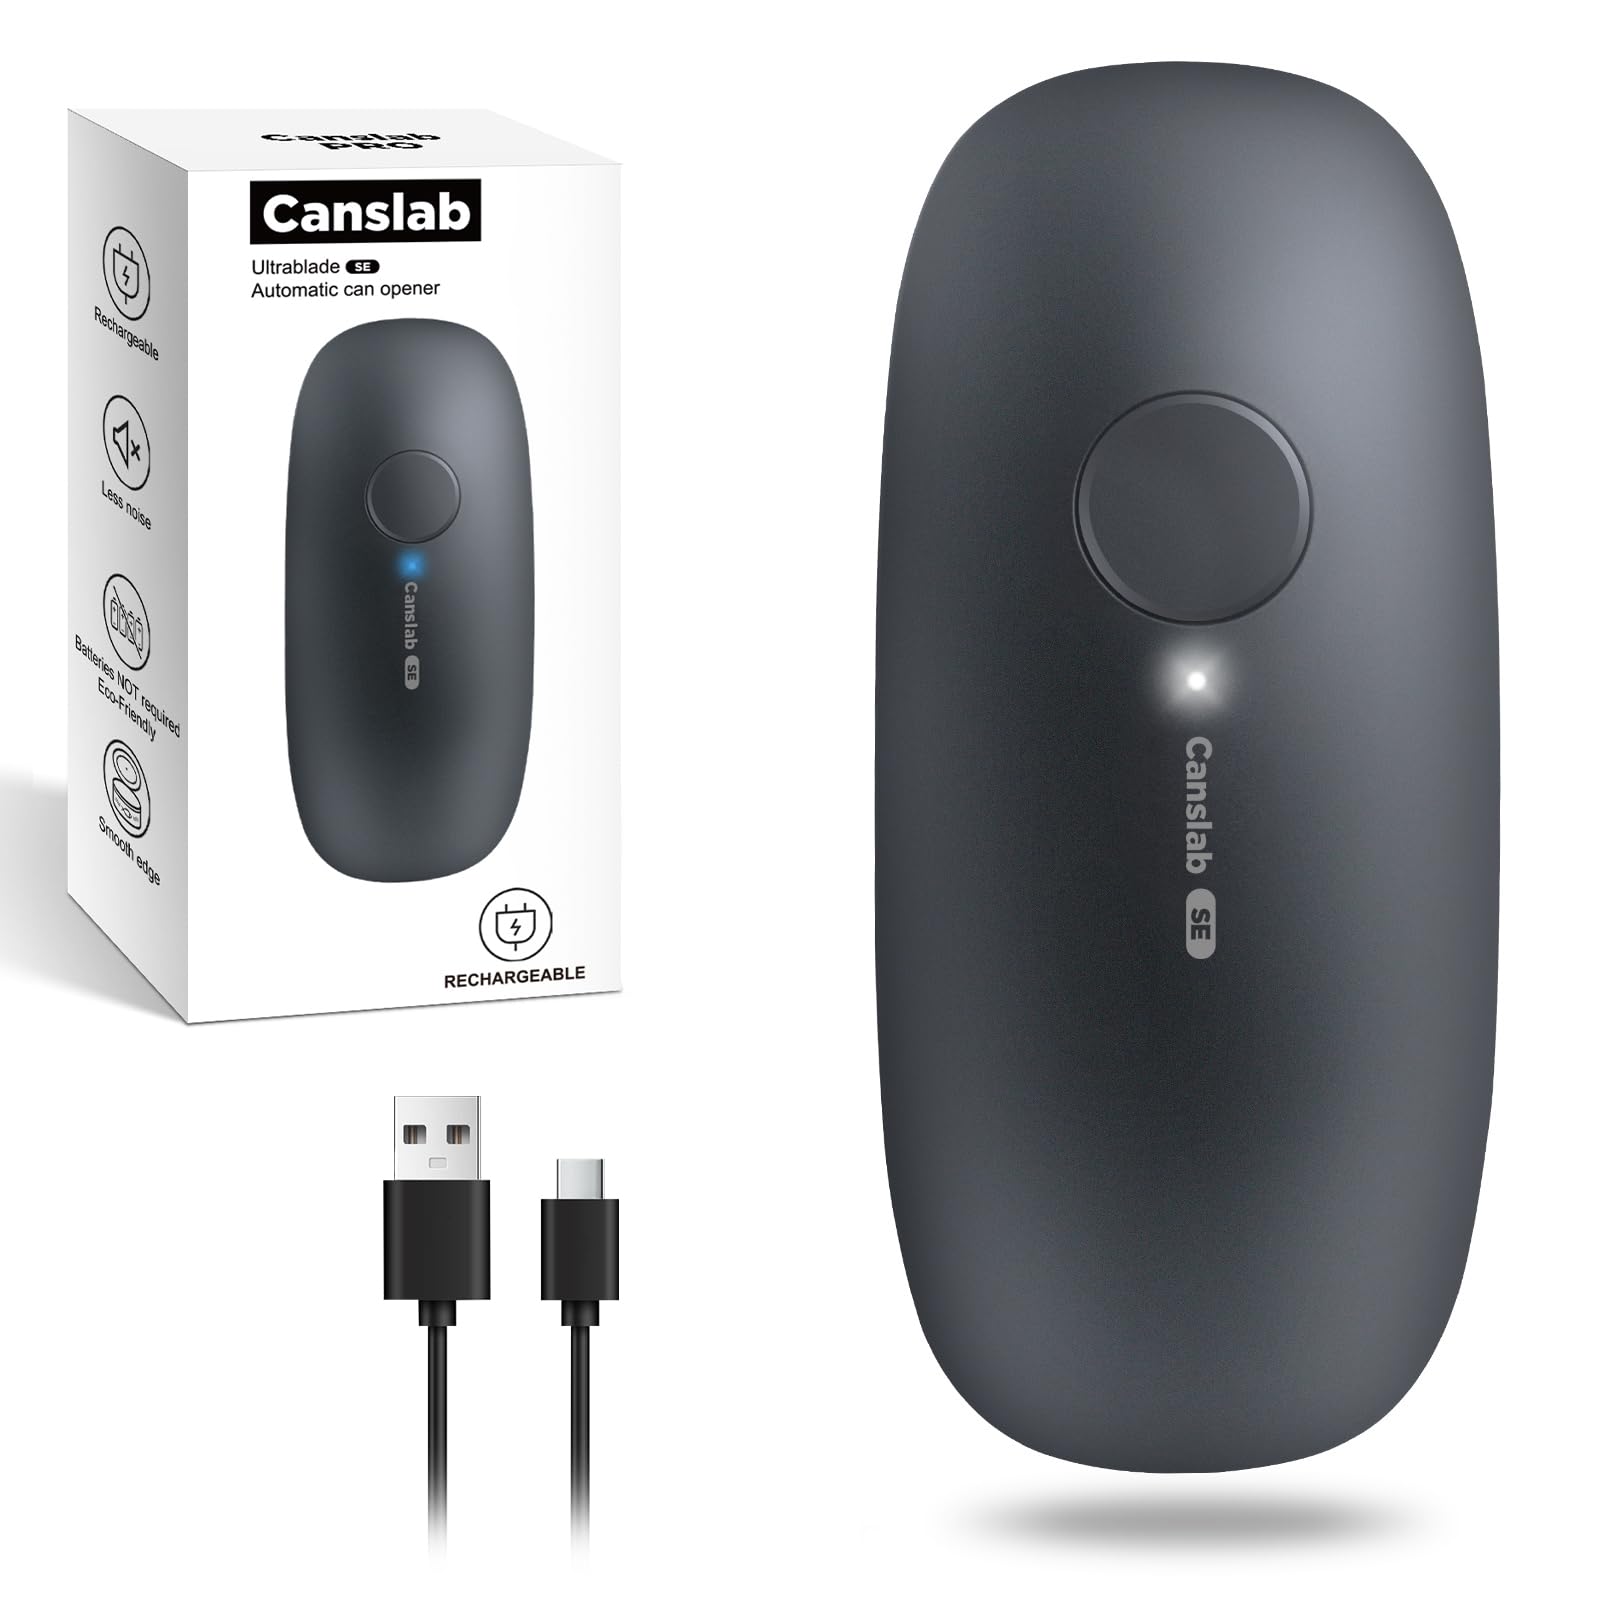
Image: The Canslab Ultrablade SE can opener connected to a USB-C charging cable, illustrating the charging process.
A full charge typically takes approximately 4 hours and can open up to 100 cans (based on 10.75oz can size).
Operating Instructions
How to Open a Can
- Position the Can Opener: Place the can opener flat on top of the can, ensuring the cutting blade and driving wheel are aligned with the can's rim. The magnet will help secure it.

Image: The can opener is placed on top of a can, with a green checkmark indicating correct alignment of the cutting mechanism on the can's edge.
- Start Operation: Press the On/Off button once. The can opener will automatically start cutting around the can. It will travel 360 degrees.

Image: The Canslab Ultrablade SE can opener is shown in action, automatically rotating around a can to cut the lid.
- Stop Operation: The can opener will stop automatically after completing a full rotation. If you need to stop it manually, press the On/Off button again.
- Remove the Lid: Carefully lift the can opener from the can. The magnet will hold the lid, allowing for safe and easy removal.

Image: The can opener is shown lifting the lid off a can, demonstrating the magnetic lid-lifting feature.
- Use Retractable Lid Remover (if needed): For stubborn or high-pressure sealed lids, slide the switch on the underside of the opener to extend the retractable lid remover. Use this tool to pry off the lid.

Image: The retractable lid remover of the Canslab Ultrablade SE is extended and used to lift a can lid.
Benefits of Side-Cut Technology
The side-cut mechanism ensures a smooth, safe edge on the can, eliminating sharp edges and preventing contact with food.

Image: A hand is shown touching the rim of an opened can, illustrating the smooth, safe edge created by the can opener.
Product Video
Video: An official Canslab video demonstrating the features and operation of the Ultrablade Series Rechargeable Can Opener.
Maintenance
Cleaning and Care
- Wipe the exterior of the can opener with a damp cloth. Do not rinse under water or immerse.
- Use a small brush to clean any food particles from the cutting mechanism.
- Store in a dry place.
Troubleshooting
Common Issues
| Problem | Solution |
|---|---|
| Can opener stops mid-operation. | The battery may be low. Recharge the unit. Ensure the can is not dented or irregularly shaped. |
| Lid does not come off easily. | Use the retractable lid remover. Ensure the magnet is clean and free of debris. |
| Can opener does not grip the can. | Ensure the can opener is correctly aligned on the can's rim. The driving wheel must engage the rim. |
Specifications
Technical Details
- Model: Ultrablade SE
- Power: USB-C Rechargeable (2000mAh Lithium Ion battery included)
- Material: Acrylonitrile Butadiene Styrene, Stainless Steel blade
- Dimensions: 2.6"W x 2.09"H
- Weight: 9.1 ounces
- Operation Mode: Automatic
- Features: Side-cut, smooth edge, magnetic lid lifter, retractable lid remover.
Warranty and Support
Product Support
For warranty information or technical support, please visit the official Canslab website or contact customer service through your retailer. Keep your purchase receipt for warranty claims.
For more products and information, visit the Canslab Store.


