
1. Introduction
The FOWARD GAUSS K19+ Hidden Camera Detector is a multi-functional device designed to enhance your privacy and security by detecting various hidden surveillance equipment. This includes miniature pinhole cameras, listening devices, and car trackers. Equipped with an advanced intelligent chip, it offers adjustable sensitivity and multiple detection modes to accurately locate signal sources in diverse environments such as hotels, homes, offices, and vehicles. This manual provides detailed instructions for setting up, operating, and maintaining your detector to ensure comprehensive protection.
2. Product Overview & What's in the Box
The FOWARD GAUSS K19+ detector is a portable and user-friendly device. Its compact design and durable ABS anti-slip material ensure comfortable handling and easy portability. The device features an intuitive interface with an LED display for signal strength and mode indicators.
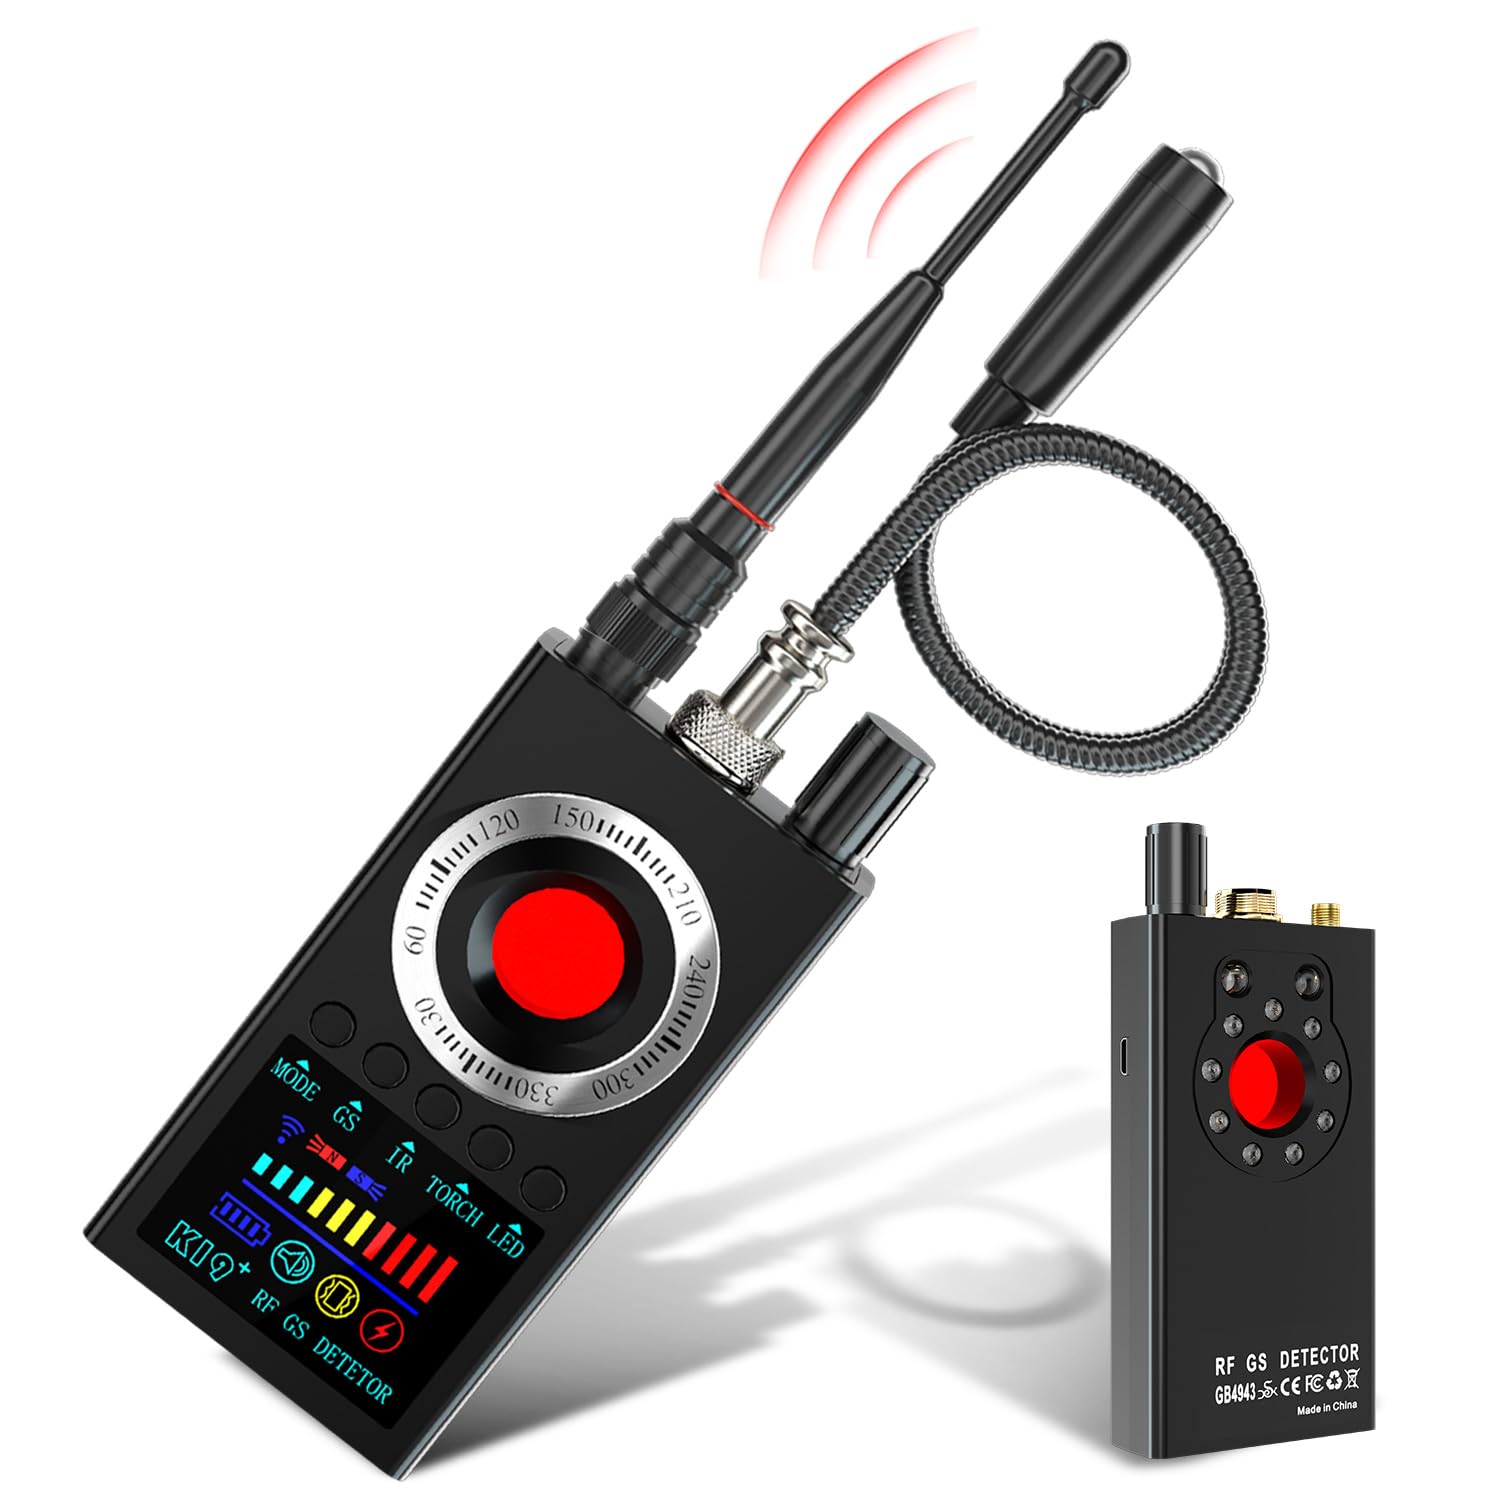
Figure 2.1: FOWARD GAUSS K19+ Hidden Camera Detector with accessories.
Package Contents:
- FOWARD GAUSS K19+ Detector Unit
- RF Antenna
- Magnetic Probe with LED light
- USB-A to USB-C Charging Cable
- User Manual
3. Setup
Before using your FOWARD GAUSS K19+ detector, ensure it is properly assembled and charged.
- Attach the RF Antenna: Carefully screw the RF antenna into the designated port on the top of the detector. Ensure it is snug but do not overtighten.
- Attach the Magnetic Probe: Insert the magnetic probe into its corresponding port on the top of the detector and tighten it securely. This probe is flexible and features an LED light for illuminating dark areas during magnetic detection.
- Power On: Rotate the sensitivity knob (located on the top of the device) clockwise to power on the detector. The device will emit a beep and the LED display will light up.
Video 3.1: Detailed setup and overview of the Hidden Camera Detector, including attachment of components and basic functions.
4. Operating Modes
The FOWARD GAUSS K19+ offers multiple detection modes for comprehensive surveillance protection.
4.1 RF Signal Detection
This mode detects wireless signals emitted by hidden cameras, listening devices, and other transmitting bugs. It is ideal for sweeping areas for active wireless surveillance.
- Activate: Ensure the RF antenna is attached. Turn the sensitivity knob to power on the device. The device defaults to RF detection mode.
- Adjust Sensitivity: Rotate the sensitivity knob to adjust the detection range. A higher sensitivity detects weaker signals from further away, while lower sensitivity helps pinpoint closer sources and reduce false alarms.
- Scan the Area: Slowly move the detector around the area you wish to scan. The LED display will show signal strength, and the device will beep or vibrate (depending on your selected alert mode) when a signal is detected.
- Pinpoint Source: As you get closer to a signal source, the signal strength indicator will increase. Reduce sensitivity as you approach to pinpoint the exact location.

Figure 4.1: FOWARD GAUSS K19+ detector screen showing signal strength during RF detection.
Video 4.1: Demonstration of RF signal detection, showing how the device reacts to active bug transmitters.
Video 4.2: Example of K68+ RF detection in action, highlighting its ability to detect radio frequencies.
4.2 Magnetic Field Detection
This mode uses the magnetic probe to detect magnetic fields, commonly found in GPS trackers and other devices attached with magnets.
- Activate: Press the dedicated magnetic detection button (usually labeled 'GS' or with a magnet icon). The probe's LED light will turn on.
- Scan Surfaces: Use the flexible magnetic probe to scan surfaces where magnetic trackers might be hidden, such as under vehicles, furniture, or inside bags.
- Identify Magnets: The device will alert you (beep/vibrate) and the probe's LED will intensify when a magnetic field is detected.

Figure 4.2: FOWARD GAUSS K19+ detector with magnetic probe extended, illustrating car tracking detection.
4.3 Camera Lens Finder (Infrared Detection)
This mode helps locate hidden camera lenses by emitting a red light that reflects off the lens, making it visible through the detector's viewfinder.
- Activate: Press the infrared detection button (usually labeled 'IR' or with a camera icon). The red LED lights around the viewfinder will activate.
- Adjust Flashing Frequency: Repeatedly press the button to cycle through different flashing frequencies (fast, slow, constant) to find the most effective setting for detecting reflections.
- Scan Visually: Look through the detector's viewfinder while sweeping the device across the area. Hidden camera lenses will appear as bright red dots or glints.

Figure 4.3: FOWARD GAUSS K19+ detector showing infrared detection of hidden cameras.
4.4 Flashlight Mode
The magnetic probe includes a built-in LED flashlight to assist in illuminating dark or hard-to-reach areas during inspections.
- Activate: Press the flashlight button (usually labeled with a lightbulb icon) to turn the LED light on the magnetic probe on or off.
5. Charging
The FOWARD GAUSS K19+ detector is equipped with a built-in large-capacity rechargeable lithium battery.
- Connect Charger: Use the provided USB-A to USB-C charging cable. Plug the USB-C end into the detector's charging port and the USB-A end into a compatible USB power adapter (not included) or a computer USB port.
- Charging Indicator: A charging indicator light (usually red) will illuminate during charging and turn off when the battery is fully charged.
- Battery Life: A full charge provides approximately 25 hours of continuous use and up to 30 days of standby time.
6. Specifications
| Feature | Specification |
|---|---|
| Item Weight | 5.6 ounces |
| Product Dimensions | 3.1 x 0.8 x 4.9 inches |
| Item Model Number | FGK19+ |
| Batteries | 1 Lithium Polymer batteries required (included) |
| Display Type | LED |
| Power Source | Battery Powered |
| Voltage | 3.7 Volts |
7. Troubleshooting
If you encounter issues with your FOWARD GAUSS K19+ detector, consider the following:
- Frequent False Alarms: This may indicate that the sensitivity is set too high. Try reducing the sensitivity using the knob until the false alarms cease, then gradually increase it as needed.
- No Detection: Ensure the device is fully charged and powered on. Check that the correct antenna/probe is securely attached for the desired detection mode. Increase sensitivity if you suspect a distant signal.
- Weak Signal Indication: Move closer to potential hidden devices. Ensure there are no large metallic objects or strong electromagnetic interference sources nearby that could be affecting performance.
- Battery Not Charging: Verify that the charging cable is correctly connected to both the device and a working USB power source. Check the charging indicator light.
8. Maintenance
To ensure the longevity and optimal performance of your FOWARD GAUSS K19+ detector:
- Cleaning: Use a soft, dry cloth to clean the device. Avoid using harsh chemicals or abrasive materials.
- Storage: Store the detector in a cool, dry place away from direct sunlight and extreme temperatures.
- Handle with Care: Avoid dropping the device or subjecting it to strong impacts.
9. Warranty and Support
FOWARD GAUSS is committed to providing high-quality products and lifetime professional customer support. We value our customers and are confident in the quality of our Spy Bug Detector products. If you have any questions or concerns, please feel free to contact us. Our customer support team is ready to assist you at any time and provide the most satisfactory solution.