1. Introduction
Thank you for purchasing the Kenmore Electric Deep Fryer. This appliance is designed for home use to prepare a variety of fried foods. It features a 4-liter oil capacity, adjustable temperature control, a timer, and includes three frying baskets for versatile cooking. Please read this manual thoroughly before initial use to ensure safe operation and optimal performance.
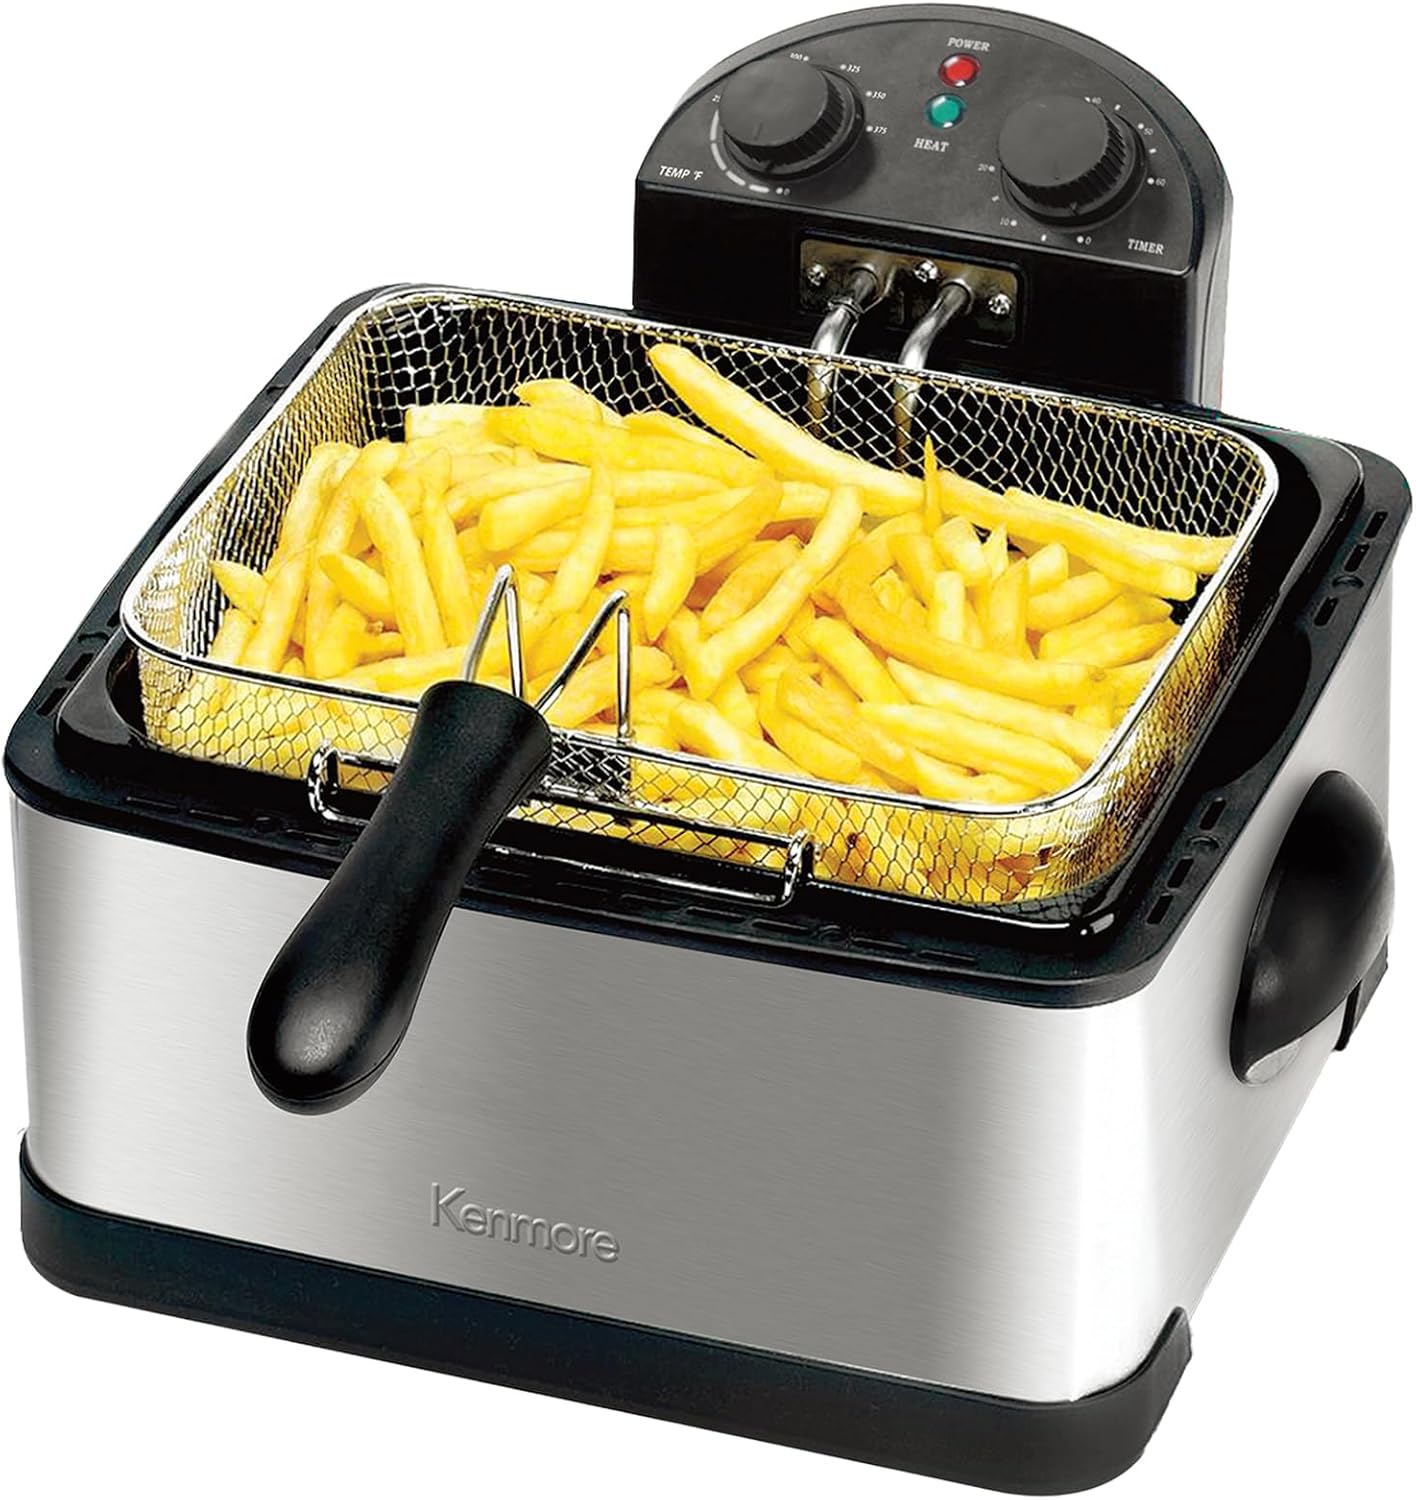
Image 1.1: Kenmore Electric Deep Fryer with a large basket of French fries.
2. Important Safeguards
When using electrical appliances, basic safety precautions should always be followed to reduce the risk of fire, electric shock, and injury to persons.
- Read all instructions before operating the deep fryer.
- Do not touch hot surfaces. Use handles or knobs.
- To protect against electrical shock, do not immerse cord, plugs, or heating element in water or other liquid.
- Close supervision is necessary when any appliance is used by or near children.
- Unplug from outlet when not in use and before cleaning. Allow to cool before putting on or taking off parts.
- Do not operate any appliance with a damaged cord or plug, or after the appliance malfunctions or has been damaged in any manner.
- The use of accessory attachments not recommended by the appliance manufacturer may cause injuries.
- Do not use outdoors.
- Do not let cord hang over edge of table or counter, or touch hot surfaces.
- Do not place on or near a hot gas or electric burner, or in a heated oven.
- Extreme caution must be used when moving an appliance containing hot oil or other hot liquids.
- Always attach plug to appliance first, then plug cord into the wall outlet. To disconnect, turn any control to 'off', then remove plug from wall outlet.
- Do not use appliance for other than intended use.
- Ensure the oil level is between the MIN and MAX marks.
- Never leave the deep fryer unattended during operation.
3. Product Components
Familiarize yourself with the various parts of your Kenmore Electric Deep Fryer:
- Removable Oil Pot: Holds the cooking oil.
- Heating Element: Immersible unit with control panel.
- Control Panel: Features temperature and timer dials, and indicator lights.
- Frying Baskets: One large and two small baskets for cooking.
- Lid with Viewing Window: Helps prevent splatters and allows monitoring of food.
- Vent Cover: Integrated into the lid for steam release and odor filtration.
- Cool Touch Handles: For safe handling of the fryer body.
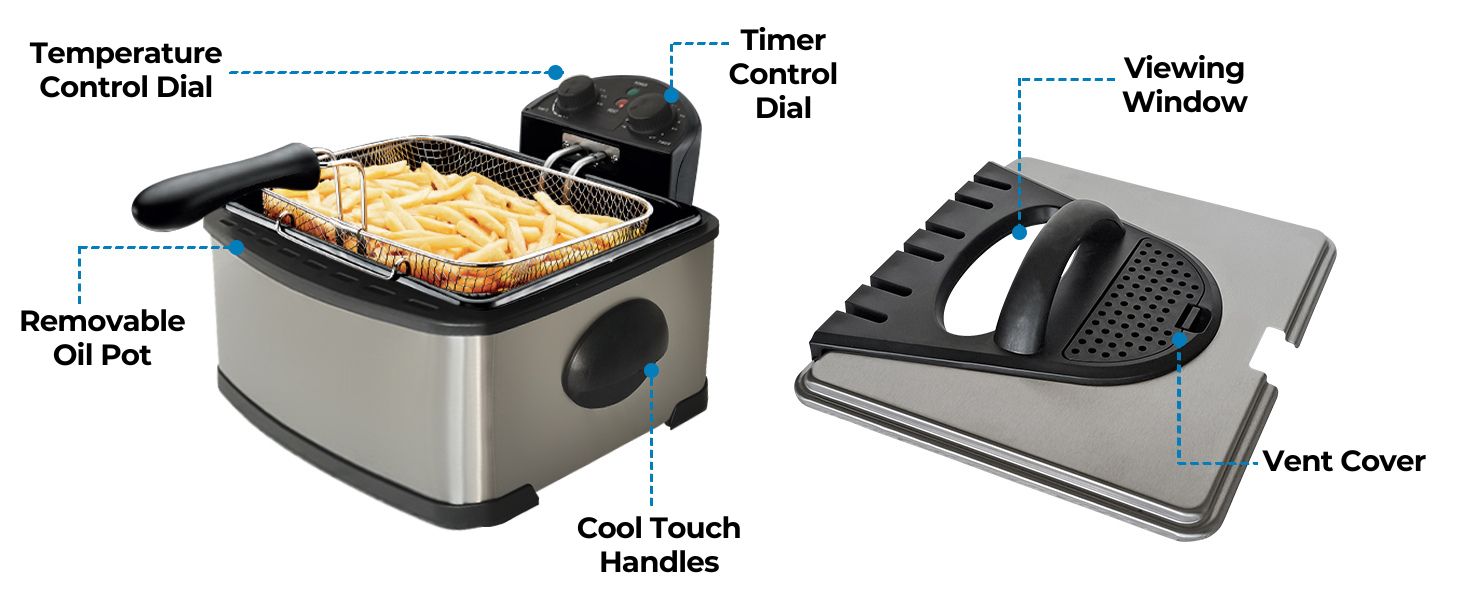
Image 3.1: Labeled components of the deep fryer.
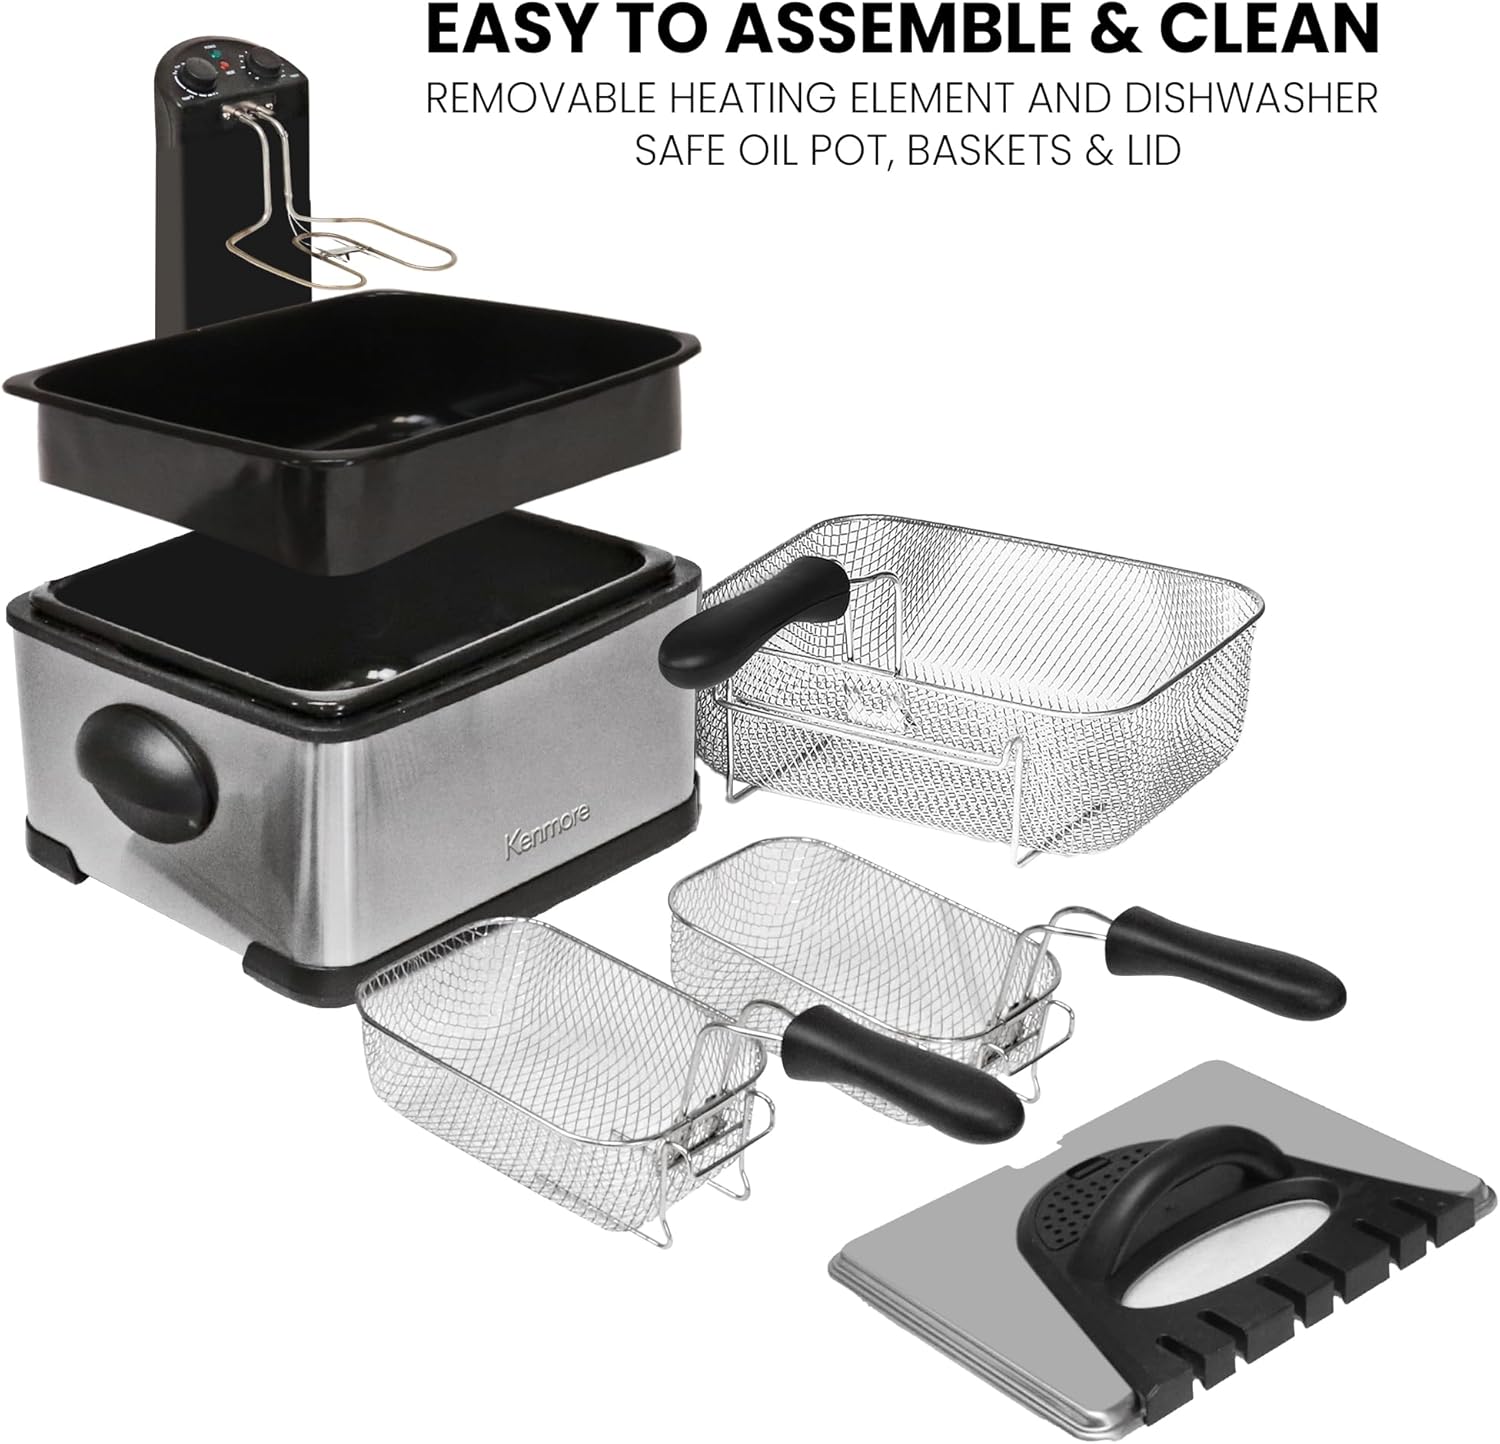
Image 3.2: Disassembled view of the deep fryer components.
4. Setup
- Unpack: Carefully remove all packaging materials and components from the box.
- Clean: Before first use, wash the removable oil pot, baskets, and lid in warm, soapy water. Rinse thoroughly and dry completely. The heating element should only be wiped clean with a damp cloth.
- Assemble: Place the main fryer body on a stable, heat-resistant surface. Insert the removable oil pot into the fryer body.
- Install Heating Element: Carefully place the heating element into the designated slots on the fryer body, ensuring it is securely seated. The control panel should face outwards.
- Add Oil: Pour cooking oil into the removable oil pot. Ensure the oil level is between the MIN and MAX fill lines indicated inside the pot. Do not overfill or underfill.
- Place Baskets: Insert the desired frying basket(s) into the oil pot.
- Connect Power: Plug the power cord into a grounded electrical outlet.
5. Operating Instructions
5.1. Pre-heating
- Ensure the fryer is properly assembled and filled with oil.
- Set the Temperature Control Dial to the desired frying temperature (range: 240-375°F).
- The 'Heat' indicator light will illuminate, indicating the oil is heating.
- Allow the fryer to pre-heat until the 'Heat' indicator light turns off, signaling that the set temperature has been reached. This may take several minutes depending on the oil volume and desired temperature.
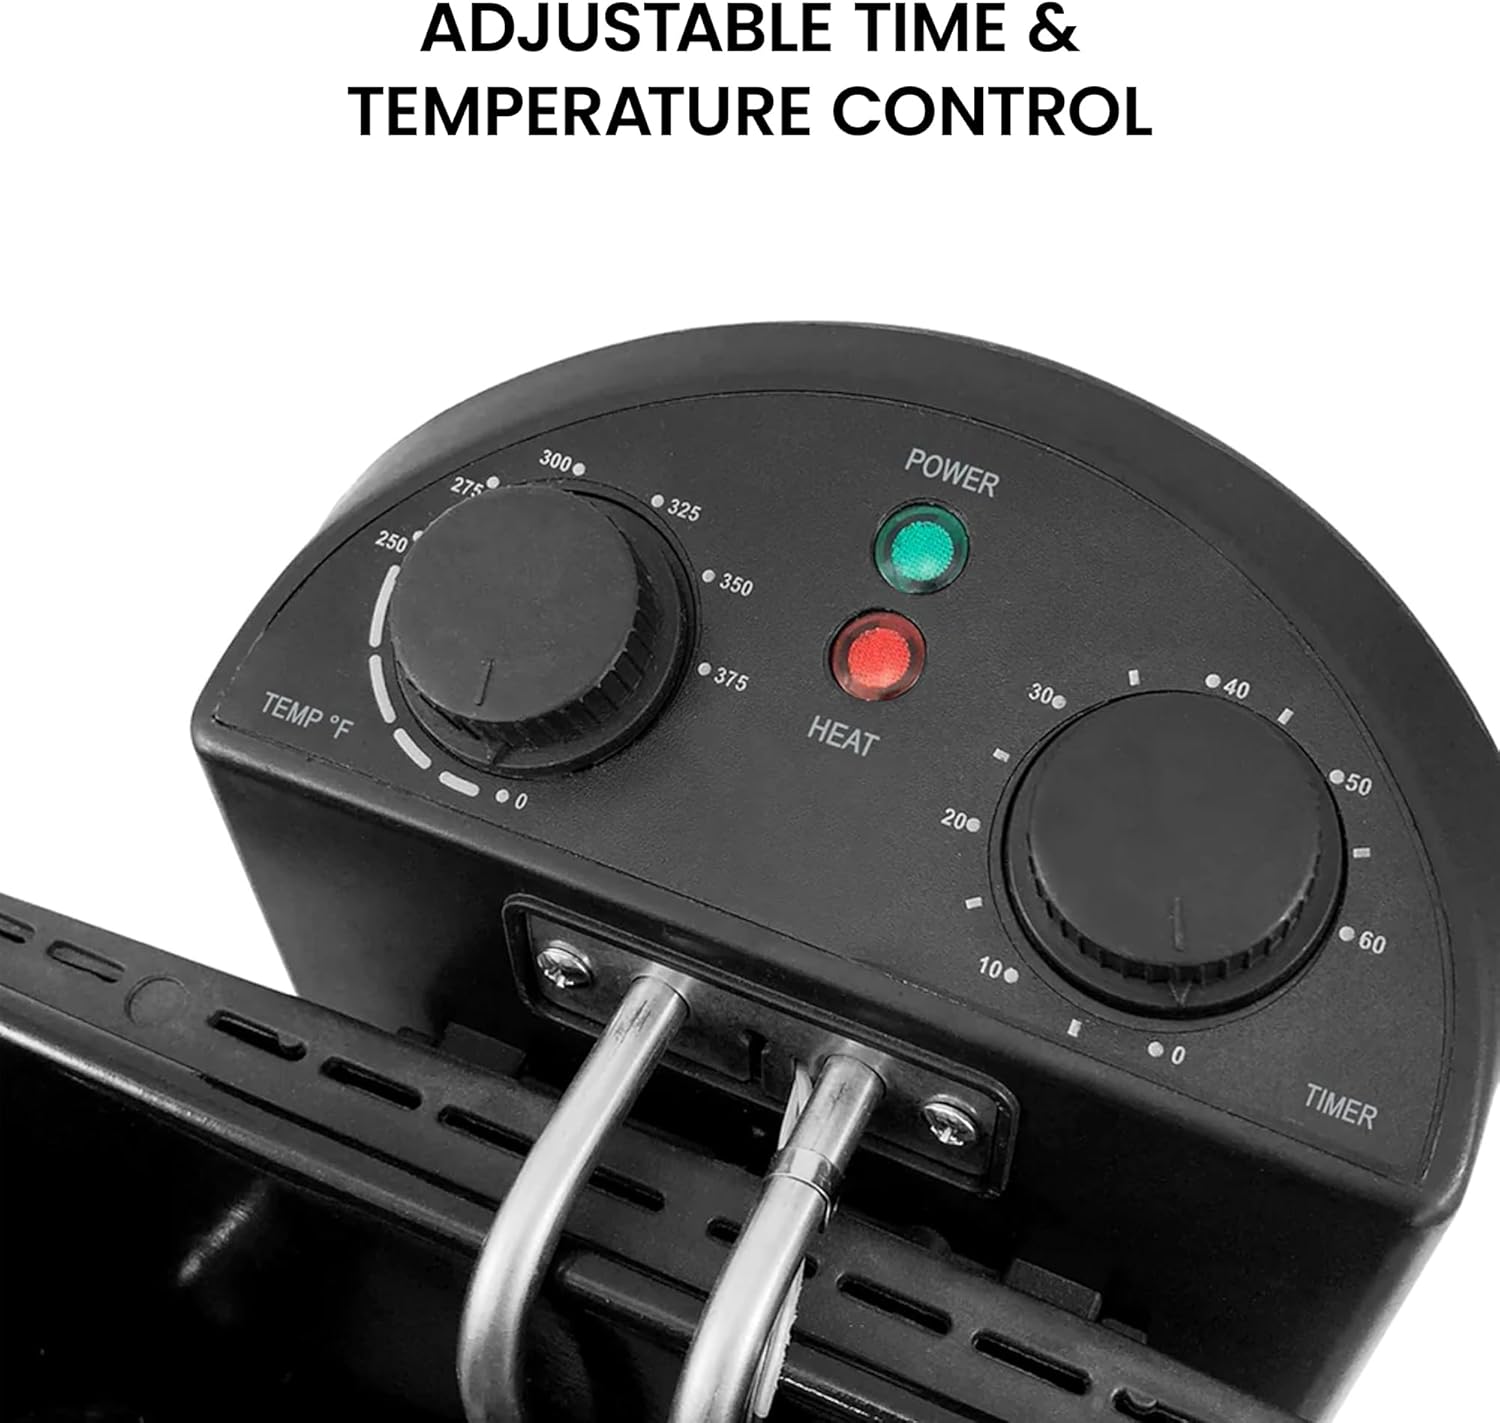
Image 5.1: Control panel with temperature and timer dials.
5.2. Frying Food
- Once the oil is pre-heated, carefully lower the food into the frying basket(s). Do not overload the baskets.
- Lower the basket(s) into the hot oil.
- Place the lid on the fryer to minimize splattering and contain odors. The viewing window allows you to monitor the cooking process.
- Set the Timer Control Dial to the desired cooking time (0-60 minutes). The fryer will automatically shut off when the timer expires.
- When cooking is complete, carefully lift the basket(s) and allow excess oil to drain.
- Remove food from the basket(s) and place on paper towels to absorb any remaining oil.
This fryer includes one large basket and two small baskets, allowing you to fry different foods simultaneously or manage batch cooking efficiently.
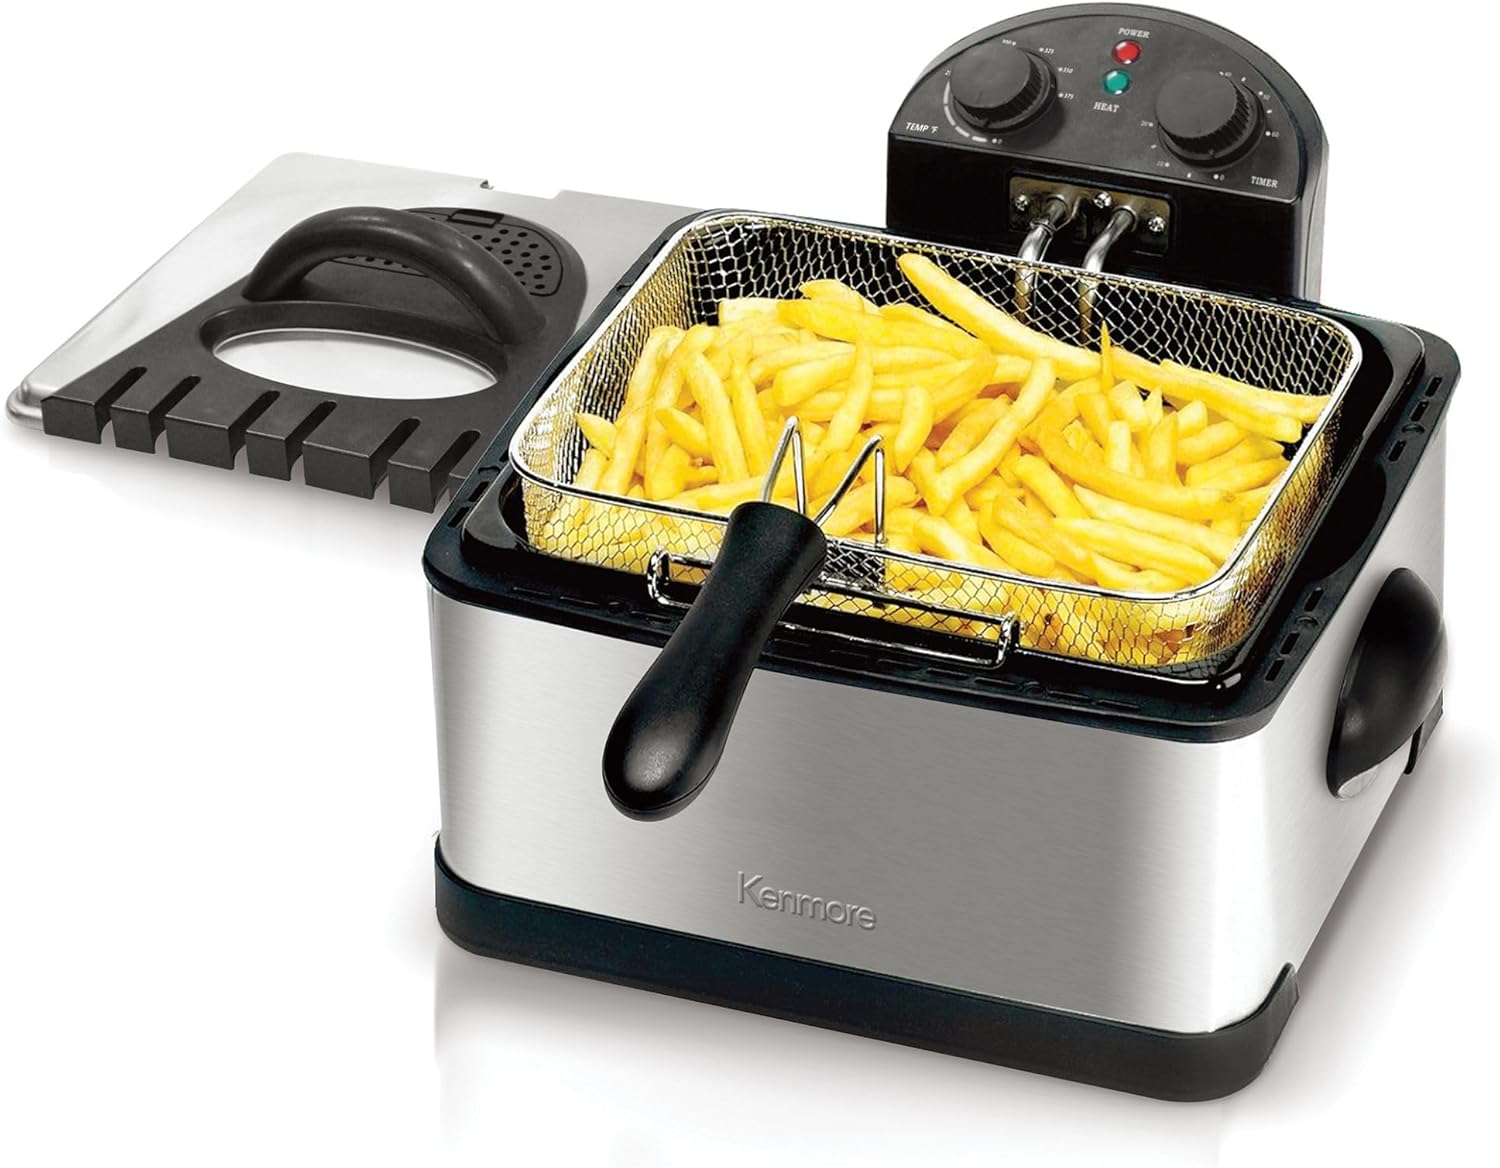
Image 5.2: Deep fryer configured with two small baskets for simultaneous frying.
6. Maintenance and Cleaning
Regular cleaning ensures the longevity and hygienic operation of your deep fryer.
- Cool Down: Always unplug the fryer and allow the oil and appliance to cool completely before cleaning. Hot oil can cause severe burns.
- Remove Oil: Carefully pour the cooled oil into a suitable container for disposal or storage.
- Disassemble: Remove the heating element, oil pot, baskets, and lid.
- Dishwasher Safe Parts: The removable oil pot, frying baskets, and lid are dishwasher safe. Wash them on the top rack or by hand with warm, soapy water.
- Heating Element: The immersible heating element and control panel should never be immersed in water. Wipe them clean with a damp cloth and mild detergent. Ensure they are completely dry before reassembly or storage.
- Exterior: Wipe the exterior of the fryer body with a damp cloth.
- Filters: The deep fryer features replaceable grease and odor filters in the lid. Check these regularly and replace them as needed to maintain odor control.
- Reassemble: Ensure all parts are dry before reassembling the fryer.
7. Troubleshooting
If you encounter issues with your deep fryer, refer to the following common problems and solutions:
| Problem | Possible Cause | Solution |
|---|---|---|
| Fryer does not heat up. | Not plugged in; heating element not properly seated; temperature dial not set. | Ensure power cord is securely plugged in. Check that the heating element is fully engaged in its slots. Set the temperature dial to a desired temperature. |
| Oil is not reaching desired temperature. | Temperature dial set too low; too much food added at once; insufficient pre-heating time. | Increase the temperature setting. Fry food in smaller batches. Allow adequate time for the oil to pre-heat until the 'Heat' indicator light turns off. |
| Excessive smoke during frying. | Oil is too old or dirty; temperature set too high; food contains too much moisture. | Replace old oil with fresh oil. Reduce the temperature setting. Ensure food is patted dry before frying. |
| Food is not crispy. | Oil temperature too low; too much food in basket; food not dry enough. | Ensure oil is at the correct temperature. Fry in smaller batches. Pat food dry before frying. |
| Lid filters not effective for odor. | Filters are old or clogged. | Replace the grease and odor filters in the lid. |
8. Specifications
Key technical details for the Kenmore Electric Deep Fryer, Model KKDF3B:
- Model Number: KKDF3B
- Brand: Kenmore (Manufactured by Koolatron)
- Material: Plastic, Stainless Steel
- Color: Silver and Black
- Product Dimensions (L x W x H): 15" x 15" x 9.25"
- Item Weight: 3.9 Pounds
- Wattage: 1700 watts
- Oil Capacity: 4 Liters
- Temperature Range: 240-375°F
- Timer: 0-60 minutes with auto shut-off
- UPC: 059586652325
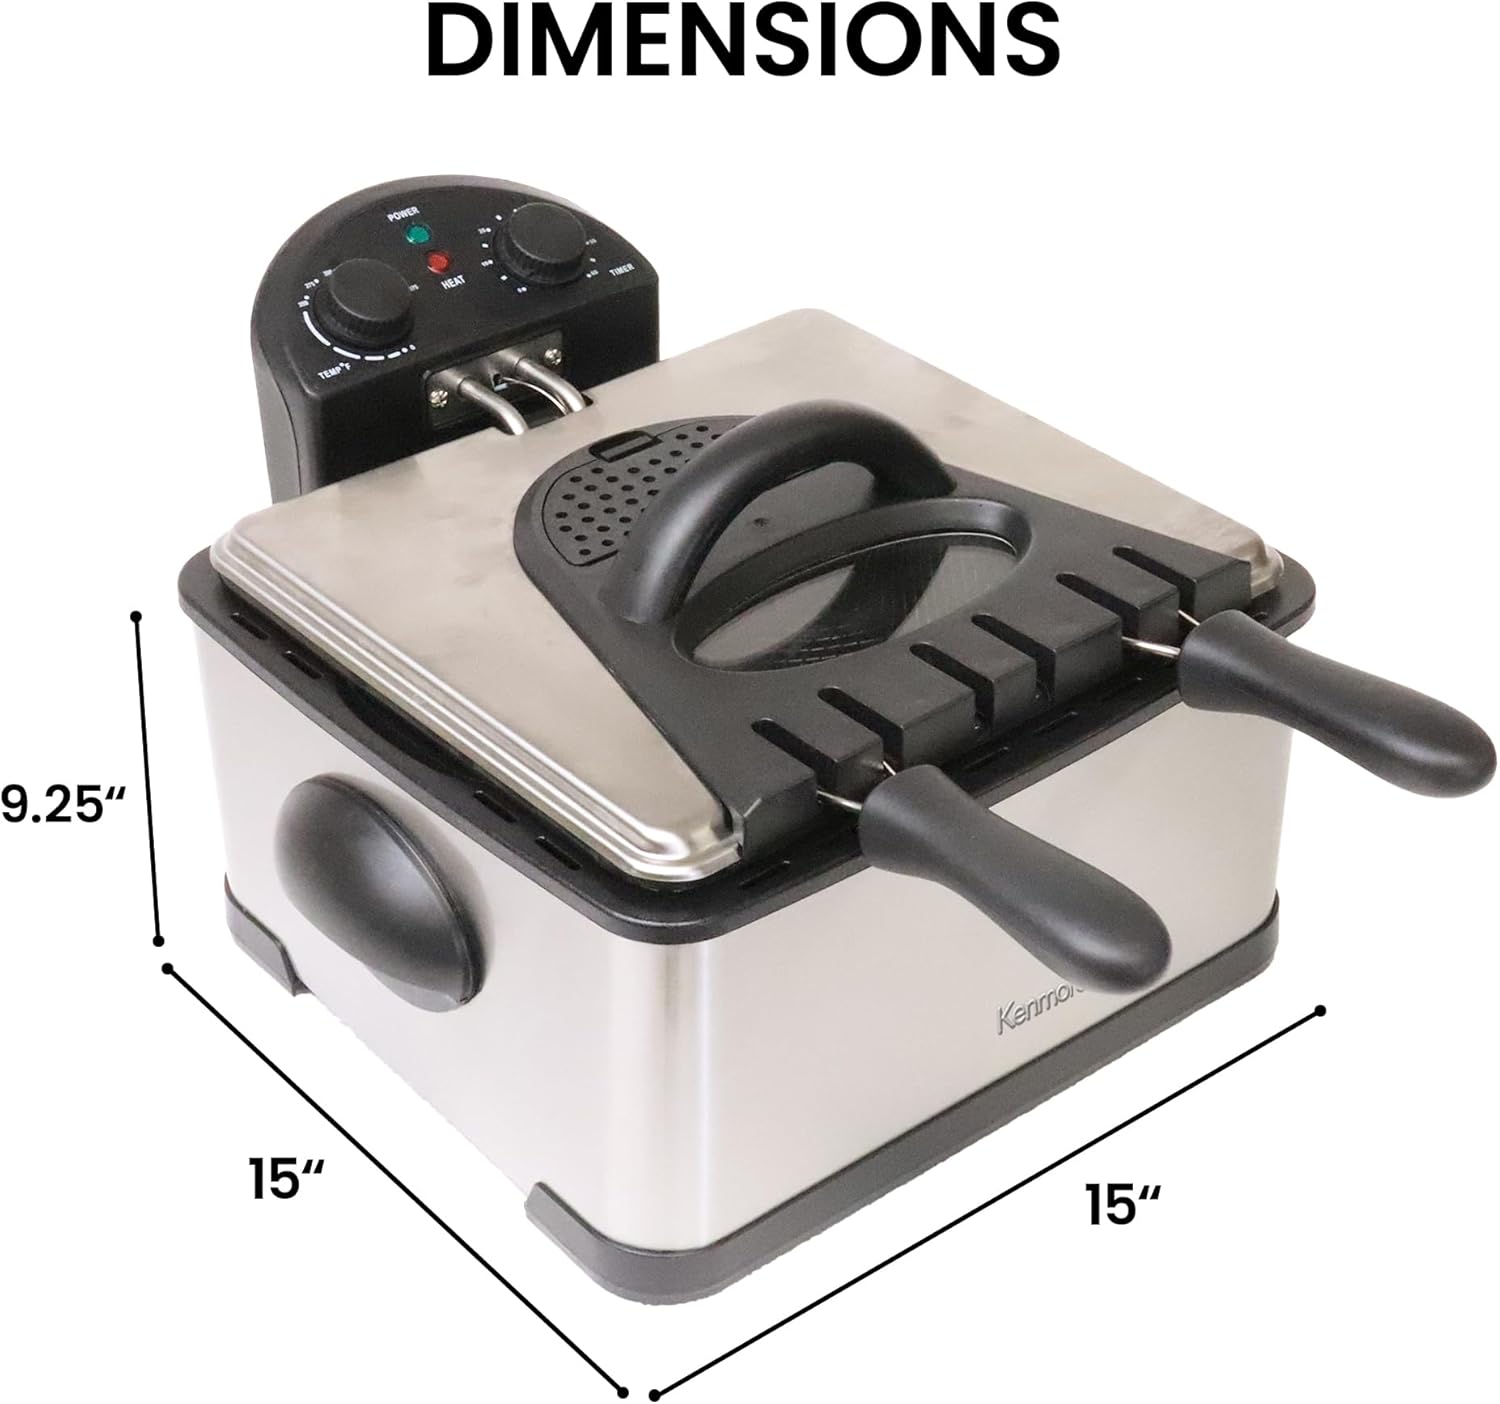
Image 8.1: Product dimensions of the deep fryer.
9. Warranty Information
The Kenmore Electric Deep Fryer comes with a 2-year warranty. This warranty covers defects in materials and workmanship under normal household use from the date of original purchase. Please retain your proof of purchase for warranty claims. For specific terms and conditions, refer to the warranty card included with your product or contact customer support.
10. Customer Support
For assistance with product setup, operation, troubleshooting, or warranty inquiries, please refer to the contact information provided in your product packaging or visit the official Kenmore support website. When contacting support, please have your model number (KKDF3B) and proof of purchase readily available.