NEOCADE B0DHKRMXWD
NEOCADE Retro Handheld Game Console User Manual
Model: B0DHKRMXWD
Introduction
Welcome to the NEOCADE Retro Handheld Game Console user manual. This guide provides essential information for setting up, operating, and maintaining your new portable gaming device. Enjoy a blend of classic gaming with modern convenience, including a 3.5-inch LCD screen, HDMI output, and compatibility with Sega Genesis cartridges.
What's in the Box
- NEOCADE Retro Handheld Game Console
- Game Cartridge (with 12 MD Piko games)
- Type-C Charging Cable
- HDMI Cable
- User Manual (this document)
Product Overview
Familiarize yourself with the console's layout and controls.

Image: The NEOCADE console displaying its dimensions (6.9in x 3.4in x 1.4in) and labeled ports/buttons including HDMI Out, Power In, Reset Button, Start Button, Power Indicator, and Select Button.
- D-Pad: Directional control for movement and menu navigation.
- Action Buttons (A, B, C, X, Y, Z): Game-specific actions.
- START Button: Pause games, confirm selections.
- SELECT Button: Access in-game menus, make selections.
- RESET Button: Restart the console.
- Power Indicator: Shows power status and charging.
- HDMI OUT Port: Connects to a television for external display.
- POWER IN (Type-C) Port: For charging the console.
- Cartridge Slot: Insert Sega Genesis compatible game cartridges.
Setup
1. Charging the Console
Before initial use, fully charge the console's built-in 1800mAh rechargeable battery.
- Connect the provided Type-C charging cable to the POWER IN port on the console.
- Connect the other end of the cable to a compatible USB power adapter (not included) or a powered USB port.
- The Power Indicator light will illuminate during charging and turn off when fully charged.

Image: The NEOCADE console being charged with a Type-C cable connected to a wall adapter, illustrating the charging process.
2. Inserting a Game Cartridge
The console supports Sega Genesis compatible game cartridges.
- Ensure the console is powered off.
- Gently insert the game cartridge into the slot at the top of the console, with the label facing forward, until it clicks into place.
- To remove, gently pull the cartridge straight out.

Image: The NEOCADE console with a 'Retro Game Collection 2' cartridge inserted, alongside the cartridge's box, demonstrating how a cartridge fits into the device.
3. Connecting to a Television (HDMI Output)
For a larger screen experience, connect your console to a TV using the provided HDMI cable.
- Ensure both the console and the television are powered off.
- Connect one end of the HDMI cable to the HDMI OUT port on the console.
- Connect the other end of the HDMI cable to an available HDMI input port on your television.
- Power on your television and select the correct HDMI input source.
- Power on the NEOCADE console. The display will automatically switch to the television.
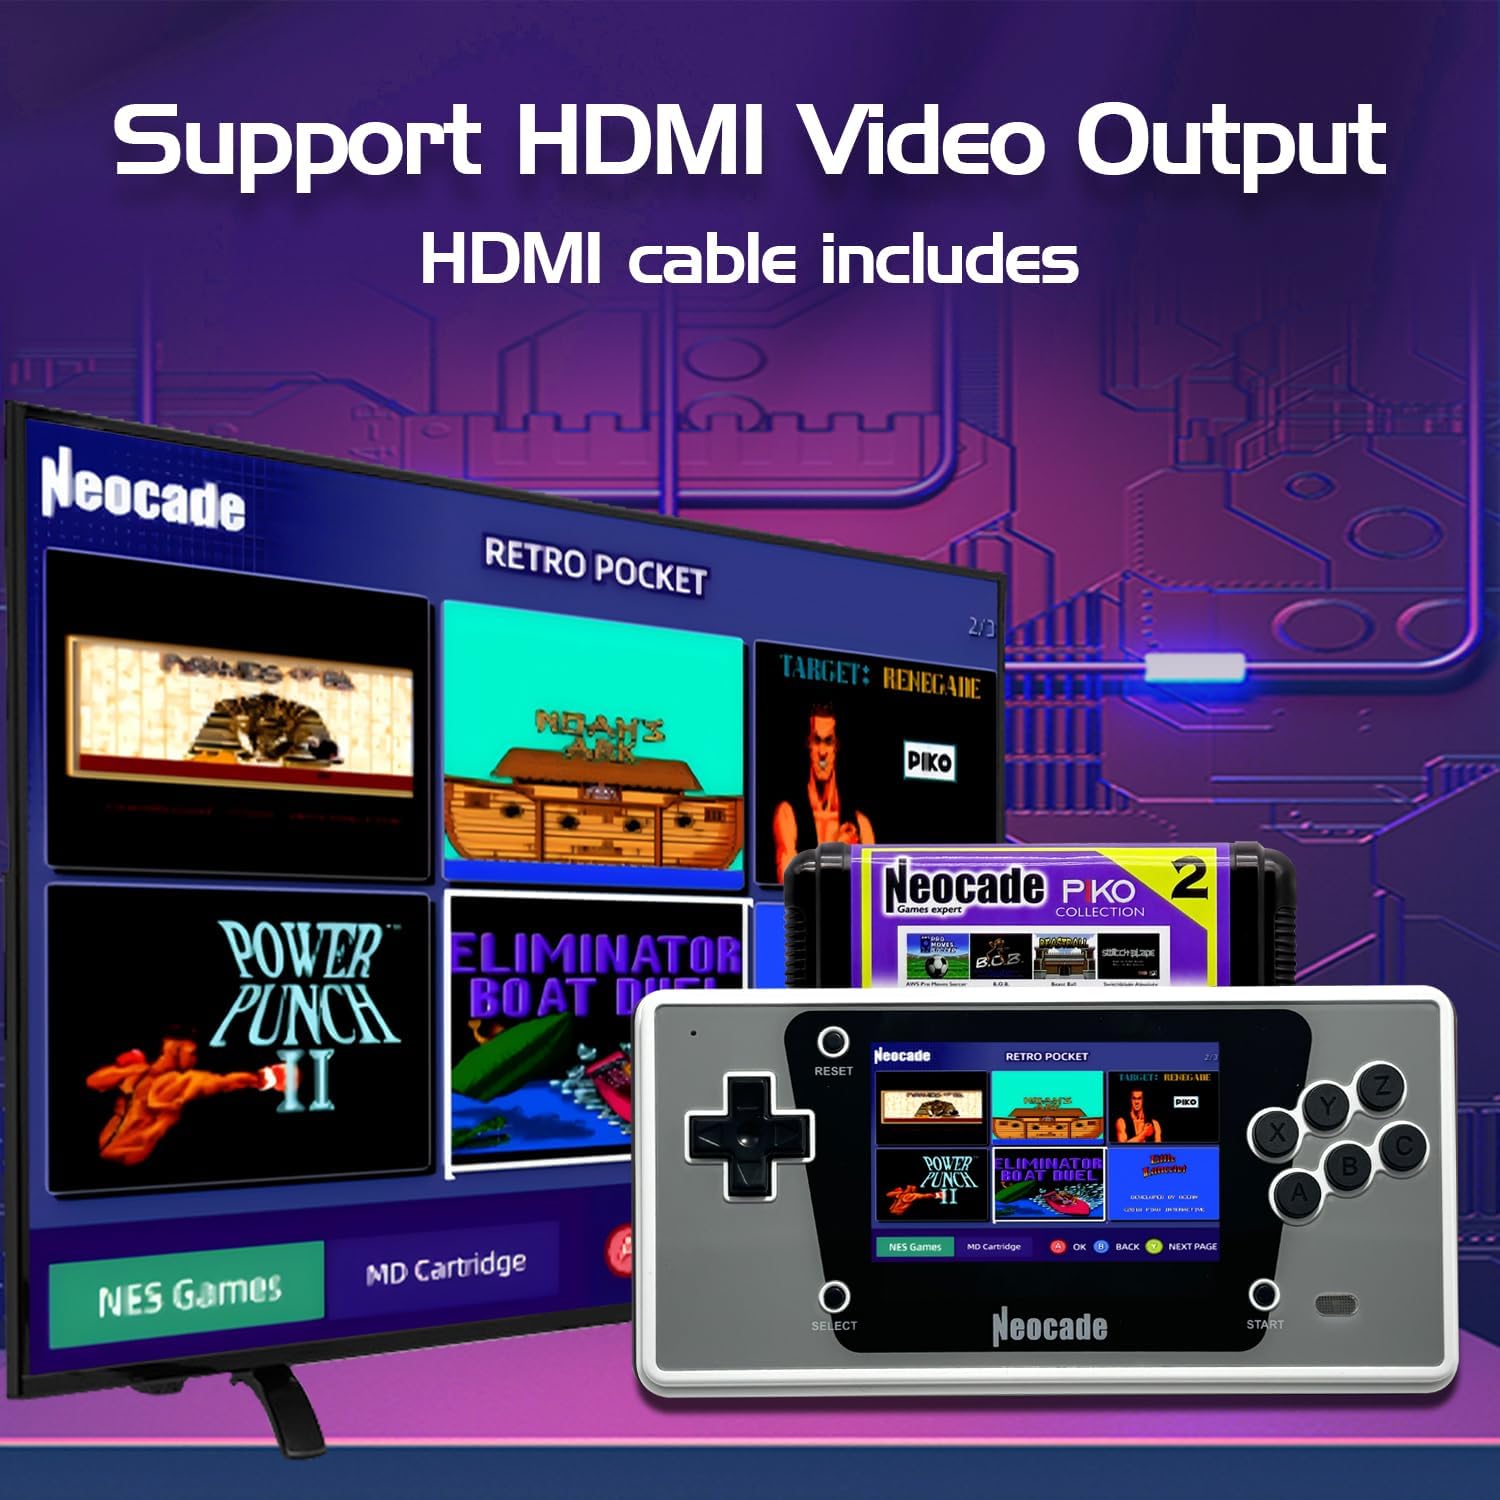
Image: The NEOCADE console connected to a television via an HDMI cable, showing the console's game selection menu mirrored on the larger TV screen.
Operating Instructions
1. Power On/Off
- To Power On: Press and hold the Power button (usually located on the side or top) until the screen illuminates.
- To Power Off: Press and hold the Power button until the screen turns off.
2. Menu Navigation
Use the D-Pad to move between menu options and the A/START button to confirm selections. The SELECT button may be used for additional options or to go back in some menus.
3. Playing Games
The console features both built-in games and support for external cartridges.
- Built-in Games: From the main menu, navigate to the 'Built-in Games' section to browse and select from the pre-installed titles.
- Cartridge Games: If a cartridge is inserted, navigate to the 'Cartridge Games' or 'MD Cartridge' section on the main menu to access the games on the cartridge.

Image: A user holding the NEOCADE console, actively playing a game on its 3.5-inch LCD screen, demonstrating the handheld gaming experience.
Game Lists
1. 18 Built-in PIKO Licensed Games
The console comes pre-loaded with the following PIKO classical games:

Image: A visual display of 18 different retro game titles, such as Eliminator Boat Duel, Dash Galaxy, 8 Eyes, and Bad Dudes, indicating the variety of built-in games.
- Eliminator Boat Duel
- Dash Galaxy
- 8 Eyes
- Bad Dudes
- Little Samson
- Motorcity
- Vindicators
- Metal Mech
- Stanley
- Target: Renegade
- Exploding Fist
- Thunderbolt
- Treasure Master
- Power Punch II
- Noah's Ark
- Road Raider
- And more...
2. 12 MD Piko Games on Included Cartridge
The included game cartridge contains the following 12 MD Piko games:

Image: The 'Retro Game Collection 2' cartridge and its box, clearly listing the 12 included MD games such as AWS Pro Moves Soccer, Risky Woods, Thunderbolt II, and Tinhead.
- AWS Pro Moves Soccer
- Risky Woods
- Aword of Sodan
- Street Racer
- Brutal Sports Football (Beast Ball)
- Immortal
- Thunderbolt II
- B.O.B.
- Beggar Prince
- Switchblade
- Deflektor
- Tinhead
Maintenance
- Cleaning: Use a soft, dry cloth to clean the console's exterior. Avoid liquid cleaners or abrasive materials.
- Storage: Store the console in a cool, dry place away from direct sunlight and extreme temperatures.
- Battery Care: To prolong battery life, avoid fully discharging the battery frequently. Charge it regularly, even if not in use for extended periods.
- Cartridge Care: Handle game cartridges by their edges. Keep the contacts clean and free from dust.
Troubleshooting
| Problem | Possible Solution |
|---|---|
| Console does not power on. | Ensure the battery is charged. Connect the console to a power source and try again. |
| Game does not load from cartridge. | Ensure the cartridge is fully and correctly inserted. Try removing and re-inserting the cartridge. Clean the cartridge contacts if necessary. |
| No display on TV via HDMI. | Check that the HDMI cable is securely connected to both the console and the TV. Ensure the TV is set to the correct HDMI input source. |
| Screen is frozen or unresponsive. | Press the RESET button to restart the console. If the issue persists, power off and then power on the console. |
| Poor battery life. | Ensure the console is fully charged before use. Battery performance may decrease over time with prolonged use. |
Specifications
| Feature | Detail |
|---|---|
| Screen Size | 3.5 Inches LCD (320*240 Resolution) |
| Controller Type | Button Control |
| Power Source | Battery Powered |
| Battery Type | 1 Lithium Ion battery (included) |
| Battery Capacity | 1800mAh |
| Estimated Battery Life | 4-5 hours |
| Video Output | HDMI |
| Material | ABS |
| Product Dimensions | 6.85 x 1.4 x 3.39 inches |
| Item Weight | 1.5 pounds |
| Manufacturer Recommended Age | 5 years and up |
Safety Information
Please read and follow all safety instructions to prevent injury or damage to the device.
- Do not expose the console to water or excessive moisture.
- Avoid dropping or subjecting the console to strong impacts.
- Do not attempt to disassemble or modify the console. This will void any potential warranty.
- Use only the provided charging cable or a certified equivalent.
- Keep the console away from extreme temperatures and direct heat sources.
- Supervise young children during use.
Warranty and Support
For product support, troubleshooting assistance, or warranty inquiries, please contact NEOCADE customer service through the retailer's platform or the official NEOCADE website. Please retain your proof of purchase for warranty claims.
Related Documents - B0DHKRMXWD
 |
ScreenGopher User Manual: Customize Your Sega Gopher Handheld This user manual provides comprehensive instructions for ScreenGopher, a Windows utility software designed to customize the Sega Gopher handheld game console. Learn how to manage game lists, assign custom preview images, and unlock full functionality for your Sega Genesis/Mega Drive games. |
 |
Manuel d'instructions Sega Mega Drive - Guide Complet Découvrez comment installer, connecter et utiliser votre console Sega Mega Drive avec ce manuel d'instructions complet. Inclut des schémas et des solutions de dépannage pour une expérience de jeu optimale. |
 |
Monster World IV Manual - SEGA Genesis/Mega Drive Game Guide Official game manual for SEGA's Monster World IV on the Genesis/Mega Drive. Learn about gameplay, controls, characters, items, and precautions for Asha's adventure. |
 |
AtGames Sega Genesis Flashback HD - Instruction Manual Official instruction manual for the AtGames Sega Genesis Flashback HD console (Model FB3680), covering setup, controller usage, game play, and troubleshooting. Learn how to connect, play, and maintain your retro gaming console. |
 |
The Ottifants Instruction Manual - SEGA Mega Drive Official instruction manual for The Ottifants video game on the SEGA Mega Drive/Genesis system. Learn about gameplay, controls, features, and how to play. |
 |
Retro Gaming Console Setup Guide and Comprehensive Game List A comprehensive guide to setting up your retro gaming console, including detailed instructions and an extensive list of games for classic systems like Nintendo, Atari, Sega, and more. |
Ask a question about this manual
Ask about setup, troubleshooting, compatibility, parts, safety, or missing instructions. Manuals+ will review the question and use this page’s manual context to help answer it.