1. Introduction
This manual provides essential information for the safe and effective use of your Generic 10 Amp Panel Mount 12V Battery Charger, Model BC-DC-10. This device is designed to maintain and charge 12V batteries in various applications, including hydraulic dump trailers, marine vessels, RVs, and cars. Its panel-mount design allows for convenient integration and access.
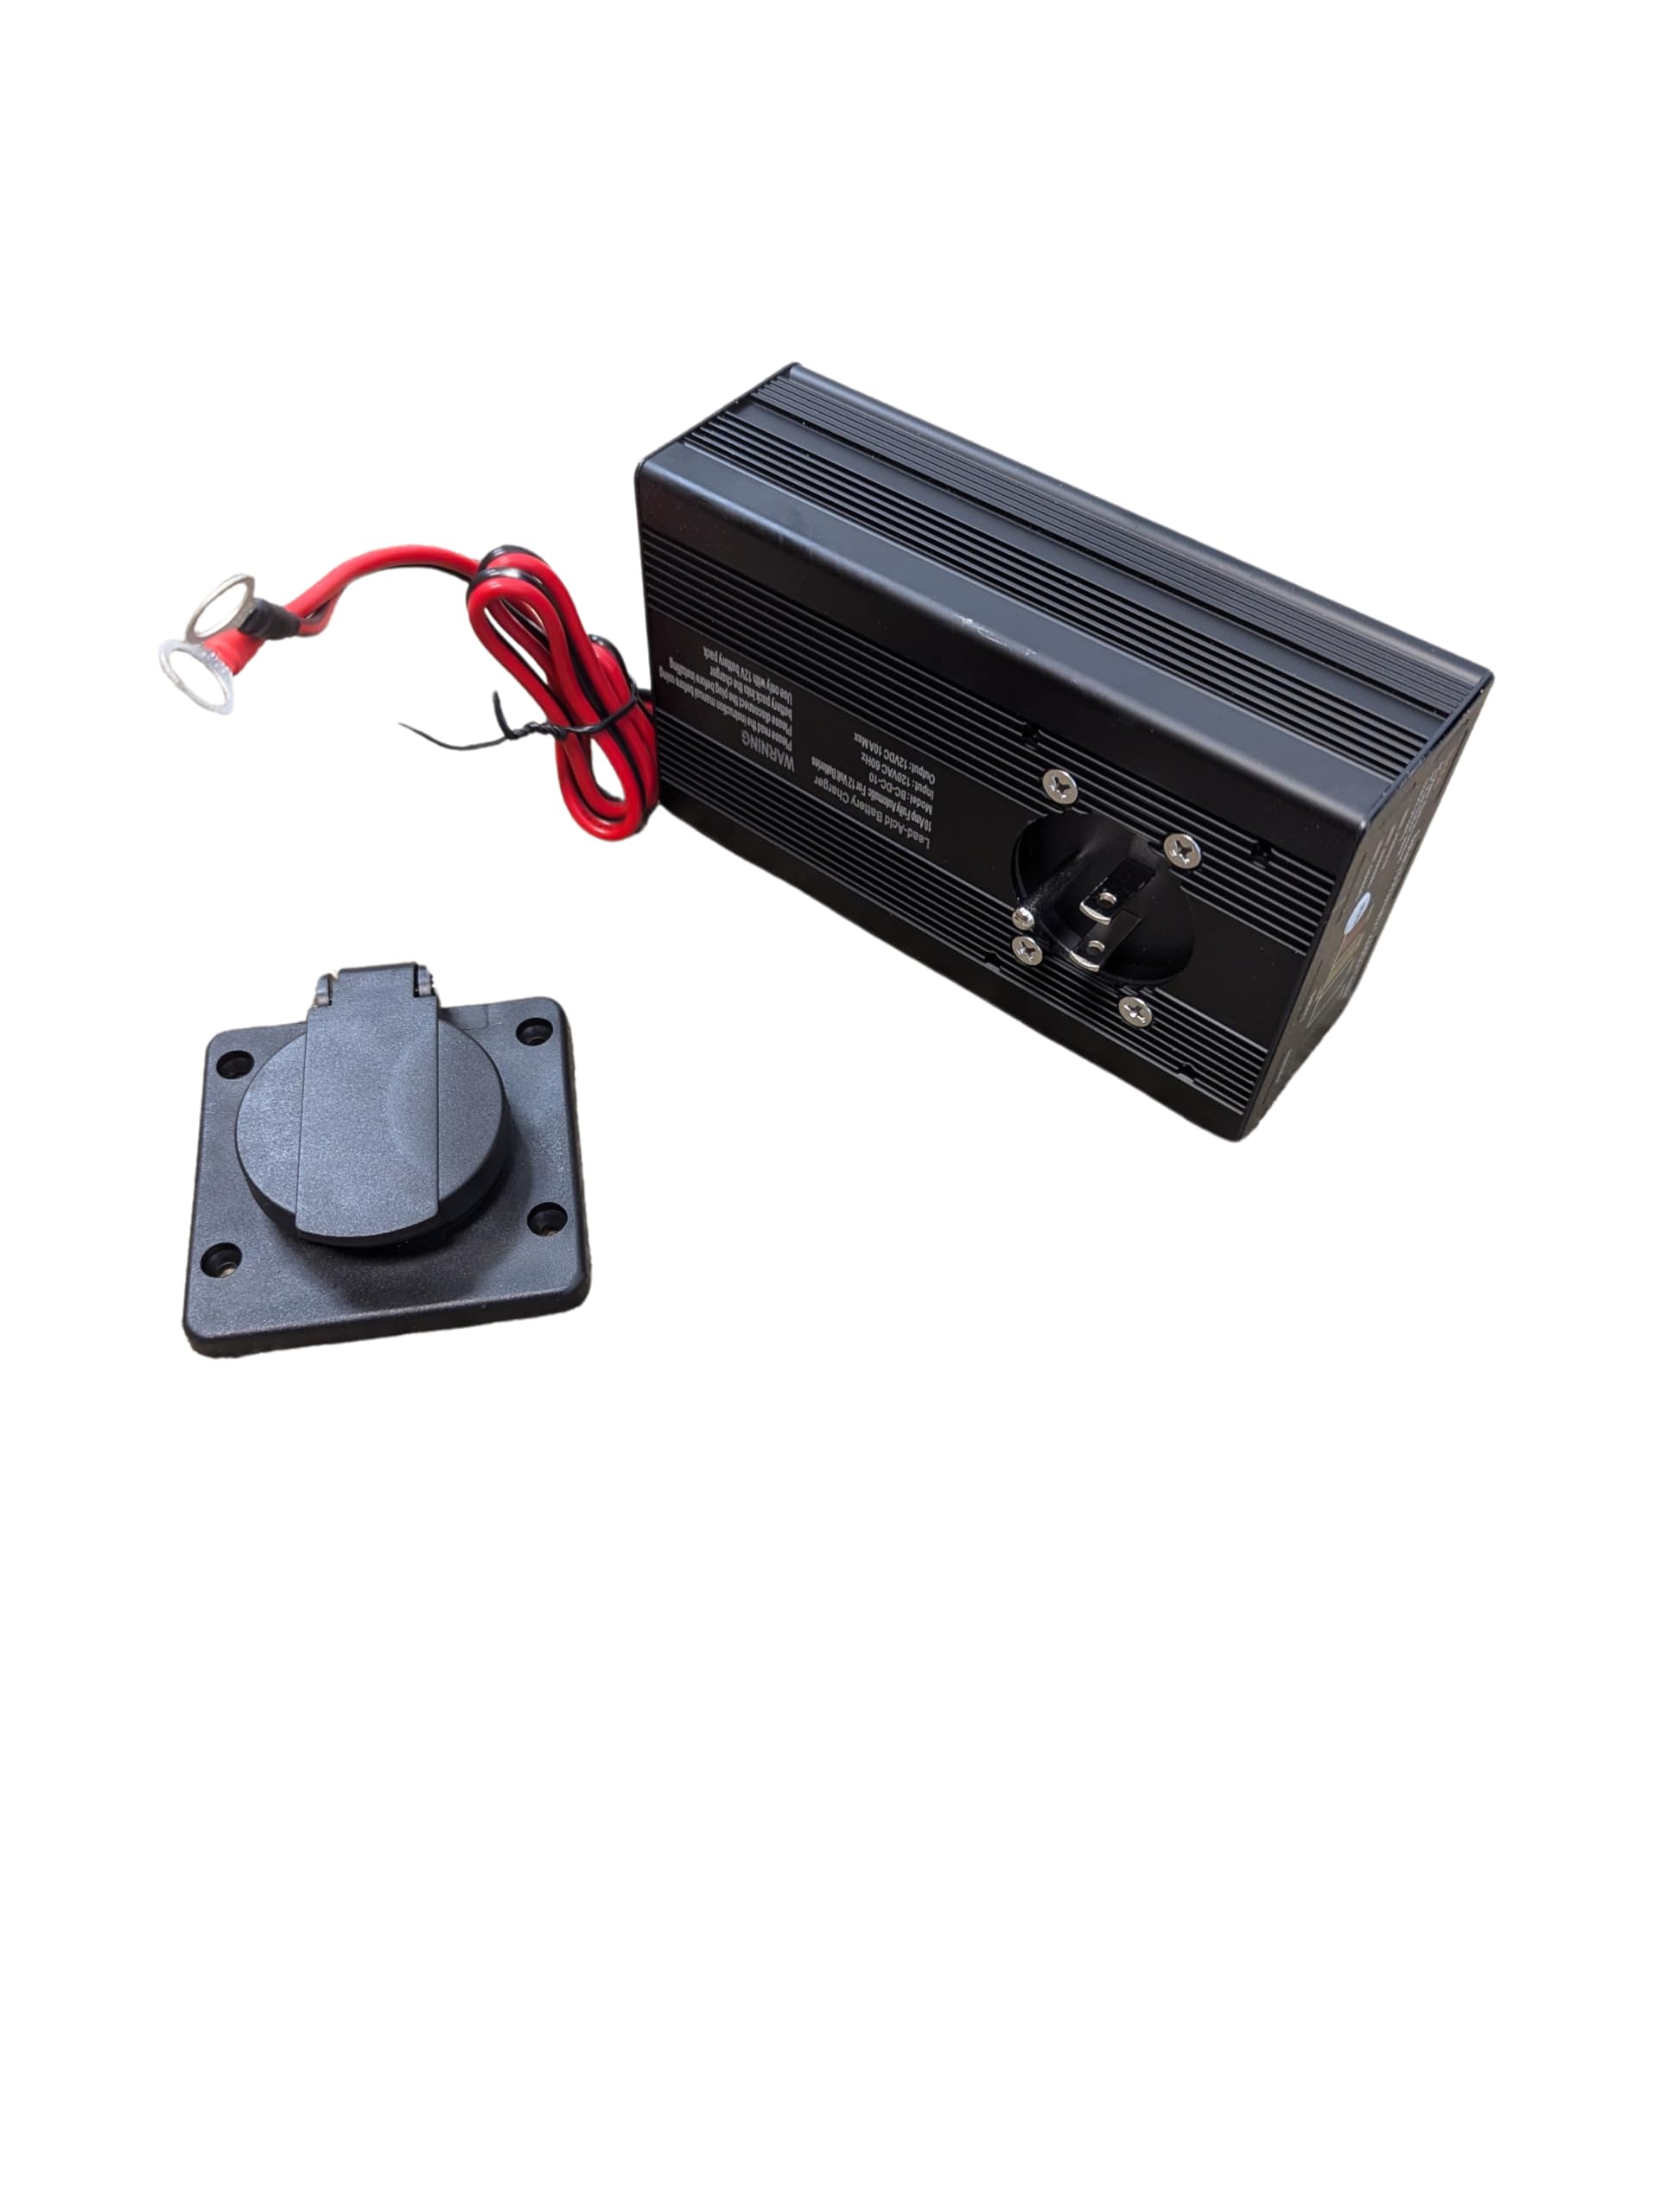
Image 1.1: Front view of the Generic 10 Amp Panel Mount 12V Battery Charger.
2. Safety Information
- Read all instructions before using the charger.
- Use this charger only for 12V lead-acid batteries. Do not use for other battery types.
- Ensure proper ventilation during charging.
- Avoid sparks or flames near the battery during charging, as batteries can produce explosive gases.
- Wear eye protection and gloves when working with batteries.
- Disconnect the AC power before making or breaking connections to the battery.
- Do not expose the charger to rain or excessive moisture.
- If the charger or battery cables are damaged, do not use the product. Contact support.
3. Product Features
- Input: AC 120V, 60Hz
- Output: DC 12V, 10 Amp
- Battery Cables: 24-inch long, 16 AWG wire
- Panel Mount Design: Allows for flush mounting through a panel.
- Weather-Resistant Cover: Integrated flip-up cover protects the AC inlet.
- LED Indication: Push-button display for battery and alternator/charging system status.
4. Setup and Installation
The charger is designed for panel mounting, providing a secure and accessible charging port.
- Choose a Mounting Location: Select a suitable flat surface on a panel (e.g., a dump trailer toolbox) that allows for secure fastening and access to the battery. Ensure there is enough space behind the panel for the charger body and cable routing.
- Prepare the Mounting Hole: Cut an appropriate opening in the panel for the charger's body and the AC inlet. Refer to the product dimensions for precise measurements.
- Mount the Charger: Insert the charger into the prepared opening. Secure it using appropriate fasteners (not included) through the designated mounting holes on the charger's faceplate.
- Connect to Battery: Connect the charger's battery cables to your 12V battery. The red cable connects to the positive (+) terminal, and the black cable connects to the negative (-) terminal. Ensure connections are tight and secure.

Image 4.1: Example of the charger installed within a trailer toolbox, showing the main unit.

Image 4.2: The panel-mounted AC inlet with its weather-resistant cover closed.

Image 4.3: The panel-mounted AC inlet with its weather-resistant cover open, ready for an extension cord connection.
5. Operating Instructions
Once installed and connected to the battery, the charger operates automatically to maintain the battery. To initiate charging, plug an AC extension cord into the charger's integrated outlet.
5.1 LED Indication and Testing
The charger features an LED display to indicate battery and charging system status. To use the push-button tester, ensure AC power is disconnected from the charger.

Image 5.1: Close-up of the LED indicator panel and push button.
- POWER ON: Indicates the charger is receiving AC power.
- CHARGING: Indicates the battery is currently being charged.
- CHARGED: Indicates the battery has reached full charge and the charger is in maintenance mode.
- Battery Status (Push Button Test - AC power removed):
- POOR (Red): Battery charge is low or battery health is poor.
- FAIR (Yellow): Battery charge is moderate.
- GOOD (Green): Battery charge is sufficient.
- Alternator Status (Push Button Test - AC power removed):
- GOOD (Green): Alternator is functioning correctly.
To check battery and alternator status, ensure the charger is disconnected from AC power, then press the 'PUSH' button on the display panel. The corresponding LEDs will illuminate.
6. Maintenance
- Keep the charger clean and dry. Wipe with a soft, damp cloth if necessary.
- Regularly inspect battery cables and connections for any signs of wear, corrosion, or damage.
- Ensure the weather-resistant cover for the AC inlet is properly closed when not in use to prevent moisture and debris ingress.
- Store the charger in a cool, dry place when not in active use for extended periods.
7. Troubleshooting
- Charger not turning on:
- Check if the AC extension cord is securely plugged into the charger and the wall outlet.
- Verify that the wall outlet has power.
- Battery not charging:
- Ensure battery cables are correctly and securely connected to the battery terminals (red to positive, black to negative).
- Confirm the battery is a 12V lead-acid type.
- Check for any damage to the battery cables or charger unit.
- LED indicators not working during push-button test:
- Ensure AC power is completely disconnected from the charger before performing the test.
8. Specifications
| Feature | Specification |
|---|---|
| Brand | Generic |
| Model Number | BC-DC-10 |
| Input Voltage | AC 120 Volts |
| Output Voltage | DC 12 Volts |
| Current Rating | 10 Amps |
| Product Dimensions (D x W x H) | 2" x 3.5" x 6" |
| Item Weight | 1.5 Pounds |
| Connector Type | Battery Clamp/Alligator Clip (on cables) |
| Cable Length | 24 inches (16 AWG wire) |
9. Warranty
This product comes with a 30-day warranty from the date of purchase. The warranty covers manufacturing defects under normal use. It does not cover damage caused by misuse, accident, unauthorized modification, or improper installation.
10. Support
For technical assistance, warranty claims, or further inquiries, please contact the seller or retailer from whom you purchased this product. Please have your purchase details and model number (BC-DC-10) available when contacting support.