1. Introduction
This manual provides essential instructions for the installation, operation, and maintenance of your LHAIQQ E-Bike 48-72V LCD Display Motor Speed Meter Screen. Designed for electric bikes, scooters, and tricycles, this display offers clear digital readouts for speed, battery status, and other critical information. Please read this manual thoroughly before installation and use to ensure proper function and safety.
2. Product Overview
The LHAIQQ LCD Display is a digital meter compatible with 48V-72V electric vehicle systems. It features a 6-pin interface for easy connection to your vehicle's electrical system. The display provides real-time information such as speed, turn signals, headlight status, and battery level.

Figure 1: Front view of the LHAIQQ E-Bike LCD Display. This image shows the digital speed readout, battery level indicator, and various warning lights including turn signals and headlight status.
3. Setup and Installation
Before beginning installation, ensure your electric vehicle's power is turned off. Incorrect wiring can damage the display or your vehicle's electrical system.
3.1 Wiring Diagram and Interface Definition
The display utilizes a 6-pin interface. Carefully match the wires according to the following definitions:
- Blue line: Left turn signal
- Green line: Right turn signal
- Red line: Positive electrode (Power +)
- Black line: Negative electrode (Ground -)
- Yellow line: Velocity signal input
- White line: Headlight signal input

Figure 2: LHAIQQ E-Bike LCD Display showing the attached 6-pin wiring harness. This image illustrates the physical connection point for the electrical system.
3.2 Mounting the Display
- Identify a suitable location on your handlebar for optimal visibility and access.
- Secure the display using appropriate mounting hardware. If your model includes a windshield, attach it using the provided M5x15MM screws.
- Route the wiring harness carefully, ensuring it does not interfere with steering or other moving parts.
- Connect the 6-pin connector to your vehicle's corresponding interface, following the wiring definitions above.
- Once all connections are secure, turn on your vehicle's power to test the display.
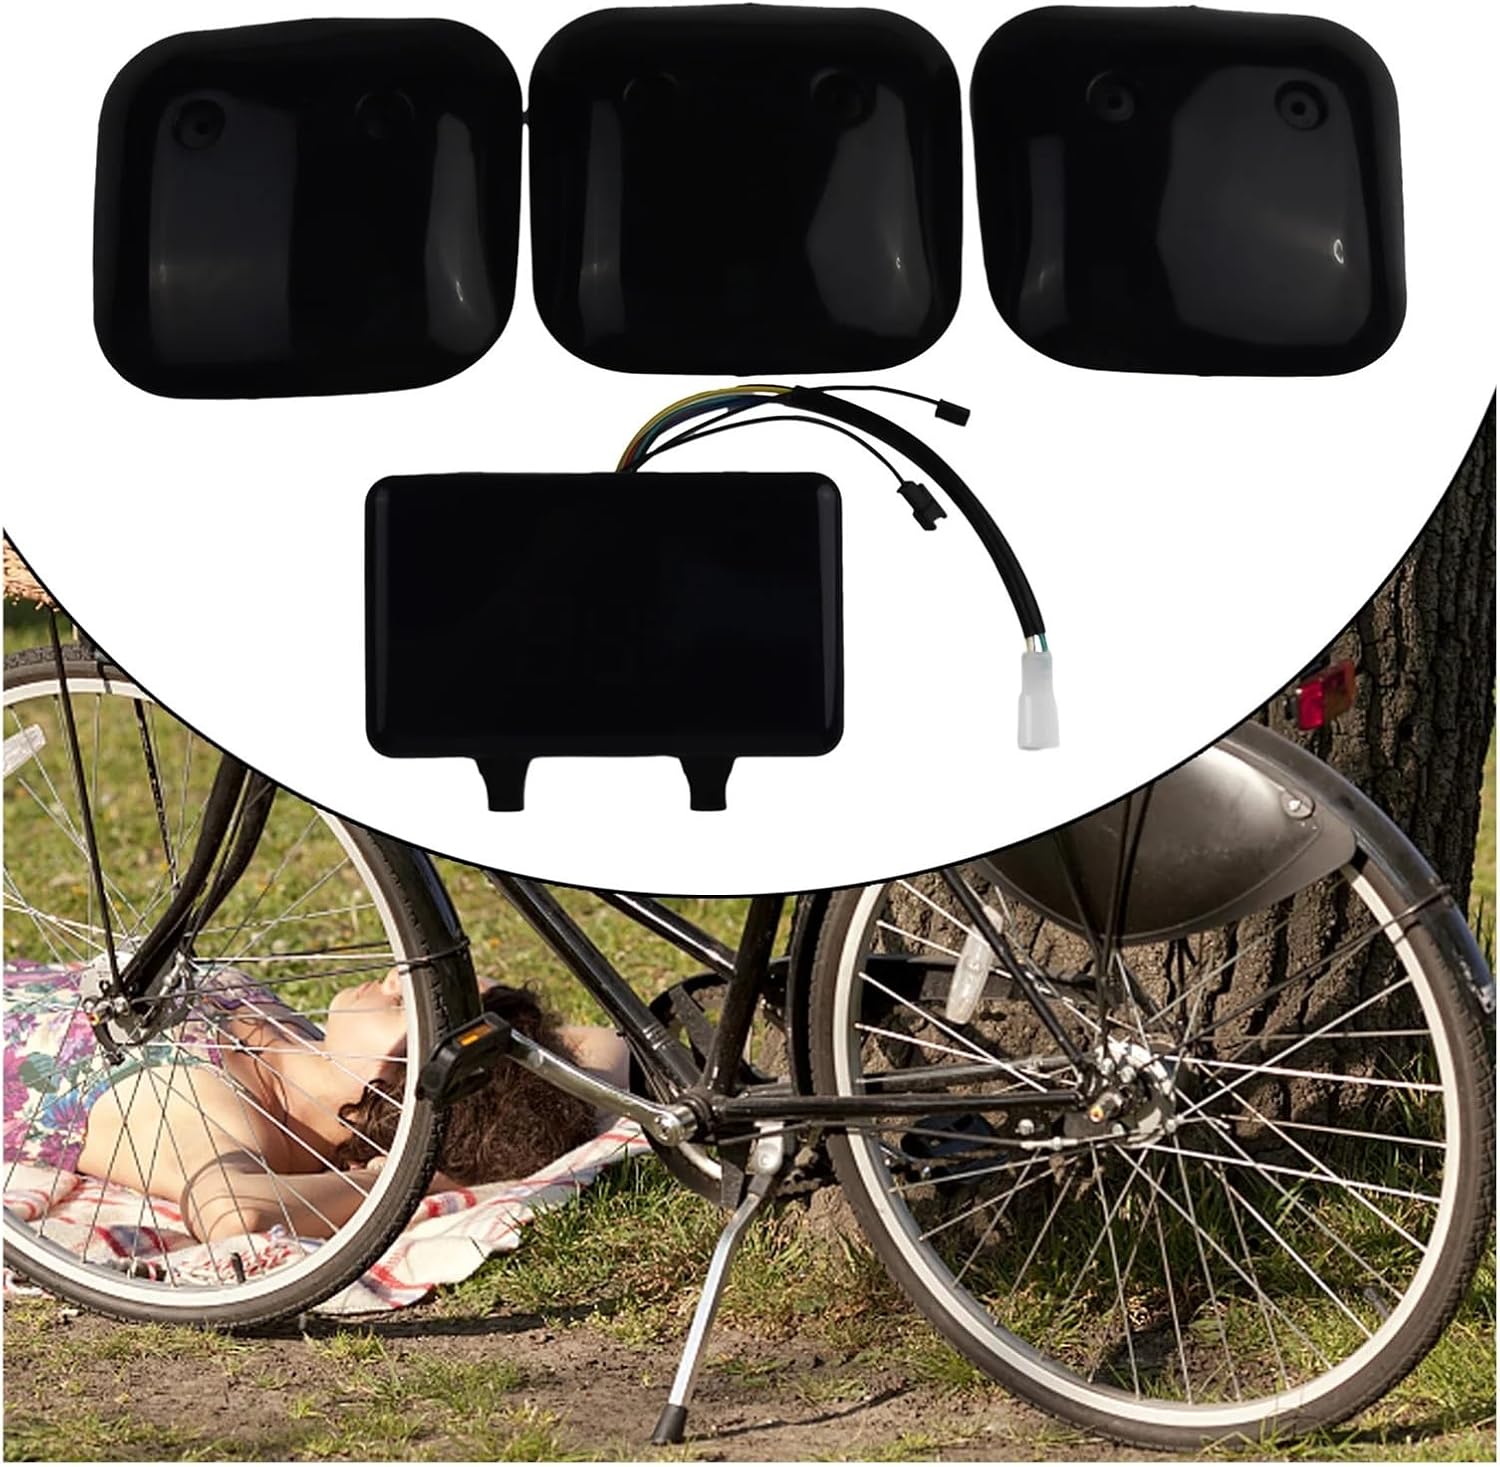
Figure 3: LHAIQQ E-Bike LCD Display with an optional windshield installed. This configuration provides additional protection for the display.
4. Operating Instructions
Once installed and powered on, the display will automatically show relevant information.
- Speed Display: The large digital numbers indicate your current speed in kilometers per hour (KM/H). The maximum speed displayed is 99 KM/H.
- Battery Indicator: The battery icon provides a visual representation of your remaining battery charge.
- Turn Signals: The left and right arrow icons illuminate when the corresponding turn signal is activated.
- Headlight Indicator: The headlight icon illuminates when your vehicle's headlights are on.
- Other Indicators: Additional icons may illuminate to indicate system status or warnings (e.g., 'READY', 'ECU', 'P'). Refer to your vehicle's main manual for specific interpretations of these indicators.
5. Maintenance
To ensure the longevity and optimal performance of your LCD display, follow these maintenance guidelines:
- Cleaning: Use a soft, damp cloth to gently wipe the display screen. Avoid abrasive cleaners or solvents, as these can damage the screen surface.
- Protection: Keep the display free from excessive moisture, direct sunlight for prolonged periods, and extreme temperatures.
- Connections: Periodically check all wiring connections to ensure they are secure and free from corrosion.
6. Troubleshooting
If you encounter issues with your display, refer to the following common problems and solutions:
| Problem | Possible Cause | Solution |
|---|---|---|
| Display does not power on | Loose or incorrect power connection (Red/Black wires) Vehicle power off Voltage incompatibility | Check Red (+) and Black (-) wire connections. Ensure vehicle power is on. Verify vehicle voltage is within 48V-72V range. |
| Incorrect speed reading | Loose or incorrect velocity wire connection (Yellow wire) Sensor malfunction | Check Yellow wire connection to the speed sensor. Consult your vehicle's manufacturer for sensor troubleshooting. |
| Turn signals or headlight indicators not working | Loose or incorrect signal wire connection (Blue/Green/White wires) Vehicle's lights not functioning | Check Blue, Green, and White wire connections. Verify that your vehicle's turn signals and headlights are operational. |
If problems persist after attempting these solutions, it is recommended to consult a qualified technician or your vehicle's service center.
7. Specifications
| Feature | Specification |
|---|---|
| Model Number | 8569 |
| Working Voltage | 48V-72V |
| Interface Type | 6-PIN |
| Max Speed Display | 99 KM/H |
| Line Length | Approx. 26 cm |
| Temperature Range | -20°C to 150°C |
| Wind Deflector Screws | M5x15MM (if applicable) |
| Item Weight | 1.76 ounces |
| Package Dimensions | 1.18 x 0.79 x 0.39 inches |
8. Warranty and Support
This product is designed for durability and performance. For warranty information or technical support, please refer to the retailer or manufacturer's official channels. Keep your purchase receipt as proof of purchase.