1. Product Overview
The GreBear BM27QM is a 27-inch curved gaming monitor designed to deliver an immersive visual experience. Featuring a 1500R curvature, Full HD (1920x1080P) resolution, and a high refresh rate of 165Hz with a rapid 1ms response time, it is optimized for fast-paced gaming. The monitor supports HDR and AMD FreeSync technology to minimize screen tearing and stuttering, ensuring smooth gameplay. Its IPS non-glare panel offers wide 178° viewing angles and vibrant color reproduction with 100% sRGB coverage. Eye-care features such as Flicker-Free and Low Blue Light are integrated to reduce eye strain during extended use. Connectivity options include HDMI and DisplayPort 1.4, making it compatible with various gaming consoles and PCs.

Figure 1: GreBear BM27QM Curved Gaming Monitor
Key Features:
- 1500R Curved Display: Enhances immersion and reduces eye movement for a more comfortable viewing experience.
- 165Hz Refresh Rate & 1ms Response Time: Provides ultra-smooth visuals and minimizes motion blur for competitive gaming.
- Full HD (1920x1080P) IPS Panel: Delivers crisp, clear images with wide viewing angles and accurate colors.
- HDR Support: Offers enhanced contrast and color depth for more lifelike images.
- AMD FreeSync: Synchronizes the monitor's refresh rate with your GPU to eliminate screen tearing and stuttering.
- Eye-Care Technology: Flicker-Free and Low Blue Light features help reduce eye fatigue.
- VESA Mount Compatible: Allows for flexible mounting options (100x100mm).
- Built-in Dual 2W Speakers: Provides integrated audio.
2. Safety Information
Please read all instructions carefully before using this monitor. Keep this manual for future reference.
- Do not expose the monitor to rain, moisture, or extreme temperatures.
- Ensure proper ventilation around the monitor to prevent overheating.
- Use only the power adapter provided with the monitor.
- Avoid placing heavy objects on the power cord.
- Do not attempt to disassemble or repair the monitor yourself. Refer all servicing to qualified personnel.
- Clean the screen with a soft, lint-free cloth. Avoid using abrasive cleaners or solvents.
- Position the monitor at a comfortable viewing distance to reduce eye strain.
3. Package Contents
Verify that all items are present in your package:
- GreBear BM27QM Monitor
- Stand Base
- Stand Neck
- Power Adapter
- DisplayPort (DP) Cable
- User Manual
4. Setup Instructions
4.1 Assembling the Stand
- Carefully remove the monitor from its packaging, keeping the screen protected.
- Attach the stand neck to the back of the monitor until it clicks into place or is secured with screws (if applicable).
- Connect the stand base to the stand neck and tighten the screw at the bottom of the base.
- Place the assembled monitor on a stable, flat surface.

Figure 2: Monitor with stand, side view.
4.2 Connecting Cables
Connect the necessary cables to the corresponding ports on the back of the monitor and your computer/device.
- Power: Connect the power adapter to the DC IN port on the monitor and then to a power outlet.
- DisplayPort (DP): For optimal performance (165Hz refresh rate), connect the included DisplayPort cable from your computer's graphics card to the DP port on the monitor.
- HDMI: Alternatively, connect an HDMI cable from your computer or gaming console (e.g., PS4/5, Xbox, Switch) to an HDMI port on the monitor (supports up to 120Hz).
- Audio Out: If using external speakers or headphones, connect them to the 3.5mm audio output jack.
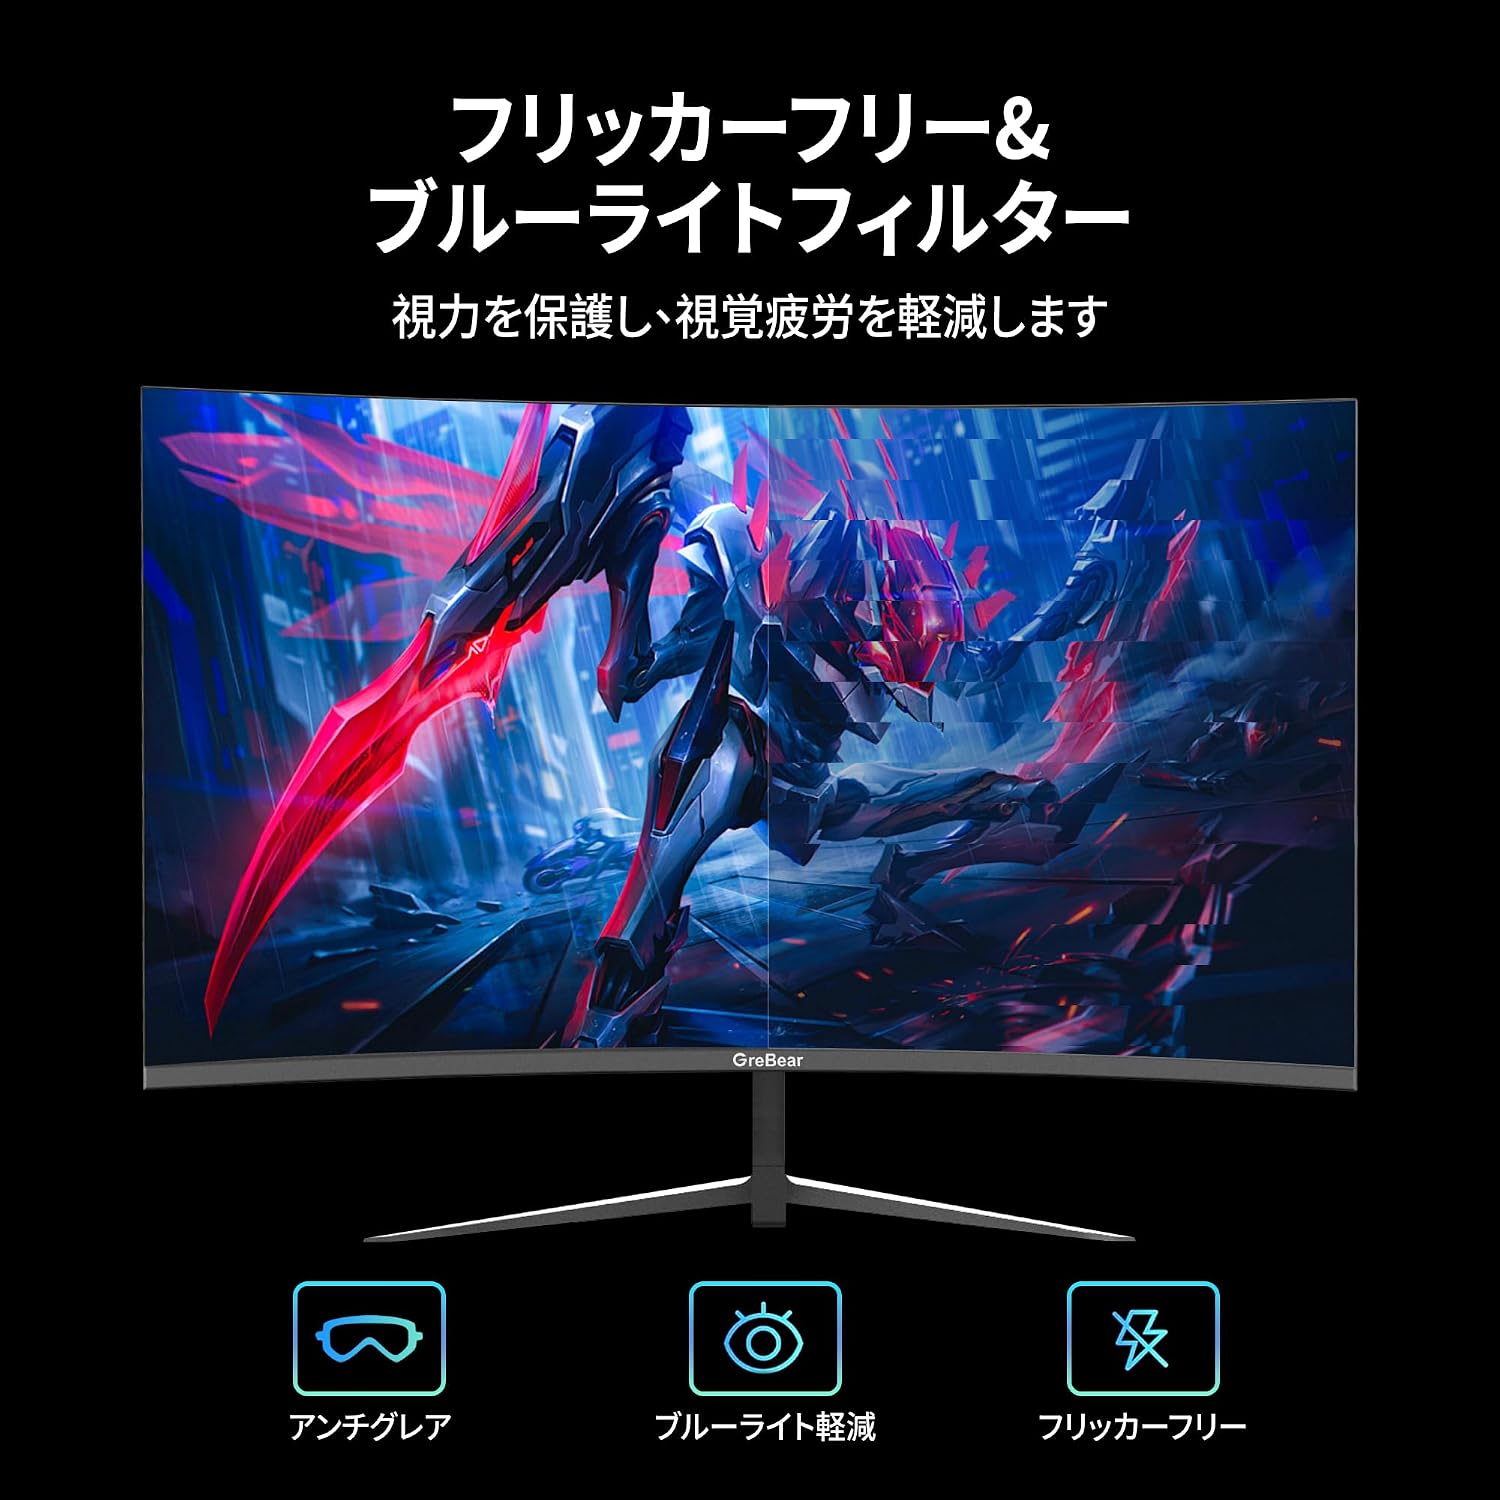
Figure 3: Rear view of the monitor showing connectivity ports (HDMI, DP, Audio, DC).
4.3 VESA Mounting
The monitor supports 100x100mm VESA mounting standards, allowing you to attach it to a wall mount or an adjustable monitor arm (sold separately).
- Remove the stand neck from the monitor.
- Attach the VESA mount adapter (if required by your mount) to the monitor using the provided screws.
- Secure the monitor to your VESA-compatible wall mount or arm according to the mount's instructions.

Figure 4: Monitor demonstrating VESA mount compatibility.
5. Operating Instructions
5.1 Power On/Off
Press the power button located on the back or bottom of the monitor to turn it on or off. The power indicator light will illuminate when the monitor is on.
5.2 OSD Menu Navigation
The On-Screen Display (OSD) menu allows you to adjust various monitor settings. Use the joystick control, typically located on the back of the monitor, to navigate the menu.
- Press the joystick: To open the OSD menu.
- Move joystick Up/Down: To navigate through menu options.
- Move joystick Left/Right: To adjust values or enter sub-menus.
- Press the joystick again: To confirm a selection or exit a sub-menu.
5.3 Picture Settings
Adjust display characteristics to your preference:
- Brightness: Controls the overall luminance of the screen.
- Contrast: Adjusts the difference between light and dark areas.
- Color Temperature: Selects preset color temperatures (e.g., Warm, Cool, User) or customizes RGB values.
- HDR Mode: Enable or disable High Dynamic Range for compatible content.

Figure 5: Visual comparison of SDR (Standard Dynamic Range) and HDR (High Dynamic Range) content.
5.4 Gaming Features
Optimize your gaming experience with these settings:
- FreeSync: Enable AMD FreeSync to synchronize the monitor's refresh rate with your graphics card, eliminating screen tearing and stuttering.
- Response Time: Adjust the response time (e.g., 1ms GTG) to reduce ghosting in fast-moving scenes.
- Crosshair: Activate an on-screen crosshair for improved aiming in first-person shooter games.

Figure 6: Demonstrating the effect of AMD FreeSync on gaming visuals, reducing tearing and stuttering.

Figure 7: Crosshair calibration feature for enhanced aiming in games.
5.5 Eye Care Features
The monitor includes features to protect your eyes during prolonged use:
- Flicker-Free: Reduces screen flickering, which can cause eye strain and headaches.
- Low Blue Light: Filters out harmful blue light emissions to prevent eye fatigue and improve sleep quality.

Figure 8: Illustration of Flicker-Free and Low Blue Light technologies for eye protection.
5.6 Audio Settings
The monitor has dual 2W built-in speakers. You can adjust the volume through the OSD menu or your connected device.

Figure 9: Monitor highlighting its dual built-in speakers for immersive audio.
6. Physical Adjustments
6.1 Tilt Adjustment
The monitor allows for tilt adjustment from -5° to +15° to help you find the most comfortable viewing angle.
- Gently hold both sides of the monitor.
- Tilt the screen forwards or backwards to your desired angle.

Figure 10: Illustration of the monitor's tilt adjustment capability.
7. Troubleshooting
If you encounter issues with your monitor, please refer to the following common problems and solutions:
| Problem | Possible Cause | Solution |
|---|---|---|
| No image on screen | No power; Incorrect input selected; Loose video cable | Check power connection; Select correct input source via OSD; Reconnect video cable securely. |
| Image is blurry or distorted | Incorrect resolution; Graphics card driver issue | Set display resolution to 1920x1080P; Update graphics card drivers. |
| Screen flickering or tearing | FreeSync not enabled; Low refresh rate | Enable FreeSync in OSD and graphics card settings; Set refresh rate to 165Hz. |
| No sound from speakers | Volume too low; Incorrect audio output selected | Adjust volume in OSD or PC; Ensure monitor is selected as audio output device. |
If the problem persists, please contact customer support.
8. Technical Specifications
| Feature | Specification |
|---|---|
| Model | BM27QM |
| Screen Size | 27 inches |
| Panel Type | IPS Non-Glare |
| Curvature | 1500R |
| Resolution | FHD (1920 x 1080P) |
| Aspect Ratio | 16:9 |
| Refresh Rate | 165Hz (DP), 120Hz (HDMI) |
| Response Time | 1ms (GTG) |
| Brightness | 300 cd/m² |
| Contrast Ratio | 4000:1 |
| Color Gamut | 100% sRGB, 8-bit (16.7 Million Colors) |
| Viewing Angle | 178° (H/V) |
| HDR Support | Yes |
| Adaptive Sync | AMD FreeSync |
| Connectivity | HDMI, DisplayPort 1.4, Audio Out, DC In |
| Speakers | Dual 2W Built-in Speakers |
| VESA Mount | 100x100mm |
| Tilt Adjustment | -5° to +15° |
9. Maintenance
9.1 Cleaning the Monitor
- Always unplug the monitor before cleaning.
- Use a soft, lint-free cloth to gently wipe the screen and exterior surfaces.
- For stubborn marks, lightly dampen the cloth with water or a mild, non-abrasive screen cleaner.
- Never spray cleaning solutions directly onto the screen or into any openings.
9.2 Storage
If storing the monitor for an extended period, place it in its original packaging or a protective cover in a cool, dry place away from direct sunlight and extreme temperatures.
10. Warranty and Support
This GreBear monitor comes with a 2-year manufacturer's warranty and a 12-month exchange service. For product inquiries, technical support, or warranty claims, please contact GreBear customer service. Our support team is available 24 hours to assist you.
For the most up-to-date support information, please visit the official GreBear website or refer to the contact details provided with your purchase.
11. Product Video Demonstration
Video 1: A brief overview of the GreBear BM27QM monitor's features, including its 1080P resolution, 165Hz refresh rate, tilt adjustment, VESA mounting, and connectivity options. This video highlights the monitor's capabilities for both work and gaming environments.