
Introduction
The DFPIOO X-431 529 CR529 OBD2 Scanner Code Reader is a diagnostic tool designed to help vehicle owners and technicians identify and resolve issues related to the vehicle's engine and emission systems. This manual provides detailed instructions on how to set up, operate, maintain, and troubleshoot your device to ensure optimal performance and accurate diagnostics.
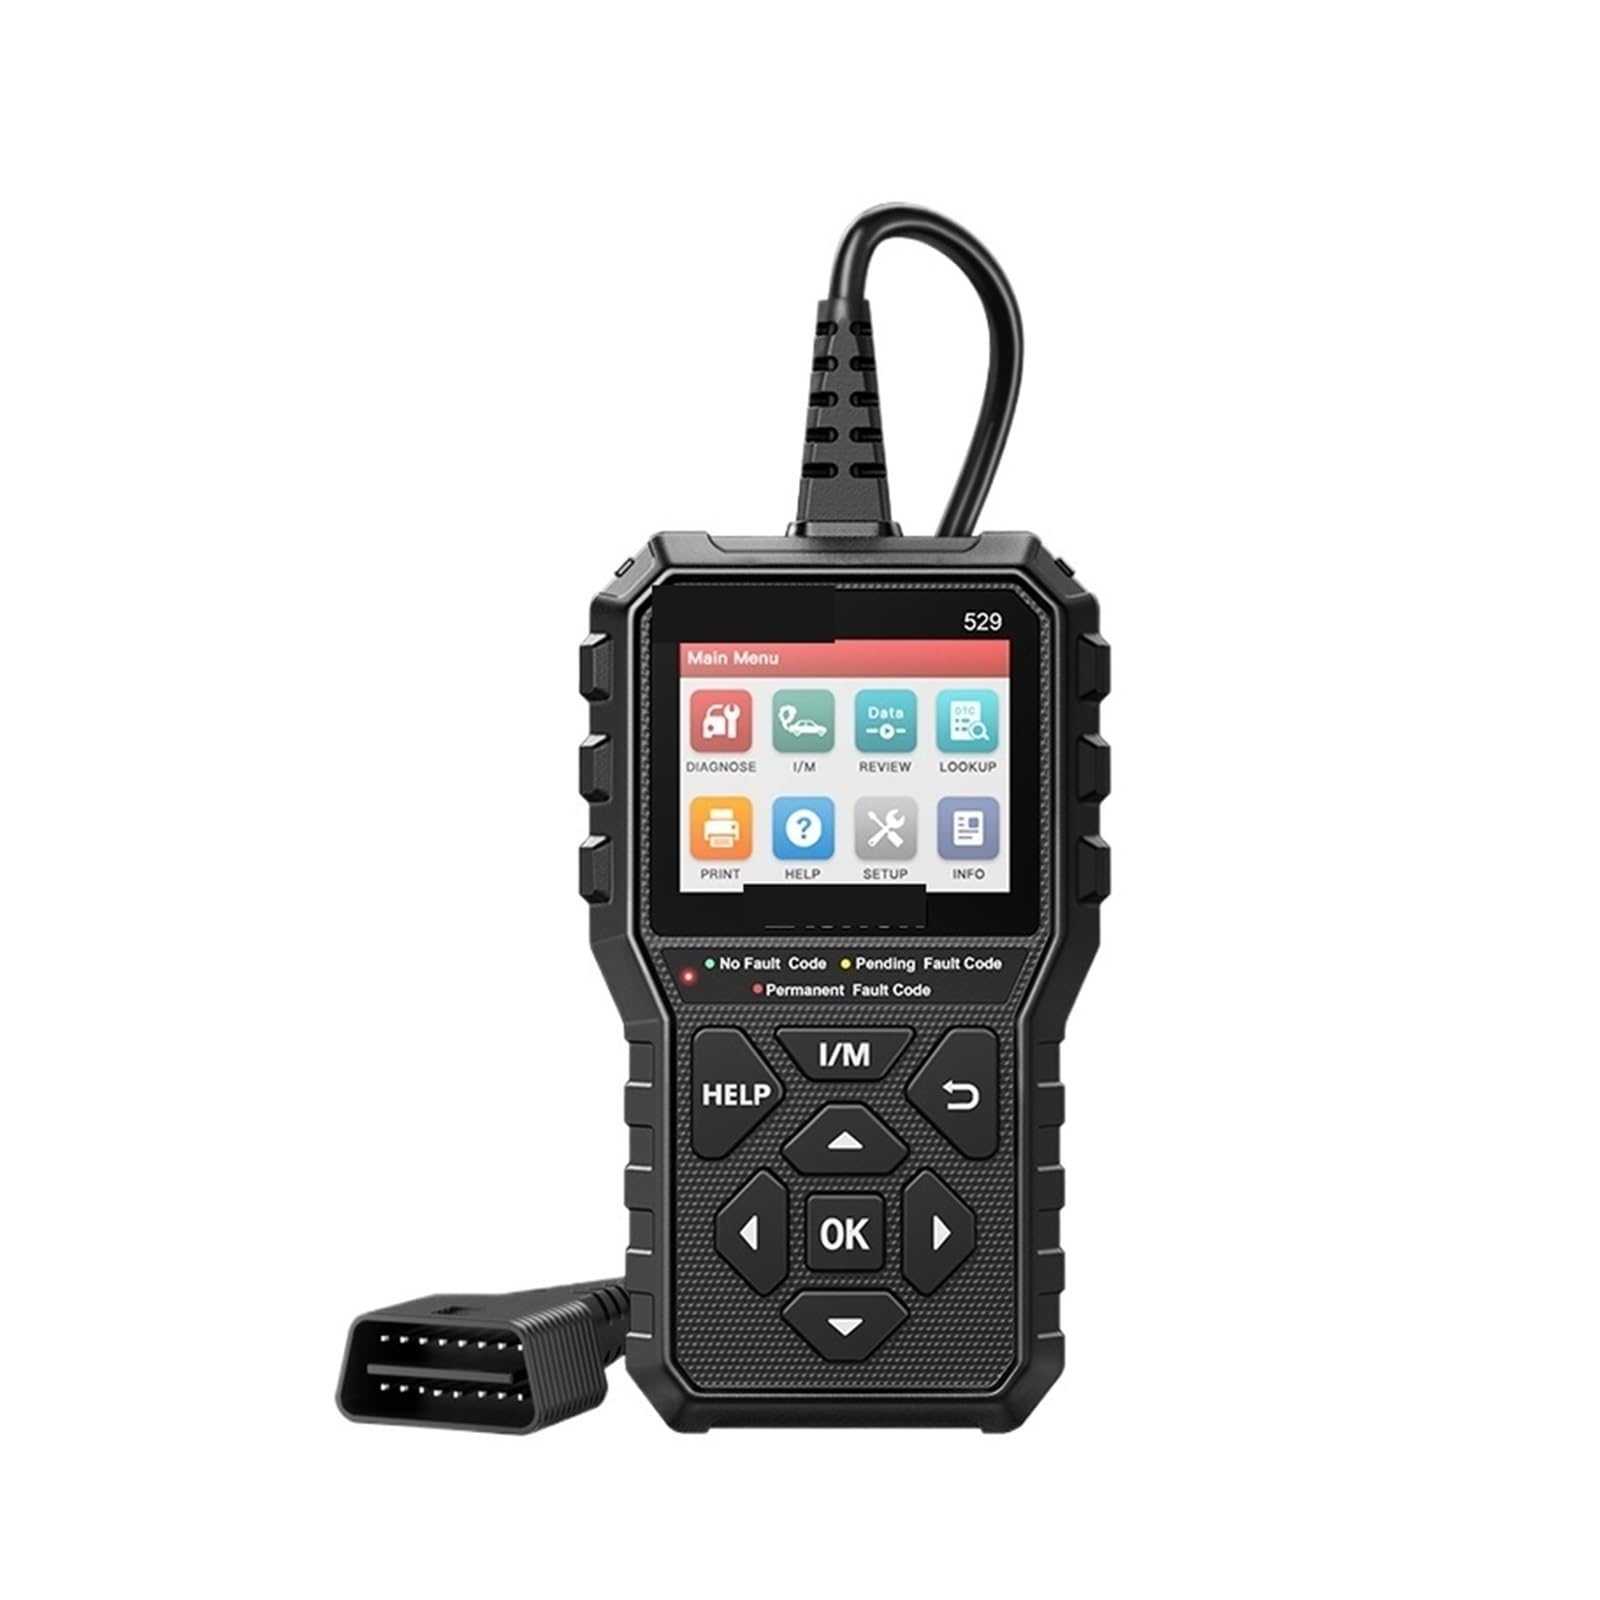
Figure 1: Overview of the DFPIOO X-431 529 CR529 OBD2 Scanner. This image displays the front of the diagnostic tool, showing its screen, navigation buttons, and rugged casing.
Setup
- Connect to Vehicle: Locate the 16-pin OBD2 diagnostic port in your vehicle. This port is typically found under the dashboard on the driver's side. Plug the scanner's cable firmly into the vehicle's OBD2 port.
- Power On: The scanner will automatically power on once connected to the vehicle's OBD2 port. No external power source is required.
- Language Selection: Upon initial power-on or after a reset, you may be prompted to select your preferred language. Use the navigation buttons to select the desired language and press the 'OK' button to confirm.

Figure 2: Language selection screen on the CR529 scanner. The screen displays a list of available languages such as English, Français, Español, Deutsch, Русский, and Português, with English highlighted.
Operating Instructions
The CR529 offers various diagnostic functions accessible through its intuitive menu system. Use the directional buttons (Up, Down, Left, Right) to navigate and the 'OK' button to confirm selections.
1. Read and Clear Engine Error Codes (DTCs)
This function allows you to retrieve Diagnostic Trouble Codes (DTCs) from the vehicle's Engine Control Unit (ECU) and clear them. Clearing codes will turn off the 'Check Engine' (Malfunction Indicator Lamp - MIL) light.
- From the main menu, select 'Read Codes' to view current, pending, and permanent DTCs.
- To clear codes, select 'Erase Codes'. Confirm the action when prompted. This will turn off the MIL.

Figure 3: The 'Erase Codes' function on the CR529 scanner. This image shows the scanner displaying a confirmation message after successfully clearing emission-related diagnostic information, and illustrates the 'Check Engine' light turning off on a vehicle dashboard.
2. Live Data / Freeze Frame
View real-time operational parameters of the vehicle. The Freeze Frame function captures a snapshot of vehicle conditions at the moment an emission-related fault occurs, aiding in diagnosis.
- Select 'Live Data' from the menu to view various sensor readings and operational data in real-time.
- Select 'Freeze Frame' to view stored data from when a DTC was set. This data helps identify the conditions under which the fault occurred.

Figure 4: The CR529's 2.8" TFT color screen displaying live data stream and review options. The screen shows a graphical representation of data stream values and options to review or delete DTC data, freeze frame, and datastream.
3. I/M Readiness Status
This function indicates whether the vehicle's various emission-related systems are operating correctly and are ready for inspection and maintenance tests. It helps determine if the vehicle will pass an emissions test.
- Select 'I/M Readiness' from the main menu.
- The screen will display the status of various monitors (e.g., MIL, MIS, FUE, CCM, CAT, HCAT, EVAP, AIR, O2S, HRT, EGR, IGN Spark, Pd DTC). A green checkmark indicates the monitor is complete, while an 'X' indicates it is not.

Figure 5: The I/M Readiness Status screen on the CR529 scanner. This image illustrates how the scanner displays the status of various emission monitors, indicating whether they are ready for testing, along with a visual representation of fault codes (No Fault, Pending, Permanent).
4. Oxygen Sensor Test
The CR529 can retrieve and display O2 sensor monitor test results from recently performed tests from the vehicle's on-board computer. This helps in diagnosing issues with the oxygen sensors.
5. On-Board Monitor Test
Displays the results of on-board monitor tests for specific components/systems. These tests are useful after vehicle maintenance or after clearing control module memory to verify system functionality.
6. Vehicle Information (VIN, CIN, CVN)
This option displays the Vehicle Identification Number (VIN), Calibration Identification Number (CIN), Calibration Verification Number (CVN), and other information for the test vehicle, automatically read from the car's ECU.
7. Read Hard (Memory) Codes and Pending Codes
The scanner can read both 'hard' (confirmed and stored in memory) and 'pending' (detected but not yet confirmed) diagnostic trouble codes.
8. LED Indicators
The device features green, yellow, and red LED lights to provide a quick visual indication of the vehicle's status:
- Green: No fault codes detected.
- Yellow: Pending fault codes detected.
- Red: Permanent fault codes detected, or MIL is on.
9. Record and Replay
The CR529 can record all issues encountered during diagnostic operations, allowing you to review relevant records anytime, anywhere later. This is useful for tracking intermittent problems.
10. Help Shortcut Key
Utilize the dedicated 'HELP' shortcut key to quickly access information and comfortably resolve basic issues directly from the device.
Maintenance
Software Updates
To ensure your CR529 scanner has the latest vehicle compatibility and diagnostic features, it is recommended to update its software periodically.
- Connect the scanner to a computer using a USB cable.
- Visit the official DFPIOO website (or specified update portal) to download the update tool and latest software package.
- Follow the on-screen instructions provided by the update tool to complete the software update via the internet.
Cleaning
Wipe the device with a soft, damp cloth. Do not use abrasive cleaners or solvents. Ensure the device is dry before storage.
Troubleshooting
- Device does not power on: Ensure the OBD2 cable is securely connected to the vehicle's diagnostic port. Check the vehicle's battery voltage; the scanner draws power from the vehicle.
- Communication error: Verify that the vehicle supports the OBD2 protocol. Ensure the ignition is in the 'ON' position (engine off or running, depending on the test). Check for loose connections.
- Screen frozen: Disconnect the device from the vehicle, wait a few seconds, and reconnect. If the issue persists, perform a software update.
- Incorrect readings: Ensure the vehicle's VIN is correctly identified. If possible, compare readings with another diagnostic tool or consult a professional.
Specifications
| Feature | Specification |
|---|---|
| Brand | DFPIOO |
| Model Number | CR529 (Manufacturer Model: 321356770) |
| Unit Count | 1.0 units |
| Number of Items | 1 |
| Country of Origin | China |
| Item Weight | 750 grams |
| ASIN | B0DHG189VF |

Figure 6: Dimensions of the DFPIOO X-431 529 CR529 OBD2 Scanner. This image shows the device with measurements, indicating a length of 179mm and a width of 103mm for the main body, and a thickness of 30mm for the cable section.
Warranty Information
This product is sold without an explicit warranty. Please refer to the retailer's return policy for any issues upon receipt.
Support
Printing Diagnostic Reports
You can connect the CR529 scanner to a computer to print diagnostic reports. This allows for detailed record-keeping and sharing of diagnostic results.
- Connect the scanner to your computer using the provided USB cable.
- Install any necessary drivers or software from the official DFPIOO website.
- Follow the software instructions to access and print stored diagnostic reports.
Further Assistance
For additional support, technical inquiries, or to report issues, please refer to the contact information provided by your retailer or visit the official DFPIOO support website.
