
1. Introduction
Thank you for choosing the CAMCLID Kids Instant Print Camera M6. This camera is designed to provide children aged 3-14 with a fun and interactive way to capture and instantly print their memories. Featuring a 48MP camera, 2.5K UHD video recording, and a 3.0-inch screen, it encourages creativity through various filters, frames, and print densities. Please read this manual carefully to ensure proper use and maintenance of your device.
2. Product Overview
The CAMCLID Kids Instant Print Camera M6 combines digital photography with instant thermal printing. It features a user-friendly interface suitable for young users.
Key Features:
- 48MP High-Resolution Camera: Captures clear and vibrant photos.
- 2.5K UHD Video Recording: Records high-definition videos.
- 3.0-inch Large Screen: Provides a clear view for framing shots and reviewing content.
- Instant Thermal Printing: Prints black and white photos directly from the camera.
- Adjustable Print Densities: Seven levels of print density for customized output.
- Creative Filters & Frames: Enhances photos with various artistic effects.
- Built-in Games & Music Player: Offers additional entertainment.
- 32GB MicroSD Card Support: Ample storage for photos and videos.
- Rechargeable Battery: Long-lasting battery for extended use.
Camera Components:
Refer to the image below for a visual guide to the camera's main components.
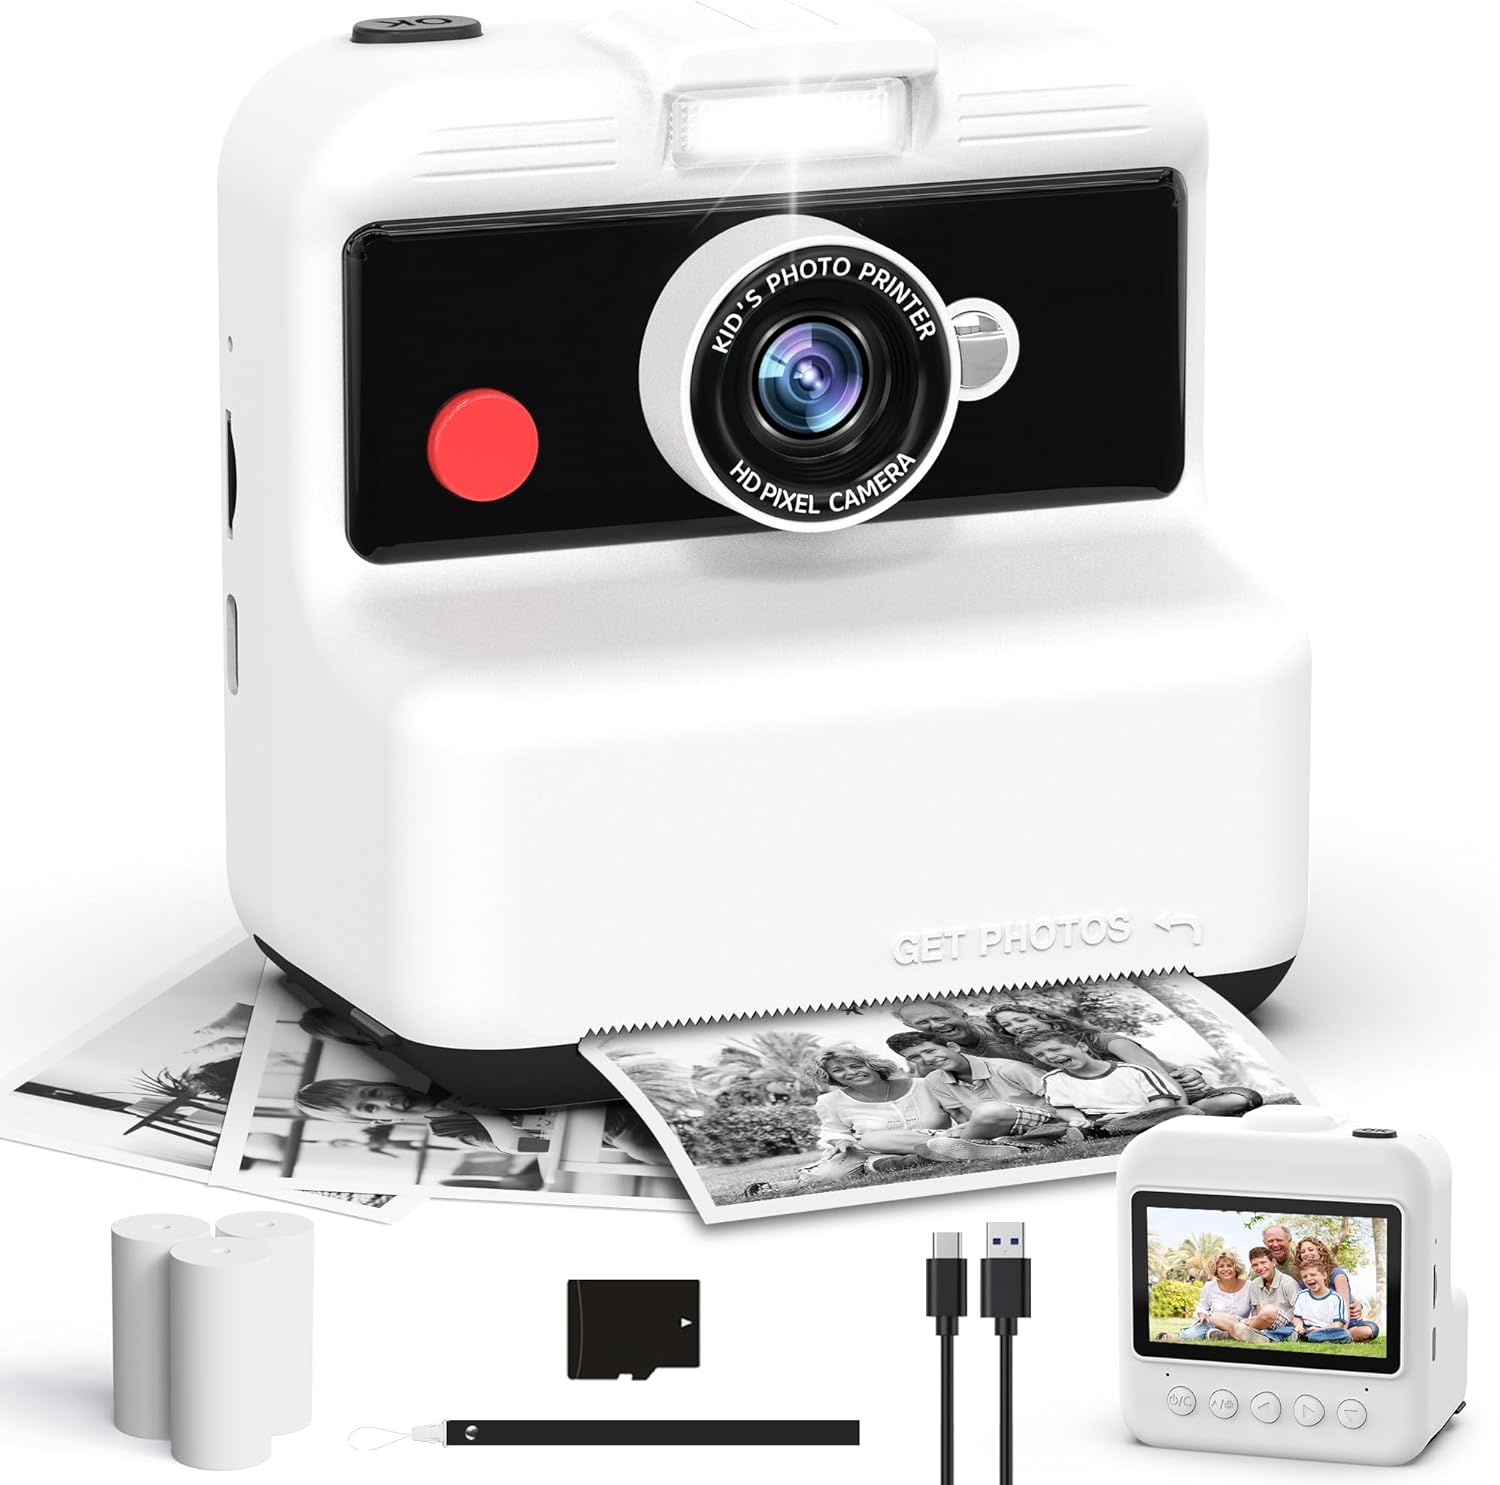
Image 2.1: Front view of the CAMCLID Kids Instant Print Camera M6, showing the lens, flash, and paper output slot, along with included accessories like print paper, SD card, and charging cable.
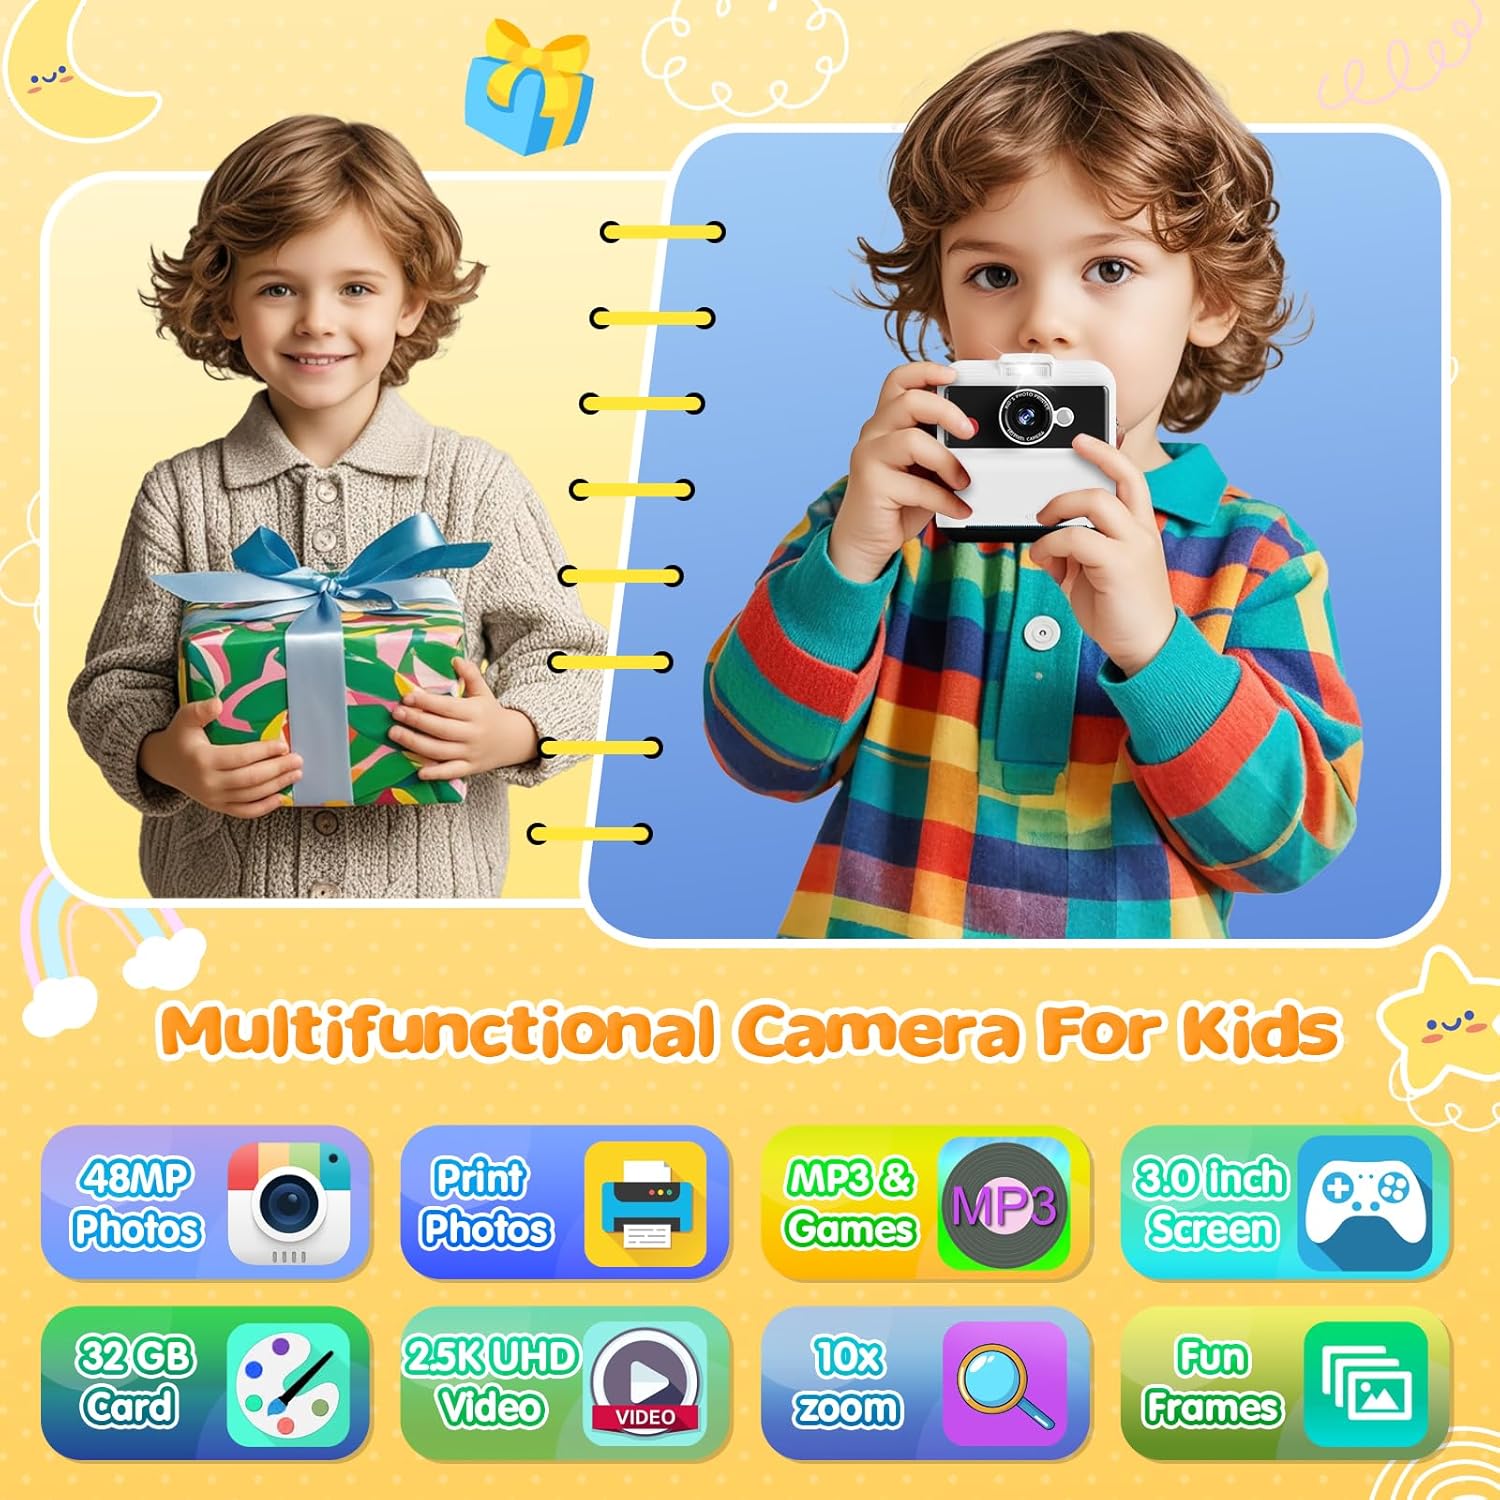
Image 2.2: Rear view of the CAMCLID Kids Instant Print Camera M6, displaying the 3.0-inch screen and control buttons for navigation and function selection.
3. Setup
3.1 Charging the Camera
Before first use, fully charge the camera's built-in lithium polymer battery.
- Connect the provided USB data cable to the camera's charging port.
- Connect the other end of the USB cable to a compatible USB power source (e.g., computer, power bank, or wall adapter).
- The charging indicator light will illuminate during charging and turn off when fully charged.
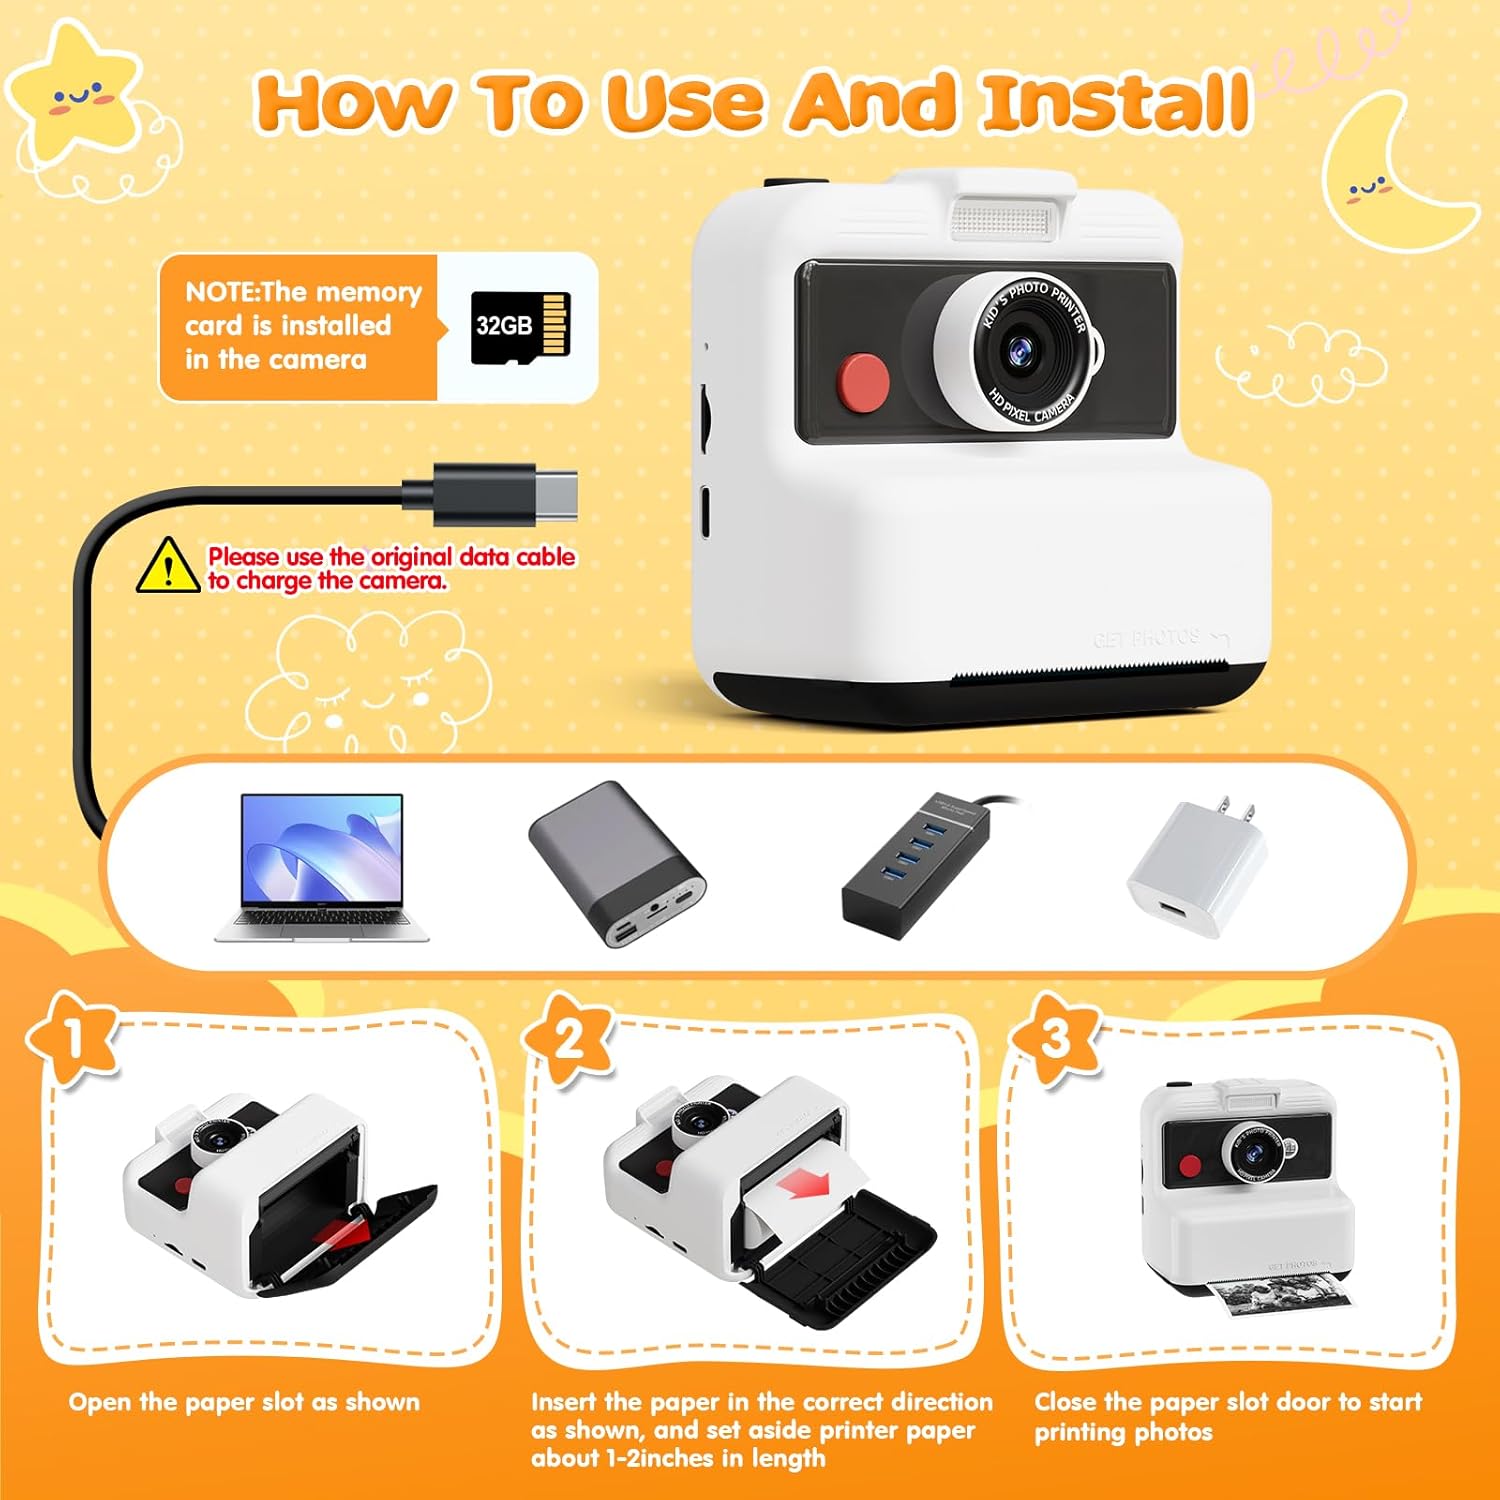
Image 3.1: Visual guide demonstrating how to charge the camera using the original data cable and various power sources.
3.2 Inserting the MicroSD Card
The camera supports a 32GB MicroSD card for storing photos and videos. The memory card is typically pre-installed.
- Locate the MicroSD card slot on the side of the camera.
- Gently insert the MicroSD card into the slot until it clicks into place. Ensure the card is inserted in the correct orientation.
- To remove, gently push the card inward until it springs out.
3.3 Loading Print Paper
The camera uses thermal print paper for instant black and white photos.
- Open the paper slot cover on the front of the camera.
- Insert the thermal paper roll in the correct direction, ensuring about 1-2 inches of paper extends out of the slot.
- Close the paper slot cover securely.
Image 3.2: Step-by-step visual instructions for opening the paper slot, inserting the thermal paper roll, and closing the cover.
4. Operating Instructions
4.1 Power On/Off
- To power on, press and hold the power button for a few seconds.
- To power off, press and hold the power button again until the screen turns off.
4.2 Taking Photos
- Turn on the camera. The screen will display the live view.
- Frame your shot using the 3.0-inch screen.
- Press the shutter button to capture a photo.
- The photo will be saved to the MicroSD card.

Image 4.1: A child using the camera to take a picture, demonstrating its ease of use.
4.3 Recording Videos
- Switch to video mode (refer to the camera's on-screen menu or dedicated button).
- Press the shutter button to start recording.
- Press the shutter button again to stop recording.
- Videos are saved in 2.5K UHD resolution to the MicroSD card.
Video 4.1: This video demonstrates the CAMCLID Kids Instant Print Camera M6's video recording capabilities, showcasing its ability to capture moments in 2.5K UHD.
4.4 Instant Printing
After taking a photo, you can instantly print it in black and white.
- In photo review mode, select the image you wish to print.
- Press the print button (usually indicated by a printer icon).
- The camera will print the photo from the thermal paper roll.

Image 4.2: Illustration of the two available print modes: Grayscale and Dot Matrix, showing how they affect the printed image quality.
Adjusting Print Density:
The camera offers 7 adjustable print densities (Low, Medium, High) to control the darkness of the print.
- Navigate to the print settings in the camera menu.
- Select your desired print density level.
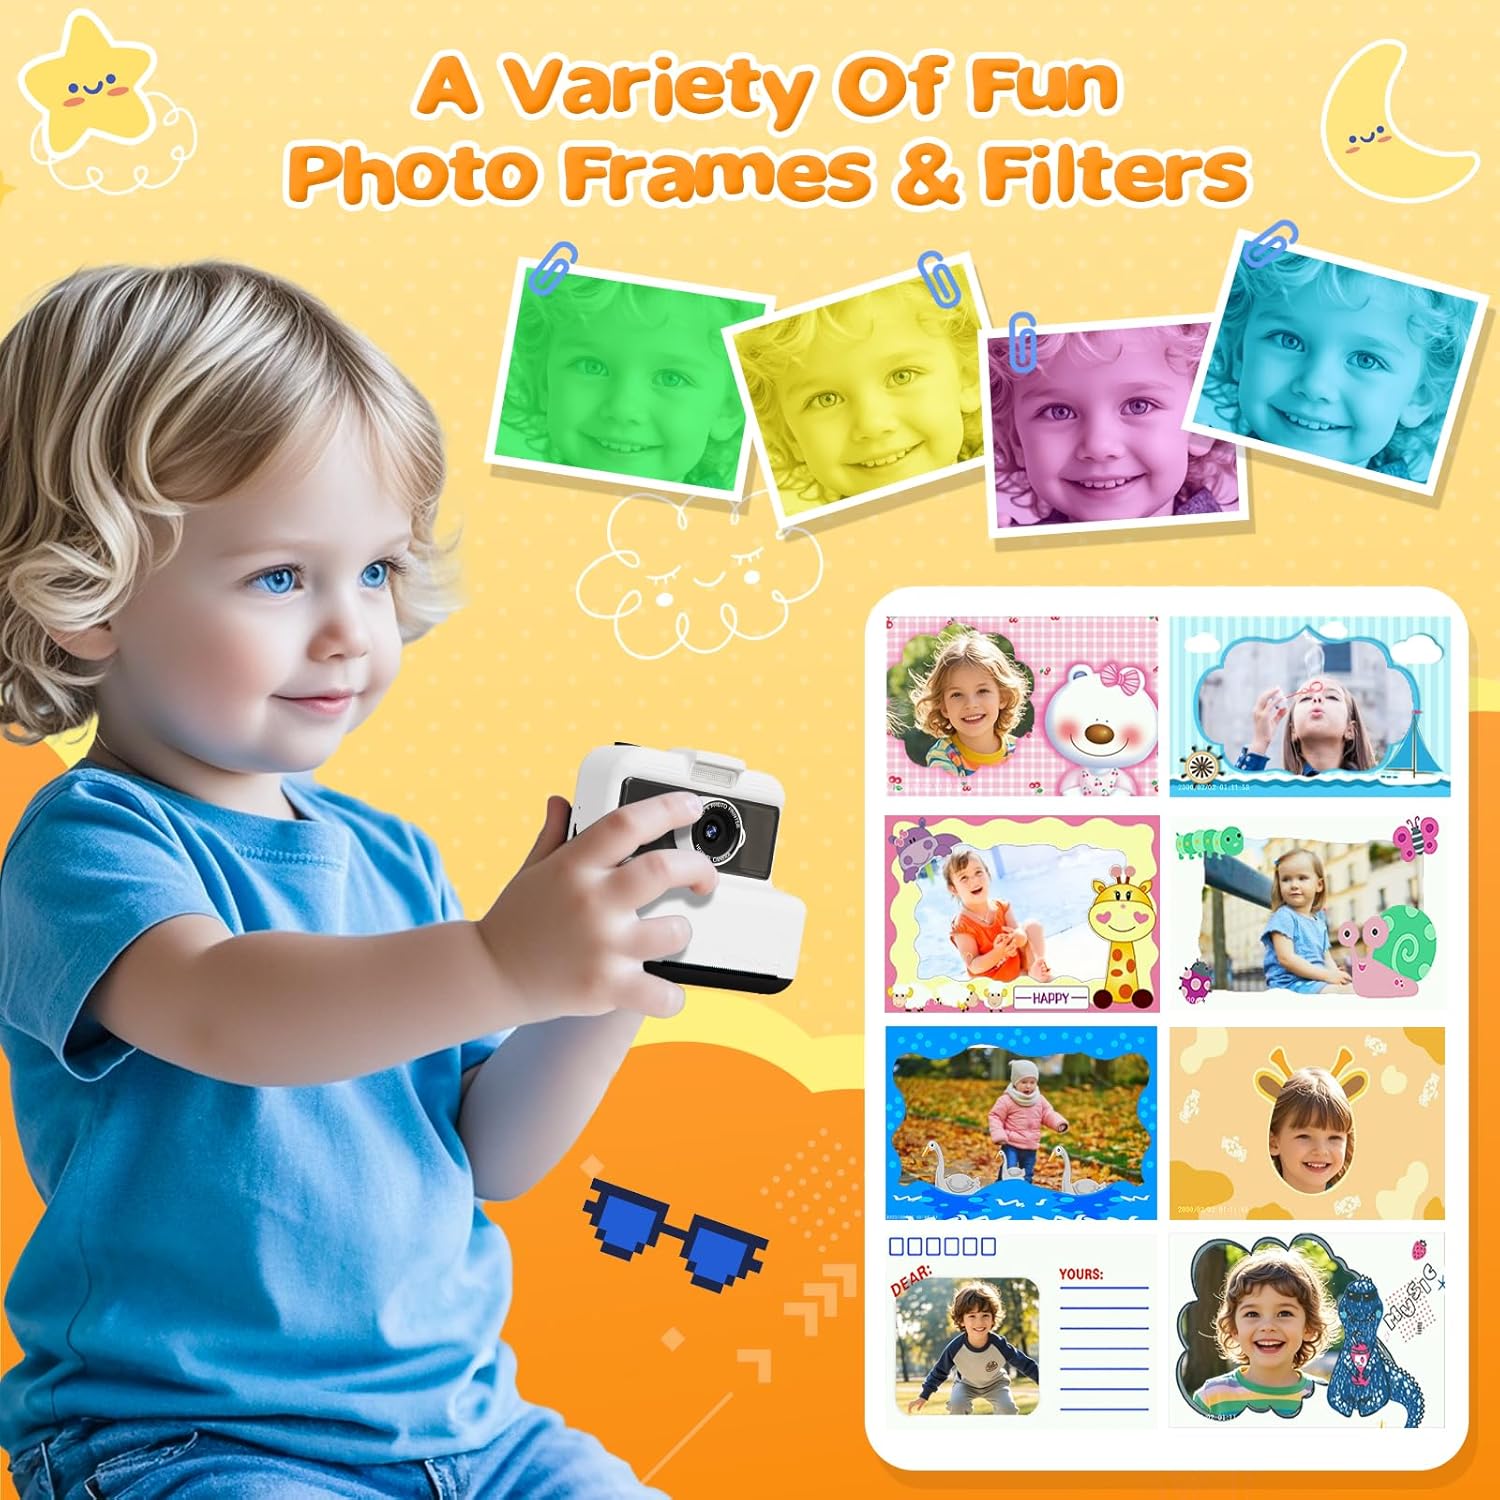
Image 4.3: Examples of different print densities (Low, Medium, High) available on the camera, illustrating the range of black and white output.
4.5 Using Filters and Frames
Enhance your photos with fun frames and color filters.
- In photo mode, access the menu to select filters or frames.
- Choose from the available options to apply them to your photos before or after capture (depending on the setting).

Image 4.4: A child using the camera, with examples of various fun photo frames and color filters that can be applied to images.
4.6 Games and Music Playback
The camera includes three built-in puzzle games and a music player for entertainment.
- Navigate to the "Games" or "Music" option in the main menu.
- Use the navigation buttons to select and play games or music files (if loaded onto the SD card).
5. Maintenance
5.1 Cleaning the Camera
- Ensure the camera is powered off before cleaning.
- Use a soft, dry cloth to wipe the camera body.
- For the lens and screen, use a specialized lens cleaning cloth to avoid scratches. Do not use liquid cleaners directly on the lens or screen.
5.2 Storing the Camera
- Store the camera in a cool, dry place away from direct sunlight and extreme temperatures.
- Remove the MicroSD card if the camera will not be used for an extended period.
- Keep thermal print paper away from direct sunlight or heat, as it is heat-sensitive and prolonged exposure can fade prints.
6. Troubleshooting
| Problem | Possible Cause | Solution |
|---|---|---|
| Camera does not turn on. | Low battery. | Charge the camera fully using the provided USB cable. |
| Cannot take photos/record videos. | MicroSD card full or not inserted correctly. | Check MicroSD card insertion. Delete unnecessary files or replace the card. |
| Prints are blank or faded. | Print paper inserted incorrectly; print density too low; paper exposed to heat. | Ensure paper is inserted correctly (thermal side facing print head). Adjust print density in settings. Store paper away from heat. |
| Camera freezes or becomes unresponsive. | Software glitch. | Press and hold the power button for 10-15 seconds to force a restart. |
7. Specifications
| Feature | Detail |
|---|---|
| Model Name | M6 |
| Brand | CAMCLID |
| Camera Resolution | 48MP |
| Video Resolution | 2.5K UHD |
| Screen Size | 3.0 inches |
| Print Type | Instant Thermal (Black & White) |
| Storage | 32GB MicroSD Card (included) |
| Battery | 1 Lithium Polymer battery (included) |
| Item Weight | 13.4 ounces (0.38 Kilograms) |
| Package Dimensions | 6.38 x 4.45 x 2.72 inches |
| Included Components | Camera Body & Accessories (e.g., print paper, USB cable, wrist strap) |
8. Warranty & Support
For warranty information and customer support, please refer to the documentation included with your purchase or contact CAMCLID customer service directly.
- Manufacturer: CAMCLID
- Contact: Please visit the official CAMCLID website for support contact details.