1. Product Overview
The Corberó CLVM403W is a 45cm freestanding dishwasher designed for efficient and convenient dishwashing. It features a capacity for 10 place settings, 5 washing programs, and 4 adjustable temperatures to suit various cleaning needs. Key features include LED indicators for easy monitoring, delayed start, and a start-pause function for operational flexibility. With a low noise level of 49 dB, it ensures quiet operation in your home.

Figure 1.1: Front view of the Corberó CLVM403W dishwasher, showcasing its white finish and control panel.
2. Safety Information
Please read all instructions carefully before using the appliance. Keep this manual for future reference. This appliance is intended for household use only. Do not allow children to operate the dishwasher without supervision. Ensure the appliance is properly grounded. Do not touch the heating element during or immediately after operation. Always disconnect the power supply before cleaning or performing maintenance.
3. Installation and Setup
3.1 Unpacking
- Carefully remove all packaging materials.
- Inspect the dishwasher for any damage incurred during transit. If damage is found, do not install and contact your retailer.
- Ensure all accessories, including the user manual, are present.
3.2 Placement
The Corberó CLVM403W is a freestanding model. Place the dishwasher on a flat, stable surface. Ensure there is adequate space for opening the door and for water and electrical connections. Avoid placing the appliance near heat sources or in direct sunlight.

Figure 3.1: The CLVM403W dishwasher positioned within a contemporary kitchen, demonstrating its compact size and integration.
3.3 Water and Drain Connections
- Connect the water inlet hose to a cold water tap with a 3/4-inch thread. Ensure the connection is tight to prevent leaks.
- Connect the drain hose to a suitable drain pipe or sink trap. The drain hose should be positioned at a height between 40 cm and 100 cm from the floor.
- Ensure there are no kinks or bends in the hoses that could obstruct water flow.
3.4 Electrical Connection
- Connect the appliance to a properly grounded electrical outlet. The voltage requirement is 220V.
- Do not use extension cords or multiple adapters.
- Ensure the electrical supply is protected by a fuse of appropriate rating.
4. Operating Instructions
4.1 Loading the Dishwasher
The dishwasher has a capacity for 10 place settings. Load dishes carefully to ensure proper water circulation and cleaning. The upper basket is height-adjustable, even when loaded, and there is a third tray for small utensils. The lower basket is extractable for easy loading of larger items.

Figure 4.1: Interior view of the dishwasher, highlighting the adjustable upper rack, lower rack, and dedicated cutlery tray for efficient loading.

Figure 4.2: Example of loading dishes into the dishwasher's lower basket.
4.2 Adding Detergent and Rinse Aid
- Fill the detergent dispenser with the appropriate amount of dishwasher detergent according to the program selected and the level of soil.
- Check the rinse aid indicator and refill the rinse aid dispenser as needed. Rinse aid helps with drying and prevents water spots.
4.3 Program Selection
The CLVM403W offers 5 washing programs and 4 temperature settings. Use the push-button controls and LED indicators to select your desired program.
- ECO Program: This program offers maximum efficiency in energy and water consumption. It is ideal for normally soiled loads.
- Rapid Program: A 30-minute cycle suitable for lightly soiled dishes that do not require intensive cleaning.
- 90-Minute Program: Designed for normally soiled loads that require a quick wash cycle.
- Half-Load Program: A specific program that saves water and energy when washing fewer dishes.
- Delayed Start Function: Allows you to program the start of the wash cycle for 3, 6, or 9 hours later, enabling you to run the dishwasher at your convenience.
- Start-Pause Function: Provides flexibility to temporarily stop and resume a wash cycle.
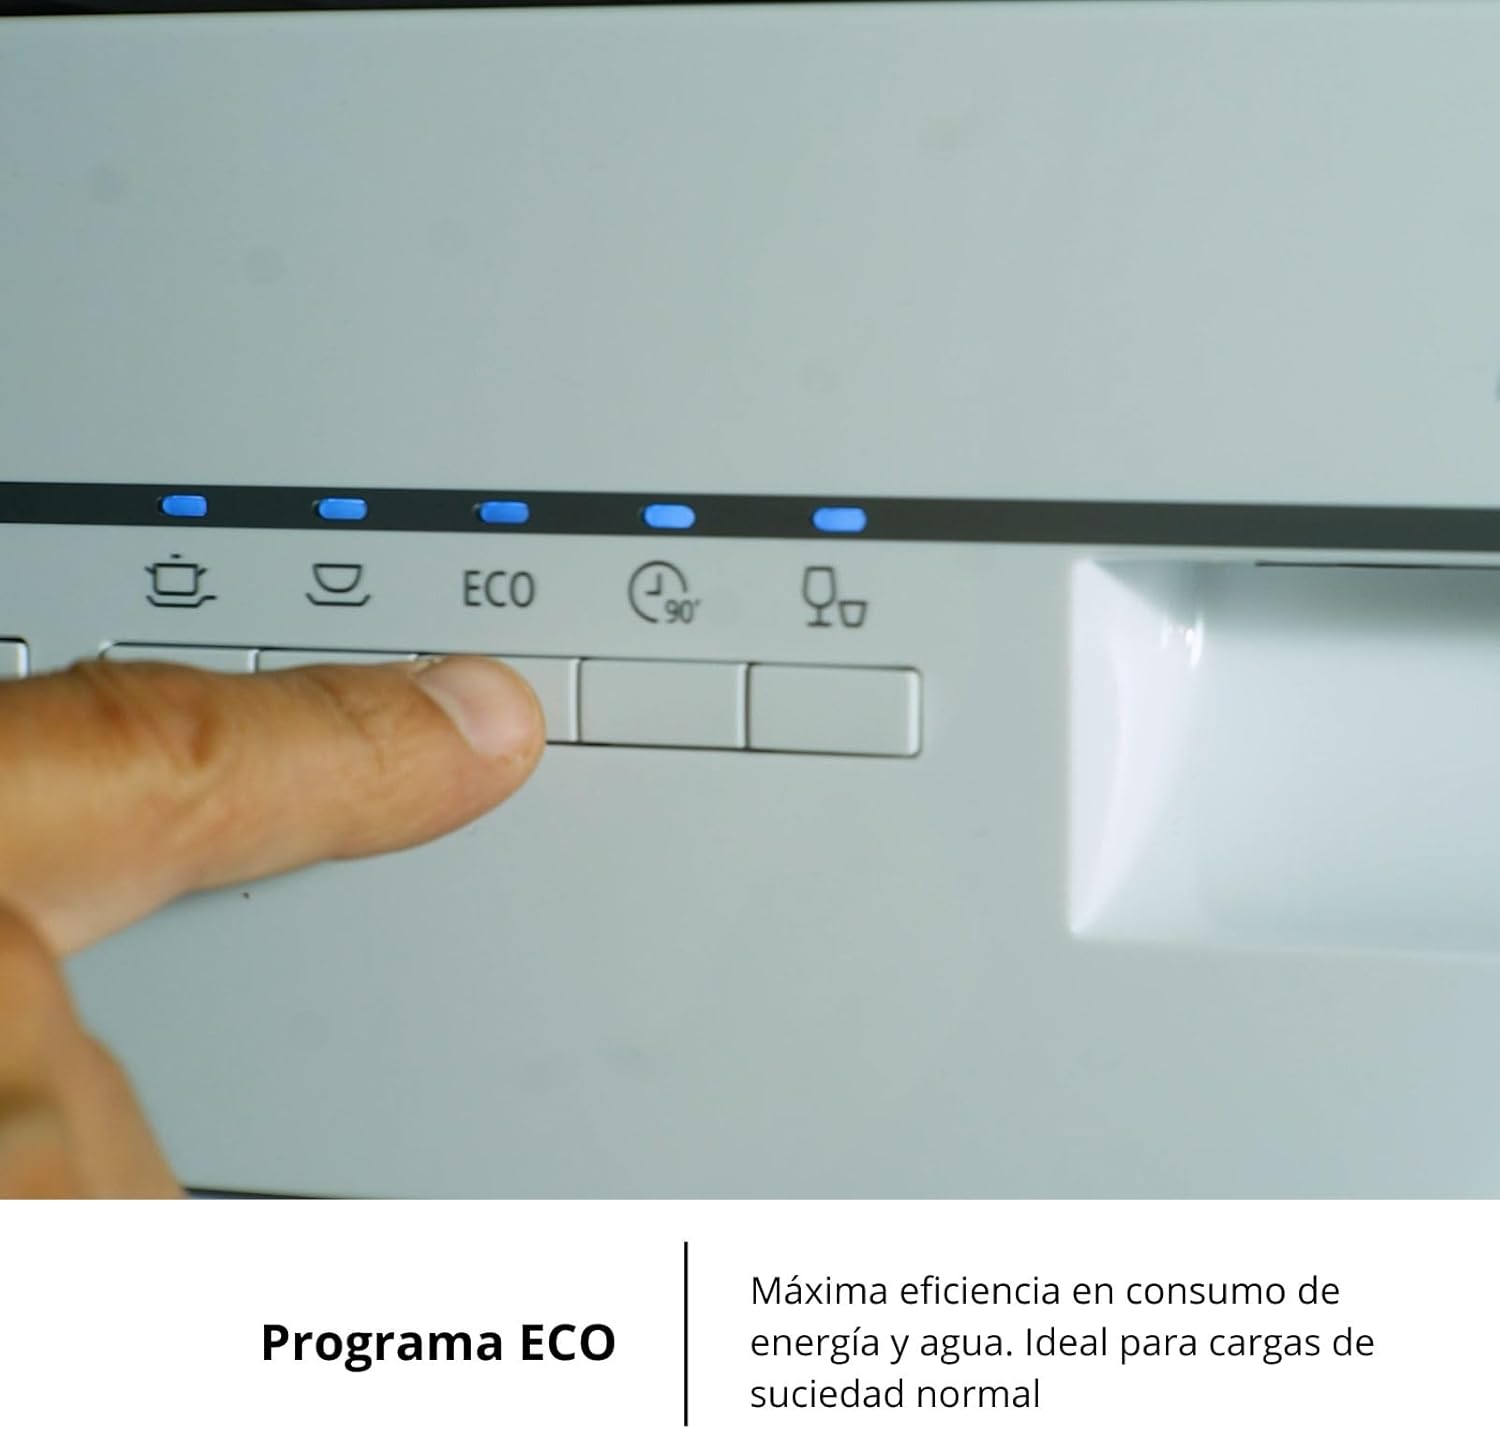
Figure 4.3: Close-up of the control panel, showing a finger activating the ECO program button.
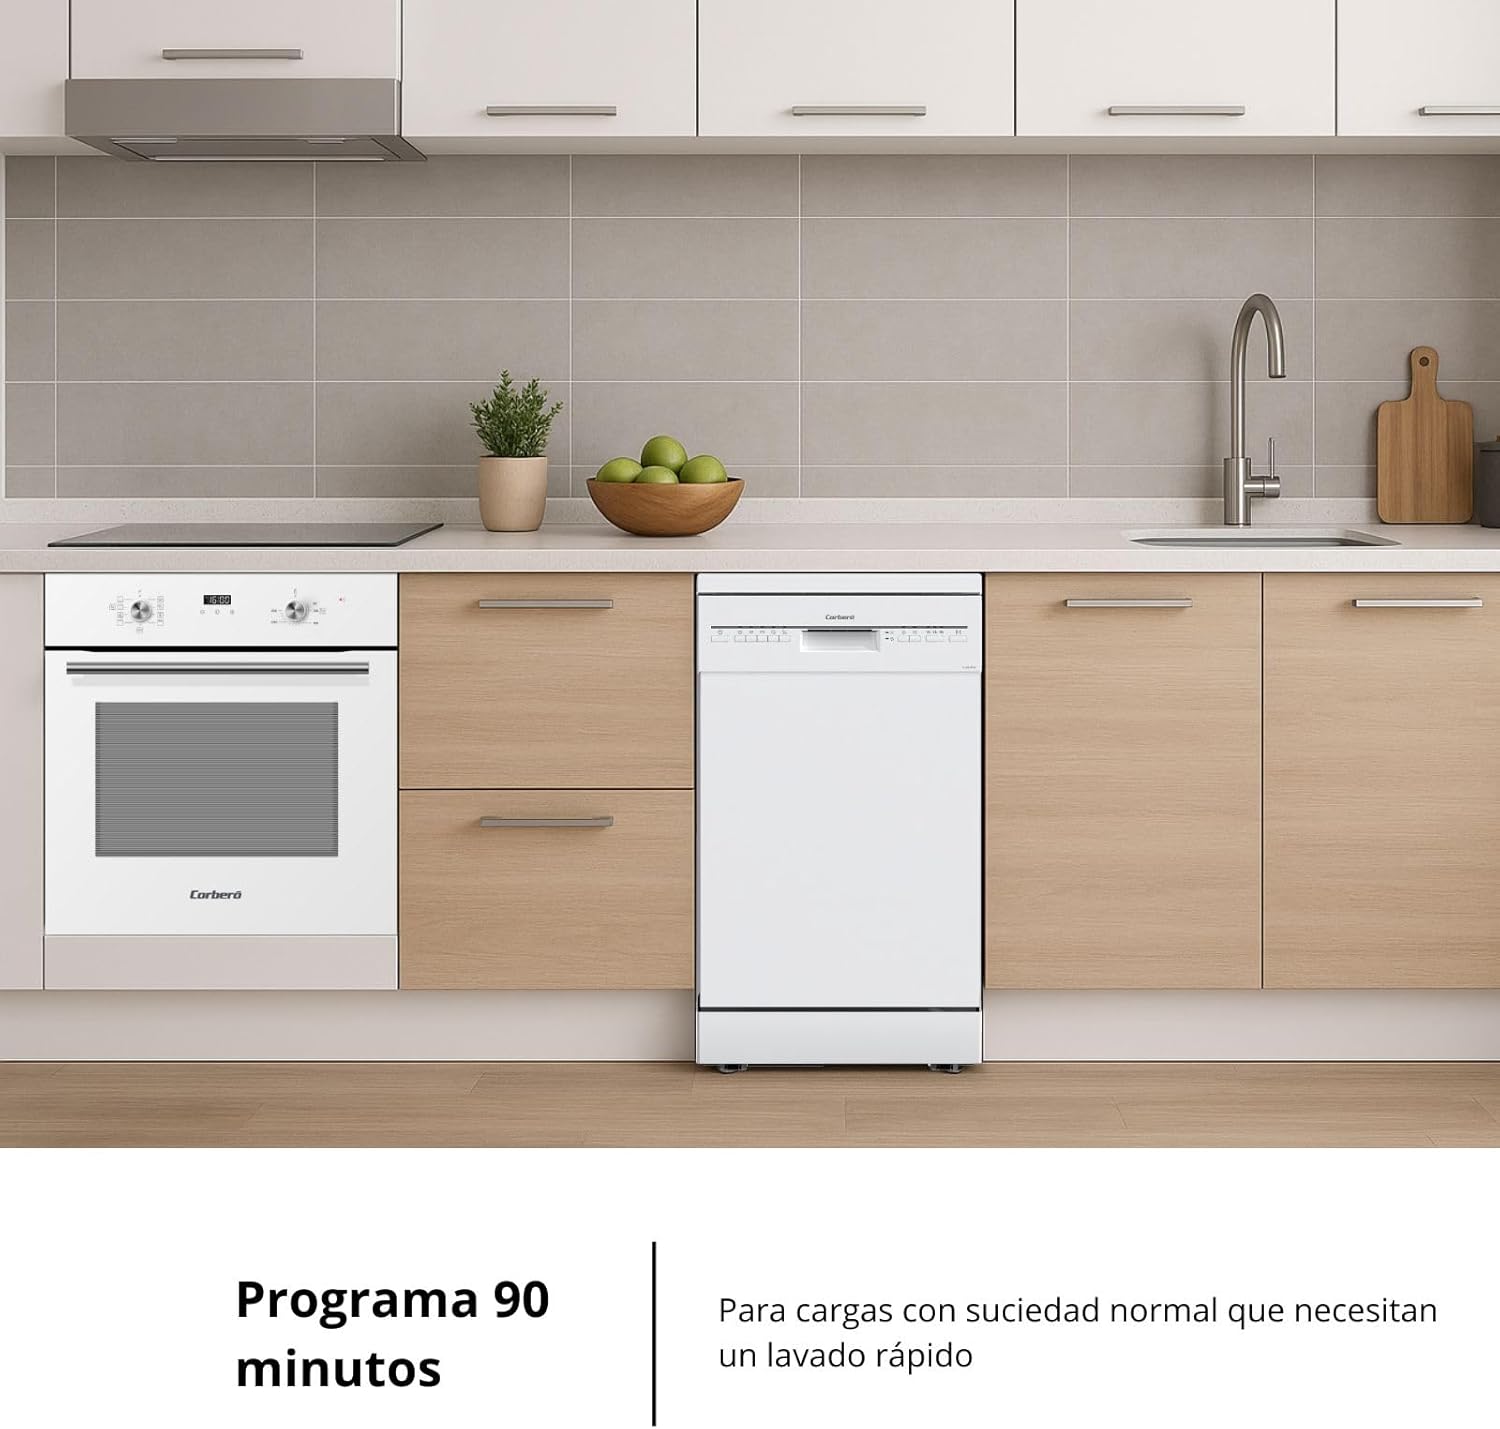
Figure 4.4: The dishwasher in a kitchen, ready for a 90-minute wash cycle for normally soiled items.

Figure 4.5: Dishwasher in a kitchen, ideal for smaller loads using the half-load program.

Figure 4.6: The dishwasher in a kitchen, ready to be programmed with the delayed start function.
4.4 Starting a Wash Cycle
- Load the dishwasher and add detergent/rinse aid.
- Close the dishwasher door securely.
- Select the desired program using the control panel buttons.
- Press the Start button to begin the cycle. The LED indicators will show the program status.
5. Maintenance and Cleaning
5.1 Exterior Cleaning
Wipe the exterior surfaces of the dishwasher with a soft, damp cloth and mild detergent. Avoid abrasive cleaners or solvents that could damage the finish.
5.2 Interior Cleaning
Periodically clean the interior of the dishwasher, including the spray arms and door seal, to remove any food residue or buildup. A dishwasher cleaner can be used for a more thorough cleaning.
5.3 Filter Cleaning
The filter system should be cleaned regularly to ensure optimal washing performance. Refer to the detailed instructions in the included user manual for how to remove and clean the filters.
6. Troubleshooting
Before contacting customer service, please check the following common issues:
| Problem | Possible Cause | Solution |
|---|---|---|
| Dishwasher does not start | Power cord not plugged in; door not closed properly; fuse blown. | Check power connection; ensure door is latched; check household fuse/circuit breaker. |
| Dishes are not clean | Improper loading; insufficient detergent; clogged spray arms; dirty filters. | Reload dishes correctly; add more detergent; clean spray arm nozzles; clean filters. |
| Water remains in the dishwasher | Clogged drain hose or filter; drain pump malfunction. | Clean drain hose and filters; contact service if pump is faulty. |
| Excessive noise | Dishes rattling; foreign object in pump; improper installation. | Rearrange dishes; check for foreign objects; ensure proper leveling. |
7. Specifications
| Feature | Specification |
|---|---|
| Model Number | CLVM403W |
| Dimensions (D x W x H) | 61 x 44.8 x 84.5 cm |
| Weight | 35.5 kg |
| Capacity | 10 Place Settings |
| Noise Level | 49 dB |
| Number of Programs | 5 (Normal, Intensive, Rapid, Delicate, Economic) |
| Number of Temperatures | 4 |
| Control Type | Push Button |
| Installation Type | Freestanding |
| Voltage | 220 V |
| Energy Efficiency Class | E |
8. Warranty and Support
8.1 Manufacturer's Warranty
This Corberó CLVM403W dishwasher comes with a two-year manufacturer's warranty. Please retain your proof of purchase for warranty claims. The warranty covers defects in materials and workmanship under normal use.
8.2 Customer Support
For technical assistance, spare parts, or any questions regarding your appliance, please contact Corberó customer service or your retailer. Our team of experts is ready to help and provide the best attention.