Huacaoe TYTHWB4CH-D1RF
Huacaoe Tuya 4CH Smart Temperature and Humidity Sensor Controller User Manual
Model: TYTHWB4CH-D1RF
1. Introduction
This manual provides detailed instructions for the installation, operation, and maintenance of your Huacaoe Tuya 4-Channel Smart Temperature and Humidity Sensor Controller. This device allows for remote monitoring and control of temperature and humidity, integrating with the Tuya Smart Life app and voice assistants like Amazon Alexa and Google Home. It features four independent channels for controlling various electrical appliances based on environmental conditions.
2. Safety Information
- Ensure all wiring is performed by a qualified electrician and complies with local electrical codes.
- Disconnect power before installation or maintenance to prevent electric shock.
- Do not exceed the maximum load current of 10A per channel or 16A total for all four channels. For high-power appliances, use an external contactor.
- Operate the device within the specified working temperature (-20℃ to 80℃) and humidity (5% to 90% RH) ranges.
- This device is designed for indoor use. Avoid exposure to water or extreme environmental conditions.
3. Product Overview
3.1 Key Features
- Remote ON/OFF Control: Manage connected devices from anywhere via the Tuya Smart Life app.
- Temperature and Humidity Monitoring: Real-time data display and historical record keeping.
- Smart Automation: Automatically turn devices on/off based on preset temperature and humidity ranges.
- Multi-channel Control: Four independent channels to control multiple devices.
- Voice Control: Compatible with Amazon Alexa and Google Home for hands-free operation.
- Scheduling and Timers: Supports single, repeat, loop, and countdown timers.
- Offline Bluetooth Control: Control devices via Bluetooth through the Tuya app when Wi-Fi is unavailable (within range).
- RF Functionality: Supports fixed code 433MHz RF for additional control options.
3.2 Components
The package includes the smart controller unit and a 1-meter AM2302 high-sensitive temperature and humidity sensor cable.

Image 3.2.1: Huacaoe 4CH Smart Temperature and Humidity Sensor Controller with its connected sensor probe. The main unit features terminal blocks for wiring, control buttons (K1-K4, Reset), and indicator lights. The sensor probe is a black, perforated unit designed to measure environmental conditions.
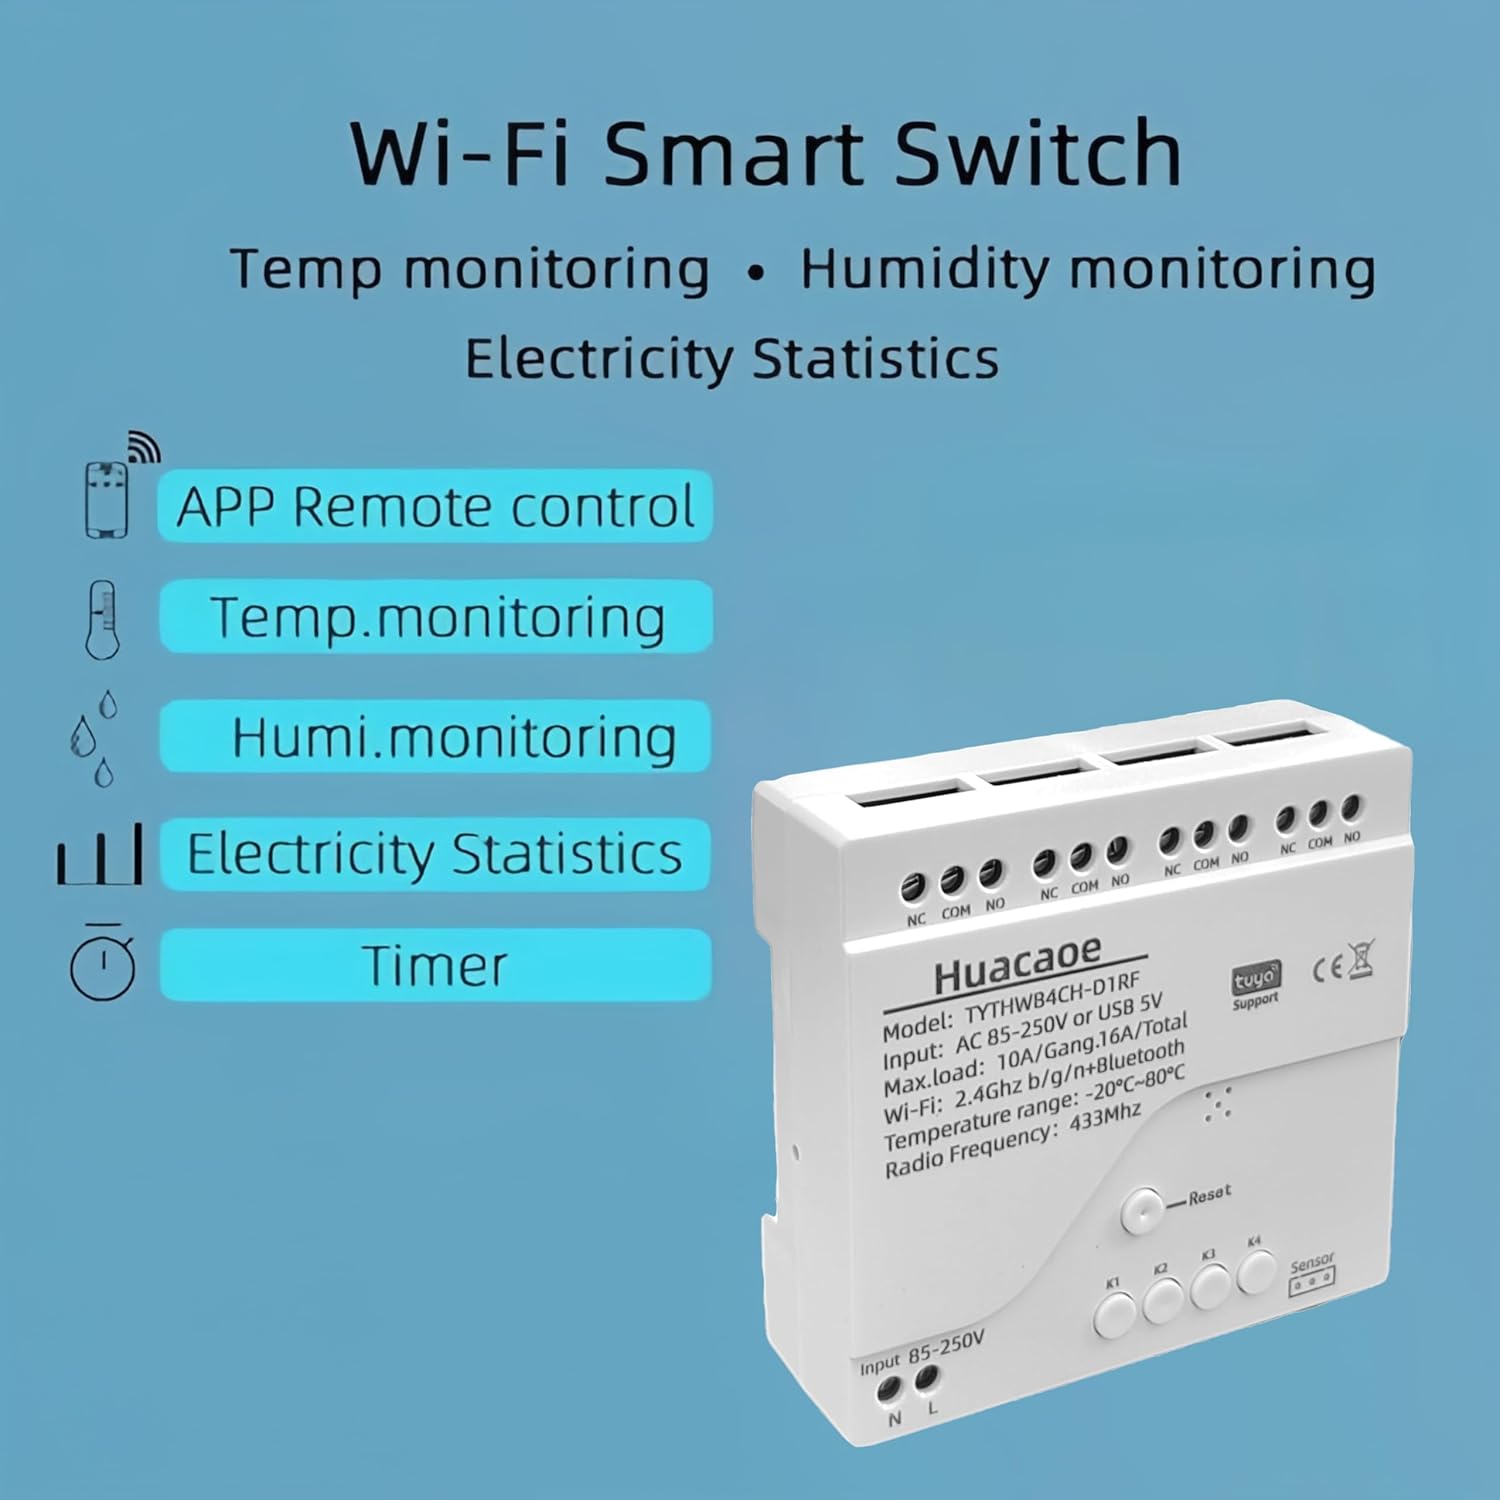
Image 3.2.2: Visual summary of the Huacaoe Wi-Fi Smart Switch's capabilities, including APP Remote control, Temperature monitoring, Humidity monitoring, Electricity Statistics, and Timer functions, displayed alongside the main controller unit.
4. Specifications
| Power Supply Input Voltage | USB 5V / AC 85-250V |
| Power Consumption | <1W (Quiescent current: 80mA) |
| Cutover Current | <10A/Channel, Total 4 channels <16A (10A Relay Model) |
| Working Temperature | -20℃ ~ 80℃ |
| Working Humidity | 5% to 90% RH |
| Wireless Standard | Wi-Fi 2.4GHz b/g/n |
| Security Mechanism | WEP/WPA-PSK/WPA2-PSK |
| Material | RF-ABS |
| Dimensions | 2.95 x 2.87 x 0.79 inches |
| Sensor Type | AM2302 High Sensitive Temperature and Humidity Sensor (1m cable included) |
| Sensor Measuring Range | -40℃ ~ 80℃ |
| Sensor Operating Voltage | 3.0-5.5V |
5. Setup
5.1 Wiring Instructions
Before wiring, ensure the power supply is disconnected. The controller supports both USB 5V and AC 85-250V input. Connect the temperature and humidity sensor to the designated sensor socket. For controlling appliances, connect the input power to the L (Live) and N (Neutral) terminals. The output for each channel uses NO (Normally Open) and COM (Common) terminals to switch the connected appliance.

Image 5.1.1: Detailed wiring diagram illustrating connections for the sensor socket, USB 5V input, AC 85-250V input, manual switches, reset button, and output terminals (NO, COM) for controlling an appliance (depicted as a light bulb).
- Power Input: Connect your power source (AC 85-250V or USB 5V) to the corresponding input terminals. For AC, connect Live (L) and Neutral (N).
- Sensor Connection: Plug the AM2302 temperature and humidity sensor cable into the dedicated sensor socket.
- Appliance Output: For each appliance you wish to control, connect its power input to the NO (Normally Open) and COM (Common) terminals of the desired channel (e.g., Channel 1 uses NO1 and COM1). The input power for the appliance should be connected to the COM terminal, and the switched output to the NO terminal.
- Manual Switches: The device includes manual buttons (K1-K4) for local control of each channel.
5.2 App Installation and Pairing
The Huacaoe Smart Controller operates with the Tuya Smart Life application, available on iOS and Android devices.
- Download App: Search for "Tuya Smart" or "Smart Life" in your device's app store and install it.
- Register/Login: Open the app and register a new account or log in with an existing one.
- Power On Device: Connect the Huacaoe controller to power. The network indicator light should start blinking.
- Add Device: In the Tuya Smart Life app, tap the "+" icon in the top right corner to add a device. The app may automatically discover the new device. If not, manually select "Electrical" > "Switch (Wi-Fi)" or "Sensor" > "Temperature and Humidity Sensor (Wi-Fi)".
- Wi-Fi Connection: Ensure your smartphone is connected to a 2.4GHz Wi-Fi network. The device only supports 2.4GHz Wi-Fi. Enter your Wi-Fi password when prompted.
- Pairing: Follow the on-screen instructions to complete the pairing process. If the device does not pair, press and hold the "Reset" button on the controller for 5-7 seconds until the indicator light blinks rapidly, then try pairing again.
- Rename Device: Once paired, you can rename the device and individual channels within the app for easier identification.
Important Note: Place the controller close to your Wi-Fi router during the pairing process for optimal signal strength. 5GHz Wi-Fi networks are not supported.
6. Operation
6.1 Remote Control via Tuya Smart Life App
After successful pairing, you can control and monitor your device from anywhere using the Tuya Smart Life app.

Image 6.1.1: Screenshot of the Tuya Smart Life app interface for the 4-channel controller. It displays current temperature and humidity, a "Switch All" toggle, and individual controls (Switch, Timing, Countdown) for each of the four channels. Options for renaming, notifications, sharing, and device removal are also visible.
- Real-time Monitoring: View current temperature and humidity readings directly on the app's main device screen.
- Manual Control: Toggle individual channels ON/OFF using the "Switch" buttons in the app. A "Switch All" option is also available.
- Timing and Countdown: Set schedules or countdown timers for each channel to automate appliance operation. These timers function even if the network is temporarily unavailable.
- Device Settings: Access settings to rename the device, set offline notifications, share control with other users, or remove the device.

Image 6.1.2: A user demonstrating manual control of the device through the Tuya Smart Life app on a smartphone, highlighting the convenience of remote operation.
6.2 Smart Automation and Scene Creation
Utilize the app's smart scene feature to create automated rules based on temperature, humidity, or other conditions.
- Temperature/Humidity Triggers: Set conditions, e.g., "If temperature rises above 25℃, turn on Channel 1 (fan)." or "If humidity drops below 40%, turn on Channel 2 (humidifier)."
- Daily Power Consumption: Monitor daily power consumption in real-time through the Tuya Smart Life app.

Image 6.2.1: Examples of appliances and environments where the smart controller can be used, including warmers, fish tanks, dehumidifiers, lamps, incubators, air conditioning fans, feeding systems, electric fans, farms, storage facilities, greenhouses, and automatic watering systems.

Image 6.2.2: Further illustrations of application scenarios, such as irrigation systems, greenhouses, home heating, storage, breeding facilities, and fan control, all benefiting from precise temperature and humidity management.
6.3 Voice Control Integration
The controller is compatible with Amazon Alexa and Google Home. Link your Tuya Smart Life account to your voice assistant app to enable voice commands.
- Amazon Alexa: Enable the "Smart Life" skill in the Alexa app. Discover devices.
- Google Home: Link the "Smart Life" service in the Google Home app.
- Voice Commands: Use commands like "Alexa, turn on [Device Name] Channel 1" or "Hey Google, what is the temperature in [Device Name]?"
- Siri Voice Control: Create smart scenes in the Smart Life app and add them as Siri Shortcuts for voice control.
6.4 Data Monitoring and History
The Tuya Smart Life app provides detailed historical data for temperature and humidity.

Image 6.4.1: Screenshot of the Tuya Smart Life app's statistics section, displaying graphs of current temperature and humidity data over time (day, month, year views available). This allows users to review environmental data trends.
- Historical Data: Review temperature and humidity data by hour, day, month, or year.
- Unit Switching: Switch between Celsius (℃) and Fahrenheit (℉) units within the app settings.
- Calibration: The app allows for temperature and humidity calibration, as well as setting sensitivity levels.
7. Maintenance
- Keep the device clean and free from dust. Use a soft, dry cloth for cleaning.
- Ensure the temperature and humidity sensor is not obstructed and is placed in an area representative of the environment you wish to monitor.
- Regularly check wiring connections for security and integrity.
- Keep the Tuya Smart Life app updated to the latest version for optimal performance and security.
8. Troubleshooting
| Problem | Possible Cause | Solution |
|---|---|---|
| Device cannot connect to Wi-Fi. |
|
|
| Device is offline in the app. |
|
|
| Appliance not responding to control. |
|
|
| Inaccurate temperature/humidity readings. |
|
|
9. Warranty and Support
For warranty information and technical support, please refer to the documentation included with your purchase or contact Huacaoe customer service directly. Details are typically available on the manufacturer's official website or through your retailer.