
Introduction
This manual provides detailed instructions for the assembly, operation, and maintenance of your ADVANCE OUTDOOR 12x20 ft Heavy Duty Carport. This versatile shelter is designed to protect vehicles, boats, and equipment, or serve as a temporary event space. Please read all instructions carefully before beginning assembly to ensure safe and correct installation and use.
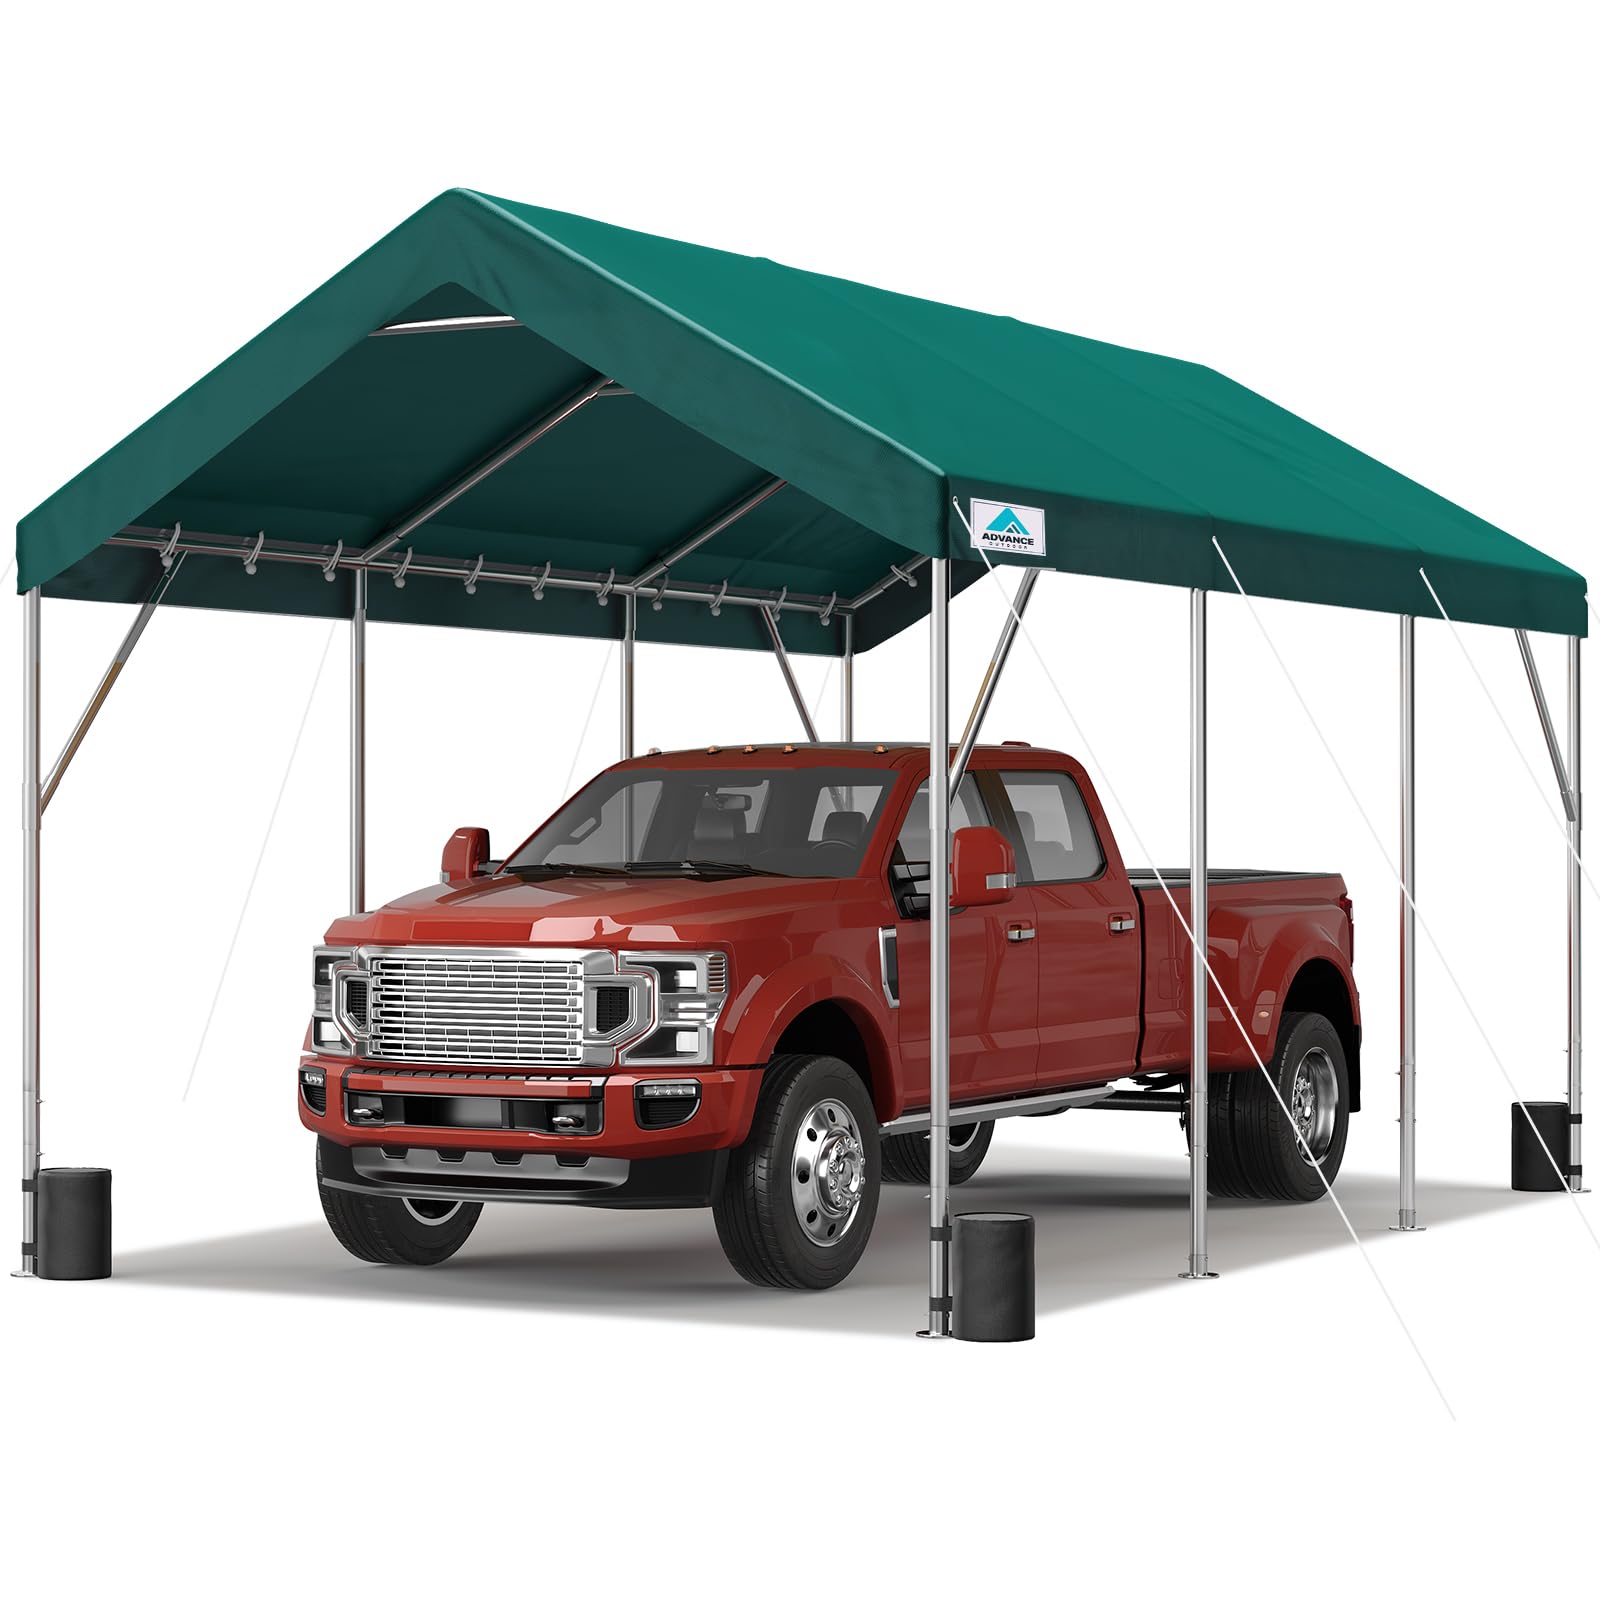
Image: The ADVANCE OUTDOOR 12x20 ft Heavy Duty Carport, featuring a green canopy and galvanized steel frame.
Safety Information
Always follow the included instruction manual for proper assembly and disassembly. Use sandbags and ropes to secure the shelter in windy conditions. Do not attempt to set up or take down the shelter alone; always have at least two adults present. Keep children and pets away from the shelter during assembly, disassembly, and in windy conditions.
- Ensure the assembly area is clear of obstructions and hazards.
- Always wear appropriate safety gear, such as gloves, during assembly.
- Securely anchor the carport using all provided ropes, pegs, and sandbags. Additional anchoring may be required in severe weather conditions.
- Regularly inspect the frame and canopy for damage or wear. Replace damaged parts immediately.
- Do not use open flames or heating devices inside or near the carport.
- In anticipation of heavy snow or extreme winds, it is recommended to remove the canopy to prevent damage to the structure.
Package Contents
Before beginning assembly, verify that all components listed below are present and undamaged. The carport is shipped in two separate boxes.

Image: Diagram illustrating the carport frame and indicating that the product ships in two boxes.
| Component | Quantity |
|---|---|
| Steel Frame (various poles and connectors) | 1 Set |
| 180g PE Canopy Cover | 1 |
| Height Adjustable Poles | 16 |
| Reinforced Triangular Poles | 8 |
| Sandbags | 4 |
| Windproof Ropes | 8 |
| Ground Pegs (Big Steel Pegs) | 16 |
| Spiral Pegs (Auger Anchors) | 8 |
| Pairs of Gloves | 2 |
| Instruction Manual | 1 |
Setup Instructions
Assembly typically requires two or more adults and can be completed in approximately 30 minutes. Follow the step-by-step instructions provided in the included manual for detailed guidance. The frame features a tool-free design for quick setup.
- Unpack Components: Carefully unpack all parts and verify against the package contents list.
- Assemble Roof Frame: Connect the roof poles and connectors to form the peak structure. Ensure all connections are secure.
- Attach Reinforced Triangular Poles: Install the 8 reinforced triangular poles (4 on top, 4 on sides) to enhance stability.
- Install Legs: Attach the 8 galvanized steel legs to the roof frame.
- Adjust Height: Select one of the 4 adjustable height options (6.6ft, 7.1ft, 7.6ft, 8.1ft side height; 9.8ft, 10.3ft, 10.8ft, 11.3ft peak height) and secure the leg extensions.
- Drape Canopy Cover: Carefully place the 180g polyethylene canopy cover over the assembled frame.
- Secure Canopy: Use the provided ball bungees to firmly attach the canopy cover to the frame. Ensure the cover is taut to prevent water pooling.
- Anchor the Carport:
- Use the 16 big steel pegs to secure the base of the legs to the ground.
- Install the 8 auger anchors into the ground and attach the 8 windproof ropes to the frame, securing them to the anchors.
- Fill the 4 sandbags and place them at the base of the legs for additional stability.

Image: Product dimensions and adjustable height options for the carport.

Image: Close-up of the heavy-duty bracing system with reinforced triangular poles for enhanced stability.

Image: Illustration of the 28-point reinforcement system, including spiral anchors, L-shaped anchors, and sandbags, designed to keep the carport stable in stormy weather.
Video: Demonstrates the industrial-grade manufacturing process of the carport frame, highlighting its robust construction designed to withstand wind and snow.
Operating Instructions
Once assembled and securely anchored, your ADVANCE OUTDOOR carport is ready for use. It provides protection for various items and can serve multiple purposes.
- Vehicle Protection: Park cars, trucks, boats, or other vehicles under the canopy to shield them from sun, rain, dust, hail, and snow.
- Adjustable Height: The carport offers four adjustable height settings (side height 6.6ft, 7.1ft, 7.6ft, 8.1ft; peak height 9.8ft, 10.3ft, 10.8ft, 11.3ft) to accommodate different vehicle sizes or usage requirements. Adjust height during initial setup or with assistance from another adult.
- Event Shelter: Utilize the carport as a temporary shelter for outdoor events, parties, or commercial fairs.
- Storage: Store lawn and garden equipment, motorcycles, or other outdoor items.

Image: Examples of the carport's versatility, accommodating various vehicles and equipment due to its adjustable height.
Video: Highlights the adjustable height feature of the ADVANCE OUTDOOR Heavy Duty Carport, showing how it can be adapted for different needs.
Maintenance
Proper maintenance ensures the longevity and performance of your carport.
- Canopy Cleaning: Clean the polyethylene canopy cover periodically with mild soap and water. Avoid harsh chemicals or abrasive cleaners that could damage the material.
- Frame Inspection: Regularly check the galvanized steel frame for any signs of rust, bending, or loose connections. Tighten any loose bolts or connections.
- Anchoring System: Inspect ropes, pegs, and anchors regularly, especially after strong winds or heavy rain, to ensure they remain secure. Re-tighten or re-position as necessary.
- Snow Removal: In areas with heavy snowfall, it is recommended to remove accumulated snow from the canopy to prevent structural damage. For extreme conditions, consider removing the canopy entirely during winter months.
- Storage: If disassembling for storage, clean and dry all components thoroughly before packing. Store the canopy in a cool, dry place away from direct sunlight.

Image: Illustration of the triple-layer 180g PE cover, highlighting its protective qualities against various weather elements.
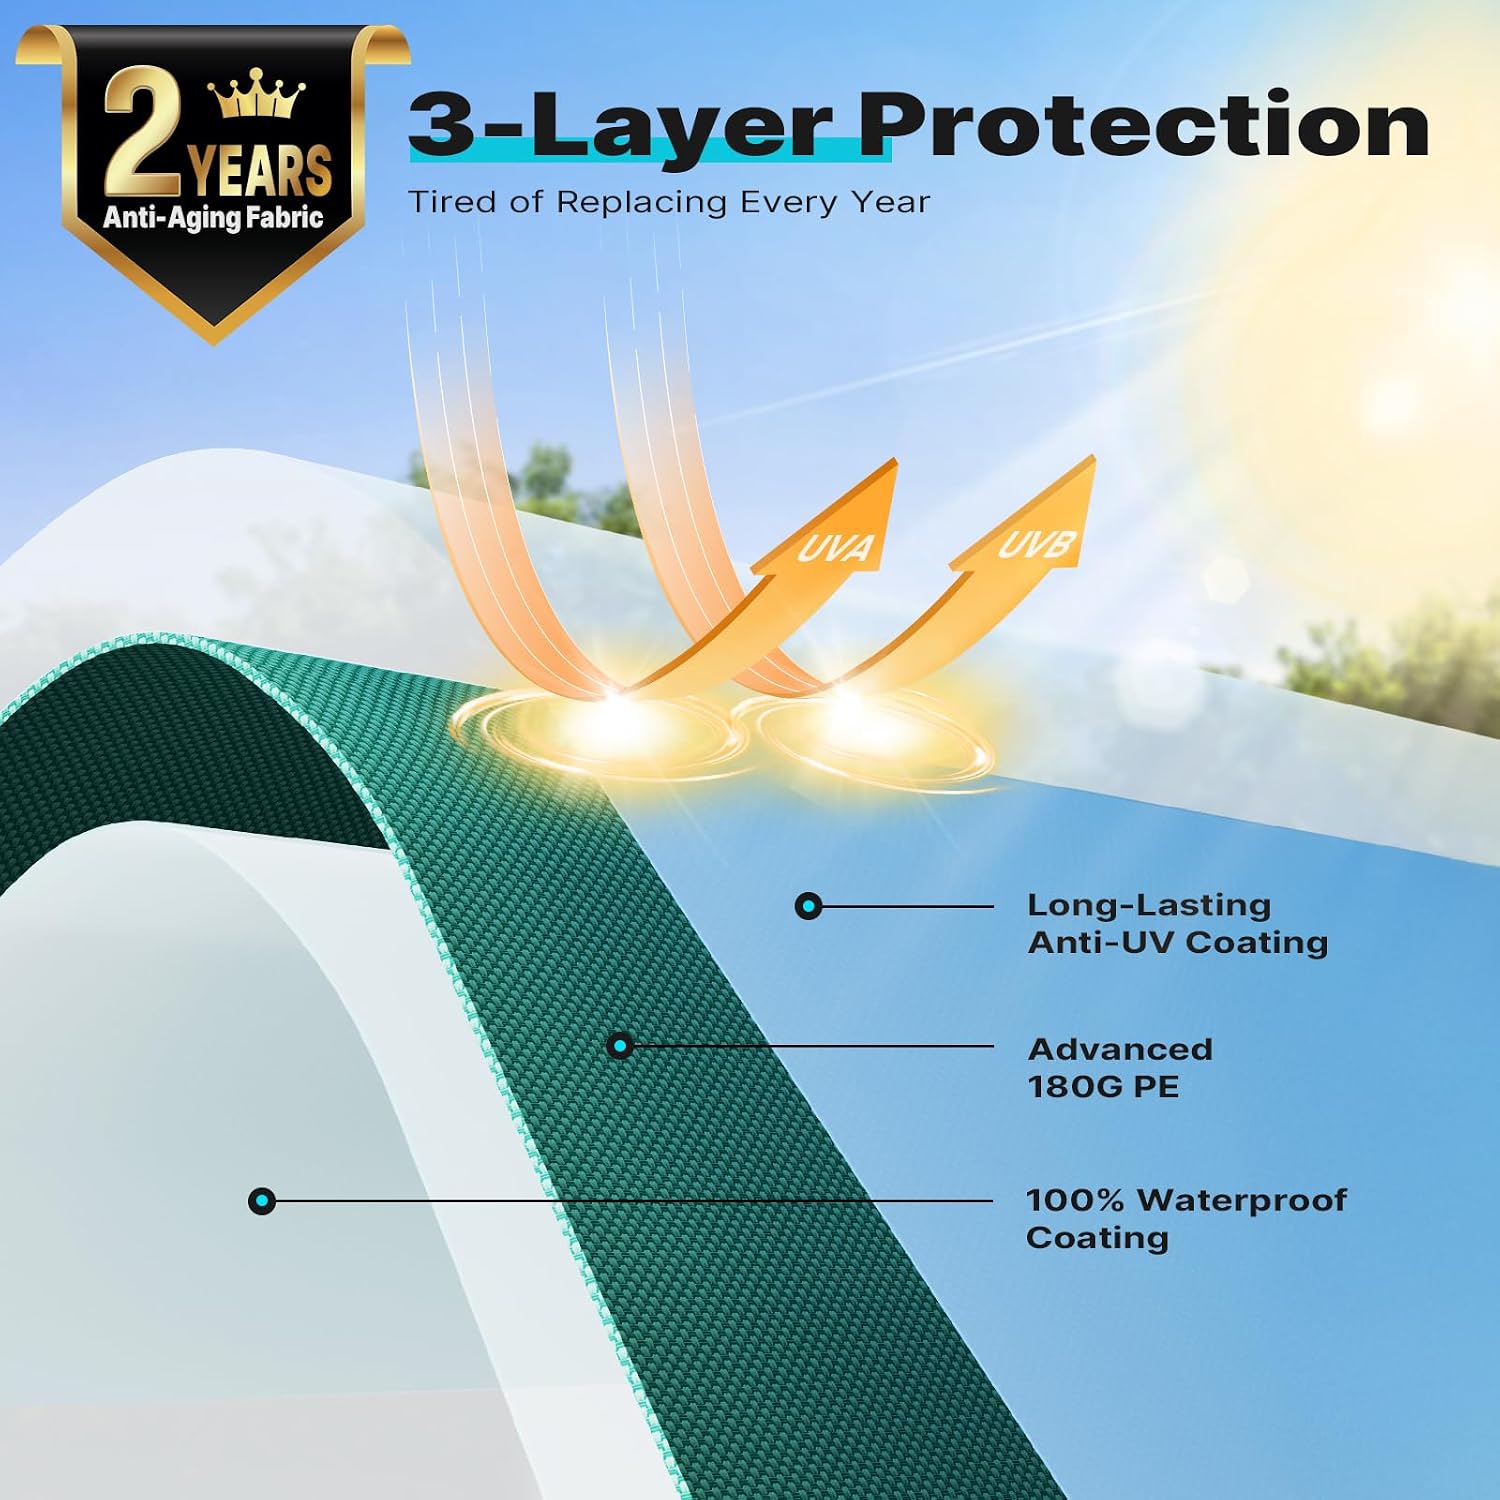
Image: Detailed view of the 3-layer protection of the canopy, featuring long-lasting anti-UV coating, advanced 180g PE, and 100% waterproof coating.

Image: Diagram illustrating the rust-proof construction of the galvanized steel frame, including high-strength carbon steel and a zinc-coated layer.
Troubleshooting
This section addresses common issues you might encounter with your carport.
- Carport Instability:
- Ensure all frame connections are fully engaged and tightened.
- Verify that all ground pegs, auger anchors, and sandbags are correctly installed and securely fastened.
- In very windy conditions, consider adding additional anchoring points or temporarily removing the canopy.
- Water Pooling on Canopy:
- Check that the canopy is stretched tightly over the frame and all bungees are secure.
- Ensure the frame is assembled to the correct height and is level.
- Canopy Tears or Damage:
- Small tears can often be repaired with a waterproof patch kit.
- For significant damage, a replacement canopy cover may be necessary. Contact customer support for replacement options.
- Ensure the canopy is not rubbing against sharp edges of the frame.
- Difficulty Assembling Poles:
- Ensure you are using the correct poles for each section as per the detailed instruction manual.
- Some force may be required to fully seat connections; ensure alignment before applying pressure.
Video: A demonstration of the carport's resistance to rain and wind, showcasing its heavy-duty construction and stability in adverse weather conditions.
Specifications
| Feature | Detail |
|---|---|
| Brand | ADVANCE OUTDOOR |
| Model Number | 018G |
| Product Dimensions (L x W x H) | 240"L x 144"W x 132"H (20 ft L x 12 ft W x 11 ft H) |
| Adjustable Side Height | 6.6 ft, 7.1 ft, 7.6 ft, 8.1 ft |
| Adjustable Peak Height | 9.8 ft, 10.3 ft, 10.8 ft, 11.3 ft |
| Item Weight | 137.3 pounds |
| Frame Material | Galvanized Steel (1.5-inch diameter poles, 1.2mm thick, 1.65-inch diameter connectors) |
| Canopy Material | Heat-sealed, triple-layer 180g Polyethylene fabric |
| Water Resistance Level | Waterproof |
| UV Protection | Yes (Anti-UV) |
| Number of Legs | 8 |
| Reinforcement | 8 Reinforced Triangular Poles, 8 Windproof Ropes, 4 Sandbags, 16 Big Steel Pegs, 8 Auger Anchors |

Image: The 180g PE canopy cover, designed for UV protection and waterproofing.
Warranty and Support
ADVANCE OUTDOOR provides the following quality assurance for your carport:
- Poles and Canopy Covers: One-year quality assurance.
- Other Accessories: Lifetime quality assurance for connectors, foot pads, pegs, anchors, and elastic bungees.
For any questions, concerns, or to claim warranty support, please contact ADVANCE OUTDOOR customer service. Refer to your purchase documentation for contact details.