1. Introduction
This manual provides detailed instructions for the installation, operation, and maintenance of your Solar Controller. This device is designed to efficiently manage power flow from solar panels to batteries, ensuring optimal performance and longevity of your solar power system.
The Solar Controller features a high-efficiency chip with maximum power point tracking (MPPT) technology, achieving up to 99% solar energy utilization. It incorporates multiple safety protections, including high and low voltage protection, overload and overheating protection, reverse polarity protection, output short circuit protection, and overcurrent protection.
It is universally compatible with lithium batteries and includes a self-activation function for lithium batteries. The intelligent human-computer interaction display allows for easy parameter setting and clear monitoring of system status.
2. Product Overview
2.1 Key Features
- High Conversion Rate: Utilizes advanced MPPT technology for up to 99% solar energy utilization.
- High Safety: Built-in protections against high/low voltage, overload, overheating, reverse polarity, short circuit, and overcurrent.
- Universal Compatibility: Supports various battery types, including lithium batteries with self-activation.
- Digital Display: Intelligent human-computer interaction display for easy parameter setting and monitoring.
- Multi-Functional Control: Protects battery cells, prevents overcharge, over-discharge, overload, and short circuits.
2.2 Components and Interface
Familiarize yourself with the main components and interfaces of the solar controller.

Figure 2.2.1: Front view of the Solar Controller, showing the digital display, control buttons (up, down, M), and the "CHARGE CONTROLLER" label.

Figure 2.2.2: Angled view of the Solar Controller, highlighting the display and ventilation slots on the side.

Figure 2.2.3: Rear view of the Solar Controller, featuring a prominent cooling fan for heat dissipation.
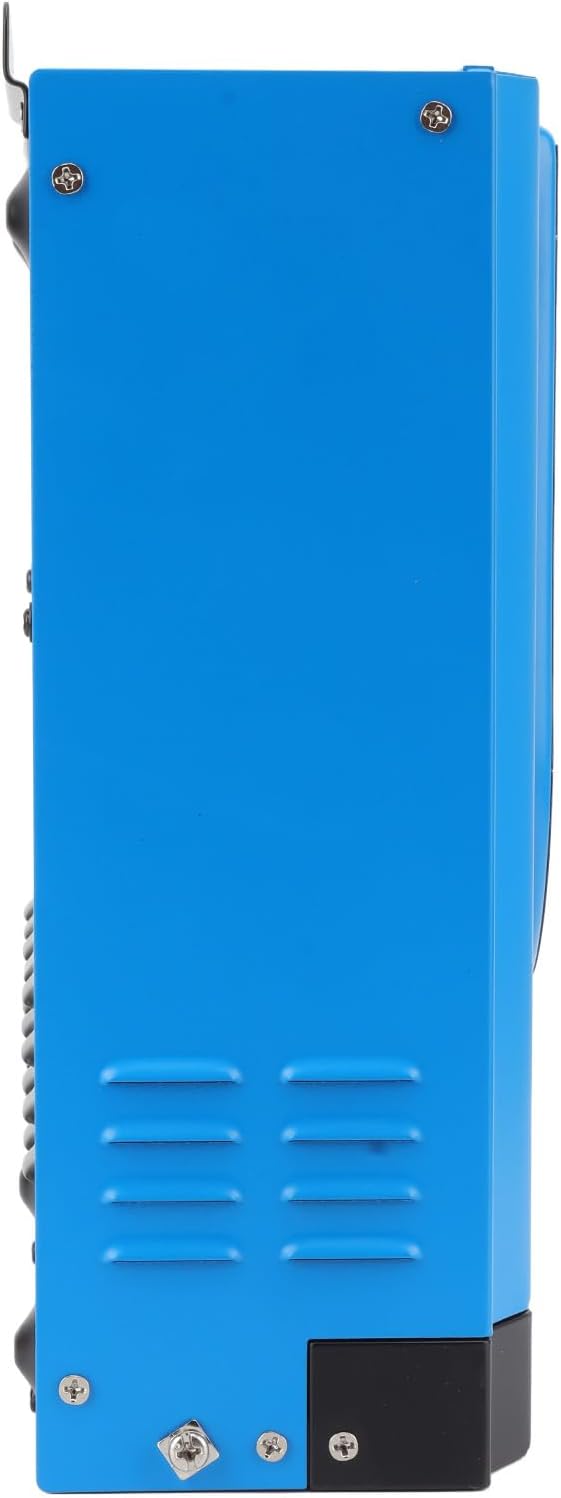
Figure 2.2.4: Side view of the Solar Controller, displaying various connection ports and mounting points.

Figure 2.2.5: Top-down view of the Solar Controller, clearly showing the digital display and the terminal block for solar panel, battery, and DC load connections, along with an RS485 port and temperature sensor input.

Figure 2.2.6: The Solar Controller shown with its included temperature sensor cable, which connects to the green terminal block on the left.
3. Setup and Installation
3.1 Safety Precautions
- Ensure all power sources are disconnected before installation.
- Wear appropriate personal protective equipment (PPE).
- Verify correct polarity for all connections to prevent damage.
- Install the controller in a well-ventilated area, away from flammable materials.
- Do not expose the controller to water or excessive humidity.
3.2 Installation Steps
The solar controller is designed for direct installation and use. Follow these general steps for proper setup:
- Mounting: Choose a suitable location for mounting the controller. Ensure it is secure and has adequate clearance for ventilation and cable connections.
- Battery Connection: Connect the battery to the controller first. Ensure correct polarity (positive to positive, negative to negative). This step is crucial for the controller to recognize the system voltage.
- Solar Panel Connection: Connect the solar panels to the controller. Again, observe correct polarity.
- DC Load Connection (Optional): If you have a DC load directly connected to the controller, connect it now, ensuring correct polarity.
- Temperature Sensor Connection: Connect the included temperature sensor cable to the designated port on the controller. This allows the controller to compensate for battery temperature during charging.
- Power On: Once all connections are secure, the controller will power on and display system information.
Note: Always connect the battery first and disconnect it last when performing maintenance or removal.
4. Operating Instructions
4.1 Digital Display Overview
The intelligent digital display provides real-time information about your solar power system. It typically shows:
- Solar Panel Voltage (PV) and Current
- Battery Voltage (BATT) and Charge Status
- Output Current (LOAD)
- Battery Type and System Voltage Settings
- Error Indicators
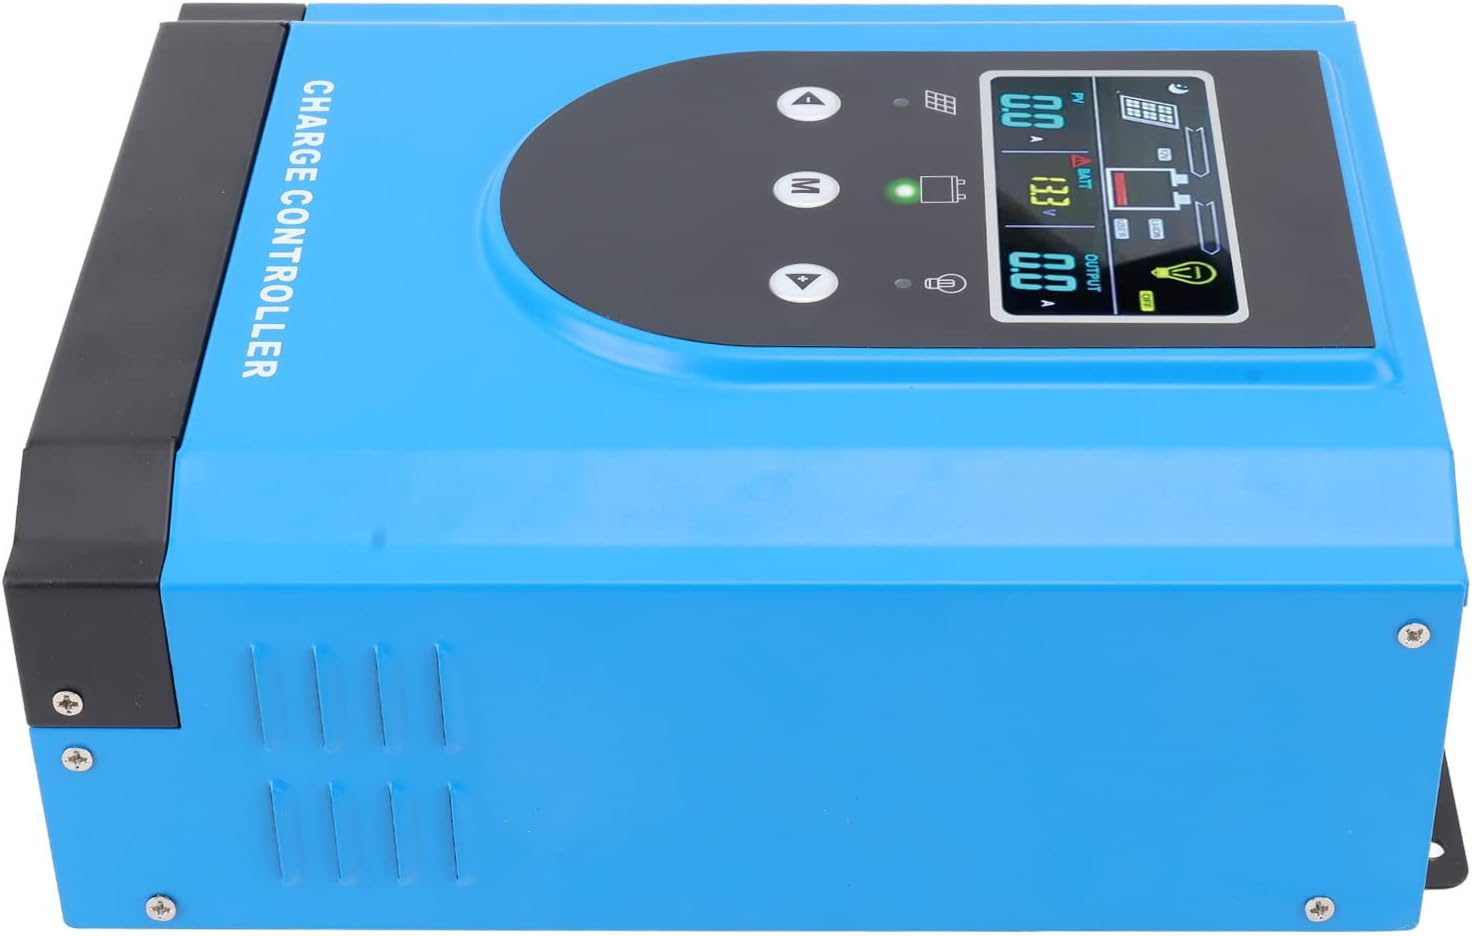
Figure 4.1.1: Detailed view of the digital display, illustrating PV input, battery status, and load output readings.
4.2 Parameter Setting
Use the control buttons (Up, Down, M) to navigate through menus and adjust parameters. Refer to the on-screen prompts for specific settings such as battery type, charge voltage limits, and load control modes.
- M Button: Press to enter the menu or confirm a selection.
- Up/Down Buttons: Use to navigate through options or adjust values.
Consult the on-screen interface for detailed instructions on setting specific parameters relevant to your battery type and system requirements.
5. Maintenance
Regular maintenance ensures the longevity and optimal performance of your solar controller.
- Cleaning: Periodically clean the exterior of the controller with a dry, soft cloth. Ensure ventilation openings are free from dust and debris.
- Connection Check: Annually inspect all wiring connections for tightness and corrosion. Loose connections can lead to power loss or overheating.
- Environmental Check: Ensure the installation environment remains dry, well-ventilated, and within the specified operating temperature range.
- Firmware Updates: Check the manufacturer's website for any available firmware updates that may improve performance or add features.
Caution: Before performing any maintenance, disconnect all power sources to the controller (solar panels, battery, and load).
6. Troubleshooting
This section provides solutions to common issues you might encounter with your solar controller.
| Problem | Possible Cause | Solution |
|---|---|---|
| Controller not powering on. | No battery connected or battery voltage too low. Reverse polarity connection. | Ensure battery is connected first and has sufficient voltage. Check battery polarity. |
| No charging from solar panels. | Solar panels not connected, insufficient sunlight, or panel voltage too low/high. | Check solar panel connections and polarity. Ensure adequate sunlight. Verify panel voltage is within controller's input range. |
| Load not working. | Load disconnected, battery voltage too low, or overload protection activated. | Check load connections. Allow battery to charge. Reduce load or check for short circuits. |
| Overheating. | Poor ventilation or excessive load. | Ensure adequate airflow around the controller. Reduce load if possible. |
If the problem persists after attempting these solutions, please contact customer support.
7. Specifications
| Parameter | Value |
|---|---|
| Item Type | Solar Controller |
| Material | Aluminum Alloy, ABS |
| Rated Voltage | DC12V 24V 36V 48V |
| Color | Blue |
| Maximum Photovoltaic Voltage | DC150V |
| Package Dimensions | 14.96 x 10.63 x 6.3 inches |
| Item Weight | 11.22 pounds |
| Model Number | Generic20xqe546wi-14 |
8. Package Contents
The product package includes the following items:
- 1 x Solar Controller
- 1 x User Manual
- 1 x Connection Cable (likely referring to the temperature sensor cable)
9. Warranty and Support
For warranty information and technical support, please refer to the specific warranty card included with your product or contact the manufacturer directly. Keep your purchase receipt as proof of purchase.
Manufacturer: Generic
For further assistance, please visit the official Generic support website or contact their customer service.