ANCHEER TR5972-9-12
ANCHEER Walking Pad Treadmill with Desk Workstation - User Manual
Model: TR5972-9-12
1. Introduction
Thank you for choosing the ANCHEER Walking Pad Treadmill with Desk Workstation. This manual provides essential information for the safe and effective operation, maintenance, and troubleshooting of your new fitness equipment. Please read this manual thoroughly before initial use and retain it for future reference.
This versatile treadmill is designed for home and office use, featuring an adjustable height desk workstation, dual shock absorption, and a powerful motor, making it suitable for walking, jogging, and light running.
2. Safety Information
Your safety is paramount. Please observe the following precautions:
- Always consult with a physician before starting any new exercise program.
- Ensure the treadmill is placed on a flat, stable surface with adequate clearance around it (at least 2 feet from walls or furniture).
- Keep children and pets away from the treadmill during operation.
- Wear appropriate athletic footwear. Do not operate the treadmill barefoot.
- Use the emergency stop strap at all times. Attach the clip to your clothing before beginning your workout.
- Do not exceed the maximum weight capacity of 300 lbs (136 kg).
- Unplug the treadmill from the power outlet when not in use or before cleaning and maintenance.
- Do not attempt to service the treadmill yourself. Contact customer support for assistance.
3. Package Contents
Carefully unpack the box and ensure all items are present:
- 1 x ANCHEER Walking Pad Treadmill
- 1 x Removable Tabletop
- 2 x Tabletop Bracket Accessories
- 1 x Safety Key
- 1 x Lubricant
- 1 x User Manual (this document)
- 1 x Tool Kit
4. Setup and Assembly
The ANCHEER Walking Pad Treadmill is designed for quick and easy assembly, typically within 30 seconds.
4.1 Unfolding the Treadmill
Gently lift the running deck with one hand until it locks into the unfolded position. No screws need to be loosened for this process.
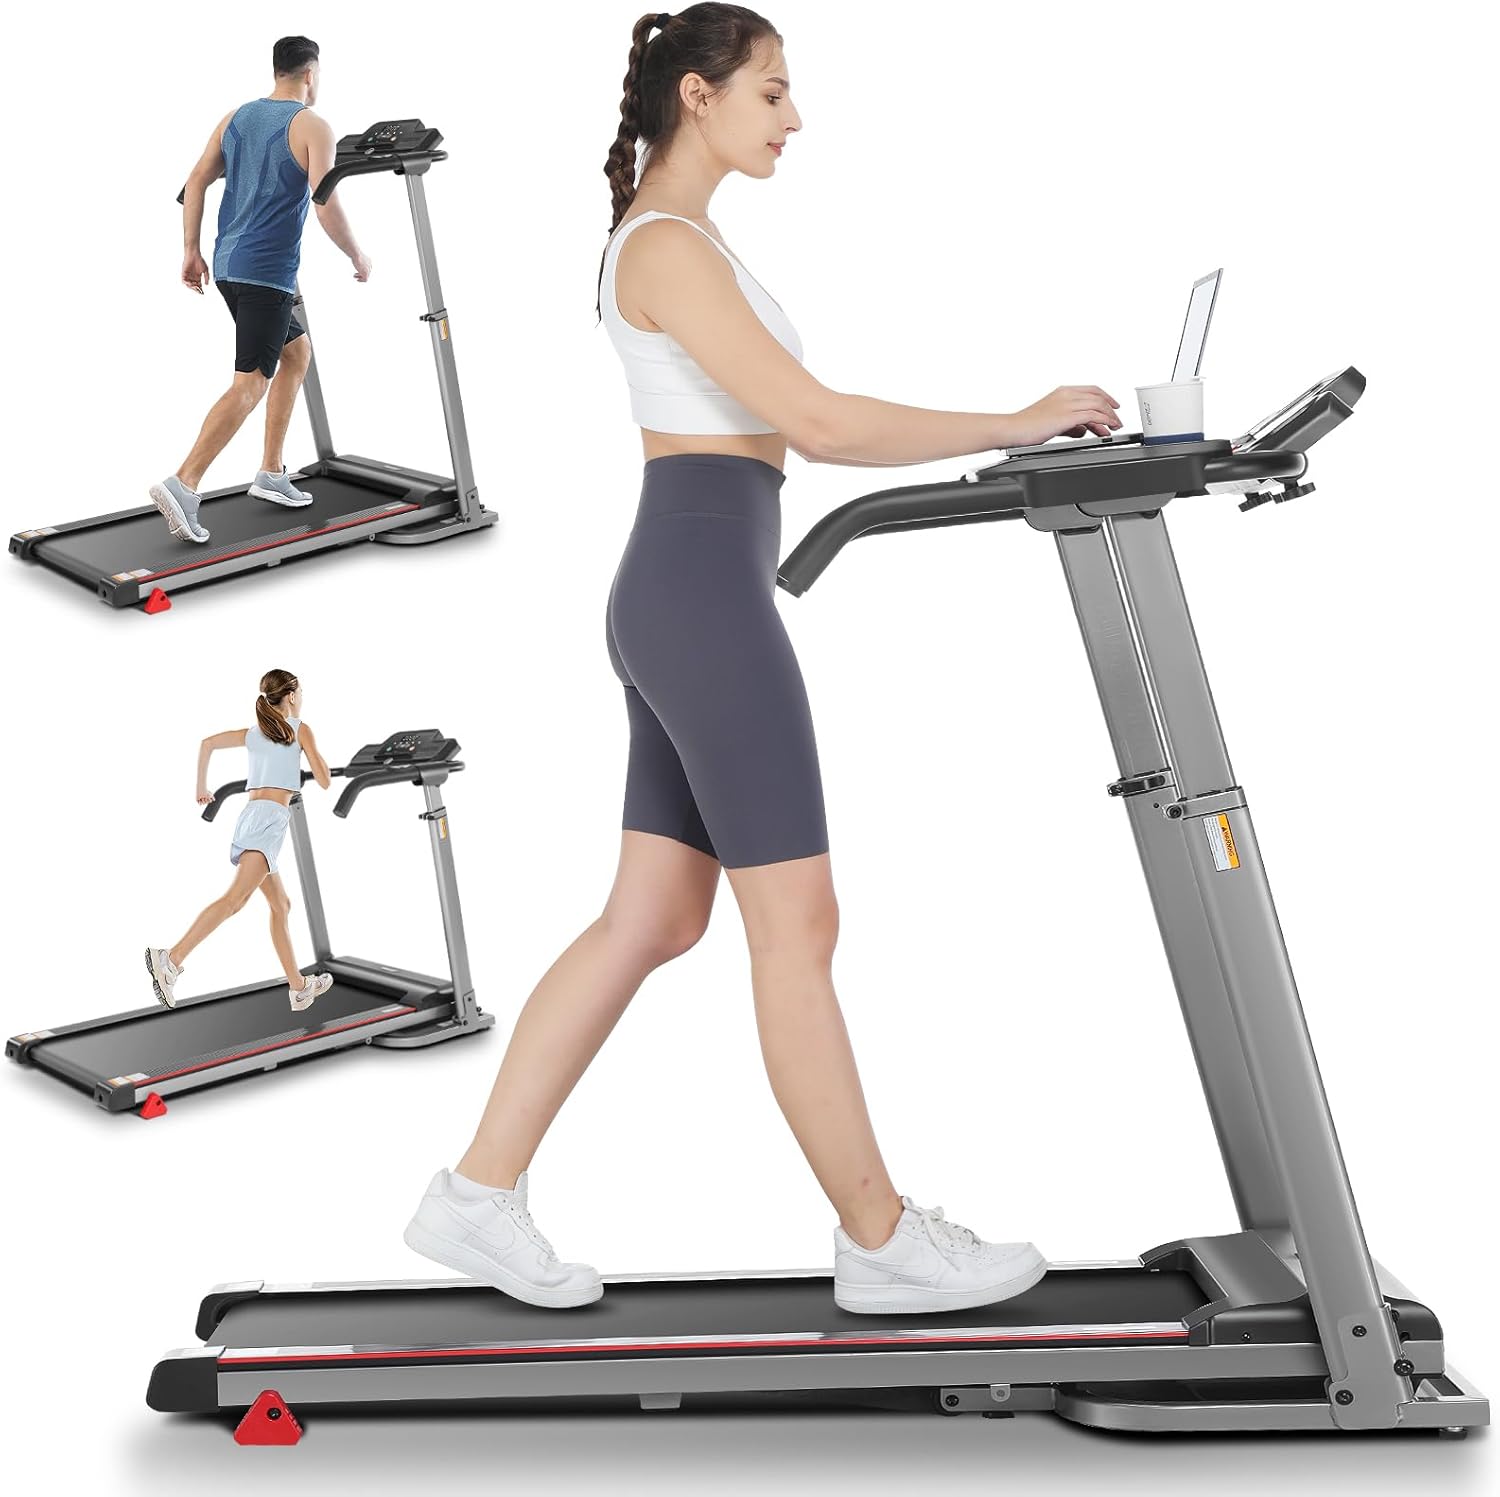
Figure 4.1: Treadmill in its operational, unfolded state, demonstrating its use for walking and running.
4.2 Attaching the Removable Desk Workstation
Attach the two tabletop bracket accessories to the designated slots on the treadmill's handlebars. Then, place the removable tabletop onto these brackets. The desk measures 26.2" x 13" and includes a cup trough.

Figure 4.2: The removable desktop workstation, showing its ventilated design and cup holder.
4.3 Adjusting Handlebar Height
The handlebar height can be adjusted from 33.5 to 49.9 inches to accommodate various user heights. Locate the adjustment mechanism on the side of the handlebars and secure it at your desired height.

Figure 4.3: Illustration of the adjustable handlebar height, accommodating users from approximately 33 inches to 50 inches.
4.4 Power Connection
Connect the power cord (1.5m long) to a suitable electrical outlet. Ensure the power switch on the treadmill is in the OFF position before plugging it in.
5. Operating Instructions
5.1 Control Panel and Display
The LED display panel shows key workout metrics:
- Time: Duration of your workout.
- Speed: Current speed in KM/H or MPH (0.6-7.5 MPH / 1-12 KM/H).
- Distance: Total distance covered.
- Calories: Estimated calories burned.
- Pulse: Your heart rate, measured by integrated pulse sensors on the handlebars.
Figure 5.1: The LED display and control buttons for starting, stopping, and adjusting speed.
5.2 Starting and Stopping
- Ensure the safety key is properly inserted into its slot on the console and the clip is attached to your clothing.
- Press the "START" button to begin the workout. The belt will start moving at a low speed.
- Use the speed adjustment buttons (+/-) to increase or decrease the belt speed.
- To stop, press the "STOP" button. For immediate cessation, pull the safety key.
5.3 Adjusting Incline
The treadmill features 3 manual incline positions. To adjust the incline, you must manually lift or lower the rear of the treadmill and secure it at the desired level. Always ensure the treadmill is stable before use after adjusting incline.

Figure 5.3: Visual representation of the 3-level adjustable incline feature, suitable for walking, jogging, and running.
5.4 Pulse Sensor Usage
To measure your heart rate, place both hands firmly on the pulse sensors located on the handlebars. Your heart rate will be displayed on the LED panel after a few seconds. For optimal intensity, consider the formula: 170 - age = appropriate heart rate.
6. Maintenance
Regular maintenance ensures the longevity and optimal performance of your treadmill.
6.1 Cleaning
Wipe down the treadmill surfaces with a damp cloth after each use to remove sweat and dust. Do not use abrasive cleaners or solvents.
6.2 Lubrication
The running belt requires periodic lubrication to reduce friction and extend its lifespan. Use the provided lubricant or a silicone-based treadmill lubricant. Refer to the specific instructions in the included lubricant package for frequency and application method.
6.3 Belt Adjustment
If the running belt becomes misaligned or slips, it may need adjustment. Consult the full user manual (if provided separately) or contact customer support for detailed instructions on belt tension and alignment.
7. Storage
The ANCHEER Walking Pad Treadmill features a 3-second fast folding design for easy storage. Simply lift the running deck gently with one hand. It also has convenient transportation wheels for easy movement.

Figure 7.1: The treadmill in its folded position, highlighting the hydraulic lever soft-drop system and transport wheels.
When folded, the dimensions are 25.8" x 25.9" x 48.4", allowing it to be stored compactly in a living room, study, or small corner.
8. Troubleshooting
If you encounter issues with your treadmill, try the following solutions:
| Problem | Possible Cause | Solution |
|---|---|---|
| Treadmill does not power on. | Power cord not plugged in; circuit breaker tripped; safety key not inserted. | Ensure power cord is securely plugged into a live outlet. Check household circuit breaker. Insert safety key fully. |
| Running belt stops suddenly. | Safety key dislodged; motor overload. | Re-insert safety key. Reduce load on treadmill. If problem persists, contact support. |
| Unusual noise during operation. | Lack of lubrication; loose components. | Lubricate the running belt. Check for any loose screws or parts and tighten them. |
| Belt slips or hesitates. | Belt tension too loose; belt worn. | Adjust belt tension (refer to full manual or support). If worn, belt replacement may be needed. |
If these solutions do not resolve the issue, please contact ANCHEER customer support.
9. Specifications
| Feature | Detail |
|---|---|
| Model Name | TR5972-9-12 |
| Brand | ANCHEER |
| Motor Horsepower | 2.5 HP |
| Speed Range | 0.6 - 7.5 MPH (1 - 12 KM/H) |
| Maximum Weight Capacity | 300 lbs (136 kg) |
| Incline Levels | 3 Manual Incline Positions |
| Running Area (L*W) | 38.58 * 19.09 inches (approx.) |
| Unfolded Dimensions (L x W x H) | 53.5" x 25.9" x 39" |
| Folded Dimensions (L x W x H) | 25.8" x 25.9" x 48.4" |
| Item Weight | 92.59 lbs (42 kg) |
| Desk Dimensions | 26.2" x 13" |
| Handlebar Height Adjustment | 33.5 - 49.9 inches |
| Display Type | LED (Time, Speed, Distance, Calories, Pulse) |
| Shock Absorption | 7-layer anti-slip belt, 6 silicone shock absorbers |
| Portability | Folding design, transport wheels |
10. Warranty and Support
ANCHEER provides a 12-month warranty for this treadmill. This warranty covers manufacturing defects and issues arising from normal use.
For any questions, concerns, or warranty claims, please contact ANCHEER customer service. You can expect a response within 24-48 hours.
Please have your model number (TR5972-9-12) and purchase information ready when contacting support.
Ask a question about this manual
Ask about setup, troubleshooting, compatibility, parts, safety, or missing instructions. Manuals+ will review the question and use this page’s manual context to help answer it.