1. Introduction
Thank you for choosing NeatiEase Wood Slat Acoustic Wall Panels. These panels are designed to enhance both the visual appeal and acoustic properties of your interior spaces. Made from environmentally friendly materials, they offer sound absorption and a modern aesthetic. This manual provides essential information for safe installation, usage, and maintenance of your new wall panels.

Image 1.1: Overview of NeatiEase Teak Wood Slat Acoustic Wall Panels. The image displays the rich teak color and the distinct slat design, highlighting the product's aesthetic appeal.
2. Safety Information
- Always wear appropriate personal protective equipment (PPE) such as gloves and eye protection when handling and cutting panels.
- Ensure the installation surface is clean, dry, and structurally sound.
- Keep panels away from open flames or excessive heat sources.
- Use caution when using power tools for cutting or drilling.
- Keep out of reach of children during installation.
- The panels conform to E0 standard for low formaldehyde emission, ensuring a safe indoor environment.

Image 2.1: Illustration emphasizing the safety aspect of the panels, specifically their low formaldehyde emission and E0 standard compliance.
3. Package Contents
Each package contains the following items:
- 4 x NeatiEase Wood Slat Acoustic Wall Panels (96" x 12.6" each)
Note: Installation materials such as screws, construction adhesive, and tools are not included and must be acquired separately.
4. Setup and Installation
Follow these steps for proper installation of your NeatiEase Wood Slat Acoustic Wall Panels. Panels can be installed horizontally or vertically.
- Measure the Wall: Accurately measure the height and width of the wall or ceiling area where the panels will be installed.
- Measure Panels: Measure the individual wall panels to determine if cutting is required to fit your space.
- Cut to Size: If necessary, cut the panels to the desired size using appropriate cutting tools. Ensure clean cuts for a professional finish.
- Apply Adhesive: Apply construction adhesive to the back of the panel. Ensure even distribution for secure attachment.
- Screw Fixation (Optional): For added security, panels can be fixed with screws. It is recommended to use screw covers for a seamless appearance.
- Final Placement: Carefully position and press the panel onto the wall or ceiling. Repeat for all panels until the installation is complete.

Image 4.1: Visual representation of the installation process, showing steps from measuring and cutting to applying adhesive and screw fixation, culminating in a finished wall.
5. Usage and Acoustic Benefits
NeatiEase Wood Slat Acoustic Wall Panels serve a dual purpose: enhancing interior aesthetics and improving room acoustics. The unique design and material composition contribute to sound absorption, reducing echo and noise within a space.
- Aesthetic Enhancement: The modern and elegant design allows for creative installation patterns, transforming any room into a contemporary and soothing environment.
- Sound Absorption: The panels are engineered to absorb sound, reduce noise, and improve the overall sound quality of a room. They have a Noise Reduction Coefficient (NRC) of 0.95.
- Versatile Application: Suitable for various interior spaces including living rooms, bedrooms, offices, conference rooms, and studios.
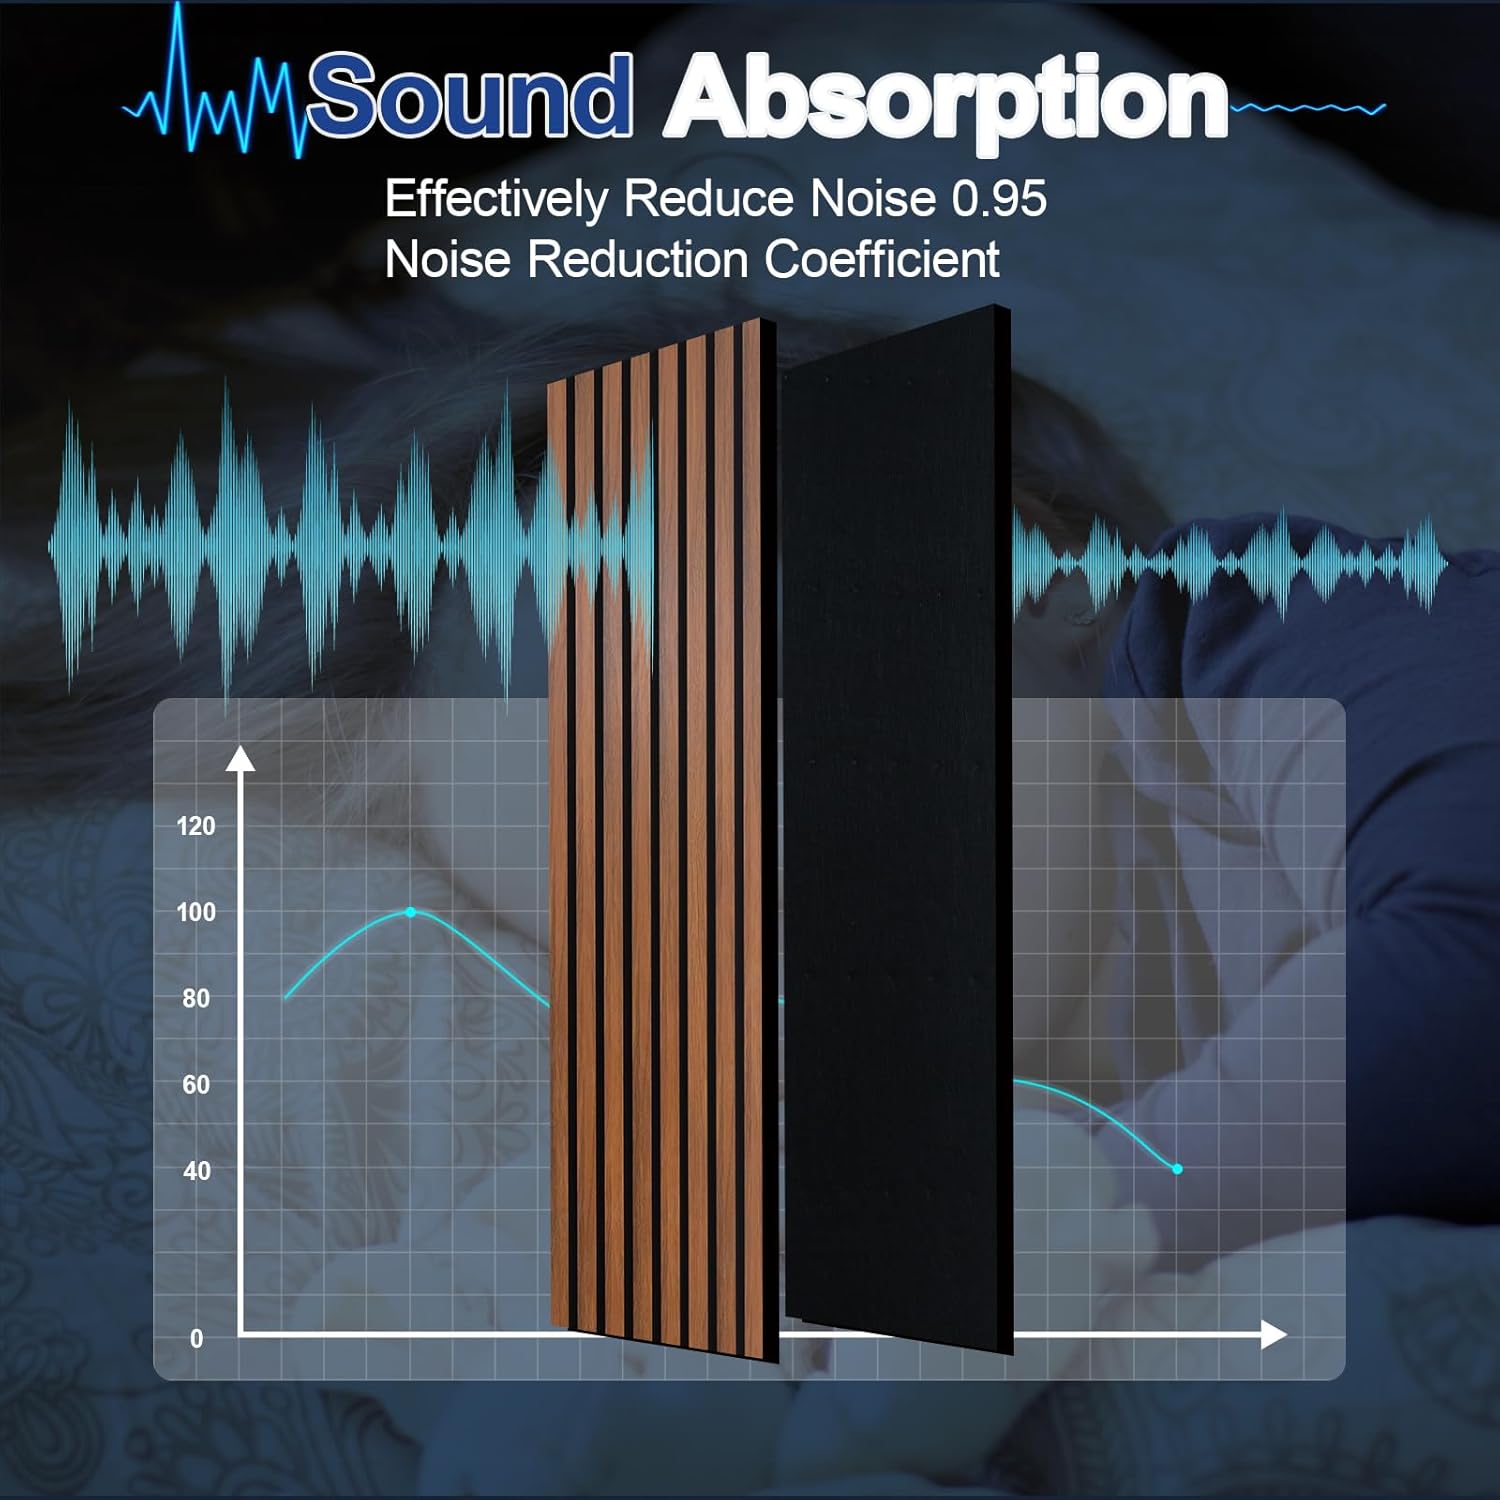
Image 5.1: A graph illustrating the sound absorption capabilities of the panels, demonstrating how they effectively reduce noise and improve acoustics.
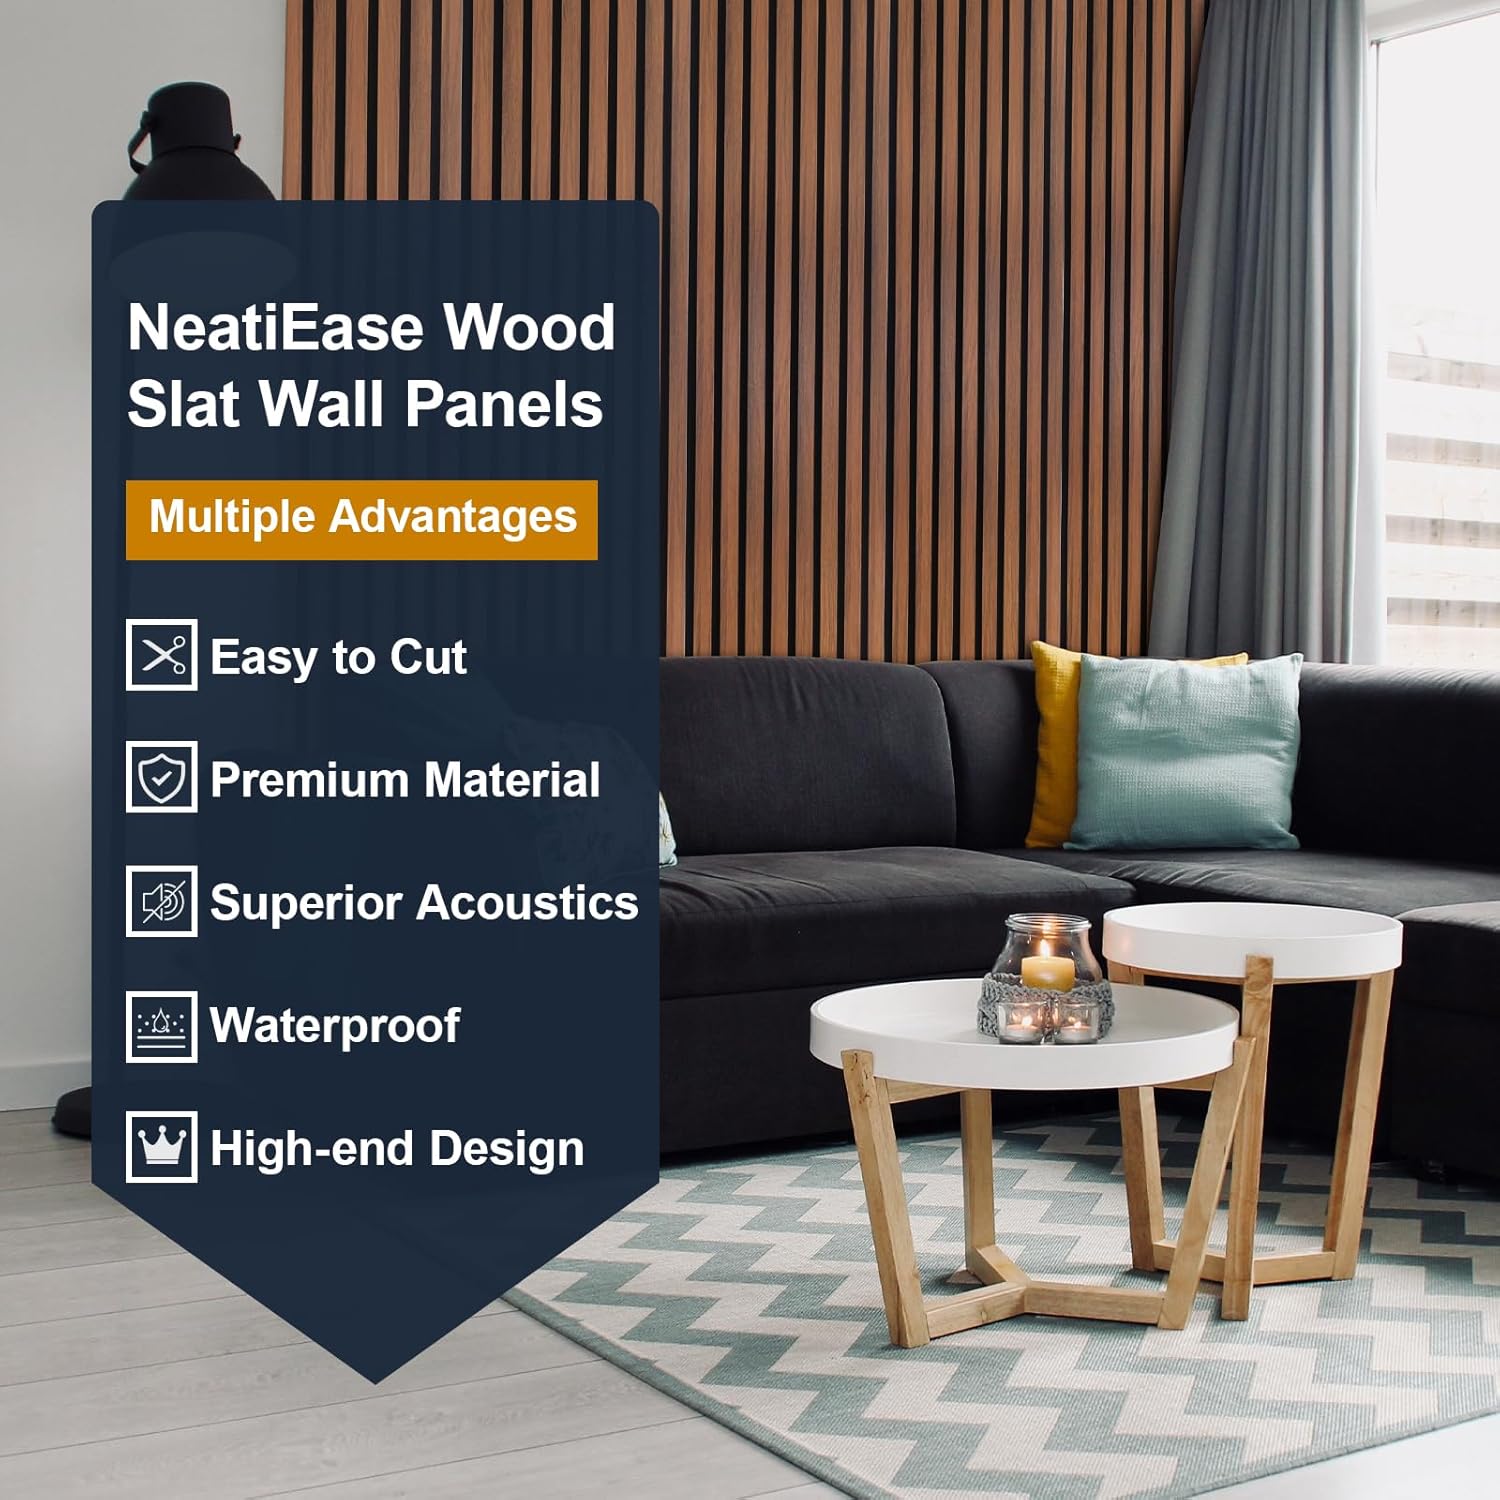
Image 5.2: An infographic highlighting the key advantages of NeatiEase panels, including ease of cutting, premium materials, superior acoustics, waterproof properties, and high-end design.
6. Maintenance
To maintain the appearance and performance of your NeatiEase Wood Slat Acoustic Wall Panels, follow these simple guidelines:
- Cleaning: Gently wipe the panels with a soft, dry cloth to remove dust. For light stains, use a slightly damp cloth with mild soap, then dry immediately. Avoid abrasive cleaners or harsh chemicals.
- Avoid Moisture: While the panels are designed to be waterproof, prolonged exposure to excessive moisture should be avoided to prevent damage.
- Protection: Protect panels from sharp objects or impacts that could scratch or dent the wood slats.
7. Troubleshooting
This section addresses common questions or issues that may arise during the use of your wall panels.
- Panels not adhering properly: Ensure the wall surface is clean, dry, and free of dust or grease before applying adhesive. Use a sufficient amount of high-quality construction adhesive. For heavy-duty applications or uneven surfaces, consider using screws in addition to adhesive.
- Visible gaps between panels: Ensure precise measurements and cuts during installation. Panels should be installed snugly against each other. Minor gaps can sometimes be filled with a color-matched wood filler if desired.
- Reduced acoustic performance: Verify that the panels cover a sufficient surface area for the room size. Ensure proper installation without significant gaps that could compromise sound absorption.
8. Specifications
| Brand | NeatiEase |
| Model | Wood Slat Acoustic Wall Panel |
| Color | Teak |
| Dimensions (per panel) | 96" (Length) x 12.6" (Width) |
| Number of Panels | 4 per package |
| Coverage Area | Approximately 33 sq.ft. (for 4 panels) |
| Material | MDF (Medium-Density Fiberboard) and High-Density Polyester Fiber |
| Acoustic Performance | Sound absorbing, Noise Reduction Coefficient (NRC) 0.95 |
| Environmental Standards | Low TVOC levels, E0 standard for formaldehyde emission, sourced from certified sustainable materials. |
| Item Weight | 43.9 pounds (total for package) |
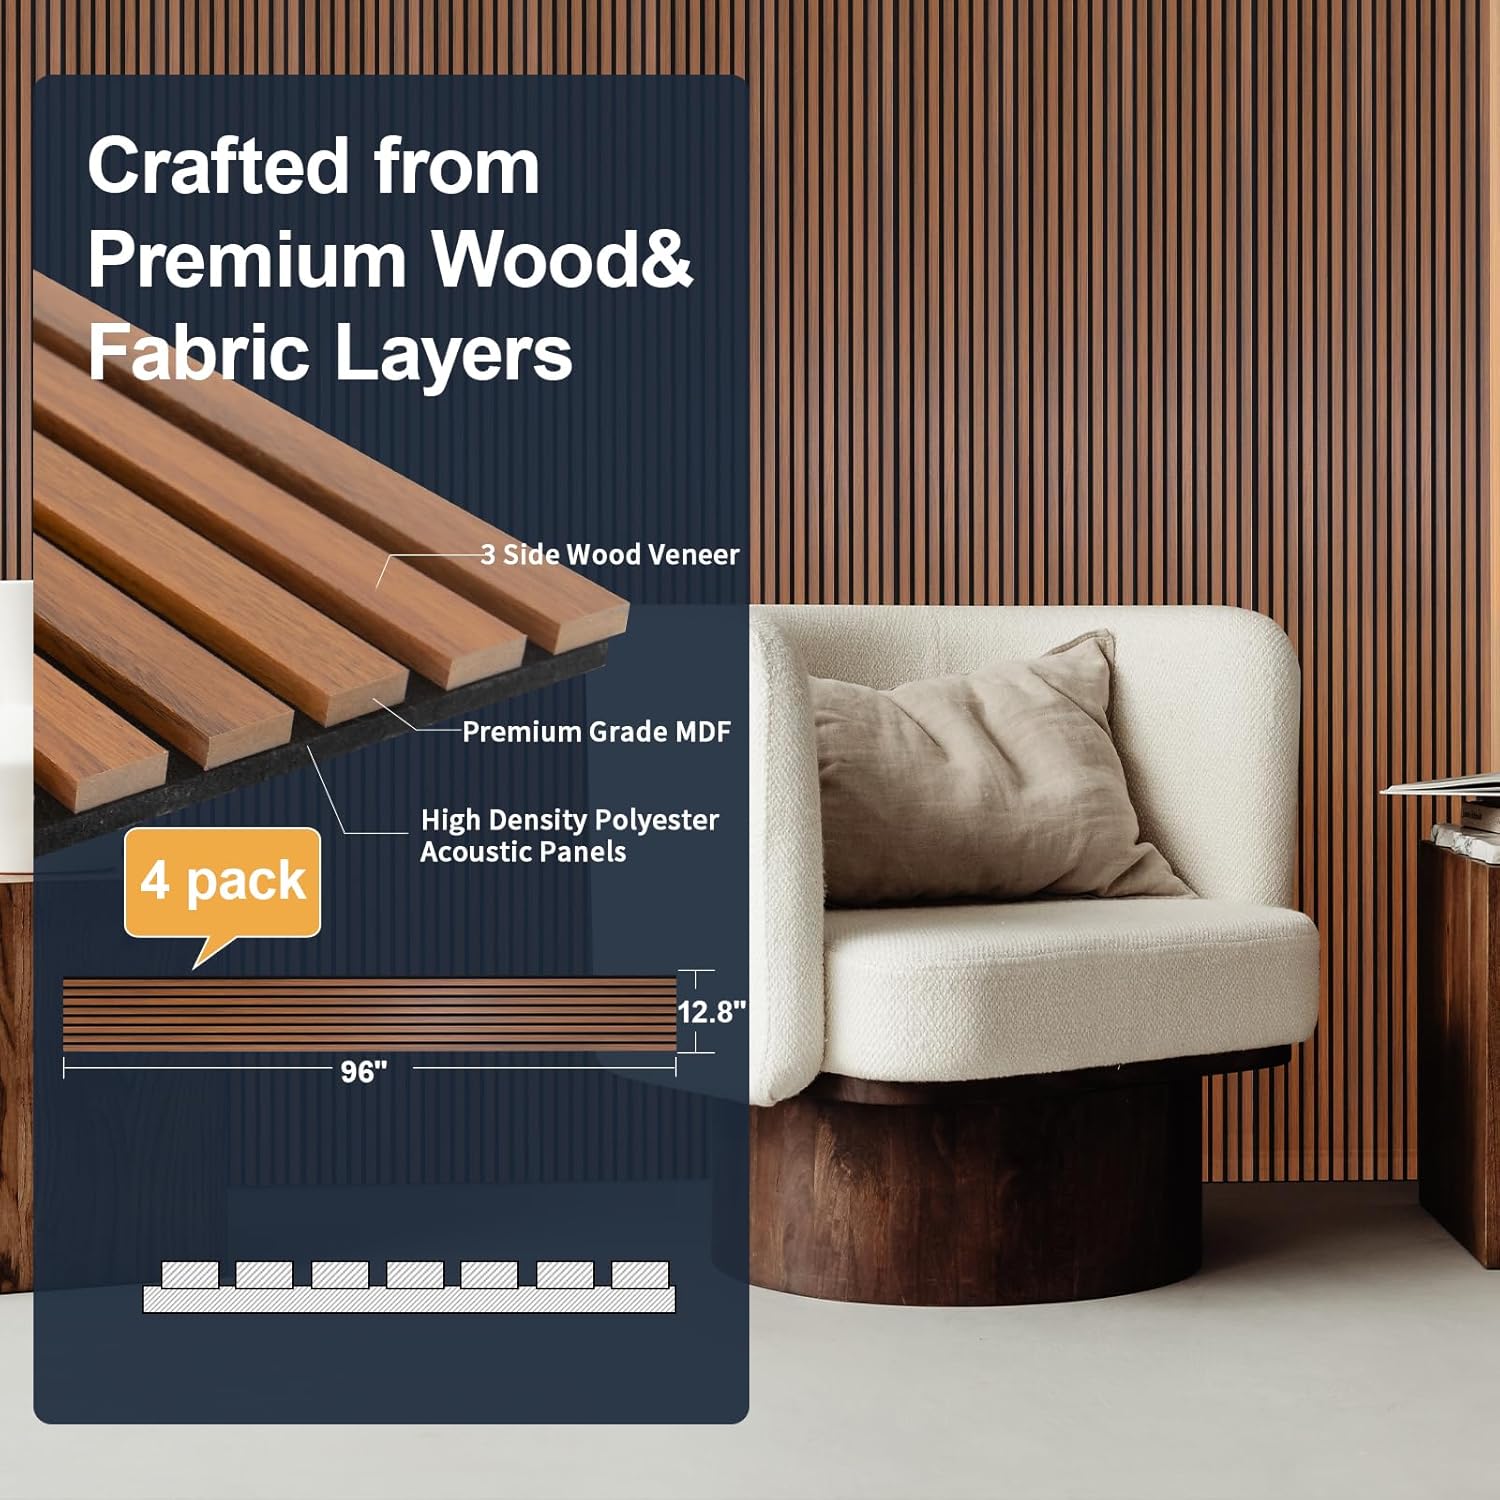
Image 8.1: An exploded view illustrating the construction of the NeatiEase panels, detailing the layers of wood veneer, MDF, and high-density polyester acoustic material.
9. Warranty and Support
For warranty information or technical support regarding your NeatiEase Wood Slat Acoustic Wall Panels, please refer to the official NeatiEase website or contact customer service through your point of purchase. Keep your purchase receipt as proof of purchase.