1. Introduction
This manual provides essential instructions for the safe operation, installation, maintenance, and troubleshooting of your WTIOPJ ZB-10E 2-in-1 Countertop Ice Machine Maker. Please read this manual thoroughly before using the appliance and retain it for future reference.
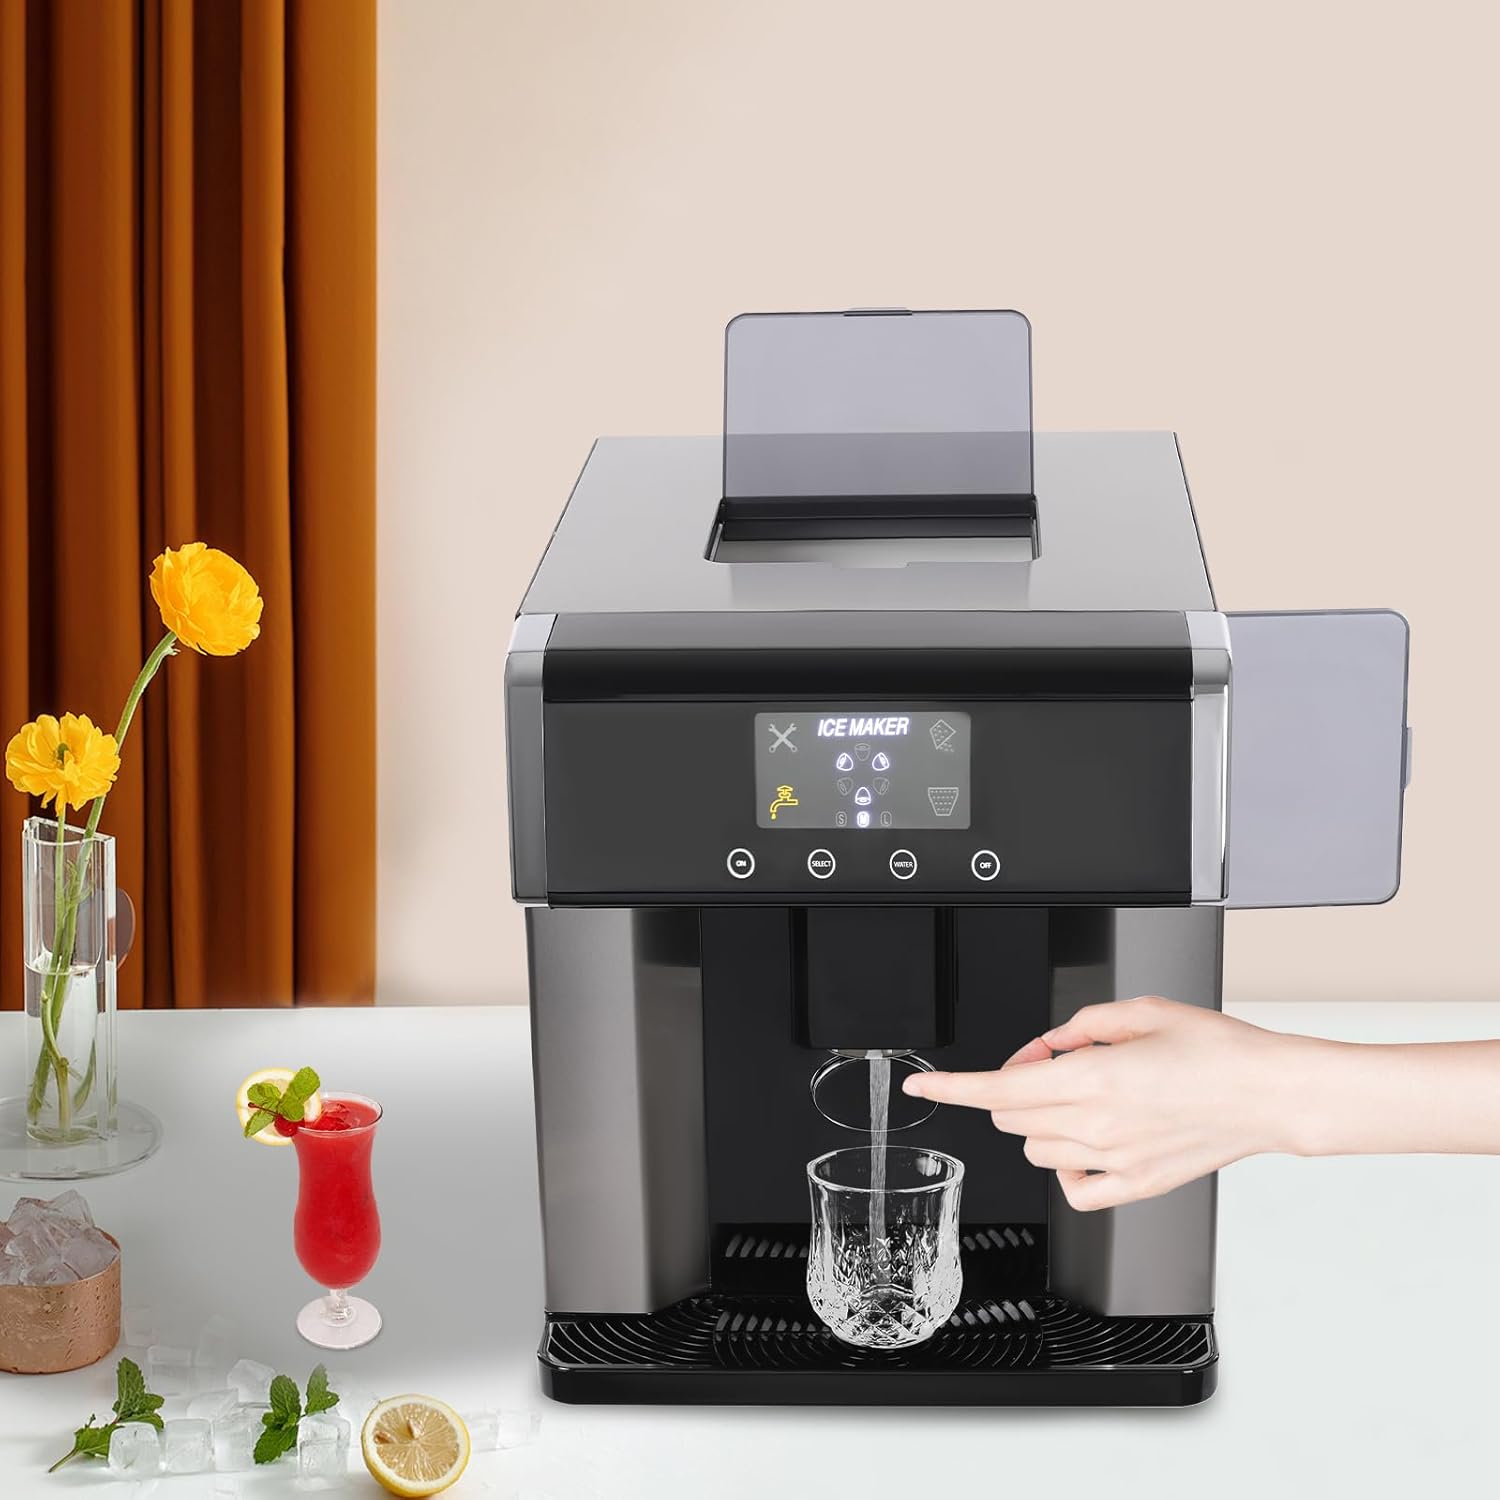
Figure 1.1: WTIOPJ ZB-10E Ice Machine Maker in operation, dispensing ice.
2. Safety Instructions
To ensure safe operation and prevent damage, observe the following safety precautions:
- Read all instructions before use.
- Ensure the appliance is connected to a grounded power outlet with the correct voltage (110V/60Hz).
- Do not immerse the power cord, plug, or any part of the appliance in water or other liquids.
- Unplug the appliance from the power outlet before cleaning, servicing, or when not in use.
- Place the ice maker on a stable, level surface, away from direct sunlight and heat sources. Ensure adequate ventilation around the unit.
- Use purified water to prevent mineral buildup and ensure optimal ice quality.
- Do not operate the appliance with a damaged cord or plug, or after it malfunctions or has been damaged in any manner.
- Keep children away from the appliance during operation.
- Do not block the ventilation openings.
3. Package Contents
Verify that all items are present in the package:
- 1 x 2-in-1 Ice Maker
- 1 x Water-adding Cup
- 1 x Ice Scoop
- 2 x Hoses (for automatic water injection, if applicable)
- 1 x English Manual
- Other Accessories for Assembly (as needed)

Figure 3.1: Included accessories and the ice maker.
4. Product Features
The WTIOPJ ZB-10E Ice Machine Maker offers several features designed for convenience and efficiency:
- 2-in-1 Design: Produces ice cubes and dispenses cold water.
- Efficient Ice Making: Produces 10 bullet-shaped ice cubes in approximately 8-12 minutes, with a daily capacity of 10-15kg (22.05-33.07lbs).
- Selectable Ice Sizes: Choose between small, medium, or large ice cubes.
- Manual/Automatic Water Injection: Flexibility to add water manually or connect to a water supply for automatic filling.
- Intuitive LCD Display: Clear indicator lights and touch controls for easy operation.
- Self-Cleaning Function: Simplifies maintenance and ensures hygiene.
- Safety Features: Automatic stop for water shortage, ice full, or malfunction; fault warning light, ice full warning light, and water shortage warning light.
- Insulated Storage: High-density foam layer helps maintain ice temperature and reduces melting.
- Translucent Visual Window: Allows observation of the ice-making process.
- Water Catch Tray: Collects drips and spills to keep the countertop clean.
5. Setup
Follow these steps to set up your ice machine maker:
- Unpack: Carefully remove the ice maker and all accessories from the packaging.
- Placement: Place the unit on a firm, level surface. Ensure there is at least 15cm (5.9 inches) of space around the unit for proper ventilation. Avoid placing it near heat sources or in direct sunlight.
- Initial Cleaning: Before first use, it is recommended to perform a self-cleaning cycle. Refer to Section 7 for detailed cleaning instructions.
- Water Filling:
- Manual: Open the water inlet cover (typically on the side or top) and pour purified water into the water tank using the provided water-adding cup. Do not exceed the maximum fill line (Water Tank Capacity: 1.8L/0.48gal).
- Automatic (if applicable): Connect the provided hoses to a suitable water supply according to the instructions in the separate assembly guide.

Figure 5.1: Manual water filling process.
- Power Connection: Plug the power cord into a grounded electrical outlet.
6. Operating Instructions
Operating your ice machine maker is straightforward with its touch control panel.

Figure 6.1: Control panel with touch buttons and display indicators.
- Power On/Off: Press the power button (usually indicated by a power symbol) to turn the unit on or off.
- Select Ice Size: Use the 'Size' button to cycle through available ice cube sizes: Small, Medium, Large. The selected size will be indicated on the LCD display.
- Start Ice Production: Once powered on and water is added, the machine will typically begin ice production automatically. If not, press the 'Start' or 'Ice' button.
- Dispensing Ice: When ice cubes are ready and stored in the ice basket, place a cup or container under the ice dispenser outlet. Press and hold the 'Ice Dispense' button (often indicated by an ice cube icon) to release ice.
- Dispensing Cold Water: Place a cup under the water dispenser outlet. Press and hold the 'Water Dispense' button (often indicated by a water droplet icon) to release cold water.
- Warning Indicators: Pay attention to the display for warning lights:
- Water Shortage: An indicator light will illuminate when the water tank is low. Refill the water tank.
- Ice Full: An indicator light will illuminate when the ice storage basket is full. Remove ice to resume production.
- Fault: A fault warning light indicates a malfunction. Refer to the Troubleshooting section.
7. Maintenance and Cleaning
Regular cleaning and maintenance ensure optimal performance and longevity of your ice maker.
- Self-Cleaning Mode: To activate the self-cleaning function, long-press the power button (typically >3 seconds) until the self-cleaning indicator illuminates. The machine will perform an internal cleaning cycle.
- Draining Water: Periodically drain any remaining water from the reservoir. Locate the drain plug (usually at the bottom or back) and remove it to allow water to flow out.
- Clean Water Catch Tray: The water catch tray can be removed for easy cleaning. Wash it with mild soap and water, then rinse and dry thoroughly.
- Exterior Cleaning: Wipe the exterior of the unit with a soft, damp cloth. Do not use abrasive cleaners or solvents.
- Internal Cleaning: For a more thorough cleaning, especially if using hard water, a descaling solution may be used. Follow the instructions provided with the descaling product. Always rinse thoroughly after descaling.
- Purified Water Recommendation: Using purified water is highly recommended to minimize mineral buildup and maintain the efficiency of the ice maker.

Figure 7.1: Side access to the water reservoir for cleaning or manual filling.
8. Troubleshooting
If you encounter issues with your ice maker, refer to the following common problems and solutions:
| Problem | Possible Cause | Solution |
|---|---|---|
| No ice production | No water in reservoir; Power off; Ambient temperature too high; Refrigerant issue. | Fill water tank; Ensure unit is powered on; Move unit to a cooler area; Contact customer support. |
| Water Shortage indicator on | Water level is too low. | Add purified water to the reservoir up to the maximum fill line. |
| Ice Full indicator on | Ice storage basket is full. | Remove ice from the basket to resume ice production. |
| Ice cubes are small or soft | Ambient temperature too high; Water temperature too high; Insufficient ventilation. | Ensure proper ventilation; Use colder water; Operate in a cooler environment. |
| Unit is noisy | Normal operation sounds (compressor, water pump); Unit not level. | Ensure unit is on a level surface. If noise is excessive or unusual, contact support. |
| Fault warning light on | Internal malfunction. | Unplug the unit for 10 minutes, then plug it back in. If the light persists, contact customer support. |
9. Specifications
Detailed technical specifications for the WTIOPJ ZB-10E Ice Machine Maker:
| Specification | Detail |
|---|---|
| Model | ZB-10E |
| Material | Stainless Steel, ABS |
| Color | Silver+Black |
| Mount Type | Countertop |
| Display Type | LCD |
| Operation Mode | Touch Control |
| Ice Size Options | Large, Medium, Small |
| Water Injection Method | Manual/Automatic |
| Ice Shape | Bullet Head Round Ice |
| Refrigerant Type | R290 |
| Noise Level | 40-60dB |
| Ice Making Time | Approx. 8-12 minutes per batch (10 ice cubes) |
| Voltage | 110V/60Hz |
| Power | 100-150W |
| Current | 2.5A |
| Water Tank Capacity | 1.8L (0.48gal) |
| Ice Storage Capacity | 600g (1.32lbs) |
| Ice Making Capacity | 10-15kg (22.05-33.07lbs) per day |
| Outlet Height | 15cm (5.9in) |
| Product Dimensions (L x W x H) | 31 x 41 x 37 cm (12.2 x 16.14 x 14.57 inches) |
| Net Weight | 13.5kg (29.76lbs) |

Figure 9.1: Product dimensions.
10. Warranty and Support
For warranty information, please refer to the warranty card included with your purchase or contact the retailer. If you require technical assistance or have questions not covered in this manual, please contact WTIOPJ customer support through the retailer's platform or the contact information provided with your product.