1. Introduction
This manual provides comprehensive instructions for the safe and efficient operation of your VEVOR 5-in-1 Heat Press Machine. This versatile machine is designed for heat transfer applications on various items, including T-shirts, mugs, hats, and plates. Please read this manual thoroughly before initial use and retain it for future reference.

Image 1.1: The VEVOR 5-in-1 Heat Press Machine, showcasing its main unit and included attachments for different transfer types.
2. Safety Instructions
WARNING: Failure to follow these safety instructions may result in electric shock, fire, or serious injury.
- Always connect the machine to a grounded power outlet with the correct voltage.
- Do not operate the machine with wet hands or in damp conditions.
- Keep children and pets away from the machine during operation.
- The heating plate reaches high temperatures. Avoid direct contact with the heating elements. Use the 360° swing-away arm and pull-out drawer to prevent burns.
- Ensure adequate ventilation in the work area to dissipate heat and any fumes from transfer materials.
- Unplug the machine from the power source when not in use or before cleaning and maintenance.
- Do not attempt to modify or repair the machine yourself. Contact qualified service personnel.
- Place the machine on a stable, heat-resistant surface.
3. Package Contents
Verify that all items are present in the package:
- Main Heat Press Unit (12 x 15 inch platen)
- T-shirt Press Attachment
- 30 oz Tumbler Press Attachment
- Hat Press Attachment
- Plate Press Attachments (2 sizes, e.g., 8" and 10")
- Power Cord
- User Manual (this document)

Image 3.1: Visual representation of the main unit and its five interchangeable attachments.
4. Product Overview and Components
Familiarize yourself with the main parts of the heat press machine:
- Control Box: Digital display for temperature and time settings.
- Heating Plate (Platen): The upper heating element.
- Bottom Plate: The lower silicone pad where items are placed.
- Pressure Adjustment Knob: Located on top, used to adjust pressure.
- Handle: For lowering and raising the heating plate.
- Swing-Away Arm: Allows the heating plate to rotate 360 degrees for safety.
- Pull-Out Drawer: The bottom plate slides out for easier and safer placement of items.
- Interchangeable Attachments: Specific elements for mugs, hats, and plates.

Image 4.1: Detailed view of the control panel, pressure adjustment, and insulation features.
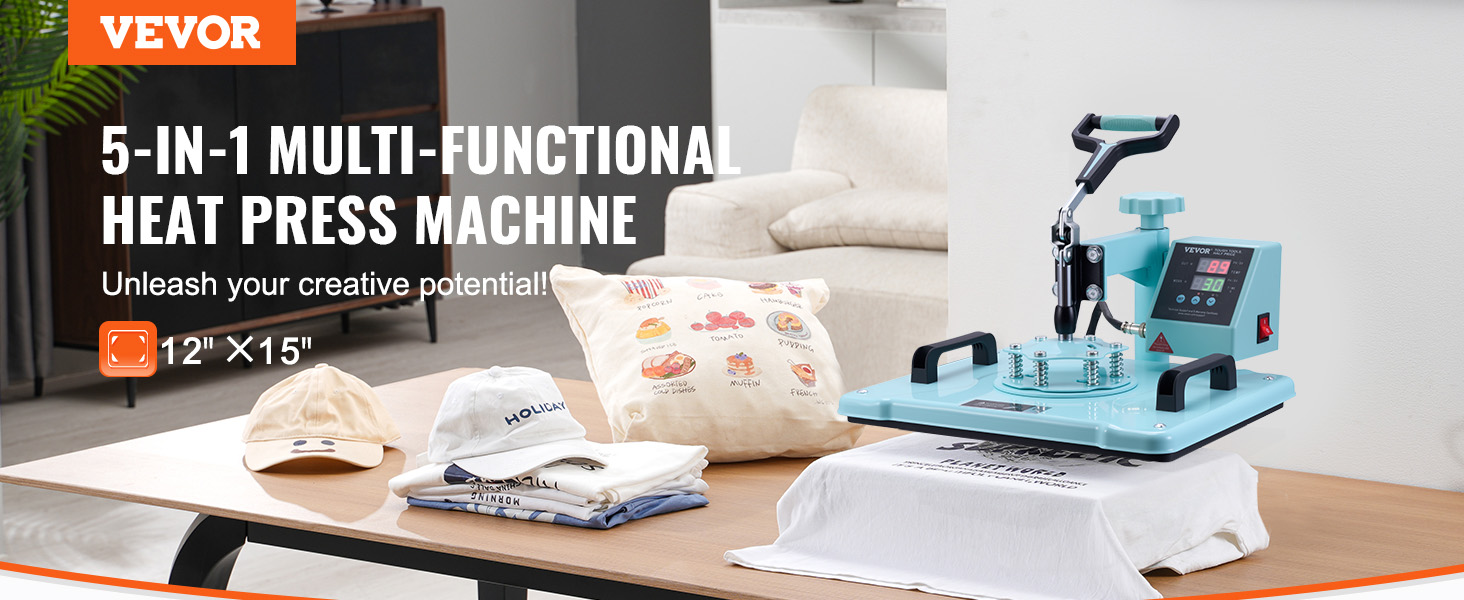
Image 4.2: Overview of structural and safety features, including the 360° rotation and adjustable pressure.
5. Setup
5.1 Initial Assembly
- Unpack all components and place them on a stable, flat, heat-resistant surface.
- Ensure the main unit is securely positioned.
- Connect the desired attachment (e.g., T-shirt platen, mug press) to the main unit. Refer to the specific attachment's instructions for secure fastening.
- Plug the power cord into a grounded electrical outlet.
5.2 Attaching the Tumbler Press
The 30 oz tumbler press attachment can handle two mugs simultaneously, improving efficiency.

Image 5.1: The heat press configured with the tumbler attachment.
6. Operating Instructions
6.1 Digital Control Panel
The digital control panel allows precise setting of temperature and time.
- Temperature Range: 32-480°F / 0-250°C
- Time Range: 0-999 seconds
- Use the SET button to toggle between temperature and time settings.
- Use the ▲ and ▼ buttons to adjust values.
- Switch between °C and °F using the ▲ and ▼ buttons when in temperature setting mode.
- The machine will automatically stop and sound an alarm when the preset temperature is reached, preventing overheating.
6.2 Adjusting Pressure
Turn the pressure adjustment knob clockwise to increase pressure and counter-clockwise to decrease pressure. Adjust based on the thickness of the material being pressed.
6.3 General Operation Steps (T-shirt Press Example)
The machine features a 360° swing-away arm and a pull-out drawer for enhanced safety and ease of use.
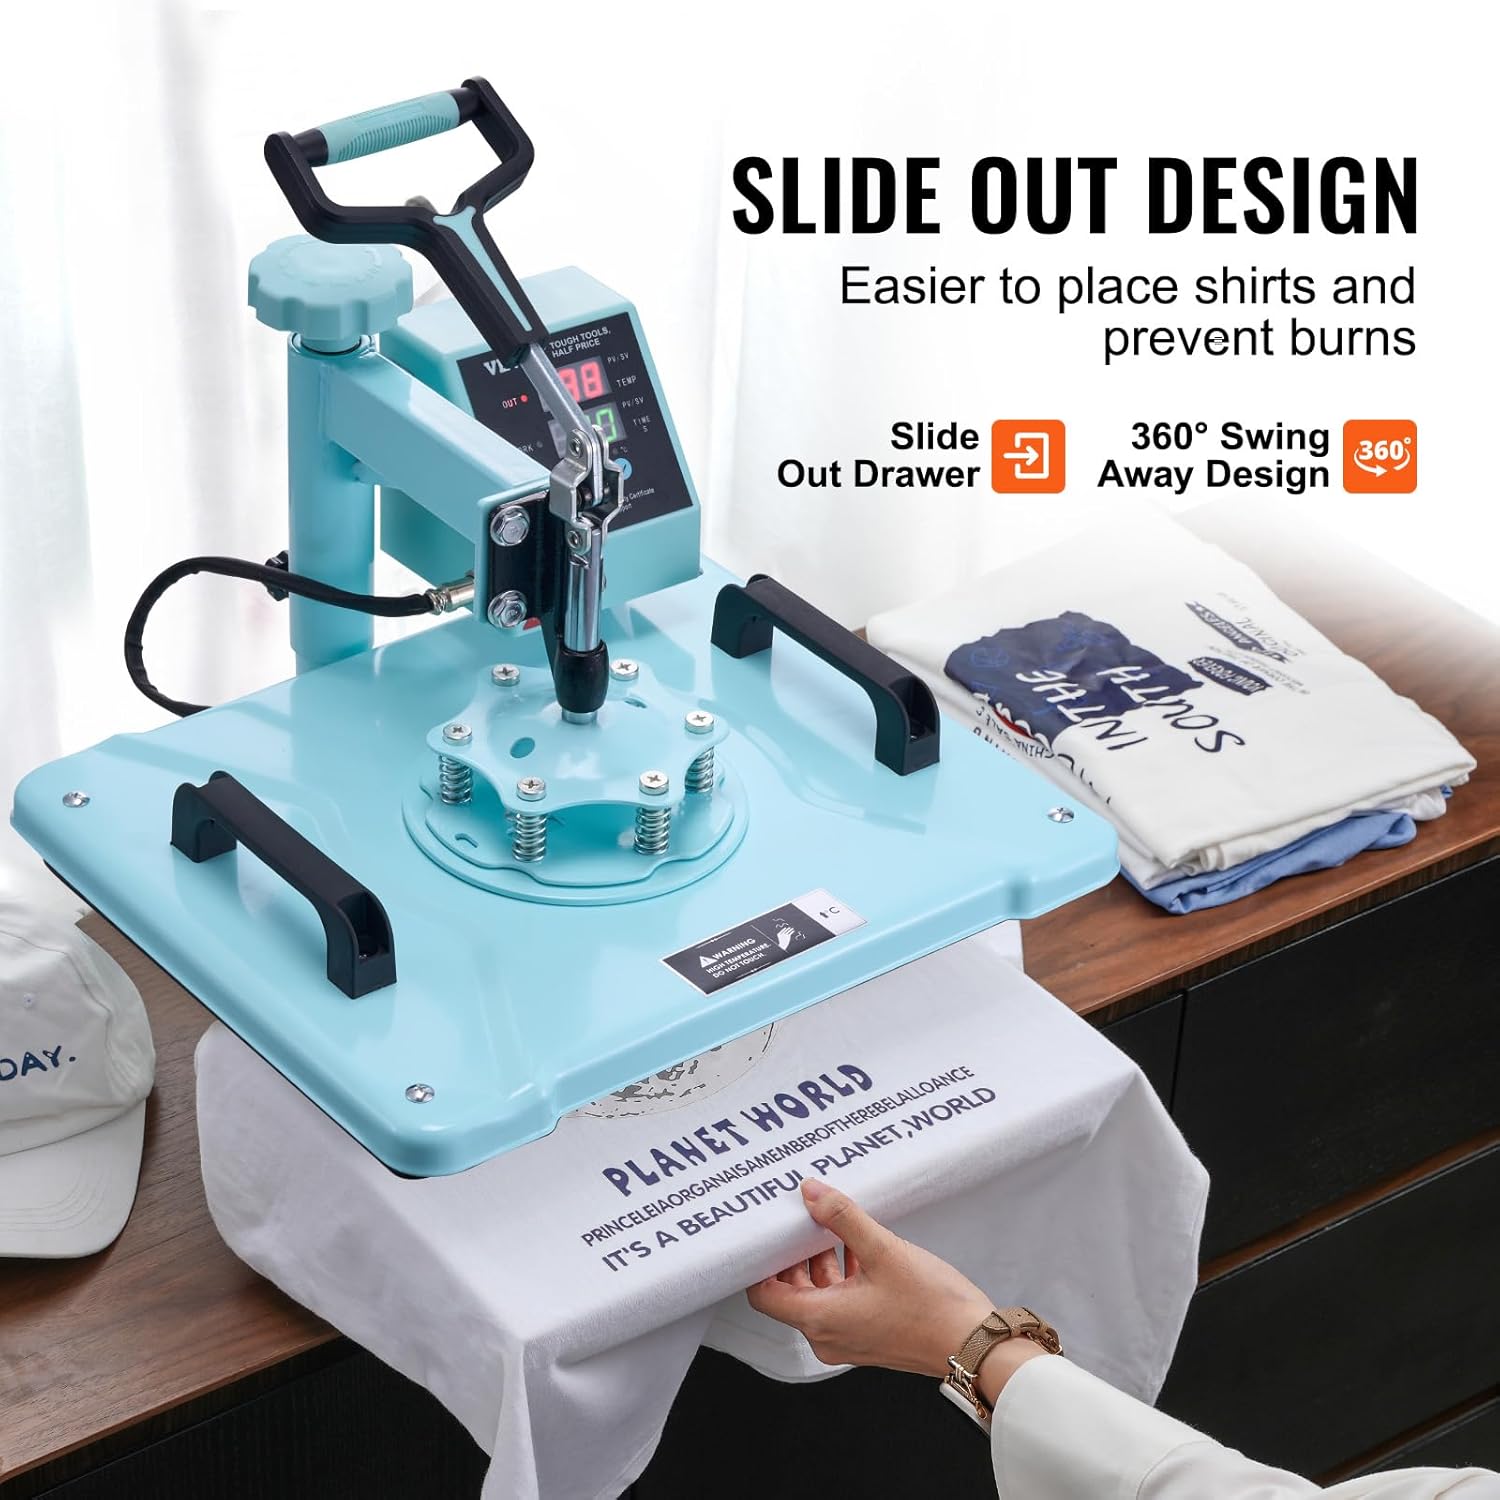
Image 6.1: The slide-out design and swing-away arm in action.
- Power On: Turn on the machine using the power switch.
- Set Parameters: Use the digital control panel to set the desired temperature and time according to your transfer material specifications.
- Preheat: Allow the machine to preheat until the set temperature is reached. An alarm will sound.
- Prepare Item: Swing the heating plate away (360° rotation) and pull out the bottom drawer. Place your T-shirt or other item on the silicone pad, ensuring it is flat and smooth. Position your transfer design.
- Press: Push the drawer back in. Lower the handle firmly to apply pressure. The timer will start automatically (or manually, depending on the model).
- Completion: Once the timer reaches zero, an alarm will sound. Lift the handle.
- Remove Item: Swing the heating plate away and pull out the drawer. Carefully remove your finished product.

Image 6.2: Simplified 4-step operation guide.
6.4 Dual Insulation Technology
The machine incorporates dual insulation, maintaining a surface temperature of 50-70°C even when the working temperature exceeds 210°C. This enhances safety and temperature stability for consistent transfer results.

Image 6.3: Illustration of the dual-tube heating system for even heat distribution.
7. Maintenance
- Cleaning: Ensure the machine is unplugged and cooled down before cleaning. Wipe the heating plate with a soft, dry cloth. For stubborn residue, use a specialized heat press cleaner.
- Storage: Store the machine in a dry, dust-free environment when not in use.
- Regular Checks: Periodically inspect the power cord for damage and ensure all attachments are securely fastened.
8. Troubleshooting
| Problem | Possible Cause | Solution |
|---|---|---|
| Machine does not power on. | No power supply; power switch off; faulty cord. | Check power connection; ensure switch is ON; inspect cord for damage. |
| Uneven heat transfer. | Uneven pressure; faulty heating element. | Adjust pressure knob; ensure item is flat; contact support if heating element is suspected. |
| Temperature not reaching set value. | Faulty sensor; incorrect settings. | Verify temperature settings; ensure thermocouple is plugged in (as per customer review); contact support. |
| Timer not working. | Incorrect settings; faulty timer. | Check time settings; contact support. |
| Strong odor during initial use. | Normal burn-off of manufacturing oils. | Ensure good ventilation; odor should dissipate with continued use. |
9. Specifications
| Feature | Detail |
|---|---|
| Model Number | 1215QC30OZLG1 |
| Heat Plate Size | 12 x 15 inches (300 x 380 mm) |
| Power (US) | 1150W |
| Temperature Range | 32-480°F / 0-250°C |
| Time Range | 0-999 seconds |
| Main Materials | Sheet Metal, Aluminum Alloy |
| Net Weight (including all accessories) | 34.8 lbs / 15.8 kg |
| Product Dimensions (LxWxH) | 17.3 x 15.4 x 18.1 inches (440 x 390 x 460 mm) |
| Color | Light Green |
| UPC | 197988490166 |

Image 9.1: Product dimensions and technical specifications.
10. Warranty and Support
For warranty information and technical support, please refer to the official VEVOR website or contact their customer service directly. Keep your purchase receipt and model number (1215QC30OZLG1) handy for faster service.
Visit: www.vevor.com
11. Additional Resources
No official product videos from the seller were available in the provided data to embed in this manual. For visual guides or further assistance, please check the VEVOR official website or their authorized channels.