1. Introduction
Thank you for choosing the flexman Speaker Wall Mount Bracket. This manual provides detailed instructions for the proper installation, operation, and maintenance of your new speaker mount. Designed for durability and stability, this bracket is specifically engineered to securely hold your for ONE, for ONE SL, and for Play:1 speakers, enhancing your audio experience by optimizing speaker placement.
Please read this manual thoroughly before installation to ensure safe and correct usage. Keep this manual for future reference.
2. Package Contents
Verify that all components listed below are included in your package:
- 1 x Speaker Wall Bracket
- 3 x Screws
- 3 x Expansion Tubes
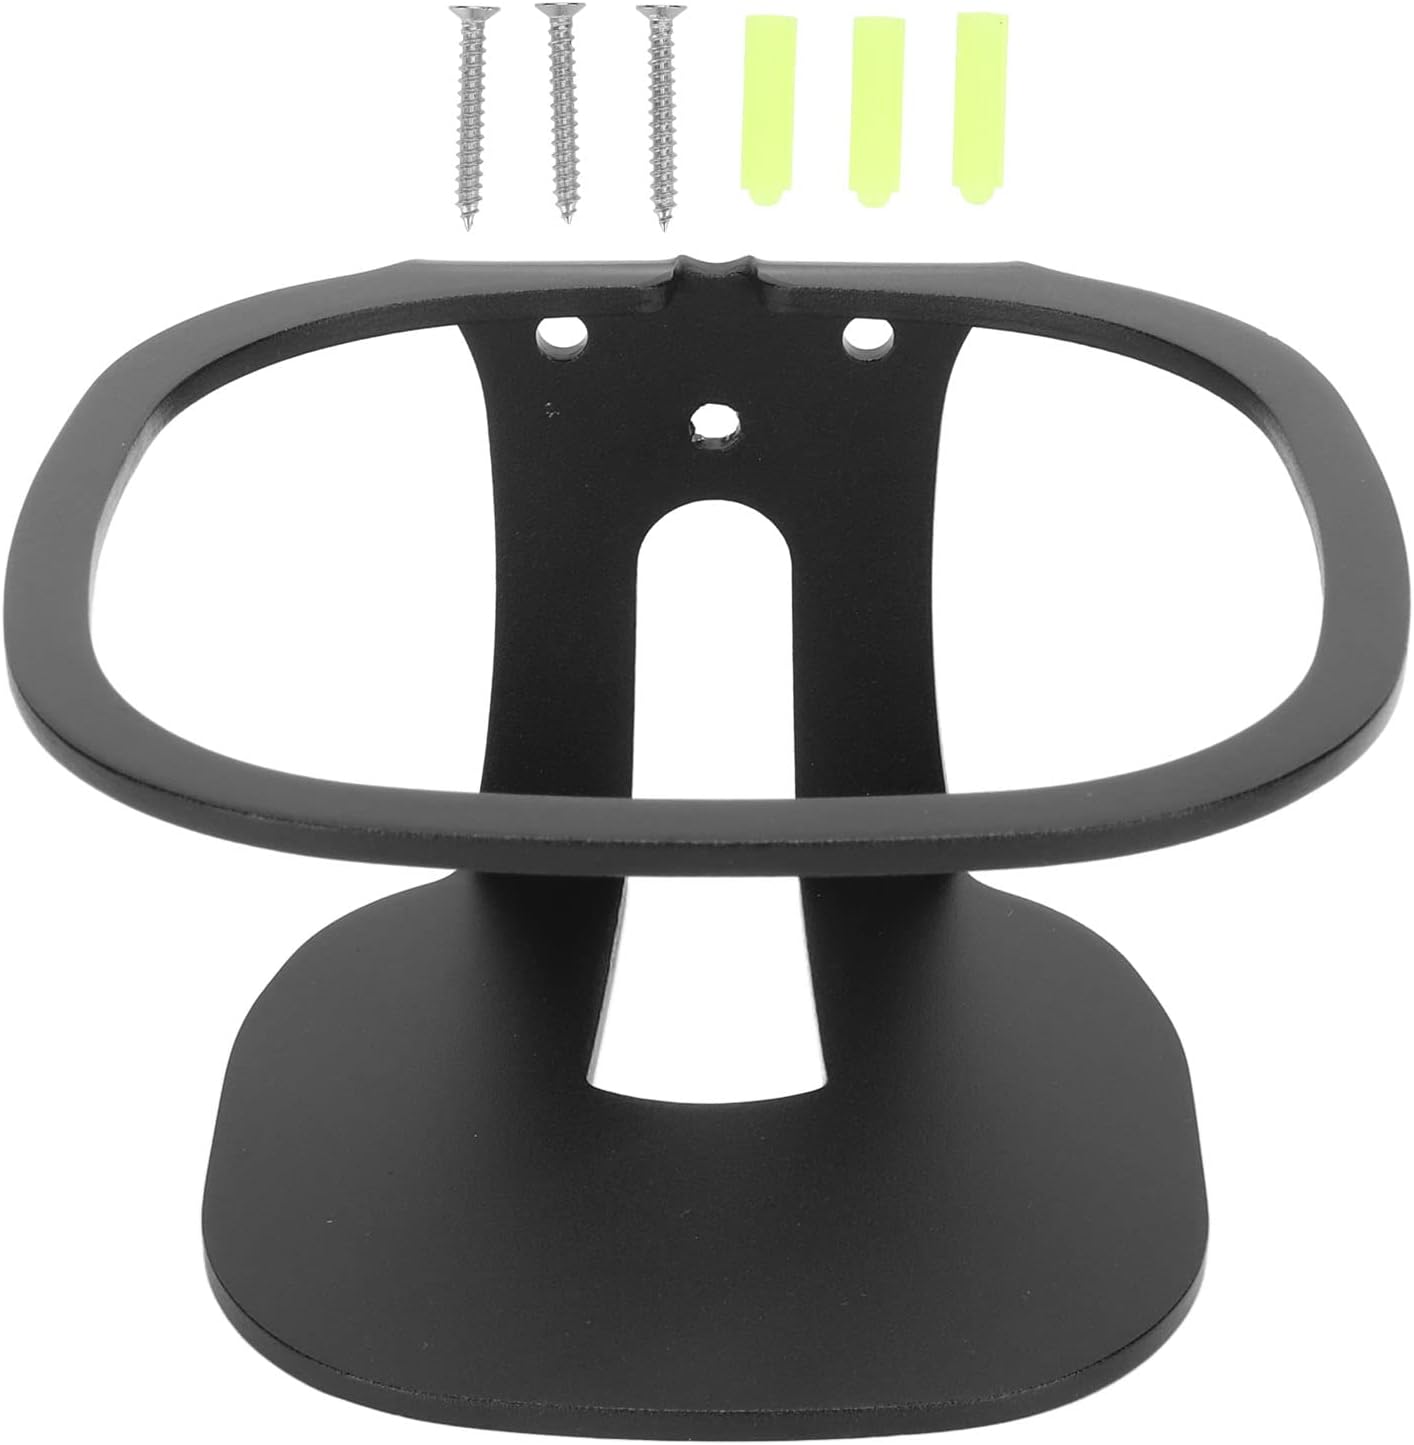
Image: The flexman speaker wall mount bracket shown with the three screws and three expansion tubes included in the package.

Image: A close-up view of the three metal screws and three yellow plastic expansion tubes, which are essential for mounting the bracket.
3. Product Features
- Dedicated Design: Specifically designed for ONE, for ONE SL, and for PLAY:1 speakers, ensuring a perfect fit and secure hold.
- Large Load Capacity: Constructed from high-grade aluminum alloy, providing superior stability and a maximum load capacity of up to 33 lbs (15 kg).
- Easy to Install: Features a robust 3-point screw support system for firm wall attachment. Includes reserved ports for charging and network cables.
- Exquisite Workmanship: The bracket undergoes a sandblasting process, making it resistant to scratches. It offers stable support around the speaker body and includes a bottom tray.
- Aluminum Alloy Construction: Made from durable aluminum alloy, ensuring high strength, reliability, and longevity.

Image: A speaker securely mounted on the flexman bracket, highlighting features such as the sturdy wrap-around body, 3-point screw solid support, reserved cable ports, aluminum alloy material, sandblasting process, bottom tray bracket, and 15kg load capacity.

Image: A speaker perfectly fitted into the flexman wall mount, demonstrating its dedicated design for compatible speaker models.
4. Specifications
| Attribute | Value |
|---|---|
| Item Type | Speaker Wall Bracket |
| Material | Aluminum Alloy |
| Load Bearing Capacity | 33 lbs (15 kg) |
| Applicable Speakers | for ONE, for ONE SL, for Play:1 Speakers |
| Color | Black |
| Package Dimensions | 5.91 x 5.91 x 3.54 inches |
| Item Weight | 7.3 ounces |
| Model Number | flexman12crvoueiw-11 |

Image: Technical drawing showing the dimensions of the flexman speaker wall mount bracket in millimeters (e.g., 144mm width, 88mm height, 148mm depth, 116mm base width and depth).
5. Setup and Installation
Before you begin, ensure you have the necessary tools: a drill, a screwdriver, a pencil, and a level. Choose a suitable wall location, considering speaker cable routing and optimal sound projection.
- Mark Drilling Points: Hold the bracket against the wall at your desired mounting height. Use a pencil to mark the three screw holes. Ensure the bracket is level before marking.
- Drill Pilot Holes: Using an appropriate drill bit for your wall type (e.g., masonry bit for concrete, wood bit for studs), drill pilot holes at the marked points. The depth should accommodate the expansion tubes and screws.
- Insert Expansion Tubes: Gently tap the three expansion tubes into the drilled holes until they are flush with the wall surface.
- Mount the Bracket: Align the bracket's screw holes with the expansion tubes. Insert the screws through the bracket and into the expansion tubes. Tighten the screws firmly with a screwdriver until the bracket is securely fastened to the wall. Do not overtighten.
- Place the Speaker: Carefully place your compatible speaker (for ONE, ONE SL, or Play:1) into the mounted bracket. Ensure it sits snugly and is stable.
- Connect Cables: Route the charging cable and network cable (if applicable) through the reserved ports on the bracket for a neat and organized setup.

Image: The flexman speaker wall mount bracket shown installed on a wall, with a speaker placed securely within it, demonstrating the final setup.

Image: Another perspective of the flexman speaker wall mount bracket, highlighting its secure attachment to the wall and the space for cable management.
6. Operating Instructions
The flexman Speaker Wall Mount Bracket is a passive accessory designed to hold your speaker. Once installed, its operation is integrated with your speaker's functionality.
- Ensure your speaker is properly seated in the bracket.
- Utilize the reserved cable ports to manage power and network cables, keeping your setup tidy.
- The bracket provides a stable platform for your speaker, allowing for optimal sound dispersion when positioned correctly on the wall.
7. Maintenance and Care
To ensure the longevity and appearance of your flexman Speaker Wall Mount Bracket, follow these simple maintenance guidelines:
- Cleaning: Wipe the bracket with a soft, dry cloth to remove dust. For stubborn marks, a slightly damp cloth can be used, followed by drying. Avoid abrasive cleaners or solvents, as they may damage the finish.
- Inspection: Periodically check the mounting screws to ensure they remain tight and secure. Over time, vibrations or environmental factors might cause them to loosen slightly.
- Load Capacity: Do not exceed the maximum load capacity of 33 lbs (15 kg). This bracket is designed for specific speaker models; do not attempt to mount heavier or incompatible devices.
8. Troubleshooting
If you encounter any issues with your flexman Speaker Wall Mount Bracket, please refer to the following common solutions:
- Bracket feels loose on the wall:
- Ensure all three mounting screws are fully tightened.
- Verify that the expansion tubes were properly inserted into the pilot holes and are flush with the wall.
- Check if the wall material is suitable for mounting. If the wall is weak or crumbling, professional installation or alternative mounting solutions may be required.
- Speaker does not fit or is unstable in the bracket:
- Confirm that your speaker model is one of the compatible types: for ONE, for ONE SL, or for Play:1.
- Ensure the speaker is oriented correctly within the bracket.
- Cables are not neatly managed:
- Reroute the cables through the designated cable management ports on the bracket.
If the issue persists, please contact flexman customer support for further assistance.
9. Warranty and Support
flexman stands behind the quality of its products. This product is covered by a standard manufacturer's warranty against defects in materials and workmanship. Please refer to the product packaging or flexman's official website for specific warranty terms and conditions.
For technical support, warranty claims, or any other inquiries, please contact flexman customer service through the contact information provided on your purchase receipt or the official flexman website. When contacting support, please have your product model number (flexman12crvoueiw-11) and purchase details ready.