
Important Safety Information
Please read all safety warnings and instructions carefully before installing, operating, or servicing this appliance to reduce the risk of fire, electric shock, or injury.
- Ensure the freezer is properly grounded.
- Do not store explosive substances such as aerosol cans with a flammable propellant in this appliance.
- Keep ventilation openings in the appliance enclosure or in the built-in structure clear of obstruction.
- Do not use mechanical devices or other means to accelerate the defrosting process, other than those recommended by the manufacturer.
- Do not damage the refrigerant circuit.
- Do not use electrical appliances inside the food storage compartments of the appliance, unless they are of the type recommended by the manufacturer.
- This appliance is not intended for use by persons (including children) with reduced physical, sensory or mental capabilities, or lack of experience and knowledge, unless they have been given supervision or instruction concerning use of the appliance by a person responsible for their safety.
- Children should be supervised to ensure that they do not play with the appliance.
Product Overview
The Kenmore 14.6 cubic foot chest freezer provides ample storage for bulk groceries and seasonal produce, making it ideal for large families or those who prefer to buy in bulk. Its robust design ensures consistent cooling performance, even in garage environments.

This image displays the Kenmore 14.6 cubic foot chest freezer with its lid fully open, revealing a spacious interior filled with various frozen food packages. A wire storage basket is visible on the right side, designed for easy access to smaller items.

A direct front view of the Kenmore chest freezer, showcasing its clean white exterior and compact design when closed. The external temperature control dial and power indicator light are visible on the lower right.

The chest freezer is shown in a typical garage environment, positioned against a wall with shelving and other garage items in the background. This illustrates the freezer's 'garage-ready' design, capable of operating efficiently in varying ambient temperatures.
Setup and Installation
1. Unpacking
Carefully remove all packaging materials, including the foam base and any adhesive tape. Inspect the freezer for any signs of shipping damage. Report any damage to your retailer immediately.
2. Location Requirements
Place the freezer on a flat, stable surface strong enough to support the unit when fully loaded. Ensure there is adequate air circulation around the freezer. Allow at least 4 inches (10 cm) of space between the back and sides of the freezer and any adjacent walls or cabinets. This freezer is designed to be 'garage-ready', meaning it can operate efficiently in a wider range of ambient temperatures compared to standard freezers.
3. Electrical Connection
Before plugging in the freezer, allow it to stand upright for at least 2-4 hours. This allows the refrigerant to settle. Connect the freezer to a dedicated 115 Volt, 60 Hz, 15 Amp grounded electrical outlet. Do not use an extension cord or adapter plug. Ensure the power cord is not pinched or damaged.
Operating Instructions
1. Temperature Control
The freezer features an external thermostat dial with 8 cooling levels, allowing you to customize the temperature. The dial is located on the front of the unit for easy access.

A detailed view of the freezer's front-mounted control panel, showing the rotary temperature dial with settings from 'Cold' to 'Coldest' and a green illuminated 'Power On' indicator light, allowing for easy temperature adjustments without opening the lid.
For initial startup, set the dial to a mid-range setting (e.g., '4' or '5'). Allow the freezer to operate for several hours before loading with food to ensure it reaches the desired temperature.
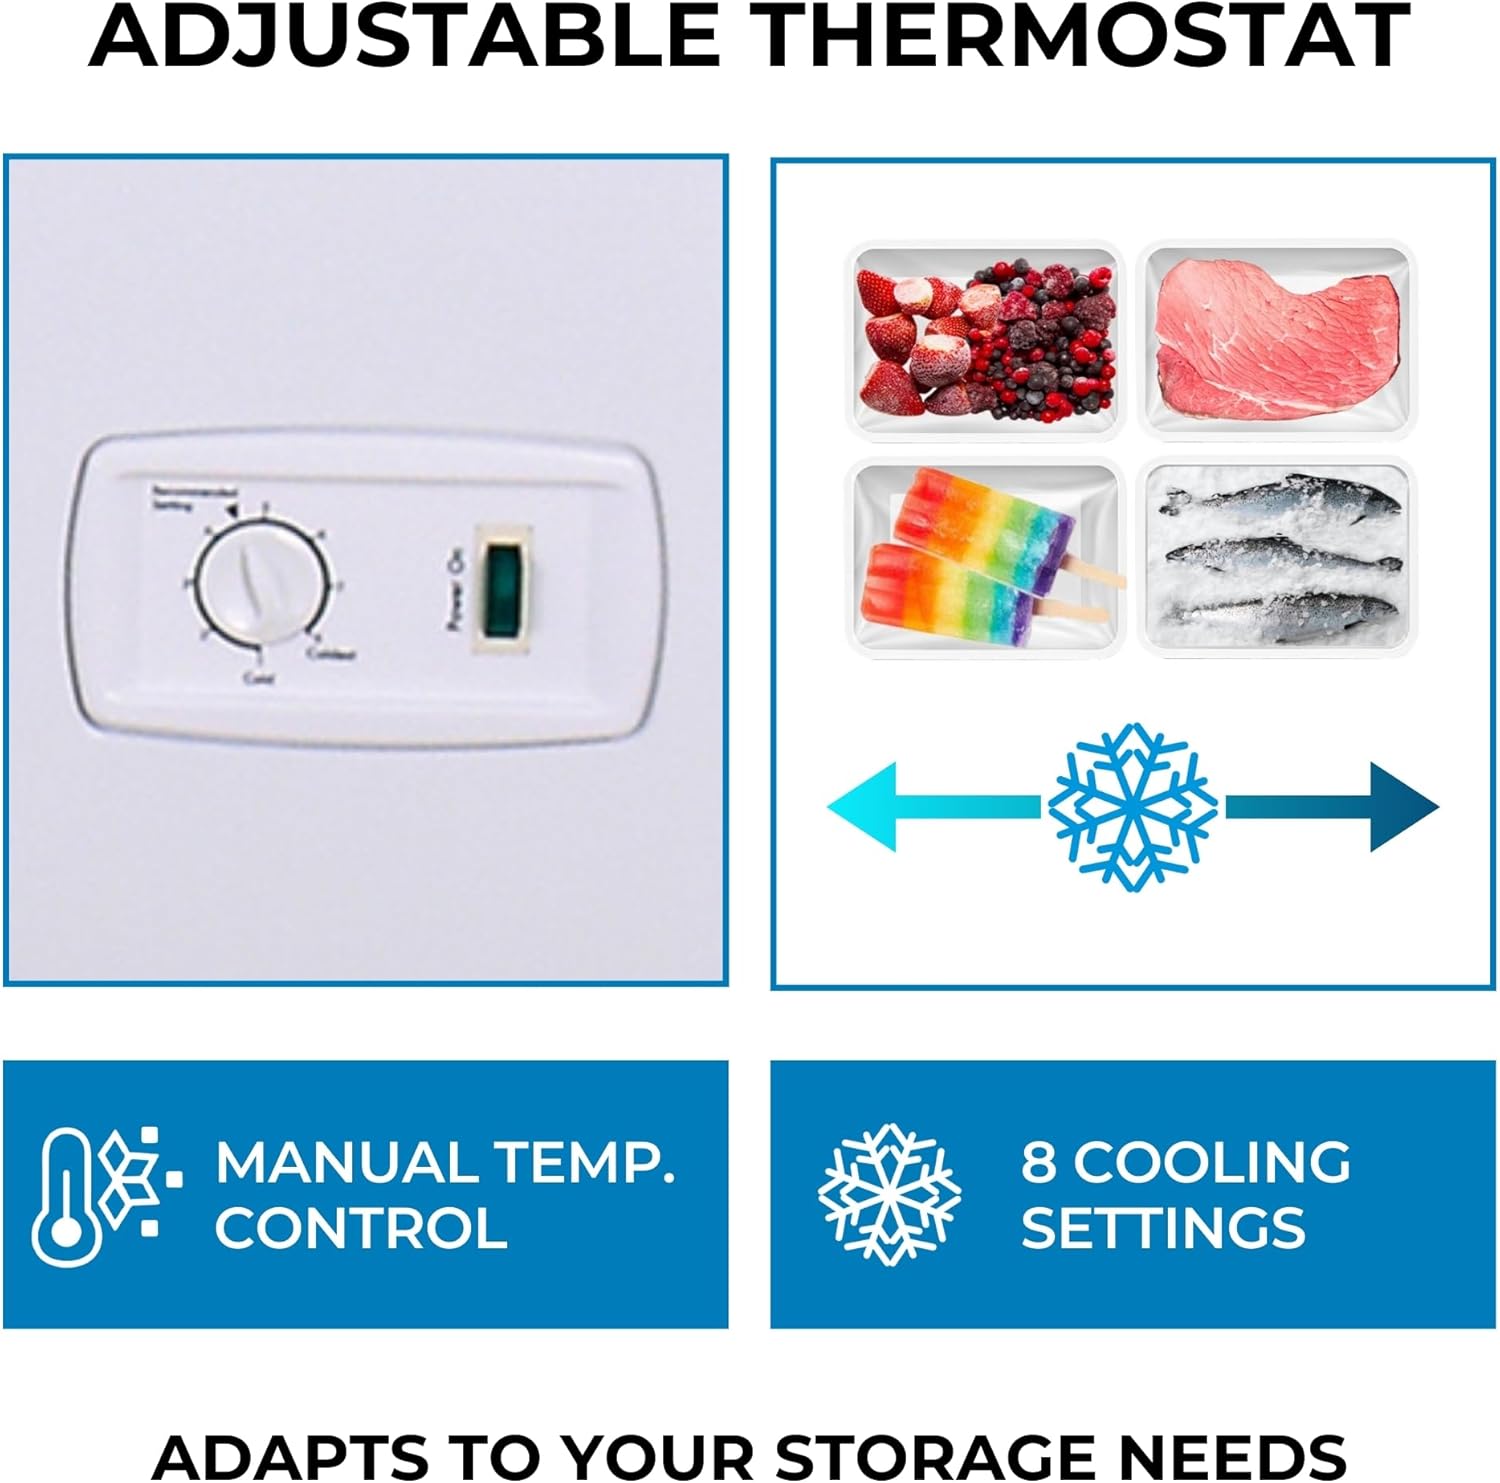
This image focuses on the external temperature control dial, which offers 8 distinct cooling levels. Surrounding the dial are visual examples of various frozen foods like berries, meat, popsicles, and fish, indicating the versatility of temperature settings for different storage needs.
2. Initial Startup
After plugging in the freezer, the green power indicator light will illuminate. The compressor will start, and the freezer will begin to cool. It may take several hours for the freezer to reach its optimal operating temperature. Avoid placing large quantities of warm food into the freezer at once, as this can significantly raise the internal temperature and strain the compressor.
3. Loading the Freezer
Organize items efficiently to maximize space and allow for proper air circulation. The included hanging storage basket is ideal for frequently accessed or smaller items, keeping them within easy reach.
A detailed view of the convenient hanging wire storage basket, designed to keep smaller or frequently accessed items organized and easily reachable within the freezer's main compartment.

This diagram highlights the freezer's organizational benefits, featuring a close-up of the removable storage basket and illustrating the balanced hinge lid mechanism that allows the lid to stay open for convenient loading and unloading.
The balanced hinge lid stays open as long as needed, providing hands-free access for packing and unpacking.
Maintenance
1. Manual Defrosting
This freezer features manual defrost. Defrost the freezer when the frost buildup on the interior walls reaches approximately 1/4 inch (6 mm) thick. To defrost:
- Unplug the freezer from the power outlet.
- Remove all food items and store them in another freezer or cooler.
- Open the lid and locate the front-mounted drain plug. Place a shallow pan or towel under the drain to collect water.
- Remove the drain plug to allow water to drain.
- Allow the frost to melt naturally. You can speed up the process by placing bowls of hot water inside the freezer (do not use sharp objects to chip away ice).
- Once defrosted, clean and dry the interior thoroughly.
- Replace the drain plug, plug in the freezer, and allow it to cool before returning food items.
2. Cleaning
Clean the interior and exterior of the freezer regularly. Use a mild detergent and warm water to wipe down surfaces. For the interior, a solution of baking soda and water can help neutralize odors. Ensure the freezer is unplugged before cleaning. The stain-resistant interior makes cleaning spills easy.
3. Power Outage Considerations
In the event of a power outage, keep the freezer lid closed to maintain the internal temperature for as long as possible. Food can remain frozen for approximately 24-48 hours depending on the ambient temperature and how full the freezer is. If the power outage is prolonged, consider transferring food to another freezer or consuming perishable items.
Troubleshooting
Before contacting customer support, please refer to the following table for common issues and their solutions.
| Problem | Possible Cause | Solution |
|---|---|---|
| Freezer does not operate | No power to the unit | Check if the power cord is securely plugged into a live outlet. Check the circuit breaker or fuse. |
| Freezer is not cold enough | Temperature setting is too high | Adjust the temperature control dial to a colder setting. |
| Lid is not closed properly | Ensure the lid is fully closed and sealed. Avoid frequent lid openings. | |
| Excessive frost buildup | Defrost the freezer as per the maintenance instructions. | |
| Excessive noise | Freezer is not level | Adjust the leveling feet to ensure the freezer is stable and level. |
| Objects vibrating against the freezer | Move any objects that may be touching the freezer. | |
| Water on floor (defrosting) | Drain plug not properly sealed | Ensure the drain plug is securely in place after defrosting. |
Specifications
Detailed technical specifications for the Kenmore 14.6 Cubic Foot Chest Freezer.
| Feature | Specification |
|---|---|
| Brand Name | Koolatron |
| Model Number | KKCF14.6-W |
| Capacity | 14.6 Cubic Feet (413 Liters) |
| Installation Type | Freestanding |
| Color | Sand White |
| Product Dimensions (D x W x H) | 26.2 x 55.1 x 33.6 inches |
| Item Weight | 132.2 pounds |
| Voltage | 115 Volts |
| Wattage | 394 KW |
| Defrost Type | Manual |
| Door Hinges | Top |
| Door Material Type | Painted Metal |
| Included Components | Freezer; 1 x hanging basket |

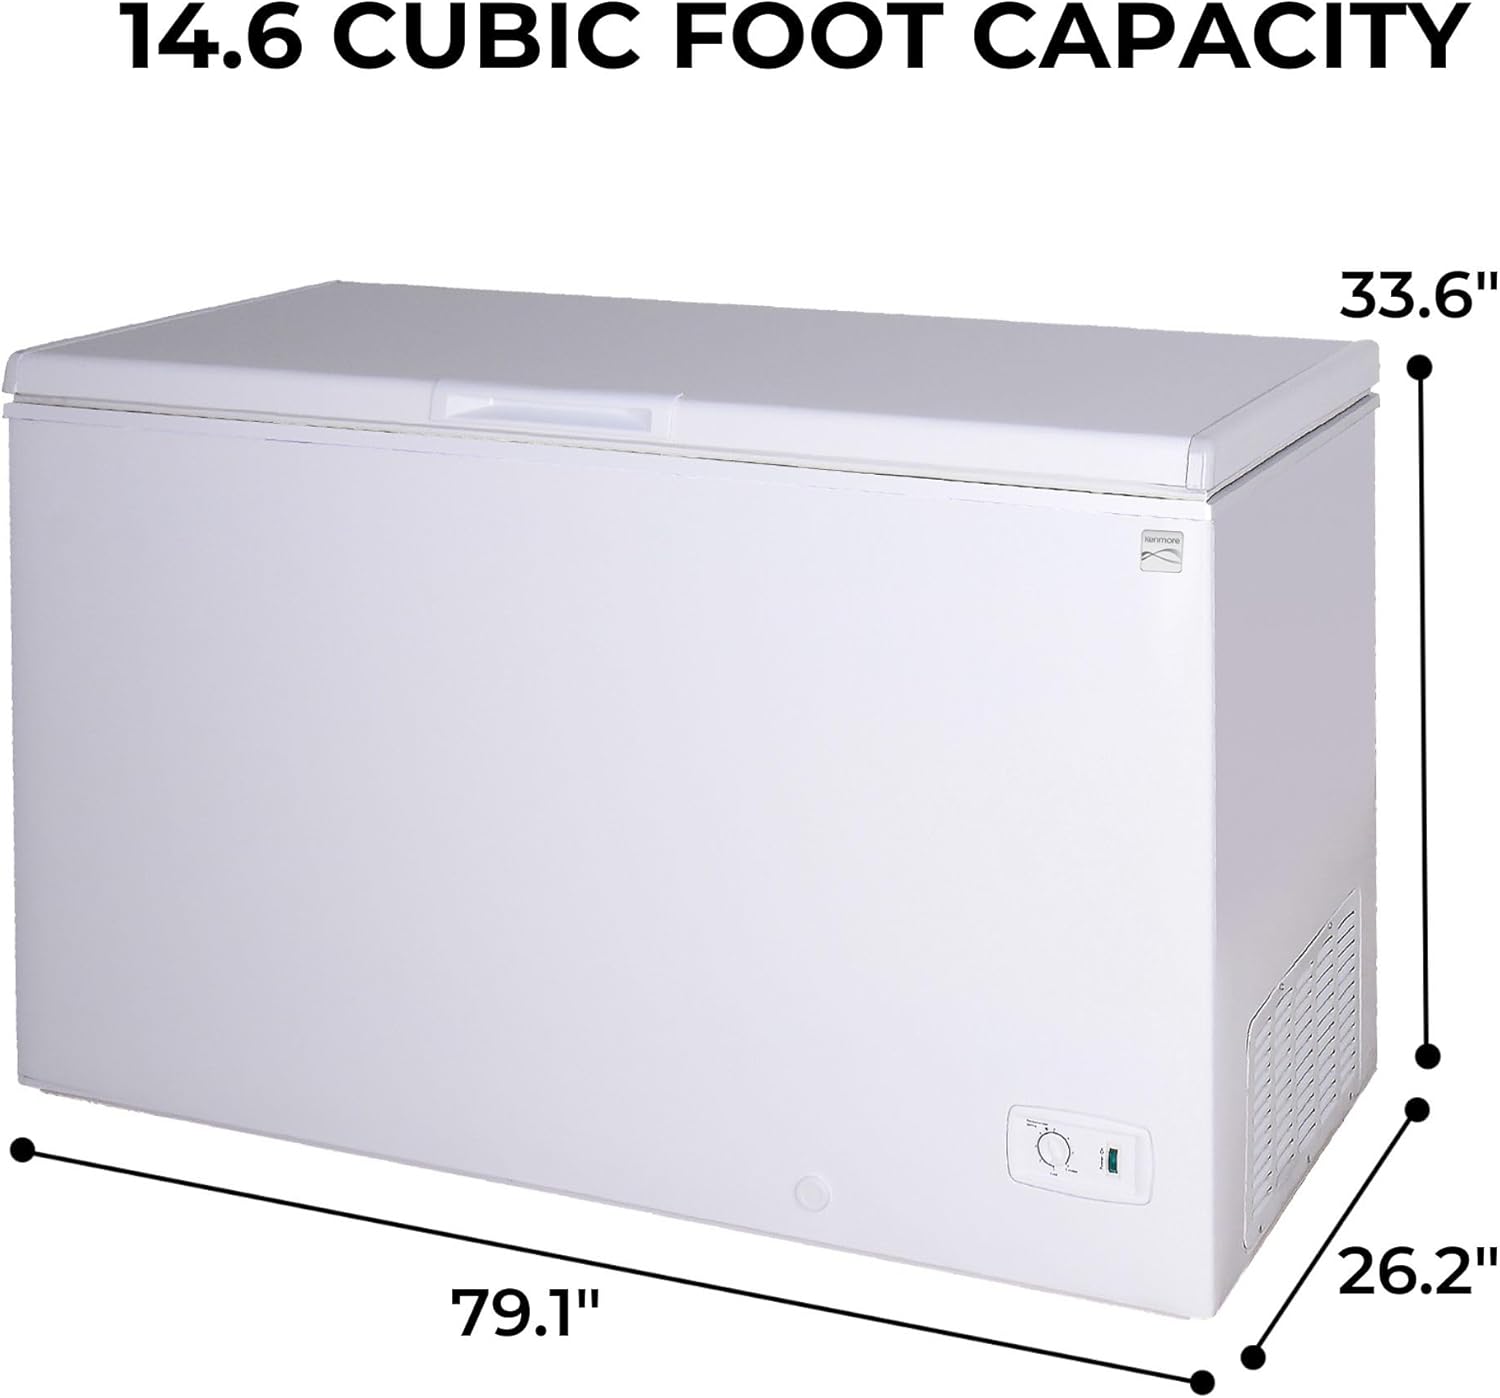
A visual representation of the freezer's 14.6 cubic foot capacity, accompanied by its key external dimensions: 55.1 inches (width), 26.2 inches (depth), and 33.6 inches (height). This helps users understand the physical footprint of the appliance.
Warranty and Support
1. Warranty Information
This Kenmore Deep Freezer comes with a Two-Year Warranty, ensuring durability and quality. This warranty provides assurance that your freezer is built to last, offering protection against potential issues and giving you confidence in your purchase.
2. Customer Support
For technical assistance, warranty claims, or any questions regarding your Kenmore Deep Freezer, please contact Koolatron customer support. Refer to the contact information provided in your purchase documentation or visit the official Koolatron website for the most up-to-date support details.
