Introduction
Thank you for purchasing the iMorde Y21 3-in-1 Wireless Charging Station. This device integrates a wireless charger, a digital alarm clock, and a multi-color night light, designed to simplify your charging and bedside experience. Please read this manual carefully before use to ensure proper operation and to maximize the product's lifespan.
Package Contents
- iMorde Y21 3-in-1 Wireless Charging Station
- USB Type-C Charging Cable
- Power Adapter (if included with your model)
- User Manual
Product Overview
Familiarize yourself with the components of your iMorde Y21 charging station.
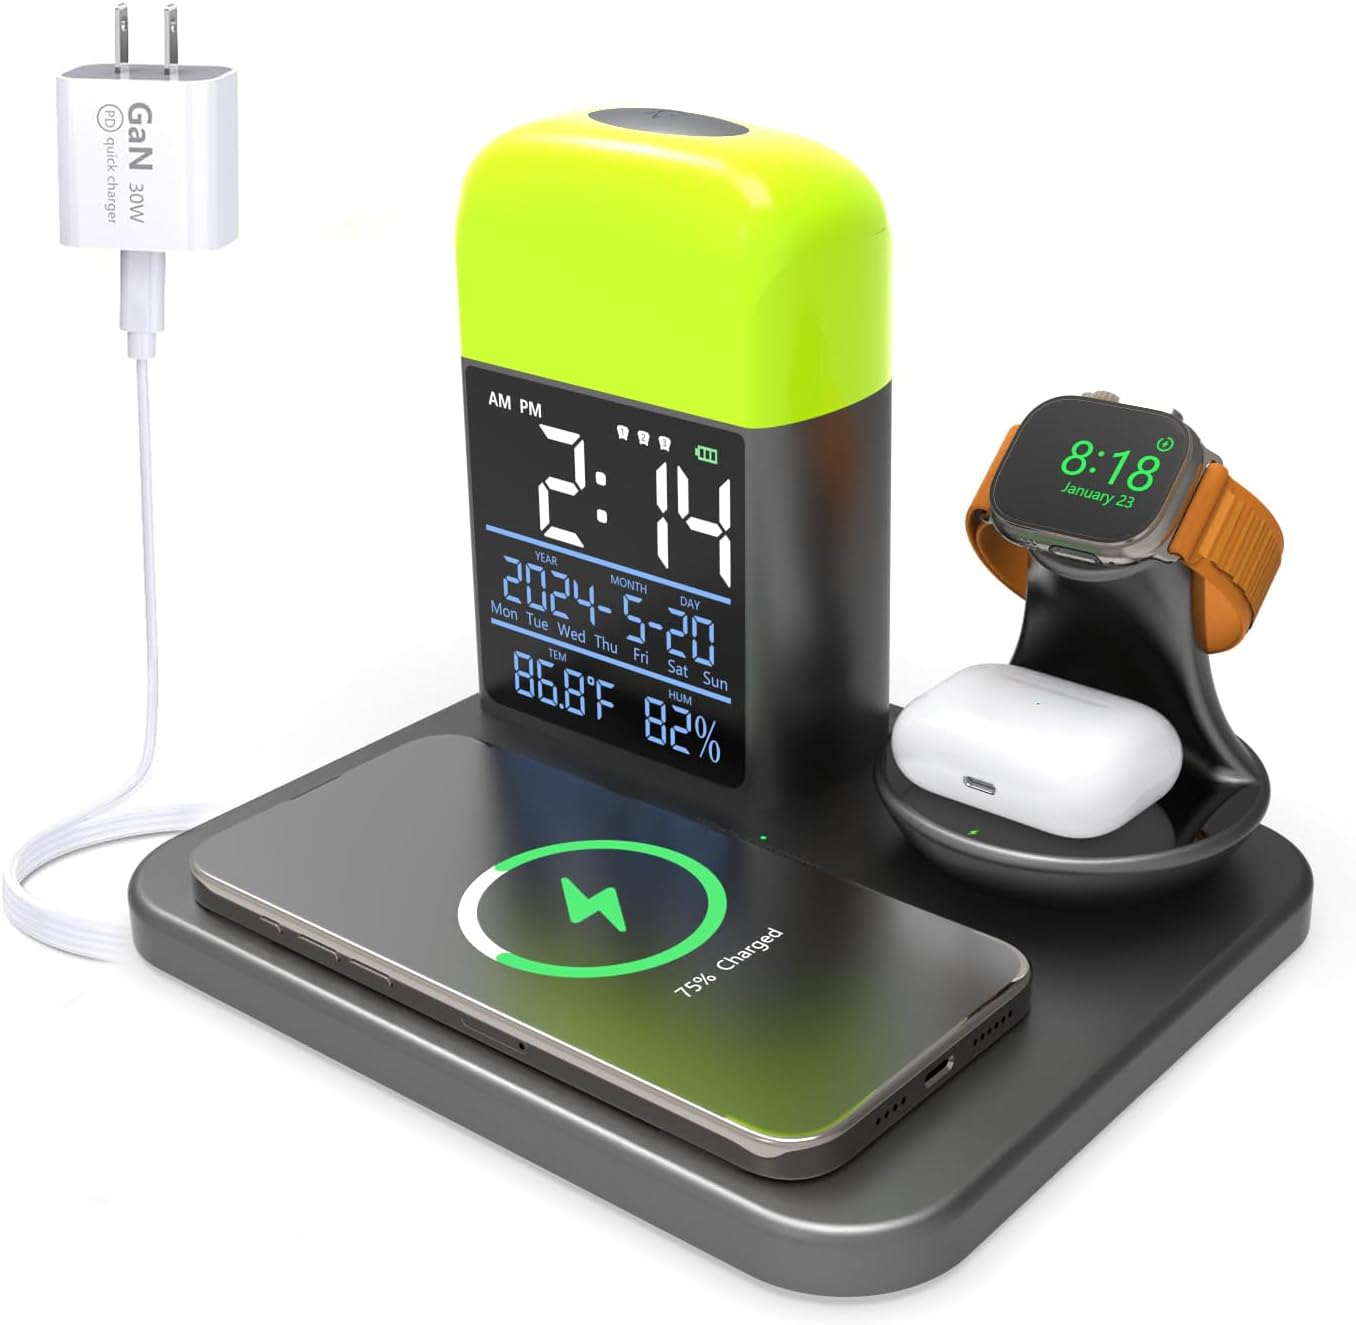
Image 1: Front view of the iMorde Y21 3-in-1 Wireless Charging Station, showing a smartphone wirelessly charging on the base, an Apple Watch on its stand, and AirPods in their charging spot. A power adapter is connected via a USB-C cable.

Image 2: Close-up view of the iMorde Y21's digital display, showing time, date, temperature, and humidity. Labels indicate the lamp/alarm control button, snooze mode, 9 colors/2 modes LED, 12/24H & 3 alarms, battery display, electroplated mirror, 5 brightness levels, time/date display, and °F/°C T&H display.
Key Features:
- 3-in-1 Functionality: Wireless charger, digital alarm clock, and night light.
- Wireless Charging: Supports 15W fast wireless charging for compatible smartphones, Apple Watch, and AirPods.
- Digital Alarm Clock: Large screen display with time, date, temperature, and humidity. Features 12/24-hour system, °F/°C display, snooze mode, and sunrise mode.
- RGB Desk Lamp/Night Light: 9 light colors and 2 modes (running light, breathing light) with adjustable brightness.
- Additional USB Port: Built-in 12W USB port for charging an additional device.
Setup Instructions
- Unpack the Device: Carefully remove all components from the packaging.
- Connect Power: Connect the USB Type-C charging cable to the charging port on the back of the iMorde Y21. Plug the other end into the provided power adapter, then plug the adapter into a wall outlet.
- Initial Power On: The device will power on automatically, and the digital display will illuminate.
- Set Time and Date: Refer to the "Operating Instructions" section for details on setting the time, date, and alarm.
Operating Instructions
1. Wireless Charging Function
The iMorde Y21 features three wireless charging areas:
- Smartphone Charging Pad: Place your compatible smartphone (e.g., iPhone 16/15/14/13/12/11/X/8 series) horizontally on the flat charging pad. Ensure the phone is centered for optimal charging. A charging indicator will appear on your phone's screen.
- Apple Watch Stand: Place your Apple Watch (e.g., Ultra/SE/10/9/8/7/6/5/4/3) on the dedicated stand. The watch will magnetically align and begin charging.
- AirPods Charging Spot: Place your AirPods (e.g., 4/3/2/Pro) charging case into the designated indentation.
Note: Ensure your devices are wireless charging compatible. Remove any metal cases, credit cards, or magnetic attachments from your phone before charging, as these can interfere with the charging process.

Image 3: Diagram illustrating compatibility with Apple Watch (Ultra/SE/10/9/8/7/6/5/4/3), AirPods (2/3/4/Pro), and iPhone (16/15/14/13/12/11/X/XR/XS/8 series). Also shows items that interfere with charging, such as metal rings, keys, and magnetic stickers.
2. Digital Alarm Clock Settings
The digital display shows time, date, temperature, and humidity. Use the control buttons (refer to Image 2) to adjust settings.
- Time/Date Setting: Press and hold the "Set" button (usually indicated by a gear icon or 'M' for Mode) to enter time setting mode. Use the "+" and "-" buttons to adjust values. Press "Set" again to move to the next setting (minutes, year, month, day).
- 12/24-Hour Format: Short press the "Set" button while in time display mode to switch between 12-hour and 24-hour formats.
- Temperature Unit (°F/°C): Short press the "Down" button (usually indicated by a down arrow) to switch between Celsius and Fahrenheit.
- Alarm Setting: Press the "Alarm" button (usually indicated by an alarm clock icon) to enter alarm setting mode. Use "+" and "-" to set the alarm time. Press "Alarm" again to set additional alarms (up to 3).
- Snooze Mode: When an alarm sounds, press the top button (Lamp/Alarm Control Button) to activate snooze. The alarm will sound again after a set interval.
- Sunrise Mode: When an alarm is set, the night light can gently flicker to simulate a sunrise, providing a pleasant wake-up experience. This feature is typically enabled or disabled within the alarm settings.

Image 4: The iMorde Y21 on a bedside table, showing the digital clock display with various brightness levels. A person is sleeping in the background, illustrating its use as a bedside alarm clock.
3. Night Light Operation
The integrated night light offers multiple colors and modes.
- Turn On/Off: Short press the top button (Lamp/Alarm Control Button) to turn the night light on or off.
- Change Color/Mode: With the light on, short press the button repeatedly to cycle through the 9 available colors and 2 modes (running light, breathing light).
- Adjust Brightness: Press and hold the top button to smoothly adjust the brightness level. Release when the desired brightness is reached.
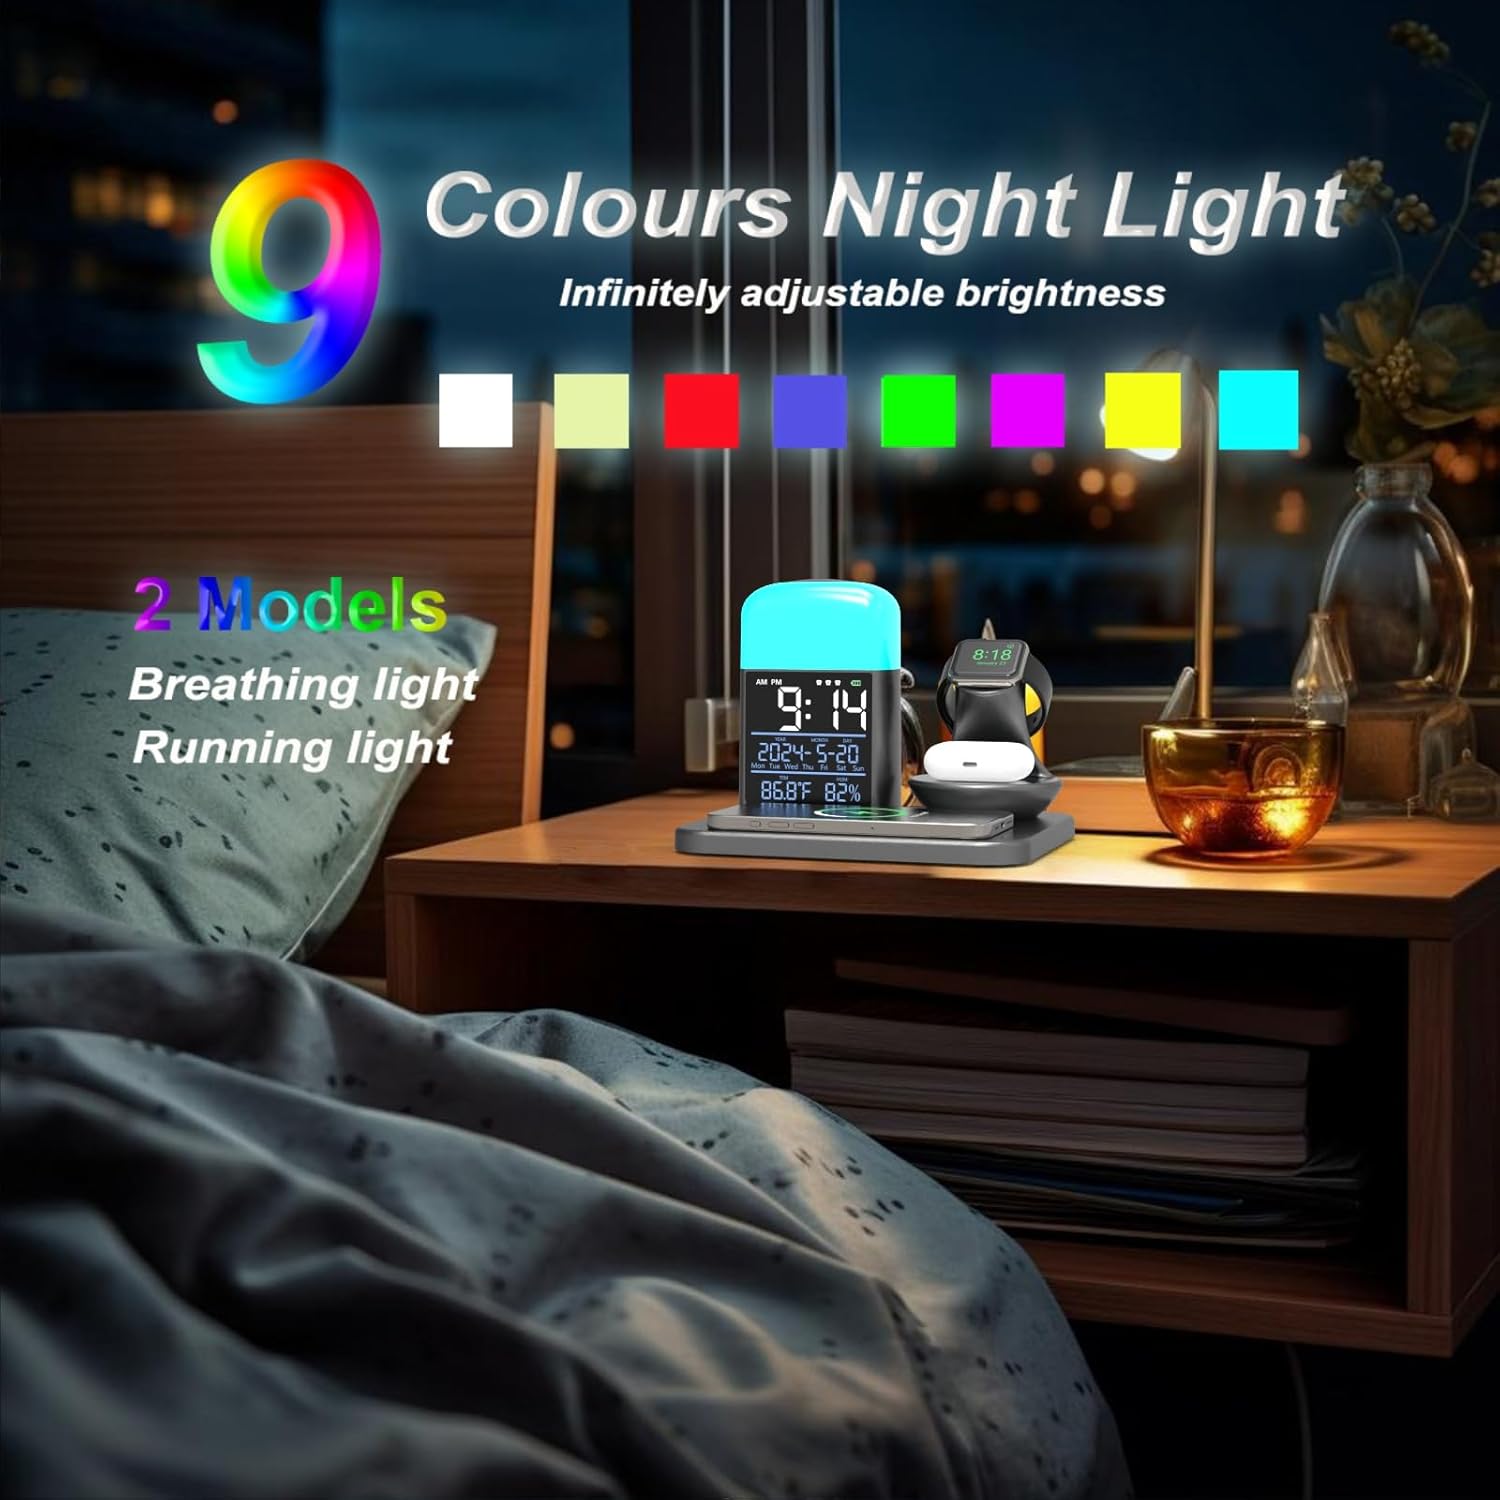
Image 5: The iMorde Y21 on a bedside table at night, showcasing the night light with 9 different color options and two modes (breathing light and running light). The light illuminates the surrounding area.
4. USB Charging Port
A 12W USB-A output port is located on the back of the device. Use this port to charge an additional device via a USB cable (not included).
Maintenance
- Cleaning: Disconnect the power before cleaning. Use a soft, dry cloth to wipe the surface of the device. Do not use abrasive cleaners or solvents.
- Storage: Store the device in a cool, dry place away from direct sunlight and extreme temperatures when not in use for extended periods.
- Avoid Water: Keep the device away from water and other liquids.
Troubleshooting
| Problem | Possible Cause | Solution |
|---|---|---|
| Device not powering on. | No power connection or faulty adapter/cable. | Ensure the power cable is securely connected and the adapter is plugged into a working outlet. Try a different power adapter or cable if available. |
| Wireless charging not working. | Device not compatible, not properly aligned, or foreign objects present. | Verify your device supports wireless charging. Re-position the device on the charging pad. Remove any metal objects, credit cards, or thick cases. |
| Alarm not sounding. | Alarm not set or volume too low. | Check alarm settings to ensure it is enabled and the time is correct. Adjust alarm volume if applicable (refer to specific model instructions for volume control). |
| Night light not changing colors/brightness. | Incorrect button operation. | Short press the top button to cycle colors/modes. Press and hold to adjust brightness. |
Specifications
- Model: Y21
- Input Voltage: 9V
- Wireless Charging Output: 15W (Max)
- USB Output: 12W
- Product Dimensions: 6.99 x 8.07 x 5.94 inches
- Item Weight: 1.76 pounds
- Color: Gray
- Special Features: Automatic Off, Charging Indicator, Fast Charging, Short Circuit Protection, Wireless Charging, Digital Clock, Alarm Clock, RGB Night Light, Temperature/Humidity Display.
- Compatible Devices: iPhone 16/15/14/13/12/11/X/XR/XS/8 series, Apple Watch Ultra/SE/10/9/8/7/6/5/4/3, AirPods 4/3/2/Pro.
Safety Information
Please observe the following safety precautions:
- Do not disassemble or modify the device.
- Keep away from high temperatures, humidity, and corrosive environments.
- Avoid dropping or subjecting the device to strong impacts.
- Do not place metal objects or magnetic cards on the wireless charging pad during use.
- Use only the provided or a certified power adapter and cable.

Image 6: Graphic illustrating automatic power-off protection features (output short circuit, overcharge, input overvoltage, output overcurrent, temperature, output overvoltage protection) and items to avoid on the charging pad (credit cards, metal cases, magnets, grips).
Warranty and Support
iMorde products come with a standard manufacturer's warranty. For warranty claims, technical support, or further assistance, please contact your retailer or visit the official iMorde website. Please retain your proof of purchase for warranty purposes.