Introduction
Thank you for choosing the Toolsempire 48" x 40" Window Awning Door Canopy. This manual provides essential information for the safe and correct installation, operation, and maintenance of your new awning. Please read these instructions thoroughly before assembly and retain this manual for future reference.

Image: Two Toolsempire 48" x 40" Window Awning Door Canopies with mounting hardware.
Safety Information
WARNING: Always inspect and maintain the awning regularly. Ensure all parts and connections are properly secured and tightened. Do not use the awning in high winds or heavy snow conditions to prevent potential hazards and damage. Failure to follow these instructions may result in injury or property damage.
Package Contents
Before beginning installation, please verify that all components are present and undamaged. If any parts are missing or damaged, contact Toolsempire customer support.
- 2 x Polycarbonate (PC) Sheets
- 2 x Brackets (ABS)
- 3 x Fixing Bars (Aluminum)
- 8 x Expansion Bolt Sets
- 1 x User's Manual (this document)

Image: Product dimensions and a list of included components.
Setup and Installation
This awning is designed for straightforward installation. It is recommended to have two people for easier and safer assembly. Please measure your window or door area before purchase to ensure proper fit.
Tools Required (Not Included):
- Drill
- Drill bits (appropriate for wall type and expansion bolts)
- Level
- Measuring tape
- Pencil/Marker
- Wrench/Socket set
Installation Steps:
- Assemble PC Boards and Fixing Bars: Connect the two polycarbonate sheets using the aluminum fixing bars. Ensure they are securely fitted into the grooves.
- Attach Brackets: Securely attach the ABS brackets to the assembled PC boards and fixing bars.
- Mark Mounting Points: Hold the assembled awning against the desired wall location. Use a level to ensure it is straight. Mark the drilling points for the expansion bolts through the bracket holes.
- Drill Holes: Drill holes at the marked points using an appropriate drill bit for your wall type (cement, wooden, brick, or stone).
- Install Awning: Position the awning, align the bracket holes with the drilled holes, and insert the expansion bolts. Tighten all bolts securely to firmly mount the awning to the wall.

Image: Visual guide for the three main installation steps.
Wall Compatibility:
The included expansion bolt kits are suitable for various wall types, including:
- Cement walls
- Wooden walls
- Brick walls
- Stone walls
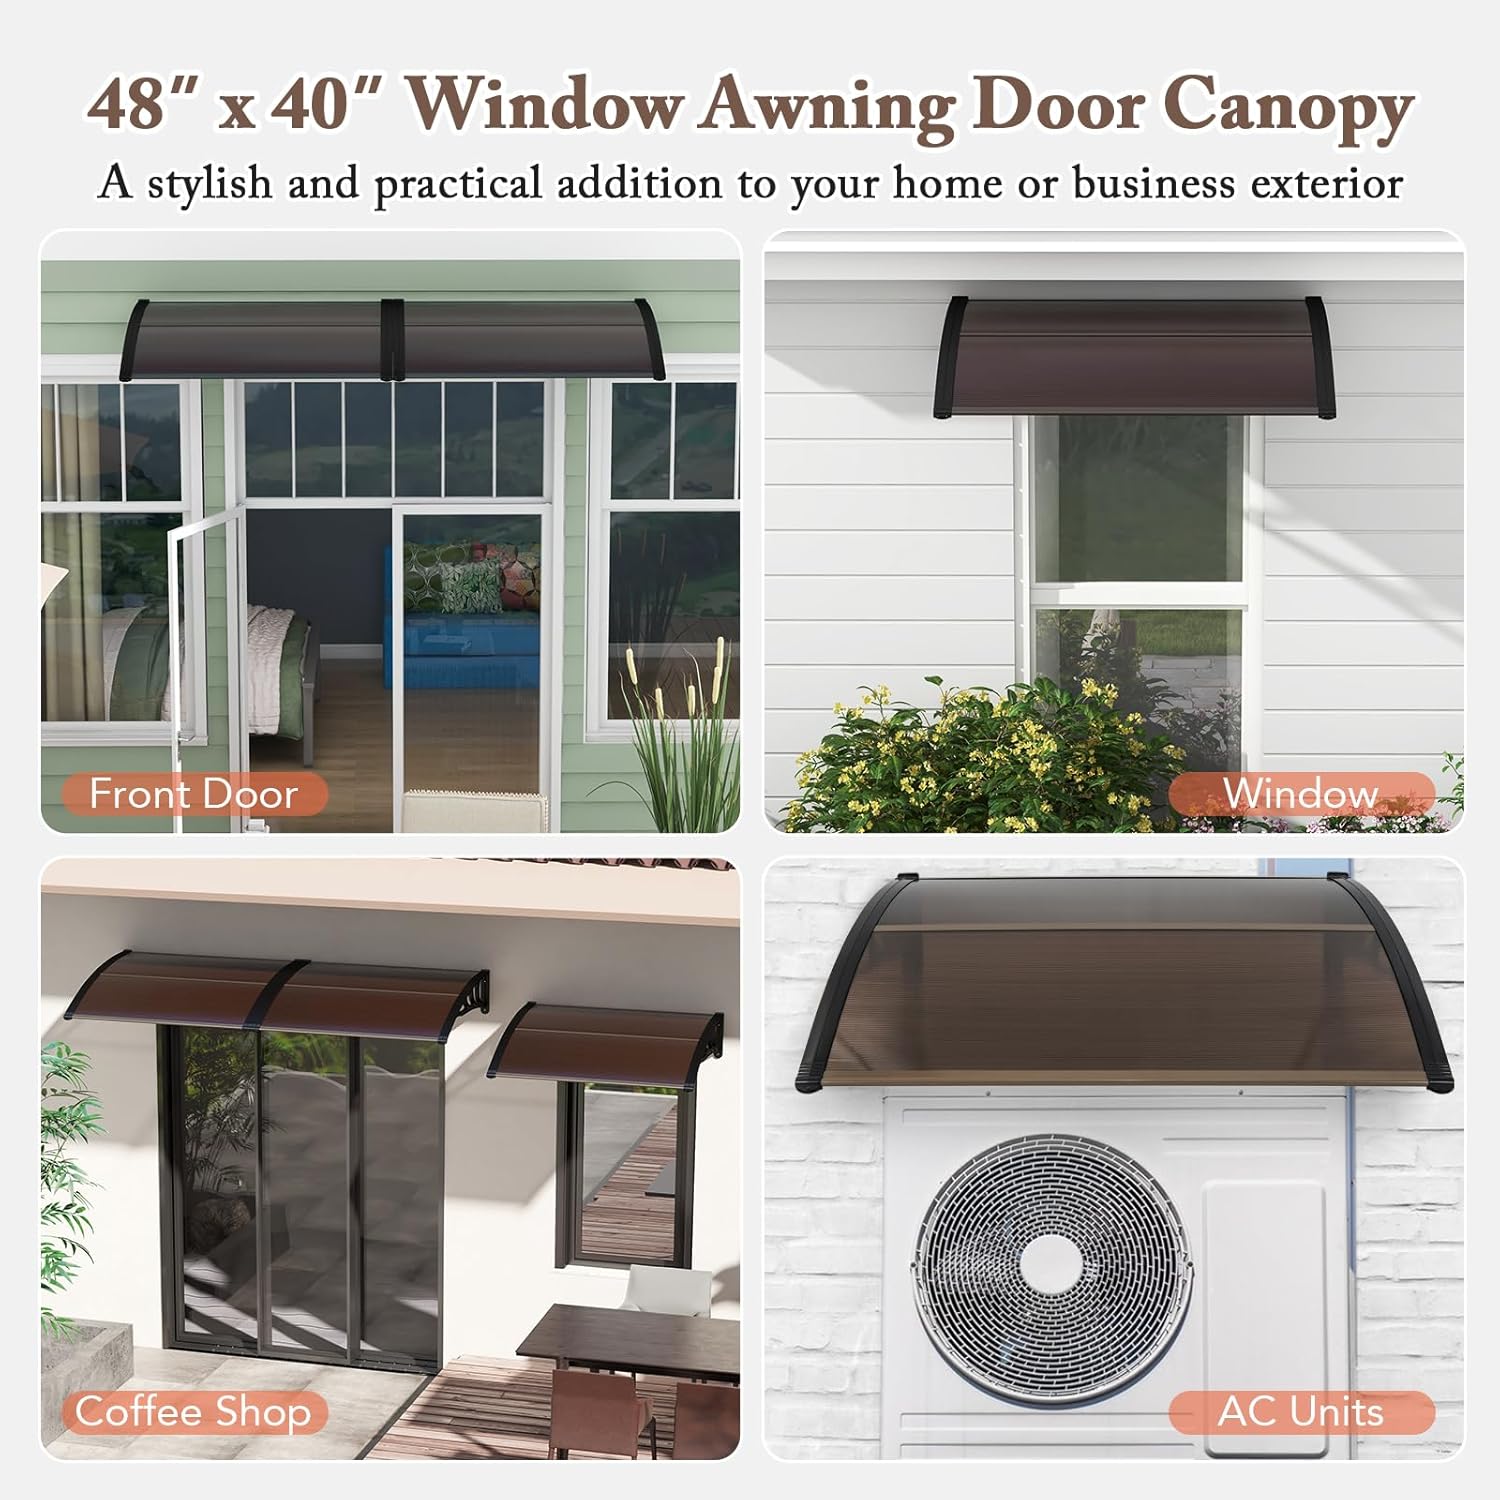
Image: Awning installation suitability on various wall materials.
Operating Instructions
The Toolsempire Window Awning Door Canopy is a fixed, manual operation awning designed to provide protection from weather elements. Once installed, it requires no further operational input.
Weather Resistance:
The premium PC sheets feature anti-ultraviolet layers, offering UPF50+ sun protection and water resistance. The translucent design allows for light transmission while shielding from harmful rays. The curved design facilitates convenient drainage of rainwater and can withstand a snow load of up to 44 lbs.

Image: Features highlighting sun protection, water resistance, and light transmission.

Image: Curved design for effective water drainage and structural strength against snow.
Maintenance
Regular maintenance will extend the lifespan and ensure the continued performance of your awning.
- Cleaning: Clean the polycarbonate sheets and frame periodically with mild soap and water. Avoid abrasive cleaners or harsh chemicals that could damage the material. Rinse thoroughly with clean water.
- Inspection: Regularly inspect all mounting bolts, brackets, and fixing bars for tightness. Re-tighten any loose connections immediately.
- Debris Removal: Clear any accumulated leaves, dirt, or debris from the top of the awning to maintain proper drainage and prevent excessive weight buildup.
- Snow Removal: While the awning can withstand up to 44 lbs of snow, it is advisable to gently remove heavy snow accumulation to prevent potential stress on the structure, especially during prolonged periods of heavy snowfall.
Troubleshooting
If you encounter any issues with your awning, refer to the following common problems and solutions:
- Awning feels loose: Check all expansion bolts and ensure they are securely tightened. If the wall material is compromised, consider re-mounting in a more secure location or reinforcing the mounting area.
- Water accumulation on top: Ensure the awning is installed with a slight downward slope to facilitate drainage. Clear any debris that might be obstructing the natural curve.
- Cracks or damage to PC sheets: Inspect for impact damage. Small cracks may be sealed with appropriate polycarbonate repair kits. For significant damage, replacement of the PC sheet may be necessary.
- Discoloration of sheets: While designed with UV protection, prolonged exposure to extreme sunlight may cause slight changes over many years. Ensure regular cleaning to prevent surface buildup that could accelerate discoloration.
For issues not covered here, please contact Toolsempire customer support.
Specifications
| Brand | Toolsempire |
| Model Number | 2NP11229CF |
| Overall Dimensions | 48"W x 40"D x 11"H |
| Material | Polycarbonate, Aluminum, ABS |
| Color | Coffee |
| Item Weight | 13 lbs (for 2 pieces) |
| Weight Capacity (Snow Load) | 44 lbs |
| Assembly Required | Yes |
| Operation Mode | Manual (Fixed) |
Image: Detailed product dimensions.
Warranty Information
Specific warranty details for your Toolsempire Window Awning Door Canopy may vary. Please refer to the product packaging or contact Toolsempire customer support directly for comprehensive warranty information and terms.
Support
For further assistance, technical support, or to inquire about replacement parts, please visit the official Toolsempire store or contact their customer service department.
Toolsempire Store: https://www.amazon.com/stores/TOOLSEMPRE/page/9AC53963-998D-43C1-93F1-B8DAD5DFDC7D