Introduction
This manual provides comprehensive instructions for the assembly, operation, and maintenance of your Hetoy 12V 4WD Kids Electric Ride On Dump Truck. Designed for children aged 3 to 8 years, this electric ride-on toy offers an engaging and realistic driving experience with its electric dump bed, shovel, and multiple control modes. Please read this manual thoroughly before assembly and use to ensure safe and proper operation.
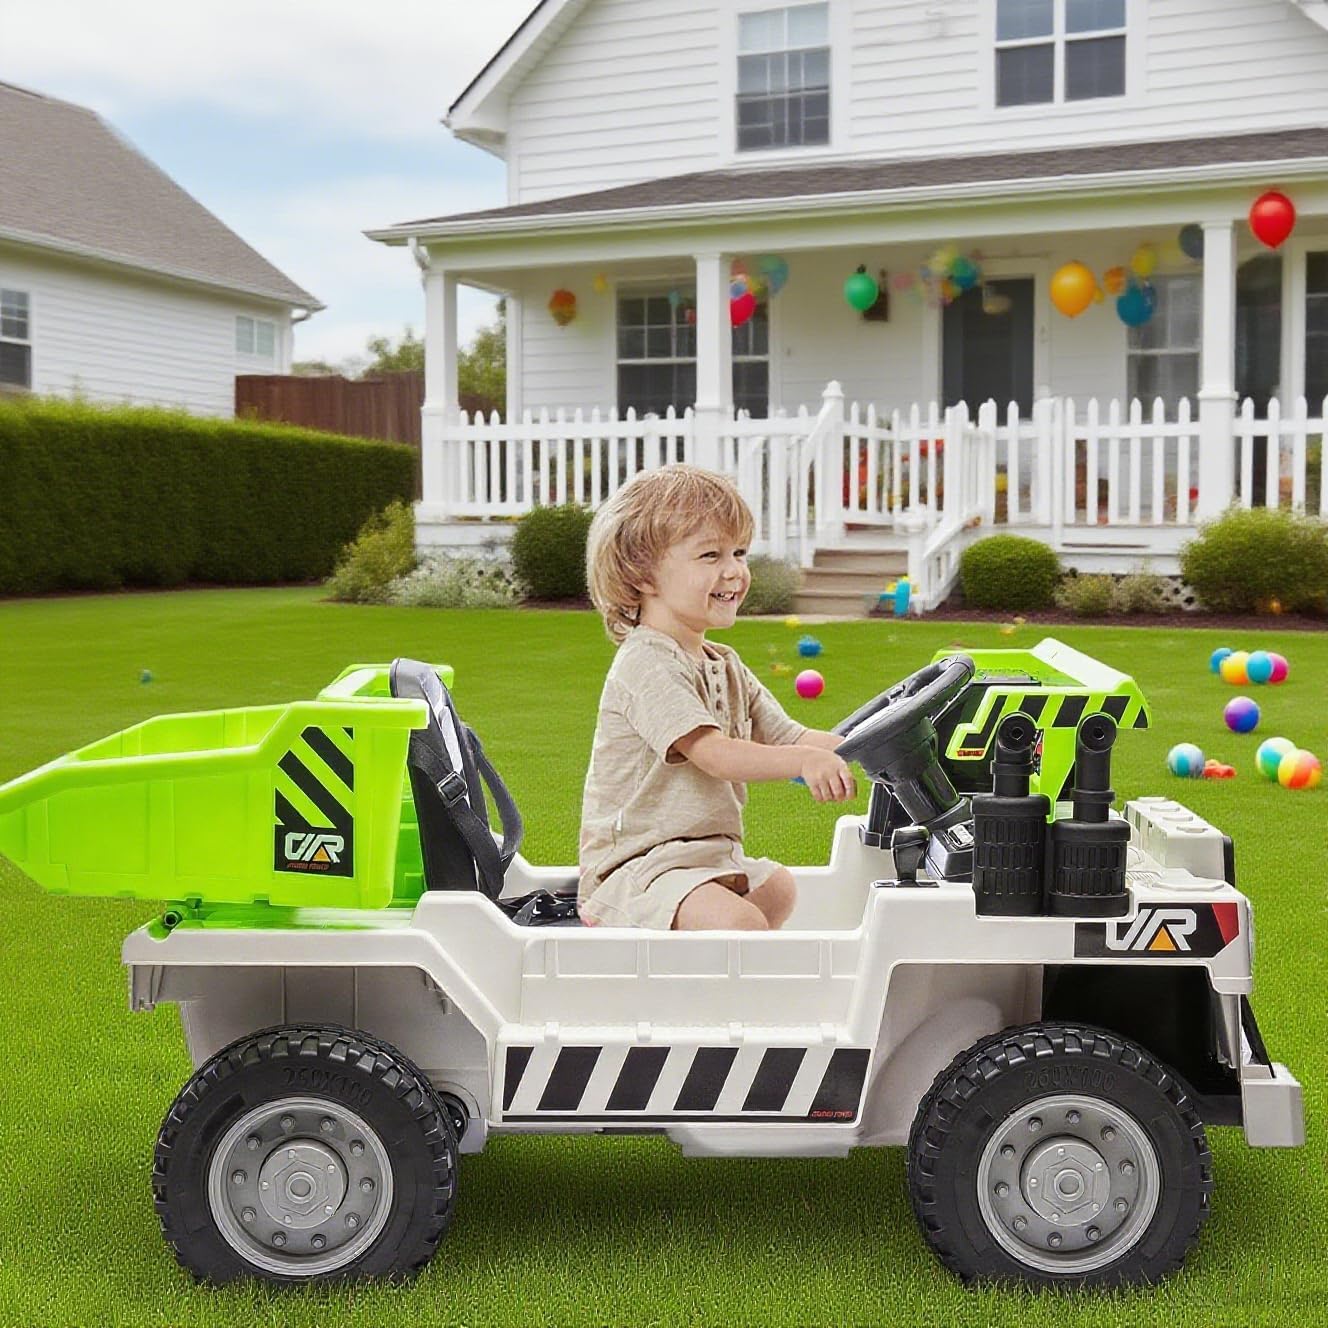
Image: Hetoy 12V 4WD Kids Electric Ride On Dump Truck in white-green, ready for play.
Safety Information
Always supervise children during operation. Ensure the child is within the recommended age range (3-8 years) and weight limit (66 lbs max load). Ensure seat belts are securely fastened. Do not operate near stairs, steep inclines, or public roads. Always charge the battery fully before first use and after each use. Disconnect the battery when not in use for extended periods. Regularly inspect the vehicle for any loose parts, damaged wiring, or worn components. Do not allow children to stand in the dump bed while the vehicle is in motion.
Features
- Electric Adjustable Dump Bed: Equipped with an electric dump bed and a functional shovel for interactive play.
- Two Driving Modes: Child can operate manually via steering wheel and pedal, or parents can control using the remote.
- Three-Speed Adjustments: Manual mode offers 1.8 mph (low) and 3.1 mph (high). Remote control offers 3 adjustable speeds for enhanced safety.
- Entertainment System: Features music, Bluetooth connectivity, LED lights, volume control, and a battery display.
- Enhanced Safety Features: Includes smooth acceleration with soft start, one-touch start, seats with seat belts, lockable doors, and spring suspension.
- Extended Playtime: Powered by 7AH x 2 large batteries, providing up to 60 minutes of continuous driving time.
- All-Terrain Capability: High-quality tires ensure smooth driving on various surfaces such as lawns, concrete roads, tile roads, gravel roads, and sand.

Image: Electric tippling bucket design with joystick control.

Image: Two modes of driving: manual and remote control.
Setup and Assembly
Follow these steps carefully for proper assembly. Refer to the accompanying video for visual guidance.
Assembly Video Guide
Video: Detailed installation instructions for the Hetoy Ride On Dump Truck.
Step-by-Step Assembly
- Unboxing and Parts Identification: Carefully open the packaging and lay out all components. Verify that all parts listed in the manual are present.
- Front Axle Assembly: Attach the front axle to the main body of the truck using the provided bolts and nuts. Ensure it is securely fastened.
- Rear Axle and Wheel Installation: Install the rear axle and then attach all four wheels. Secure each wheel with the appropriate washers and nuts, ensuring they spin freely but are firmly attached.
- Cabin/Dashboard Installation: Place the cabin and dashboard assembly onto the main body. Secure it with the designated screws.
- Steering Wheel Installation: Insert the steering wheel into its designated slot on the dashboard. Ensure it clicks into place or is secured as per instructions. Install 2 AA batteries into the steering wheel for horn and music functions.
- Dump Bed Assembly and Attachment: If the dump bed is in multiple pieces, assemble it first. Then, attach the assembled dump bed to the rear of the truck, aligning it with the electric lift mechanism. Secure it with screws.
- Battery Connection: Locate the battery compartment, typically under the seat. Connect the red battery terminal to the corresponding red wire, and the black terminal to the black wire. Ensure connections are firm.
- Seat Assembly and Attachment: Assemble the seat if necessary, ensuring the seat belt is properly integrated. Attach the seat to the truck body, securing it with screws.
- Remote Control Battery Installation: Open the battery compartment on the remote control. Insert 2 AAA batteries, ensuring correct polarity. Close the compartment.
- Initial Charge: Before first use, fully charge the vehicle's battery for the recommended duration (typically 8-12 hours). Refer to the charging section for details.

Image: Product overview with labeled components and dimensions.
Operating Instructions
Power On/Off
Locate the main power button on the dashboard. Press it to turn the vehicle on or off. The battery display will illuminate upon power-on.
Driving Modes
- Manual Mode: The child can operate the truck using the steering wheel and acceleration pedal. Use the gear shift lever for forward and reverse.
- Remote Control Mode: For younger children or parental supervision, use the provided remote control. Ensure the vehicle's mode switch is set to 'R/C' if applicable. The remote allows full control over steering, speed, and direction.
Speed Control
In manual mode, there are two adjustable speeds: 1.8 miles/h (low) and 3.1 miles/h (high). These can typically be selected via a switch on the dashboard. The remote control offers three adjustable speeds for more precise parental control.
Steering and Movement
Use the steering wheel to control direction. Press the acceleration pedal to move forward. Release the pedal to brake. Use the gear shift lever to switch between forward and reverse.
Electric Dump Bed Operation
The electric dump bed is controlled by a joystick or switch on the dashboard. Push the joystick to tilt the dump bed upwards to unload contents. Pull it back to lower the dump bed. An accompanying shovel is provided for interactive loading and unloading.

Image: How to control the electric dump bed.
Music and Bluetooth
The dashboard features buttons for music playback and Bluetooth connectivity. Follow the instructions on the dashboard panel to pair your device via Bluetooth and play music through the truck's speakers.
LED Lights
The truck is equipped with LED headlights. These can be turned on or off via a switch on the dashboard, enhancing visibility and realism.
Maintenance
Cleaning
Wipe the vehicle clean with a damp cloth. Avoid using harsh chemicals or abrasive cleaners that could damage the plastic. Do not spray water directly onto electrical components.
Battery Care
Charge the battery fully before the first use (8-12 hours). After each use, recharge the battery for 8-12 hours. Do not overcharge the battery (do not exceed 18 hours). If the vehicle will not be used for an extended period, disconnect the battery and store it in a cool, dry place. Recharge the battery every 3 months to maintain its lifespan.
Tire and Component Inspection
Regularly inspect the tires for wear and tear. Check all nuts, bolts, and screws to ensure they are tight. Inspect wiring for any damage or loose connections. If any issues are found, discontinue use until repairs are made.
Troubleshooting
- Vehicle does not move: Check if the power switch is ON. Ensure the battery is connected and fully charged. Verify that the R/C (remote control) / Pedal switch is in the correct position. Check for any loose wiring connections.
- Vehicle moves slowly: The battery may be low and requires charging. The vehicle might be overloaded (exceeding 66 lbs). Check for any obstructions in the wheels or motor.
- Remote control not working: Ensure batteries are installed correctly in the remote and are not depleted. Check if the remote is paired with the vehicle according to the pairing instructions (usually involves holding a button on the remote while the vehicle is off, then turning the vehicle on).
- Lights or music not working: Check the battery level. Ensure all connections are secure. Some functions may have separate power switches.
- Unusual noises: Stop operation immediately. Inspect for loose parts, foreign objects caught in the wheels or motor, or damaged gears. Contact customer support if the issue persists.
Specifications
| Feature | Detail |
|---|---|
| Product Dimensions | 48.82 x 22.44 x 13.39 inches |
| Item Weight | 51.1 pounds |
| Item Model Number | 5PW7jztUdMBlIAB7RgXUag8E |
| Manufacturer Recommended Age | 3 - 8 years |
| Maximum Load Capacity | 66 lbs |
| Battery | 12V (7AH x 2) |
| Drive System | 4WD (2*35W Motors) |
| Speeds (Manual) | 1.8 mph (low), 3.1 mph (high) |
| Speeds (Remote) | 3 adjustable speeds |
| Release Date | October 6, 2024 |
Warranty and Support
For warranty information, technical support, or replacement parts, please contact Hetoy customer service. Keep your purchase receipt as proof of purchase for any warranty claims.
Contact information can typically be found on the product packaging or the official Hetoy website.