1. Introduction
Thank you for choosing the Laurensory External USB 3.0 Type-C CD/DVD Drive. This portable optical drive provides versatile functionality for reading and writing CDs and DVDs on various compatible devices. This manual will guide you through the setup, operation, and maintenance of your new device.
2. Product Overview
2.1 What's in the Box
- Laurensory External CD DVD Drive
- User Manual
- USB C Type-C Adapter
2.2 Key Features
- Multi-functional: Functions as a CD/DVD burner, writer, player, reader, and ripper.
- Wide Compatibility: Supports Windows 98/SE/ME/2003/XP/10/8/7/Vista, Linux OS, and all versions of Mac OS (8.6 to 10.14). Compatible with desktops and laptops including MacBook Pro, MacBook Air, iMac, and Mac Mini.
- High-Speed Data Transfer: USB 3.0 interface provides up to 5Gbps data transmission speed. Also compatible with USB 2.0 and USB 1.0.
- Supported Disc Types: CD-ROM, CD-R, CD +/-RW, DVD-ROM, DVD-R, DVD+/-RW, DVD-R DL, VCD-ROM (standard 120mm discs).
- Portable Design: Compact, lightweight, with an embedded USB cable slot and anti-skid rubber feet for stability.
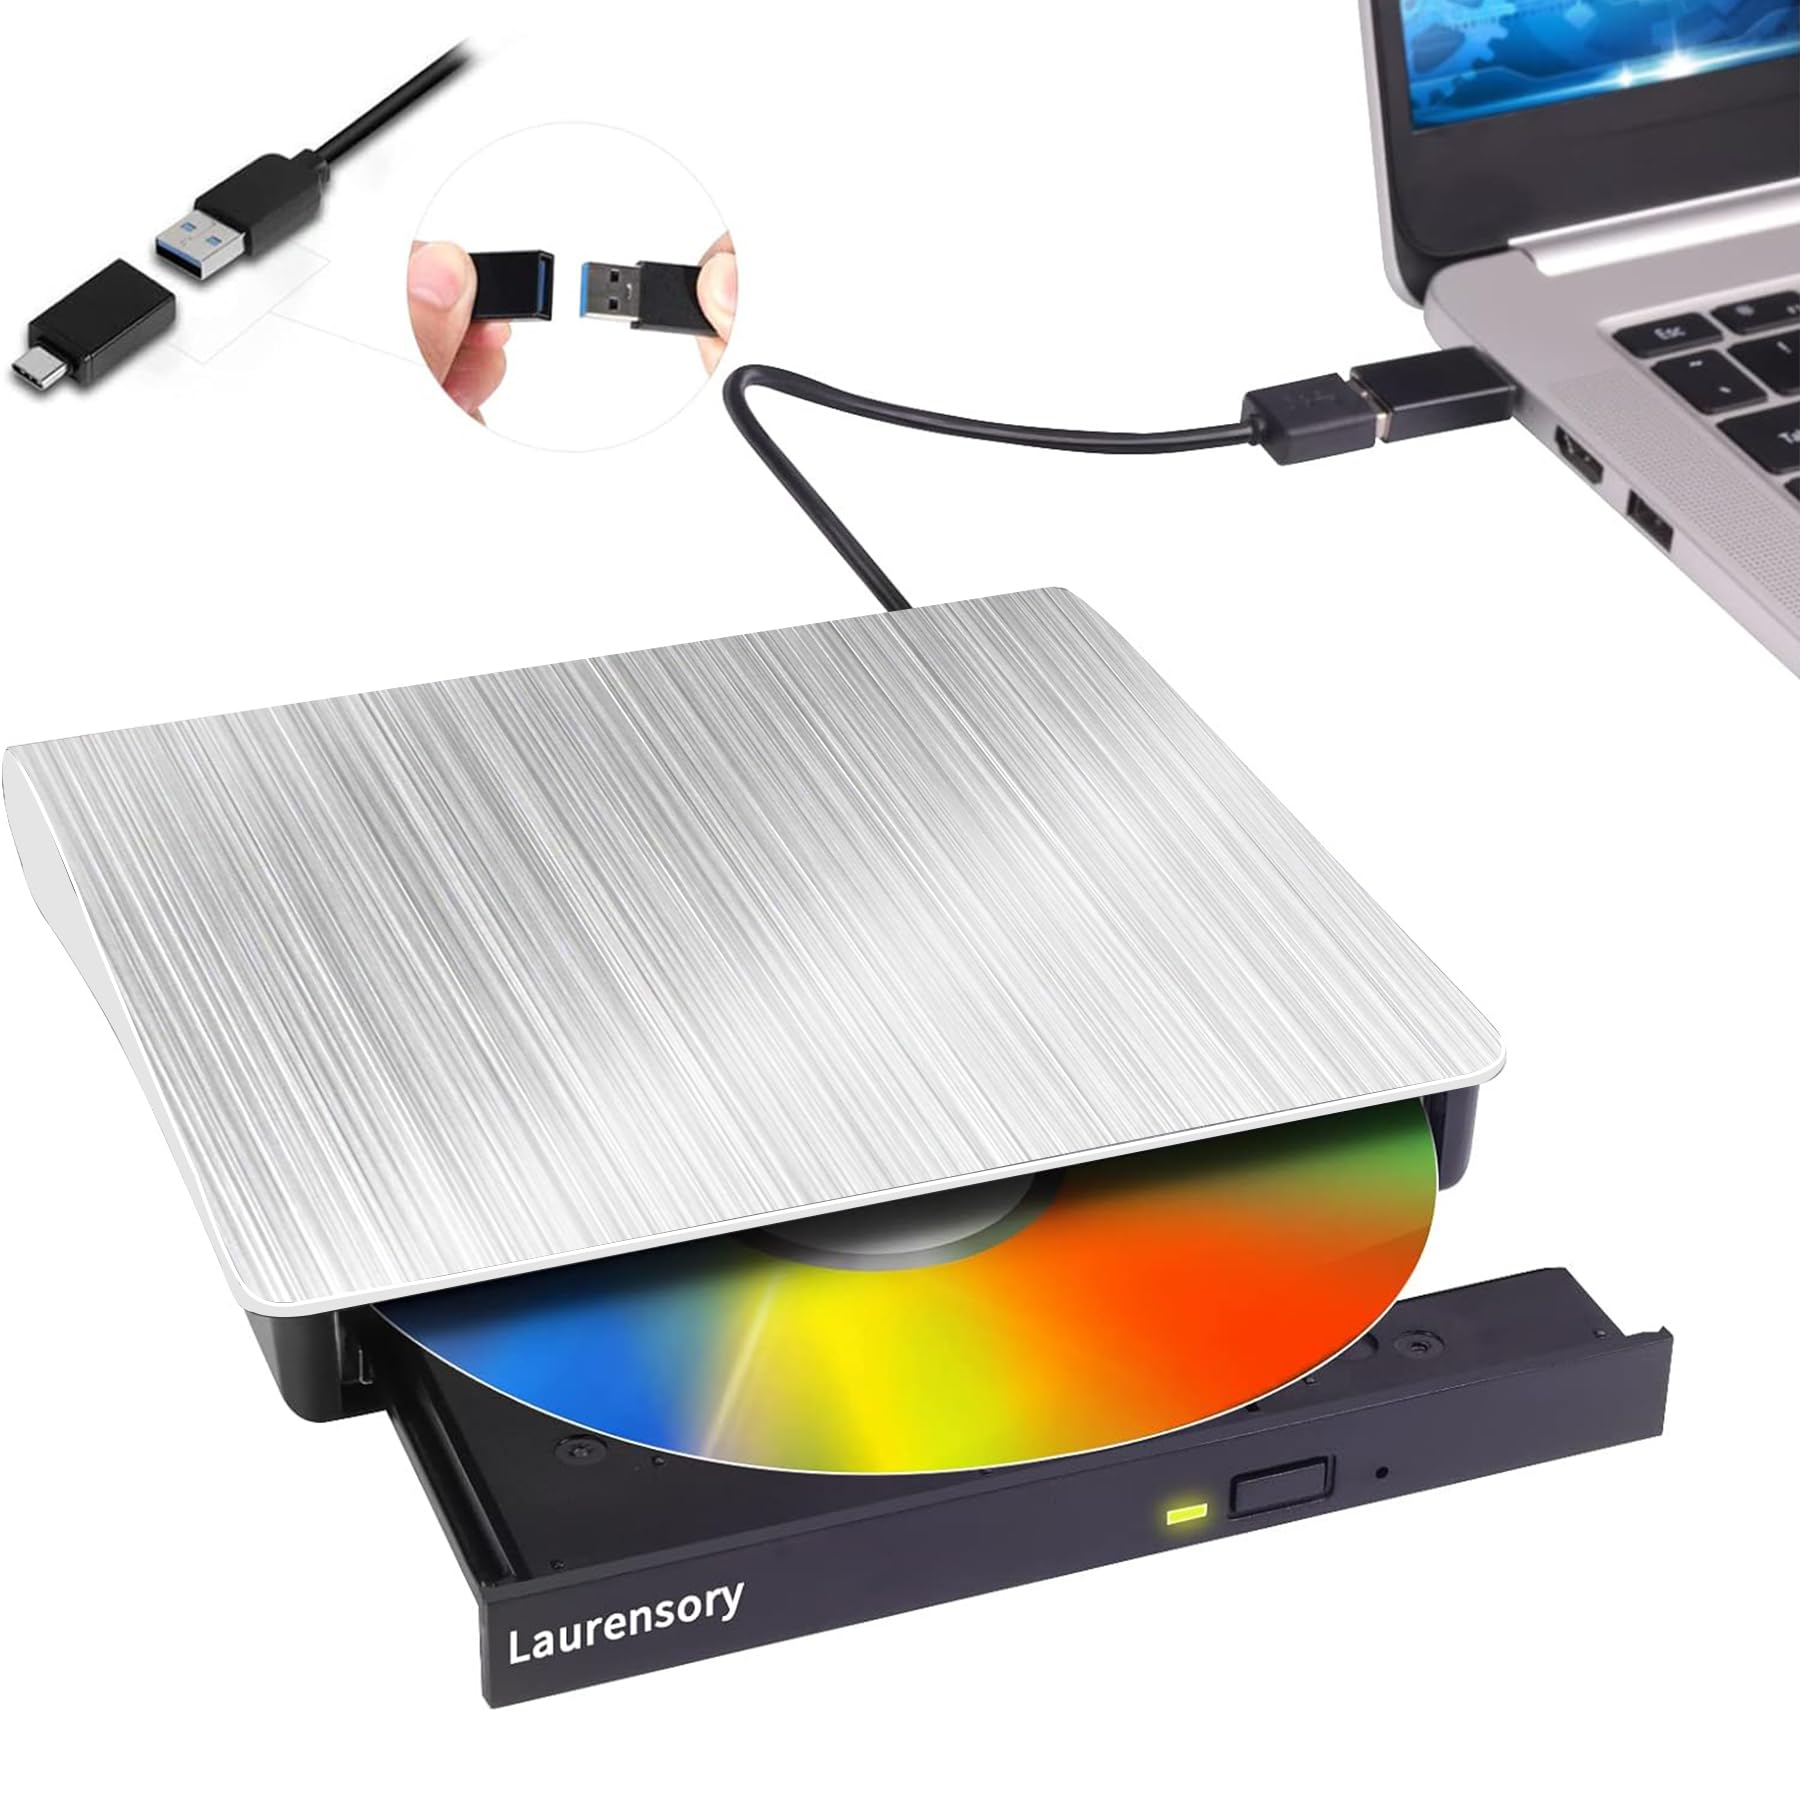
Figure 1: Laurensory External USB 3.0 Type-C CD/DVD Drive.

Figure 2: The Laurensory drive functions as a burner, player, reader, ripper, and writer.
3. Setup
3.1 Connecting the Drive
- Locate the integrated USB cable on the underside of the drive. Gently pull it out from its storage slot.
- Connect the USB-A end of the cable to an available USB 3.0 or USB 2.0 port on your computer.
- If your computer only has USB-C ports, use the provided USB-C adapter. Connect the USB-A end of the drive's cable to the adapter, then plug the USB-C adapter into your computer's USB-C port.
- The drive is plug-and-play; your operating system should automatically detect and install the necessary drivers. No additional software installation is typically required.

Figure 3: Connection methods for the Laurensory External DVD Drive.
Video 1: Demonstrates the plug-and-play functionality of the Laurensory External DVD Drive, showing how to connect it to a computer without needing to install additional software.
4. Operating Instructions
4.1 Inserting and Ejecting a Disc
- Ensure the drive is connected to your computer.
- Press the eject button located on the front of the drive. The disc tray will pop out.
- Carefully place your CD or DVD onto the tray, ensuring it is centered on the spindle.
- Gently push the tray back into the drive until it clicks into place.
- To eject a disc, press the eject button again. Alternatively, you can right-click on the drive icon in your computer's file explorer (Windows) or Finder (Mac) and select 'Eject'.

Figure 4: User-friendly pop-up design for disc handling.
4.2 Playing Media (CDs/DVDs)
Once a disc is inserted and recognized by your computer, you can use your preferred media player software (e.g., VLC Media Player, Windows Media Player) to play audio CDs or video DVDs. The drive will appear as a removable storage device.

Figure 5: Playing a DVD on a laptop using the external drive.
4.3 Burning Discs (CDs/DVDs)
To burn files to a blank CD or DVD, follow these general steps:
- Insert a blank, compatible CD-R/RW or DVD-R/RW disc into the drive.
- Your computer's operating system will typically prompt you with options for how to use the blank disc. Select an option like "Burn files to disc" or "Open with File Explorer" (Windows).
- Drag and drop the files you wish to burn into the disc's folder.
- Follow the on-screen prompts to finalize the burning process.

Figure 6: Steps for burning a disc on Windows.

Figure 7: Drag and drop files to burn to disc.
5. Compatibility
The Laurensory External USB 3.0 Type-C CD/DVD Drive is designed for broad compatibility with various operating systems and devices.
5.1 Supported Operating Systems
- Windows: 98/SE/ME/2003/XP/10/8/7/Vista
- Linux OS
- Mac OS: All versions from iOS 8.6 to 10.14 (Mojave OS)
5.2 Compatible Devices
- Laptops (e.g., MacBook Pro, MacBook Air, ASUS gaming laptop, HP, Lenovo, Dell)
- Desktops
- iMac
- Mac Mini
5.3 Unsupported Devices
Please note that this drive does not support:
- TVs
- Car systems
- iPads
- Chromebooks / Chrome OS
- Surface Pro
- Ubuntu
- Blu-ray discs

Figure 8: Operating system and device compatibility.
6. Maintenance
- Cleaning: Use a soft, dry cloth to clean the exterior of the drive. Do not use liquid cleaners or abrasive materials.
- Disc Care: Handle discs by their edges to avoid fingerprints and scratches. Store discs in protective cases when not in use.
- Storage: When not in use, store the drive in a cool, dry place. Ensure the integrated USB cable is neatly tucked into its slot to prevent damage.
- Avoid Impact: Protect the drive from drops or impacts, as this can damage internal components.
7. Troubleshooting
7.1 Drive Not Recognized
- Check Connection: Ensure the USB cable is securely plugged into both the drive and your computer. Try a different USB port.
- USB-C Adapter: If using the USB-C adapter, ensure it is correctly connected and functioning.
- Power Supply: While typically powered by USB, some older or low-power USB ports may require an external power source (not included). Try connecting to a powered USB hub if available.
- Restart Computer: Sometimes a simple restart can resolve recognition issues.
- Device Manager (Windows): Check Device Manager to see if the drive is listed and if there are any driver issues.
7.2 Disc Not Reading/Burning
- Clean Disc: Ensure the disc is clean and free of scratches or smudges.
- Disc Type: Verify that the disc type (CD-R, DVD-R, etc.) is supported by the drive and is not a Blu-ray disc.
- Software: Ensure you are using appropriate software for playing or burning discs.
- Try Another Disc: Test with a different disc to rule out a faulty disc.
- System Resources: Close other demanding applications during burning to ensure sufficient system resources.
7.3 Slow Performance
- USB Port: Ensure you are connected to a USB 3.0 port for optimal speed. USB 2.0 and 1.0 ports will result in slower data transfer.
- Background Processes: Minimize background applications that might be consuming system resources.
8. Specifications
| Feature | Specification |
|---|---|
| Model Number | 791101349952 |
| Hard Disk Interface | USB 2.0/3.0 |
| Connectivity Technology | USB |
| Special Feature | DVD Burner, CD Burner, Portable, CD Player, DVD Player |
| Compatible Devices | Desktop, Laptop |
| Installation Type | External Hard Drive |
| Color | Silver |
| Media Speed | Max 24x CD / 8x DVD |
| Data Transfer Rate | 5 Gigabits Per Second (USB 3.0) |
| Form Factor | 2.5-inch |
| Hardware Platform | Laptop |
| Enclosure Material | Polycarbonate Plastic |

Figure 9: High-speed data transfer capabilities.

Figure 10: Detailed view of the drive's features including the embedded cable and anti-slip feet.
9. Warranty & Support
The Laurensory External USB 3.0 Type-C CD/DVD Drive comes with a 1-year warranty. For technical support, troubleshooting assistance, or warranty claims, please contact Laurensory customer service through the retailer where the product was purchased or visit the official Laurensory website for contact information.