VEVOR GS950C-4801500
VEVOR 48 Volt Golf Cart Battery Charger
Instruction Manual
1. Introduction and Overview
This manual provides essential information for the safe and efficient operation of your VEVOR 48 Volt Golf Cart Battery Charger. Designed for versatility, this 15 AMP smart charger is compatible with a wide range of battery types, including Lead-Acid (AGM/GEL/EFB, MF Flooded), NMC, and LiFePO4 batteries, making it suitable for various golf cart models like EZGO TXT.
The charger features a robust, IP67 waterproof and dustproof design, ensuring durability in diverse outdoor conditions. It incorporates multiple protection mechanisms and intelligent low voltage recognition for enhanced battery health and longevity. Please read this manual thoroughly before initial use to ensure proper setup and operation.

Figure 1: VEVOR 48V 15A Golf Cart Smart Charger with RXV Plug.
2. Safety Information
Always prioritize safety when operating electrical equipment. Failure to follow these instructions may result in electric shock, fire, or serious injury.
- Ensure the charger is connected to a properly grounded 110V AC outlet.
- Do not operate the charger if the power cord or charging cables are damaged.
- Keep the charger away from flammable materials, gases, or liquids.
- Avoid direct contact with battery acid. Wear protective eyewear and gloves.
- Do not attempt to open or modify the charger. Refer all servicing to qualified personnel.
- Ensure adequate ventilation during charging to prevent heat buildup.
- Disconnect the charger from the power source before making or breaking connections to the battery.
3. Product Features
3.1 True 3-Battery Compatibility
This golf cart battery charger offers rapid charging for various battery types. It is compatible with Lead-Acid (AGM/GEL/EFB, MF Flooded), NMC, and LiFePO4 batteries, eliminating the need for multiple chargers for different battery chemistries.

Figure 2: Compatibility with multiple battery types.
3.2 ETL Certified, Multi-Protection
The charger is ETL certified, ensuring high standards of safety and reliability. It includes comprehensive protection features:
- Over Voltage Protection
- Over Current Protection
- Short Circuit Protection
- Over Temperature Protection

Figure 3: ETL certification and integrated safety protections.
3.3 IP67 Waterproof & Dustproof
Constructed to withstand harsh outdoor environments, the charger boasts an IP67 rating, making it highly resistant to water, dust, and vibration damage. This allows for confident charging even in heavy rain or dusty conditions.

Figure 4: Charger designed for extreme outdoor weather.
3.4 Intelligent Low Voltage Recognition
The smart charger automatically detects low voltage, enabling it to charge deeply discharged or 'dead' batteries effortlessly. This feature helps to safeguard battery health and extend its overall lifespan, simplifying the charging process without manual settings.

Figure 5: Intelligent low voltage detection for reviving batteries.
3.5 Easy Portability & Installation
Equipped with a convenient carry handle, the charger is easily transportable for on-the-go charging. Built-in mounting holes also allow for secure, fixed installation in various environments, saving space and meeting diverse storage needs.
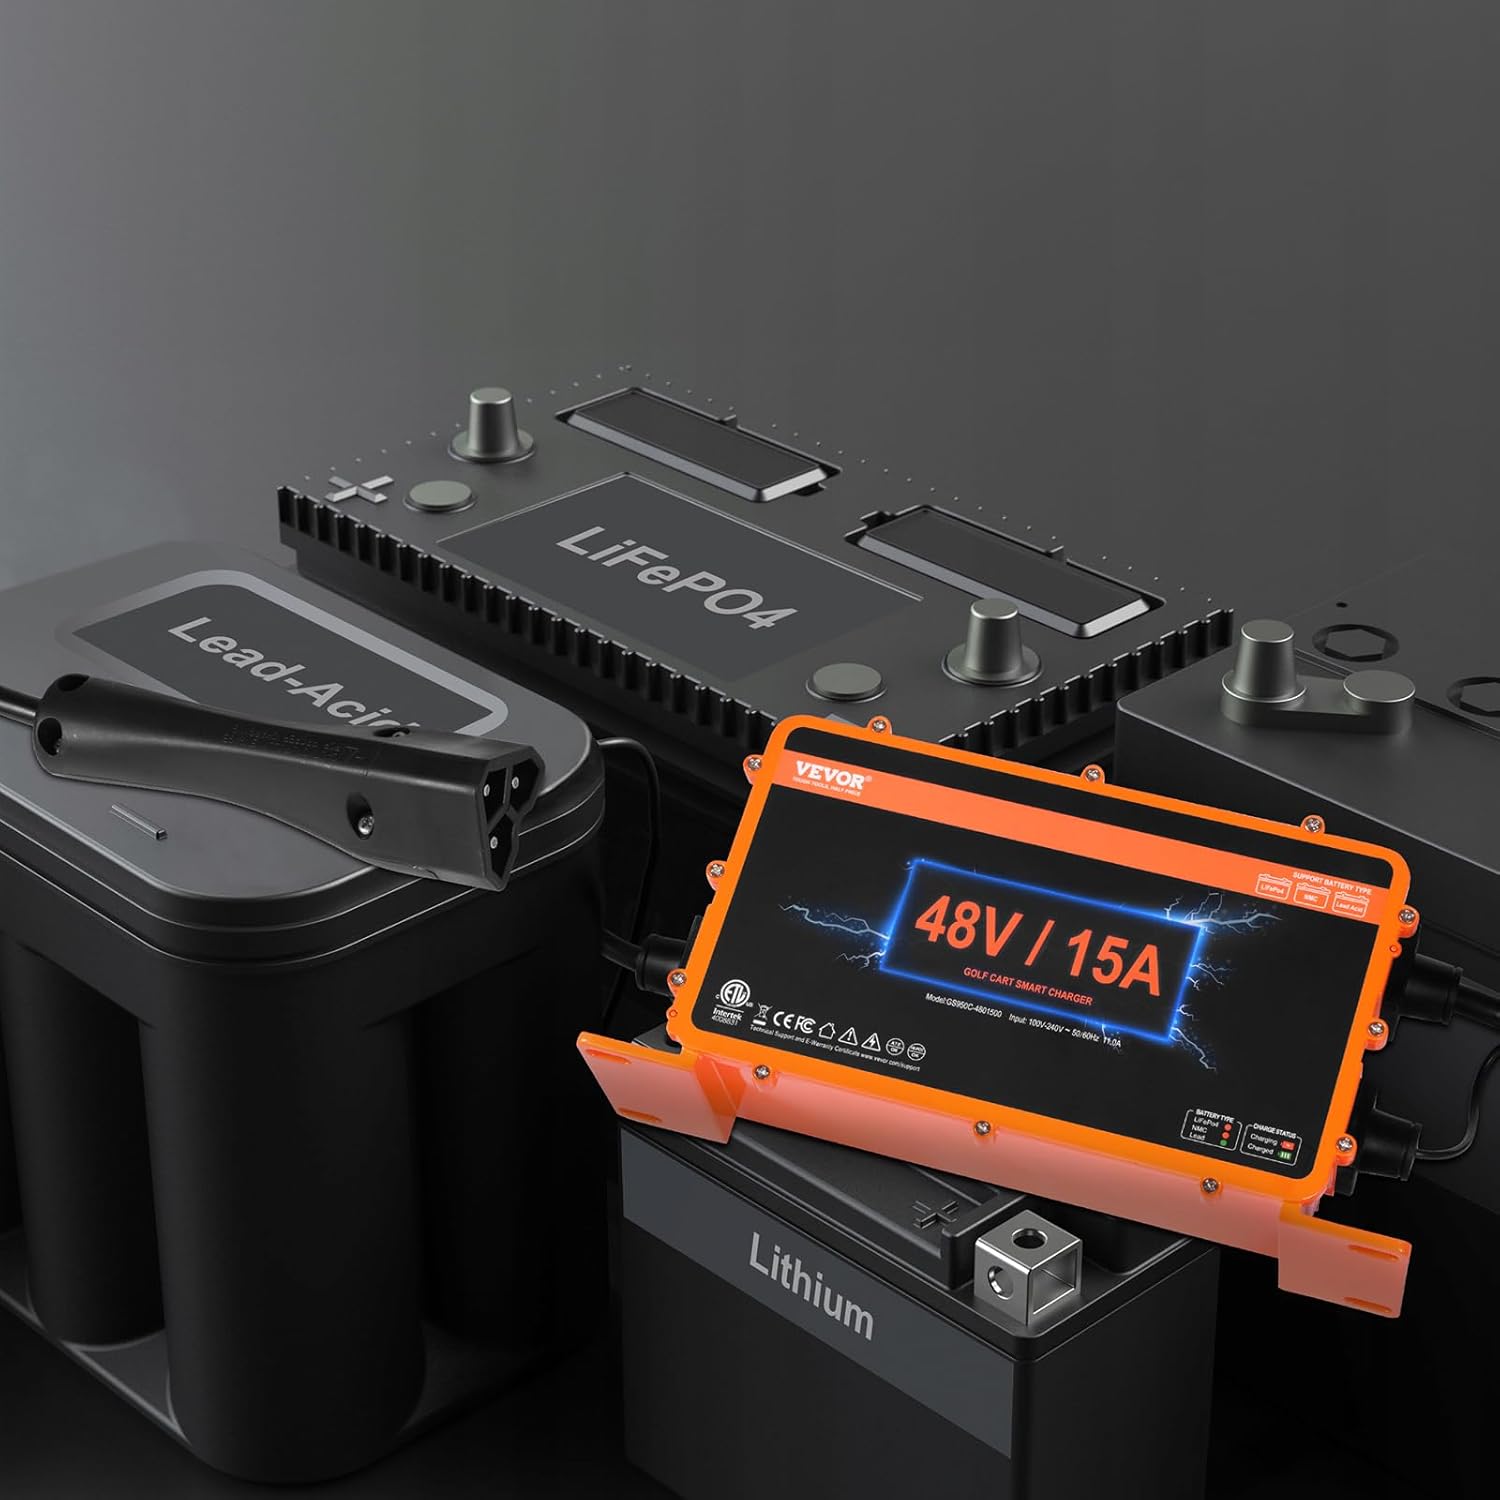
Figure 6: Portability and versatile installation options.
4. Package Contents
Upon opening your VEVOR 48 Volt Golf Cart Battery Charger package, please verify that all components are present and undamaged:
- 1 x VEVOR 48V 15A Golf Cart Smart Charger (Model: GS950C-4801500)
- 1 x AC Power Cord
- 1 x RXV Plug Charging Cable
- 1 x User Manual (this document)
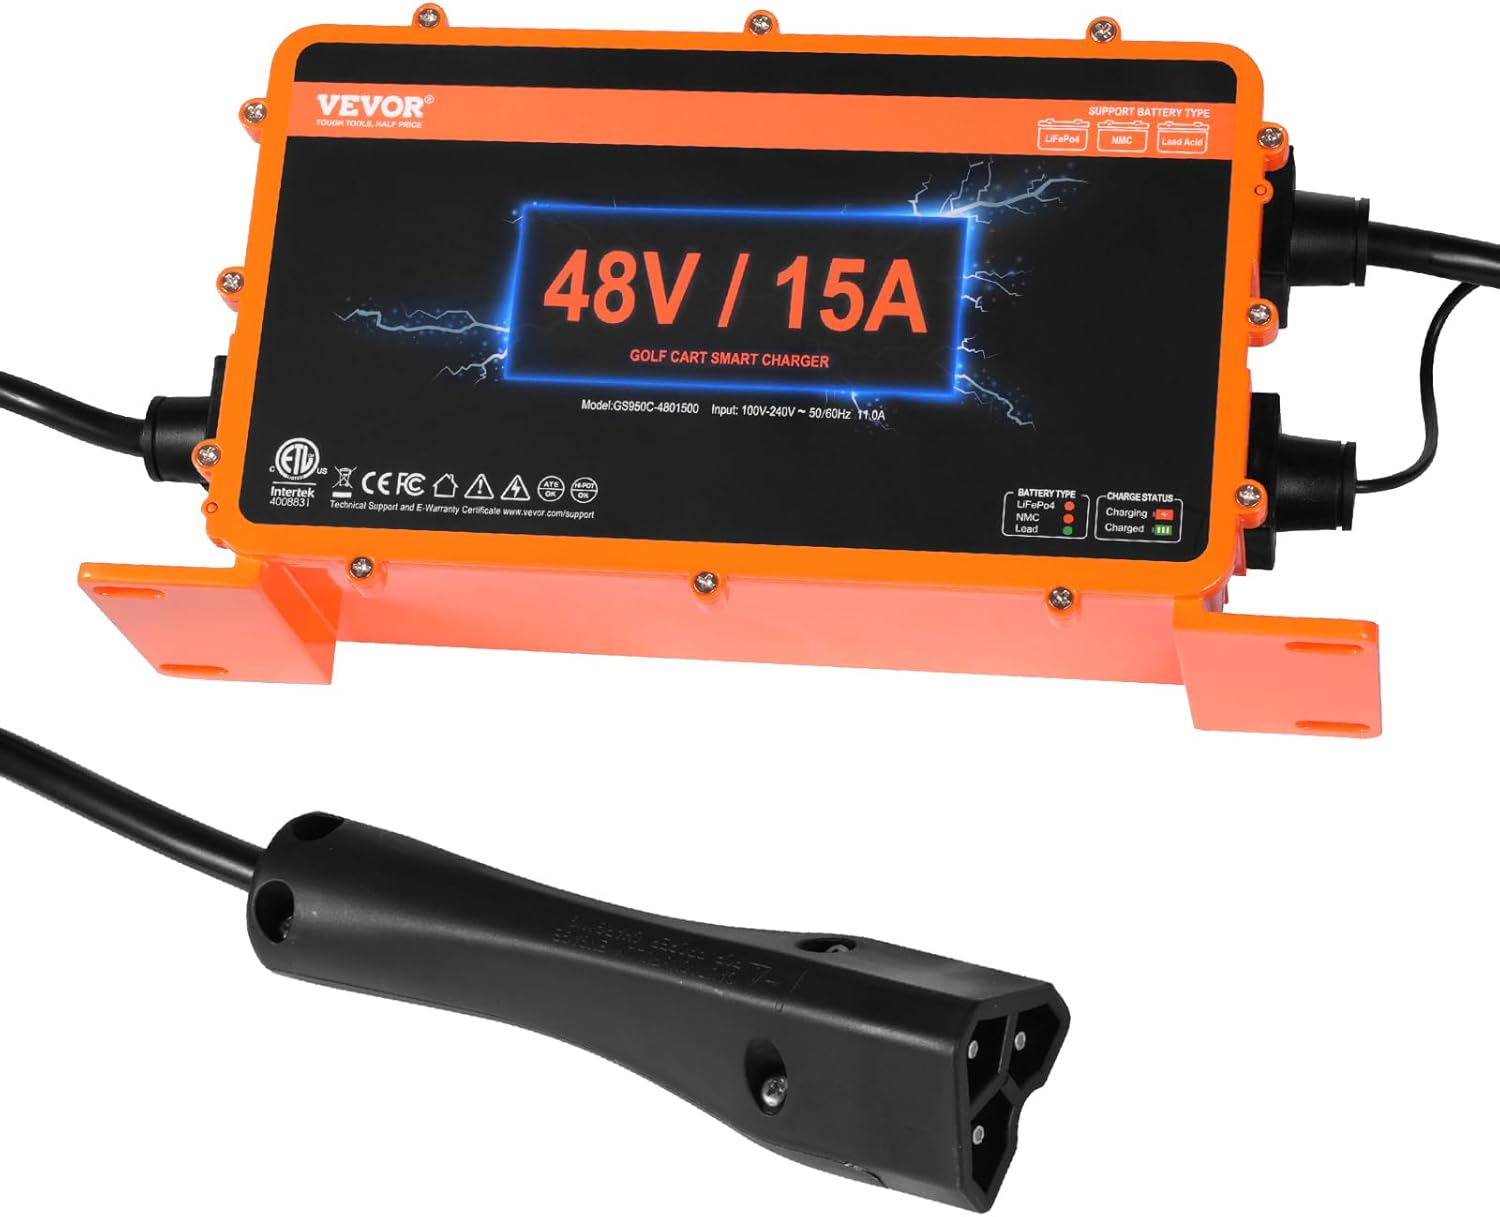
Figure 7: Included components in the package.
5. Setup Instructions
- Unpack and Inspect: Carefully remove the charger and all accessories from the packaging. Inspect for any signs of damage during transit.
- Choose a Location: Select a dry, well-ventilated area for charging. While the charger is IP67 rated for outdoor use, protecting it from direct prolonged exposure to extreme elements is recommended for extended lifespan. Ensure the surface is stable if not wall-mounted.
- Connect AC Power: Plug the AC power cord into the charger's input port, then plug the other end into a standard 110V AC grounded electrical outlet.
- Select Battery Type: Before connecting to your golf cart, ensure the correct battery type is selected on the charger. The charger supports Lead-Acid (AGM/GEL/EFB, MF Flooded), NMC, and LiFePO4 batteries. To switch between battery types, press and hold the 'Battery Type Switch' button for at least 2 seconds. The corresponding LED indicator (Green for LiFePO4, Orange for NMC, Red for Lead-Acid) will illuminate. Note: The button may feel less responsive due to waterproofing; use a small, non-conductive tool if needed. Mode adjustment is disabled during charging.
- Connect to Golf Cart: Insert the RXV plug charging cable into your golf cart's charging receptacle. Ensure a secure and firm connection.

Figure 8: Example of different charging plug types (your model includes the RXV plug).
6. Operating Instructions
Once properly set up, the charger will automatically begin the charging process. Monitor the 'Charge Status' LED indicators for real-time information:
| LED Indicator | Status | Description |
|---|---|---|
| Red Light Steady On | Charging (0-90%) | The battery is actively charging. |
| Red Light Flashes Once Per Second | Charging (90% Charged) | The battery is nearing full charge. This is normal and not an error. |
| Green Light Steady On | Fully Charged | The battery is fully charged and the charger has entered maintenance mode. |
| Green Light Flashes | Battery Connected, Not Charging | The charger is connected to the battery but is not actively charging (e.g., battery is already full, or an issue prevents charging). |
The charger employs an advanced multi-stage smart charging process to optimize battery life and performance. Once the battery pack reaches full charge, the charger reduces current output for better thermal management, further extending battery lifespan.

Figure 9: Advanced Multi-Stage Smart Charging Process.
6.1 Disconnecting the Charger
Once charging is complete (Green Light Steady On):
- First, unplug the AC power cord from the wall outlet.
- Next, disconnect the RXV plug charging cable from your golf cart's charging receptacle.
7. Maintenance
Regular maintenance ensures the longevity and optimal performance of your VEVOR charger.
- Cleaning: Periodically wipe the charger's exterior with a soft, dry cloth. Do not use harsh chemicals or abrasive cleaners. Ensure the fan vents are clear of debris.
- Cable Inspection: Regularly inspect the AC power cord and charging cables for any cuts, fraying, or damage. Replace immediately if damage is found.
- Storage: When not in use, store the charger in a cool, dry place, away from direct sunlight and extreme temperatures.
- Waterproof Integrity: While IP67 rated, avoid submerging the charger. Ensure all connections are secure to maintain its waterproof and dustproof properties.

Figure 10: Aluminum alloy housing for durability and heat dissipation.
8. Troubleshooting
If you encounter issues with your VEVOR 48 Volt Golf Cart Battery Charger, refer to the following common problems and solutions:
| Problem | Possible Cause | Solution |
|---|---|---|
| Charger not turning on / No lights | No AC power; Faulty outlet; Damaged power cord. | Check AC power connection. Test outlet with another device. Inspect power cord for damage. |
| Charger not charging (Green light flashes) | Battery already full; Incorrect battery type selected; Poor connection to golf cart; Battery fault. | Verify battery charge level. Ensure correct battery type is selected. Re-seat RXV plug firmly. Check battery for issues. |
| Red light flashes once per second, but battery not fully charged | This indicates the battery is approximately 90% charged and the charger is in a thermal management phase. | This is normal operation. Allow the charger to continue until the green light is steady on. No action required. |
| Charger gets excessively hot | Poor ventilation; Overload; Internal fault. | Ensure adequate airflow around the charger. Reduce load if possible. If overheating persists, discontinue use and contact support. |
| Battery not holding charge after charging | Battery nearing end of life; Battery fault. | Test the golf cart battery independently. Consider battery replacement if it consistently fails to hold a charge. |
If the problem persists after attempting these solutions, please contact VEVOR customer support for further assistance.
9. Specifications
| Specification | Value |
|---|---|
| Brand | VEVOR |
| Model Number | GS950C-4801500 |
| Product Dimensions | 3.54 x 11.02 x 5.43 inches (90 x 280 x 138 mm) |
| Item Weight | 8.49 pounds (3.85 kg) |
| Input Voltage/Frequency | AC 100V-240V, 50/60Hz |
| Output Voltage | 48 Volts (DC) |
| Max Charging Current | 15A |
| Max Output Power | 810W |
| Charging Cable/Plug | 9.2 ft / 2.8 m (RXV Plug) |
| Compatible Battery Voltage | Lead-Acid Battery (AGM/GEL/EFB, MF, Flooded); NMC; LiFePO4 Battery (DC 48V System) |
| Waterproof Rating | IP67 |

Figure 11: Key product specifications and dimensions.
10. Warranty and Support
VEVOR products are designed for durability and performance. For specific warranty details, please refer to the warranty card or documentation included with your product at the time of purchase. General warranty information is typically available on the official VEVOR website.
If you require technical assistance, have questions about product operation, or need to address a warranty claim, please contact VEVOR customer support. Contact information can usually be found in the product packaging or on the VEVOR official website (www.vevor.com).
When contacting support, please have your product model number (GS950C-4801500) and purchase details readily available to expedite the process.
Ask a question about this manual
Ask about setup, troubleshooting, compatibility, parts, safety, or missing instructions. Manuals+ will review the question and use this page’s manual context to help answer it.