1. Product Overview
This document provides instructions for the installation, maintenance, and troubleshooting of the LUVCAASXQ door hinge assembly, designed for Midea Little Swan MG70 and MG80-F1213EDS drum washing machines. This component is crucial for the proper functioning and secure closure of your washing machine door.

Figure 1: Front view of the LUVCAASXQ washing machine door hinge assembly. This image displays the main structure of the hinge, including its mounting points and pivot pins.

Figure 2: The door hinge assembly positioned alongside two drum washing machines, illustrating its intended application.
2. Safety Information
Always disconnect the washing machine from the power supply before attempting any installation or maintenance. Wear appropriate personal protective equipment, such as gloves, to prevent injury. If you are unsure about any step, consult a qualified technician.
3. Installation Instructions
This section outlines the general procedure for replacing a washing machine door hinge. Specific steps may vary slightly depending on your washing machine model.
Tools Required:
- Screwdriver set (Phillips and Flathead)
- Wrench or socket set (if applicable)
- Pliers (optional)
Procedure:
- Disconnect Power: Ensure the washing machine is unplugged from the electrical outlet.
- Access Hinge Area: Open the washing machine door. Depending on your model, you may need to remove a decorative panel or trim around the door frame to access the hinge mounting screws.
- Remove Old Hinge: Carefully support the door. Unscrew the mounting screws that secure the old hinge to the washing machine frame and the door itself. Keep track of all screws and small parts.
- Install New Hinge: Position the new LUVCAASXQ door hinge assembly in the same location as the old one. Align the screw holes.
- Secure Hinge: Reinsert and tighten the mounting screws to secure the hinge to both the washing machine frame and the door. Ensure the hinge is firmly attached but do not overtighten.
- Test Door Operation: Gently open and close the washing machine door several times to ensure smooth operation and proper alignment. The door should close securely without excessive force.
- Reassemble Panels: If any panels or trim were removed, reattach them.
- Reconnect Power: Plug the washing machine back into the electrical outlet.

Figure 3: Top and bottom views of the hinge, showing the mounting points and the overall structure for proper installation.
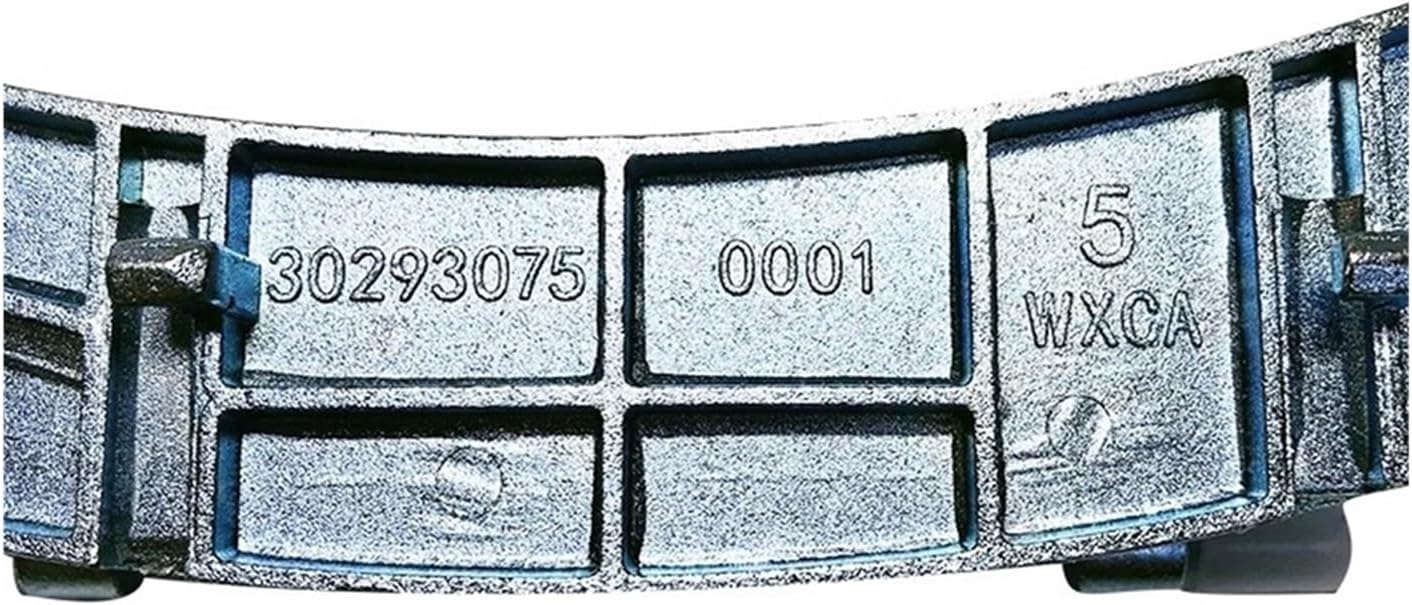
Figure 4: Close-up view of the hinge's underside, displaying identification numbers such as '30293075', '0001', and '5 WXCA'. These numbers can be useful for part verification.
4. Operating the Door
After installation, ensure the washing machine door opens and closes smoothly. Avoid forcing the door open or shut, as this can damage the hinge or the door latch mechanism. Always ensure the door is fully closed before starting a wash cycle to prevent leaks and ensure proper machine operation.
5. Maintenance
Regular maintenance helps prolong the life of your door hinge and ensures optimal performance.
- Inspection: Periodically inspect the hinge for any signs of wear, corrosion, or loose screws.
- Cleaning: Wipe down the hinge area with a damp cloth to remove any detergent residue or dirt. Avoid using harsh chemicals that could damage the metal or plastic components.
- Lubrication: If the door begins to squeak or feel stiff, a small amount of silicone-based lubricant can be applied to the hinge pins. Avoid oil-based lubricants, which can attract dirt.
6. Troubleshooting
If you encounter issues with your washing machine door after hinge installation, consider the following:
- Door Not Closing Properly: Check if the hinge screws are securely tightened. Ensure no foreign objects are obstructing the door's path or the latch mechanism. Verify the hinge is correctly aligned.
- Door Squeaks: Apply a small amount of silicone lubricant to the hinge pivot points.
- Loose Door: Re-tighten all hinge mounting screws. If the problem persists, inspect the hinge for damage or wear that might require replacement.
7. Specifications
Key specifications for the LUVCAASXQ Door Hinge Assembly:
| Feature | Detail |
|---|---|
| Brand | LUVCAASXQ |
| Compatible Models | Midea Little Swan MG70, MG80-F1213EDS |
| Item Weight | 1.76 ounces |
| Package Dimensions | 1.18 x 0.79 x 0.39 inches |
| Number of Pieces | 1 |
| Material | Durable Construction (Metal/Plastic) |

Figure 5: Technical drawing illustrating key dimensions of the hinge assembly: overall length 155mm, mounting hole spacing 141mm, inner width 104mm, and pin spacing 85mm with 32mm pin length.
8. Warranty and Support
For warranty information and customer support regarding this LUVCAASXQ door hinge assembly, please refer to the purchase documentation or contact the seller directly. Keep your proof of purchase for any warranty claims.