
1. Introduction
This manual provides comprehensive instructions for the installation, operation, and maintenance of your AVA-MATIC Slim-Matic Wind-Powered Rotating Roof Vent, model AVA5120. This ultra-slim vent is designed to provide efficient air circulation for commercial vans, RVs, trailers, and campers, utilizing natural wind power without the need for electricity.
Important Note:
This model is suitable for vehicles like the Ford Transit and Mercedes-Benz Sprinter. However, it will not fit a RAM ProMaster due to roof rib placement.

Figure 1: AVA-MATIC Slim-Matic Wind-Powered Rotating Roof Vent (AVA5120) - Round Shutter Black.
2. Product Features and Benefits
The Slim-Matic ventilator offers several advantages for vehicle ventilation:
- Ultra-Slim Profile: At just 2.2 inches tall, its sleek design is ideal for vehicles with roof racks or other rooftop installations.
- Wind-Powered Efficiency: Harnesses natural wind for 24/7 operation without electricity or batteries, ensuring continuous air circulation.
- High Airflow Performance: Extracts up to 76.5 CFM (Cubic Feet Per Minute) at highway speeds (68 MPH), effectively reducing heat and cycling air in high-roof cargo vans within minutes.
- Enhanced Ventilation Benefits: Reduces moisture, condensation, and heat while expelling stale air and drawing in fresh air, keeping the environment clean and comfortable.
- Maintenance-Free: No complex parts requiring regular servicing.
- Adjustable Shutter: Allows customization of airflow according to specific needs.
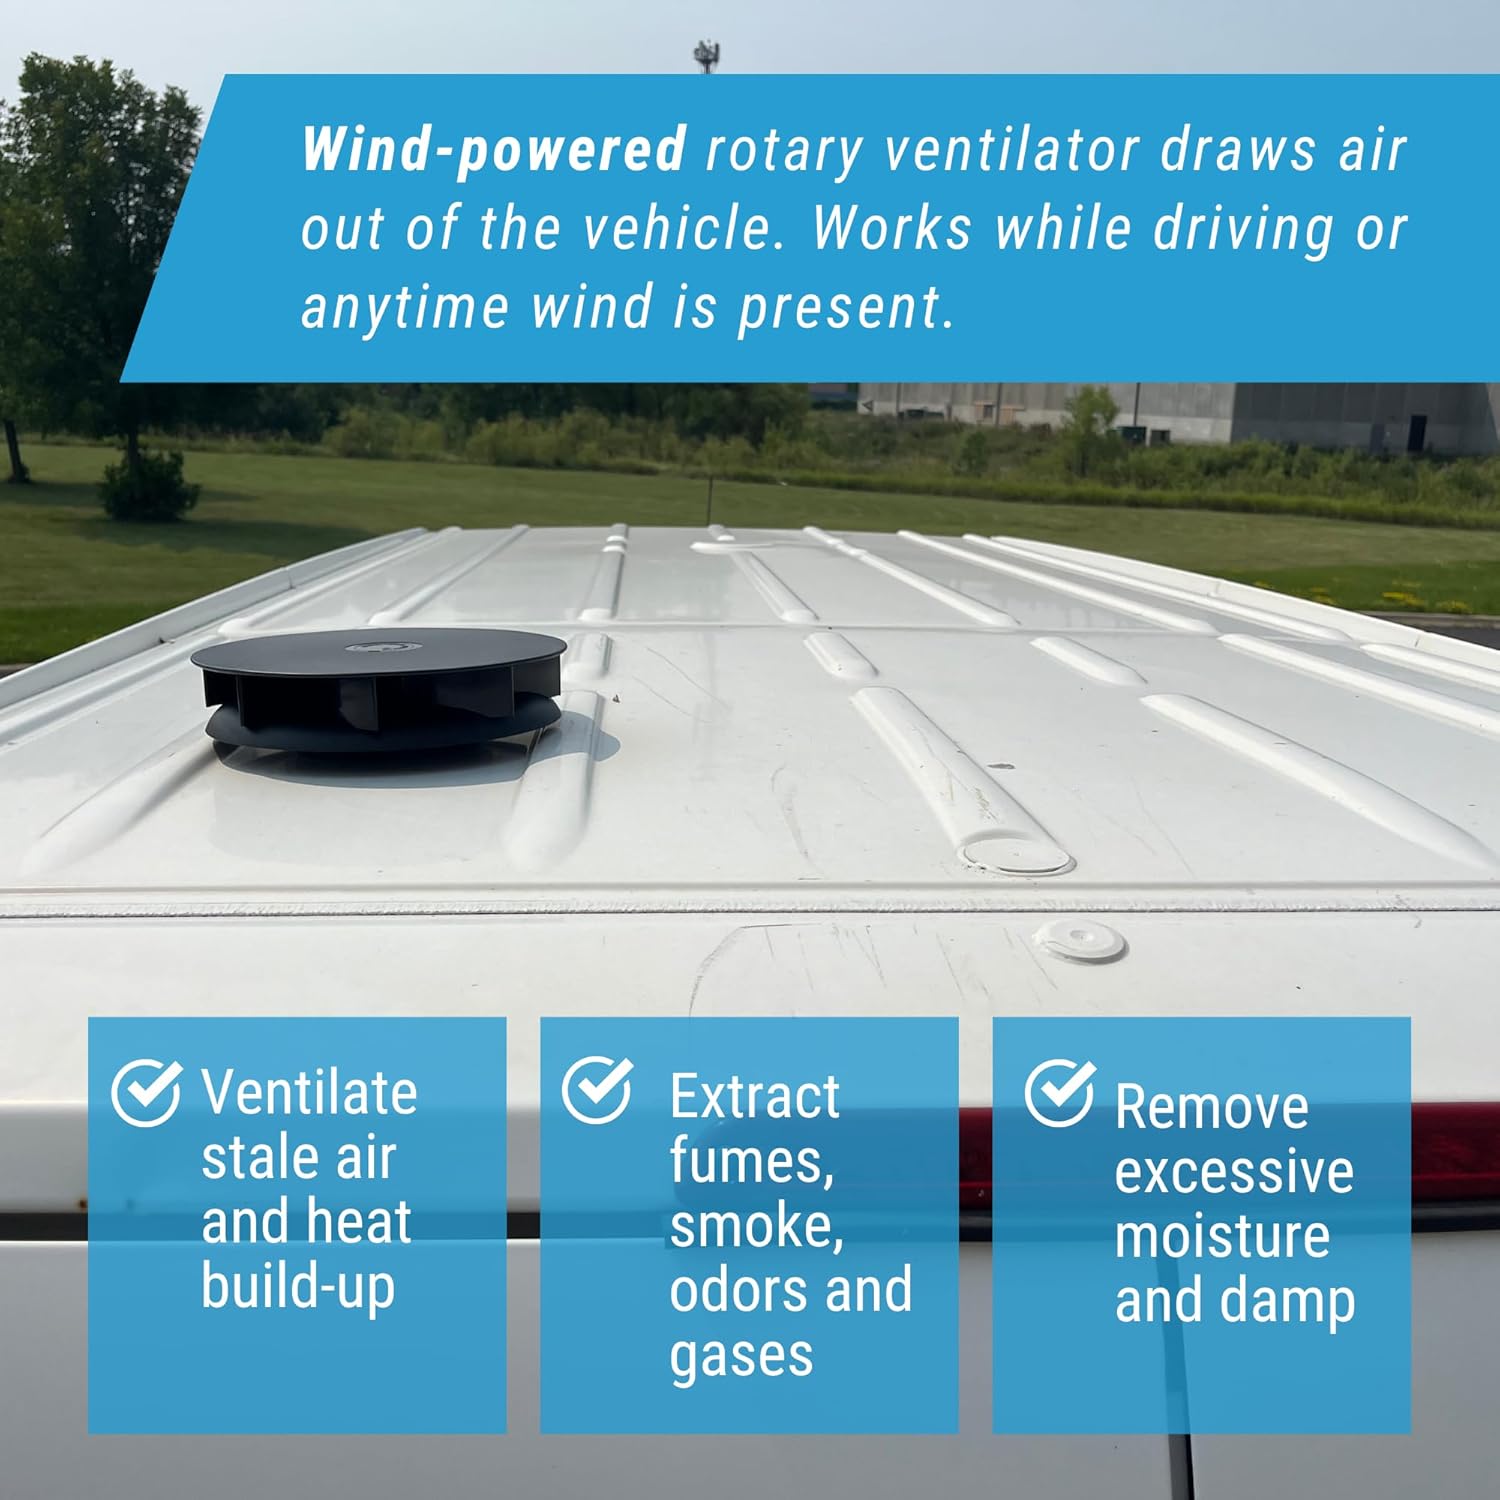
Figure 2: Key benefits of the Slim-Matic ventilator, including stale air and heat removal, fume extraction, and moisture reduction.

Figure 3: The indirect airflow passage design minimizes dust and water entry into the vehicle.
3. Components Included
Your Slim-Matic Wind-Powered Rotating Roof Vent package includes:
- Ventilator fan unit (Round Shutter Black)
- Interior shutter (Round Shutter Black)
- Mounting screws
- Installation template
4. Tools Required for Installation
To successfully install the Slim-Matic ventilator, you will need the following tools:
- Scissors
- Permanent Marker
- Drill
- 5.5 mm (7/32 inch) Drill Bit
- 80 mm (3 1/8 inch) Hole Saw
- Metal File (for deburring)
- Rust Inhibitor Spray
- 5 mm Allen Key
- Waterproof Sealant (optional, for enhanced seal)
5. Installation Instructions
Installation is straightforward and can typically be completed in 30 minutes or less. Follow these steps carefully:
- Prepare the Template: Cut the fitting template from the provided instructions using scissors.
- Select Mounting Position: Locate a suitable flat mounting area on the vehicle's roof. It is recommended to choose a position close to a roof rib or support, avoiding large unsupported sections. Ensure the chosen location allows the vent to rotate freely.
- Mark Drill Points: Tape the template securely to the chosen position on the roof. Use a permanent marker to carefully mark the center point for the main hole saw and the four smaller bolt hole positions.
- Drill Pilot Holes: Using a 5.5 mm (7/32 inch) drill bit, drill pilot holes at the four marked bolt positions.
- Drill Main Opening: Use an 80 mm (3 1/8 inch) hole saw to create the large central opening, aligning it with the marked center point.
- Deburr and Protect: Remove any burrs from the cut edges using a metal file. Apply a good quality anti-corrosion treatment (rust inhibitor spray) to protect the exposed metal surfaces against rust.
- Apply Sealant (Optional): For an enhanced waterproof seal, apply a bead of exterior automotive-grade silicone sealant (not supplied) in the channel provided around the edge of the ventilator's gasket material before placing it on the roof.
- Position the Vent: Place the ventilator unit onto the exterior of the roof, aligning the pre-drilled holes with the holes on the vent.
- Attach Interior Shutter: From the interior of the vehicle, remove the shutter cover from the interior shutter unit. Align the interior shutter with the ventilator's base and secure it using the provided screws. Tighten the screws by hand to avoid overtightening. Replace the shutter cover.
- Test Rotation: Ensure the ventilator rotates freely.

Figure 4: The drilling template is provided for easy and accurate installation.

Figure 5: The automotive-grade foam gasket and channel for optional secondary sealant ensure a secure and weather-resistant seal.
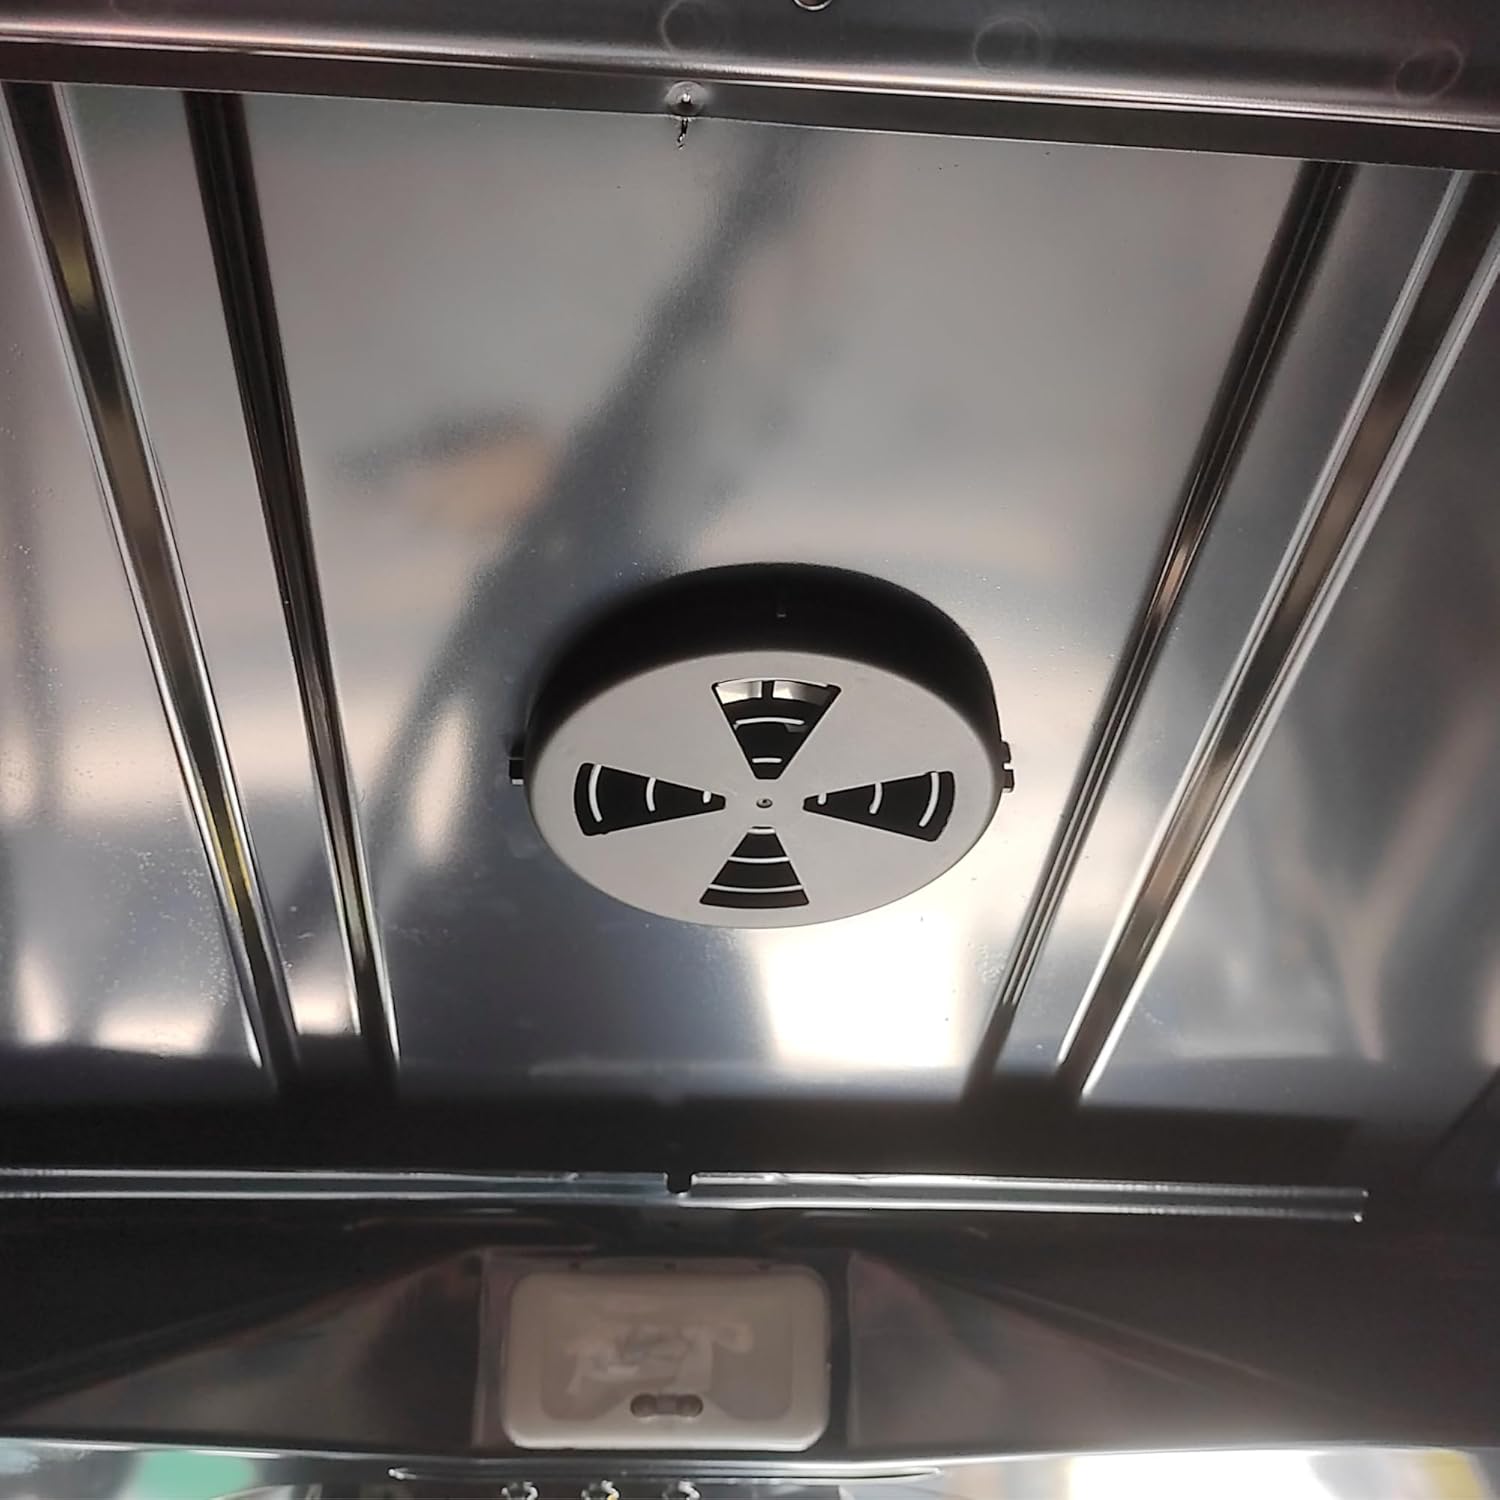
Figure 6: Interior view of the round shutter, allowing control over airflow.
Installation Video Guide
Video 1: Official Unboxing and Installation Instructions for the Ava-Matic Slim-Matic Ventilator. This video provides a visual guide for both rectangular and round shutter versions.
6. Operation
The Slim-Matic ventilator operates passively using wind power. When the vehicle is in motion or when there is sufficient ambient wind, the rotating mechanism will draw air out of the vehicle, creating a negative pressure that pulls fresh air in through other openings.
The interior shutter allows you to control the airflow. Open the shutter to maximize ventilation and close it to restrict airflow when not needed or during adverse weather conditions.
Air Extraction Rates
| Speed (MPH) | Airflow (CFM) |
|---|---|
| 12.5 | 8.8 |
| 25 | 21.8 |
| 37 | 33.5 |
| 50 | 42.4 |
| 62 | 53 |
| 68 | 76.5 |
Table 1: Air extraction rates at various vehicle speeds.

Figure 7: Visual representation of air extraction rates at different speeds.
7. Maintenance
The AVA-MATIC Slim-Matic Wind-Powered Rotating Roof Vent is designed to be maintenance-free. Its non-electric, wind-powered operation eliminates the need for battery checks, wiring inspections, or motor servicing. Periodically inspect the vent for any debris that might obstruct its rotation and ensure the exterior remains clean for optimal performance.
8. Troubleshooting
If you encounter issues with your Slim-Matic ventilator, consider the following:
- Vent Not Rotating: Ensure the interior shutter is fully open. Check for any physical obstructions (e.g., leaves, debris) on the exterior of the vent that might impede its rotation. Verify that the vehicle is in motion or that there is sufficient wind.
- Reduced Airflow: Confirm the interior shutter is open. Check for any blockages in the vent's internal passages or on the exterior.
- Water Leakage: Re-inspect the installation area for proper sealing. If optional sealant was not used during installation, consider applying it to the gasket channel for improved waterproofing. Ensure all mounting screws are adequately tightened (by hand).
9. Specifications
| Feature | Detail |
|---|---|
| Brand | AVA-MATIC |
| Model Name | Slim-Matic (AVA5120) |
| Color | Black |
| Power Source | Wind |
| Style | Slim-Matic |
| Product Dimensions | 9.05"D x 9.05"W x 2.2"H (230mm D x 230mm W x 56mm H) |
| Room Type | Vehicle and trailer |
| Special Feature | Adjustable shutter, Lightweight, Passive operation (not electric), Slim design, Wind-powered |
| Recommended Uses | Air Circulation, Exhausting, Ventilating |
| Air Flow Capacity | 76.5 Cubic Feet Per Minute (at 68 MPH) |
| Included Components | Ventilator fan, install template and required hardware |
| Indoor/Outdoor Usage | Outdoor |
| Control Method | Push Button (for shutter) |
| Reusability | Reusable |
| Efficiency | 100% (wind-powered) |
| Cordless | Yes |
| Item Weight | 5 pounds |
| Mounting Type | Roof mounted |
| UPC | 710535887174 |
Table 2: Detailed product specifications for the Slim-Matic Wind-Powered Rotating Roof Vent.

Figure 8: Detailed dimensions of the Slim-Matic ventilator, showing outer diameter, height, and opening diameter.
10. Warranty and Support
No specific warranty or support information is provided within this manual. For details regarding product warranty, technical support, or replacement parts, please refer to the product packaging or visit the official AVA-MATIC website.