1. Introduction
Thank you for choosing the LiebeWH ZT-300AB Wireless Digital Multimeter. This device is a high-precision, 6000-count True RMS multimeter designed for a wide range of electrical measurements. It features wireless connectivity, allowing real-time data recording, analysis, and processing via a mobile application. This manual provides essential information for the safe and effective use of your multimeter.
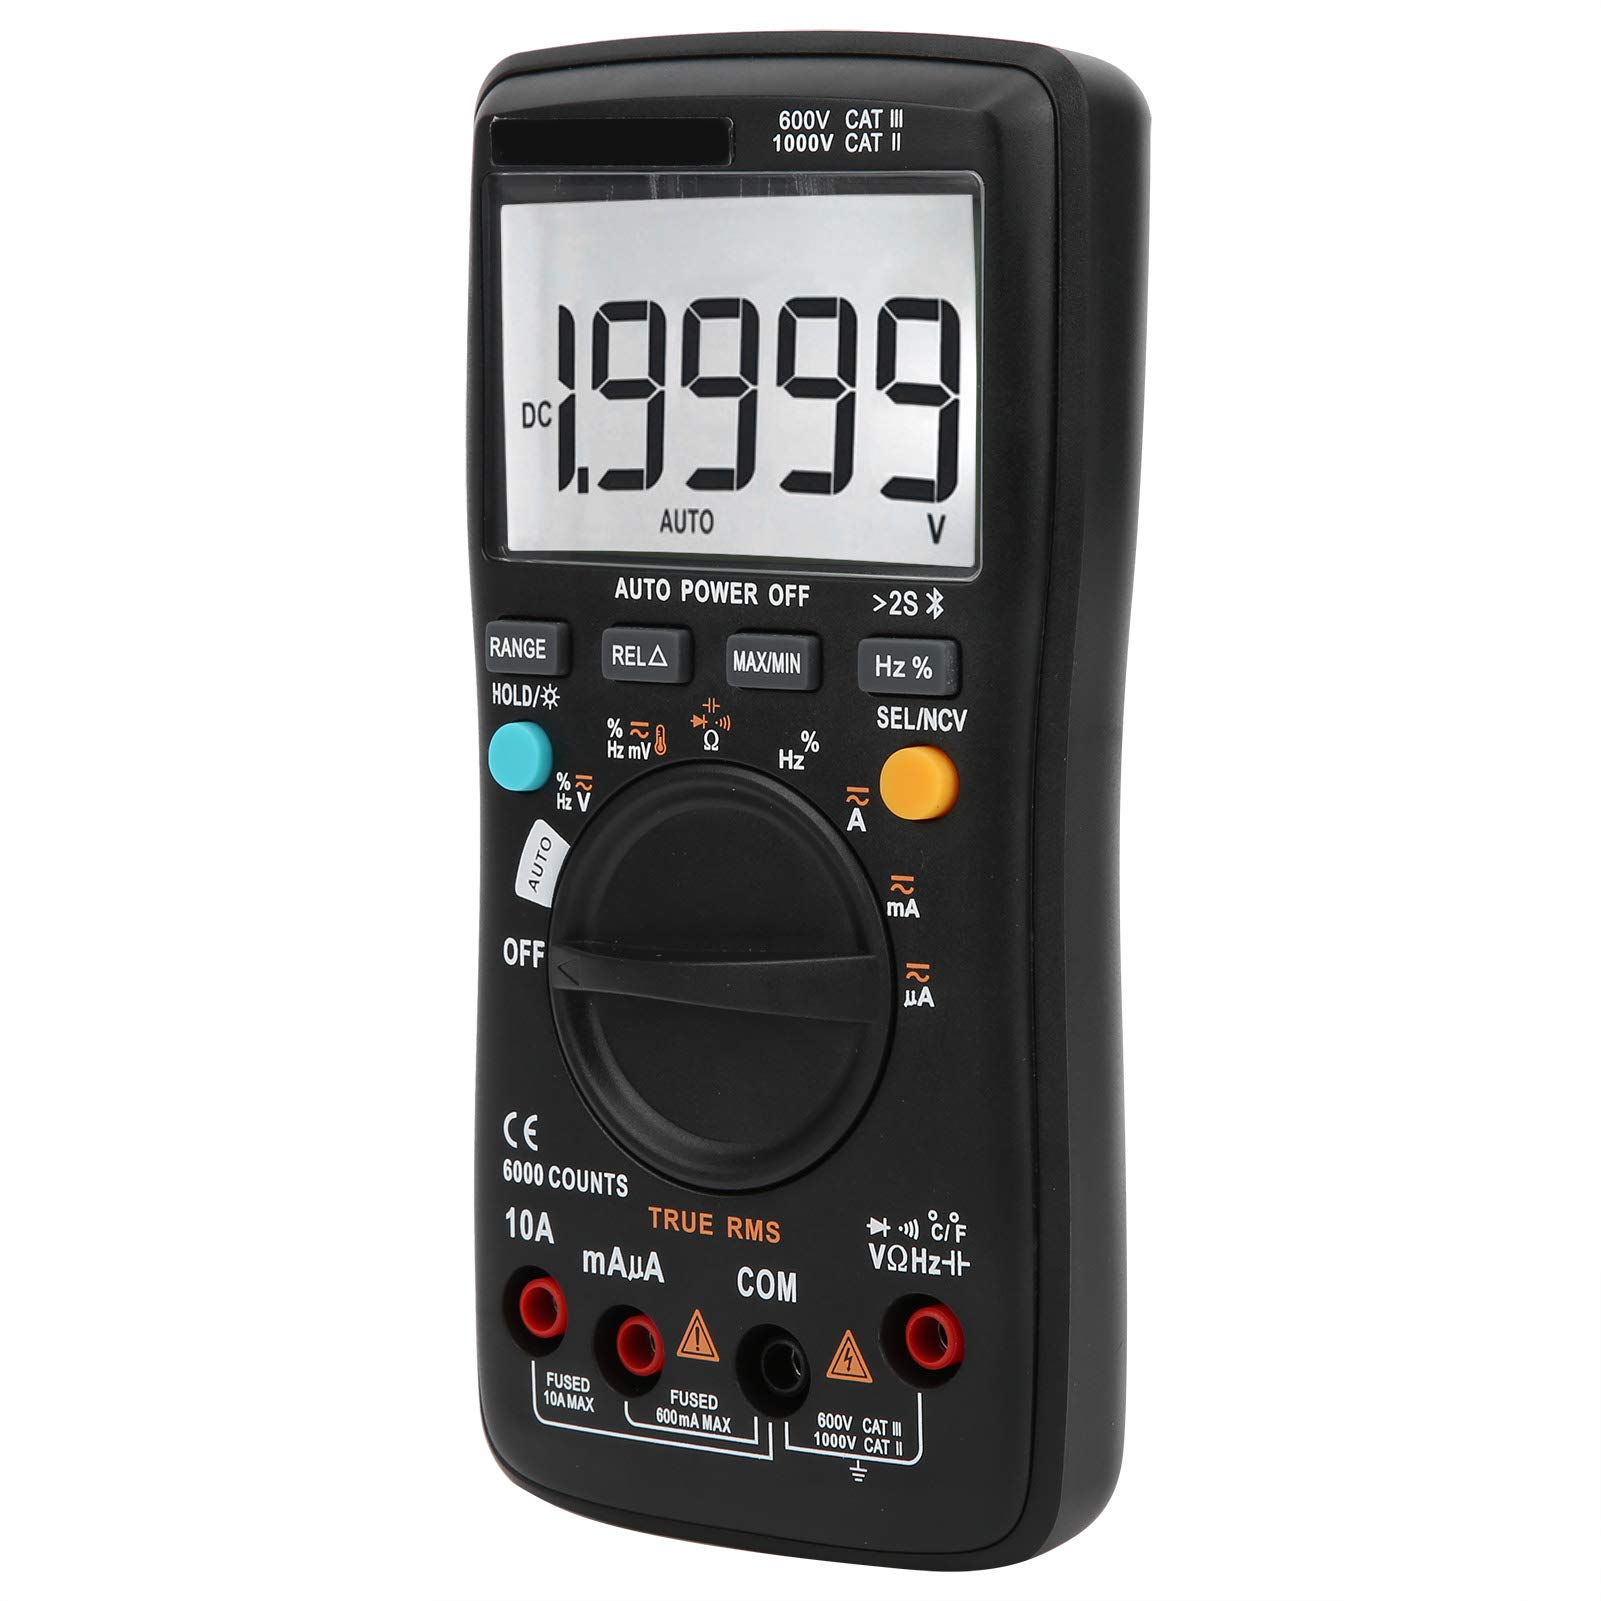
Image 1.1: Front view of the LiebeWH ZT-300AB Wireless Digital Multimeter, showing the large LCD display and function dial.
2. Safety Information
To ensure safe operation and service of the meter, follow these instructions. Failure to observe these warnings can result in severe injury or death.
- Always disconnect the test leads from the circuit before changing functions.
- Do not apply more than the rated voltage, as marked on the meter, between terminals or between any terminal and earth ground.
- Use caution when working with voltages above 30V AC RMS, 42V peak, or 60V DC. Such voltages pose a shock hazard.
- Always use the proper terminals, function, and range for your measurements.
- Do not use the meter if it appears damaged or if the case is open.
- Replace the battery as soon as the low battery indicator appears to avoid incorrect readings.
- Do not operate the meter in explosive gas, vapor, or dust environments.
- Ensure test leads are in good condition, with no damaged insulation.
3. Setup
3.1 Package Contents
Verify that your package contains the following items:
- LiebeWH ZT-300AB Digital Multimeter
- Test Leads (Red and Black)
- Temperature Probe
- User Manual

Image 3.1: The multimeter shown with its included test leads and temperature probe.
3.2 Battery Installation
The multimeter requires batteries for operation. To install or replace batteries:
- Ensure the multimeter is turned OFF and disconnect all test leads.
- Locate the battery compartment cover on the back of the unit.
- Use a screwdriver to open the battery compartment.
- Insert the new batteries, observing the correct polarity (+ and -).
- Replace the battery compartment cover and secure it with the screw.
3.3 Connecting Test Leads
Connect the test leads to the appropriate input jacks on the multimeter:
- Connect the black test lead to the COM (common) jack.
- Connect the red test lead to the VΩHz jack for voltage, resistance, frequency, capacitance, diode, and continuity measurements.
- For current measurements (mA/µA), connect the red test lead to the mAµA jack.
- For high current measurements (up to 10A), connect the red test lead to the 10A jack.
3.4 Wireless Function and Mobile App
The ZT-300AB can connect to your smartphone via its wireless function for real-time data monitoring and analysis.
- Download the dedicated mobile application from your device's app store. (App name not specified, refer to product packaging or manufacturer's website).
- Enable wireless on your smartphone and the multimeter.
- Open the app and follow the on-screen instructions to pair your multimeter.
- The app allows real-time data display, recording, and curve graphing. It can connect to and monitor up to four wireless multimeters simultaneously.

Image 3.2: The multimeter displaying a reading, with a smartphone screen showing the companion application for data monitoring.
4. Operating Instructions
4.1 Power On/Off
Turn the rotary dial from the OFF position to any measurement function to power on the multimeter. To power off, turn the dial back to the OFF position. The multimeter also features an automatic power-off function to conserve battery life.
4.2 Function Selection
Rotate the central dial to select the desired measurement function (e.g., V~ for AC Voltage, V- for DC Voltage, Ω for Resistance, A~ for AC Current, A- for DC Current, Temp for Temperature, etc.).
4.3 Button Functions
- RANGE: Switches between automatic and manual ranging. In manual range, press repeatedly to cycle through available ranges.
- HOLD/☀: Press once to hold the current reading on the display. Press again to release. Long press to activate/deactivate the backlight.
- REL△: Relative measurement mode. Displays the difference between the current reading and a stored reference value.
- MAX/MIN: Records and displays the maximum and minimum values measured during a session.
- Hz%: For frequency and duty cycle measurements.
- SEL/NCV: Selects between different sub-functions within a dial position (e.g., AC/DC, Diode/Continuity). Long press to activate Non-Contact Voltage (NCV) detection.
4.4 Performing Measurements
Always ensure the test leads are connected to the correct jacks and the function dial is set to the appropriate measurement type before connecting to a circuit.
- Voltage Measurement (AC/DC): Select V~ for AC or V- for DC. Connect test leads in parallel with the circuit or component.
- Current Measurement (AC/DC): Select A~ for AC or A- for DC. Connect test leads in series with the circuit. Ensure the correct current jack (mAµA or 10A) is used.
- Resistance Measurement (Ω): Select Ω. Connect test leads across the component when it is de-energized.
- Capacitance Measurement: Select the capacitance function. Connect test leads across the capacitor when it is de-energized.
- Diode Test: Select the diode function. Connect test leads across the diode.
- Continuity Test: Select the continuity function. Connect test leads across the circuit. A beep indicates continuity.
- Frequency (Hz) / Duty Cycle (%): Select the Hz% function. Connect test leads to the signal source.
- Temperature Measurement: Connect the temperature probe to the appropriate jacks (usually VΩHz and COM). Select the temperature function.
- Non-Contact Voltage (NCV): Long press the SEL/NCV button. Bring the top of the multimeter near an AC voltage source. The meter will indicate the presence of voltage without direct contact.

Image 4.1: The multimeter in use, positioned on its integrated kickstand for convenient viewing during measurements.
5. Maintenance
5.1 Cleaning
Wipe the case with a damp cloth and mild detergent. Do not use abrasives or solvents. Keep the terminals free from dirt and moisture.
5.2 Battery Replacement
Refer to Section 3.2 for battery replacement instructions. Replace batteries promptly when the low battery indicator appears on the display.
5.3 Fuse Replacement
If the current measurement functions stop working, the fuse may need replacement. Fuses are located inside the multimeter. Fuse specifications are typically printed near the current input jacks (e.g., FUSED 10A MAX, FUSED 600mA MAX). To replace a fuse:
- Ensure the multimeter is turned OFF and disconnect all test leads.
- Open the back case of the multimeter (this may require removing screws).
- Carefully locate and remove the blown fuse.
- Replace it with a fuse of the exact same type and rating. Using an incorrect fuse can damage the meter or pose a safety hazard.
- Reassemble the multimeter, ensuring all screws are securely fastened.
6. Troubleshooting
- No display or faint display: Check battery installation and charge level. Replace batteries if necessary.
- Incorrect readings: Ensure test leads are properly connected to the correct jacks. Verify the function dial is set to the appropriate measurement type and range. Check for damaged test leads.
- Current measurement not working: Check the fuse (refer to Section 5.3). Ensure the red test lead is connected to the correct current input jack (mAµA or 10A).
- Wireless connection issues: Ensure wireless is enabled on both the multimeter and your smartphone. Restart both devices and try pairing again. Check the mobile app for troubleshooting tips.
- Meter does not respond: Turn the meter off and then on again. If the issue persists, remove batteries for a few minutes and then reinsert them.
7. Specifications
| Feature | Specification |
|---|---|
| Display | 6000 Counts |
| Ranging | Auto/Manual |
| Sampling Rate | 3 seconds/time |
| True RMS | Supported |
| Data Hold | Supported |
| Backlight | Supported |
| Low Battery Indication | Supported |
| Auto Power Off | Supported |
| DC Voltage (V) | 6V, 60V, 600V, 1000V |
| DC Voltage (mV) | 60mV |
| Dimensions | 20 x 12 x 5 cm (7.9 x 4.7 x 2 inches) |
| Weight | 374 g (0.82 lbs) |
| Manufacturer | LiebeWH |
| Product Model Number | LiebeWHso0iq29gfn |

Image 7.1: Dimensions of the LiebeWH ZT-300AB Multimeter, showing its compact size.
8. Warranty and Support
For warranty information and technical support, please refer to the documentation included with your purchase or contact the manufacturer directly. Contact details can typically be found on the product packaging or the official LiebeWH website.