Introduction
This manual provides essential instructions for the installation, operation, and maintenance of your new BXParts Carburetor. This carburetor is designed as a replacement part for specific Ariens SNO-Tek 20" and 22" snowblowers equipped with an AX 136cc engine. Please read this manual thoroughly before attempting any installation or maintenance to ensure proper function and safety.
What's in the Box
Your BXParts Carburetor package includes the following components:
- 1x Carburetor
- 3x Gaskets
- 2x Fuel Filters
- 1x Primer Bulb
- 1x Fuel Line
Compatibility
This BXParts Carburetor is specifically designed to replace the original carburetor in the following Ariens SNO-Tek snowblower models:
- Ariens SNO-Tek 939401 (20" Snowblower with AX 136cc Engine)
- Ariens SNO-Tek 920320 (22" Snowblower with AX 136cc Engine)
- Ariens SNO-Tek 920406 (22" Snowblower with AX 136cc Engine)
- Ariens SNO-Tek 920327 (20" Snowblower with AX 136cc Engine)
Before installation, carefully compare the appearance and dimensions of this carburetor with your original part to ensure a correct match. Discrepancies may lead to improper fit or function.
Safety Information
WARNING: Working with fuel systems and internal combustion engines can be hazardous. Always follow these safety precautions:
- Disconnect Spark Plug: Before performing any service, always disconnect the spark plug wire to prevent accidental engine starting.
- Work in a Well-Ventilated Area: Fuel fumes are flammable and hazardous.
- No Open Flames: Keep all ignition sources, including sparks, open flames, and smoking materials, away from the work area.
- Wear Protective Gear: Use safety glasses and gloves.
- Handle Fuel Carefully: Drain fuel into an approved container. Clean up any spills immediately.
- Engine Heat: Allow the engine to cool completely before servicing to avoid burns.
- Professional Assistance: If you are unsure about any step, consult a qualified service technician.
Setup and Installation
The following steps provide a general guide for carburetor replacement. Always refer to your snowblower's original service manual for specific instructions and torque specifications.
- Prepare the Snowblower:
- Ensure the engine is cool.
- Disconnect the spark plug wire.
- Turn off the fuel supply valve (if equipped).
- Drain the fuel tank into an approved container.
- Access the Carburetor:
- Remove any engine covers, air filter housing, or other components obstructing access to the carburetor.
- Disconnect Components:
- Carefully disconnect the fuel lines, throttle linkage, and choke linkage from the old carburetor. Note their positions for reassembly.
- Disconnect the primer bulb line if it connects directly to the carburetor.
- Remove Old Carburetor:
- Unbolt the old carburetor from the engine manifold. Be mindful of any gaskets.
- Install New Carburetor:
- Ensure all mating surfaces are clean.
- Place new gaskets (provided) between the carburetor and the engine manifold, and between the carburetor and the air filter housing (if applicable).
- Mount the new BXParts Carburetor, ensuring it is properly seated. Tighten mounting bolts according to your snowblower's manual.
- Reconnect Components:
- Reconnect the throttle linkage and choke linkage to the new carburetor. Verify smooth operation.
- Install the new fuel line and fuel filters (provided). Connect the fuel lines to the carburetor and fuel tank.
- Install the new primer bulb (provided) and connect its line.
- Final Checks:
- Double-check all connections for tightness and proper routing.
- Ensure no tools or debris are left in the engine area.

Image 1: Side view of the BXParts Carburetor, showing fuel inlet and linkage points.

Image 2: Front view of the carburetor with key dimensions: 40mm (1.6 in.) mounting hole spacing and 8.4mm (0.33 in.) fuel line barb diameter.
Operating Instructions (Post-Installation)
After successful installation of the carburetor, follow these steps to prepare your snowblower for operation:
- Refill Fuel Tank: Fill the fuel tank with fresh, clean gasoline suitable for your snowblower's engine.
- Open Fuel Valve: If your snowblower has a fuel shut-off valve, open it.
- Prime the Carburetor: Press the primer bulb several times (typically 3-5 times, or until fuel is visible in the bulb) to draw fuel into the carburetor.
- Reconnect Spark Plug: Reconnect the spark plug wire.
- Start Engine: Follow your snowblower's manufacturer instructions for starting the engine (e.g., set choke, throttle position).
- Warm-up: Allow the engine to warm up for a few minutes before operating under load.
If the engine does not start or runs poorly, refer to the Troubleshooting section.
Maintenance
Proper maintenance of your carburetor and fuel system ensures reliable performance and extends the life of your snowblower.
- Fuel Quality: Always use fresh, clean, stabilized gasoline. Stale or contaminated fuel is a primary cause of carburetor issues.
- Fuel Filter Replacement: Regularly inspect and replace the fuel filter(s) as recommended by your snowblower's manufacturer, or if they appear dirty.
- Primer Bulb Inspection: Check the primer bulb and fuel lines for cracks, leaks, or hardening. Replace as needed.
- Carburetor Cleaning: If the carburetor becomes clogged due to old fuel, it may require cleaning. This is an advanced procedure and may require specialized tools and knowledge. Consider professional service if you are not comfortable performing this task.
- Storage: Before long-term storage, drain the fuel system or use a fuel stabilizer to prevent fuel degradation and carburetor gumming.
Troubleshooting
If your snowblower experiences issues after carburetor installation, consider the following common problems and solutions:
| Problem | Possible Cause | Solution |
|---|---|---|
| Engine won't start | No fuel reaching carburetor, incorrect choke/throttle setting, spark plug issue, clogged fuel filter. | Check fuel level, ensure fuel valve is open. Verify primer bulb operation. Check spark plug for fouling or damage. Replace fuel filter. Ensure choke and throttle are set correctly for starting. |
| Engine runs rough or stalls | Improper fuel mixture, vacuum leak, clogged fuel filter, old/stale fuel. | Ensure all carburetor mounting bolts are tight and gaskets are sealed. Replace fuel with fresh, stabilized gasoline. Check fuel lines for cracks. |
| Fuel leak | Loose fuel line connection, damaged gasket, cracked fuel line or primer bulb. | Inspect all fuel line connections and tighten. Replace any damaged gaskets, fuel lines, or primer bulb. |
| Primer bulb not working | Cracked bulb, disconnected line, clogged line. | Inspect primer bulb for cracks and replace if necessary. Check primer lines for proper connection and blockages. |
If these steps do not resolve the issue, it is recommended to consult a qualified small engine mechanic.
Specifications
Key specifications for the BXParts Carburetor:
- Manufacturer: BXParts
- Model: Carburetor (Replacement for Ariens SNO-Tek AX 136cc Engine)
- Item Weight: Approximately 8 ounces
- Package Dimensions: Approximately 6 x 4 x 4 inches
- Manufacturer Part Numbers: Replaces 939401, 920320, 920406, 920327
- Fuel Line Barb Diameter: 8.4 mm (0.33 in.)
- Mounting Hole Spacing: 40 mm (1.6 in.)
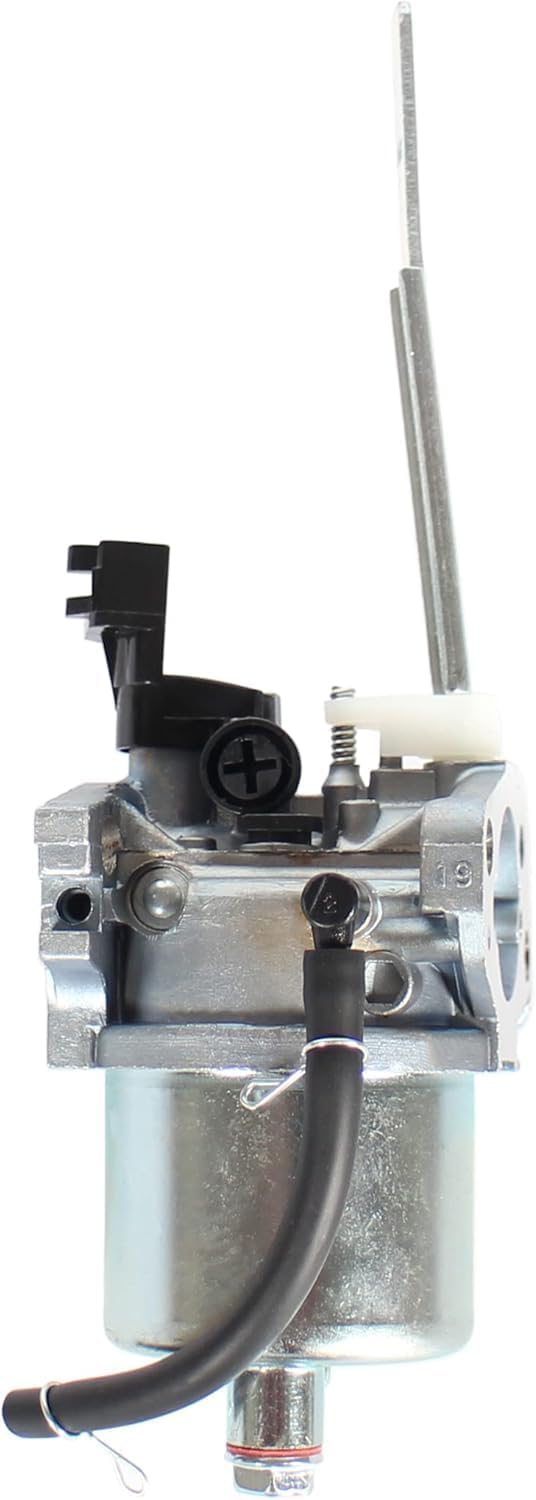
Image 3: Another side view of the BXParts Carburetor, showing the primer bulb connection point.

Image 4: Rear view of the carburetor with key dimensions: 40mm (1.6 in.) mounting hole spacing and 19mm (0.74 in.) bore diameter.
Warranty and Support
For information regarding warranty coverage or technical support for your BXParts Carburetor, please contact the manufacturer directly through their official channels. Keep your purchase receipt as proof of purchase.