1. Introduction
Thank you for choosing the PeriPage PB20 Bluetooth Label Maker. This portable thermal printer is designed for convenient label creation for various applications, including small businesses, home organization, and custom stickers. This manual provides essential information for setting up, operating, maintaining, and troubleshooting your device to ensure optimal performance.
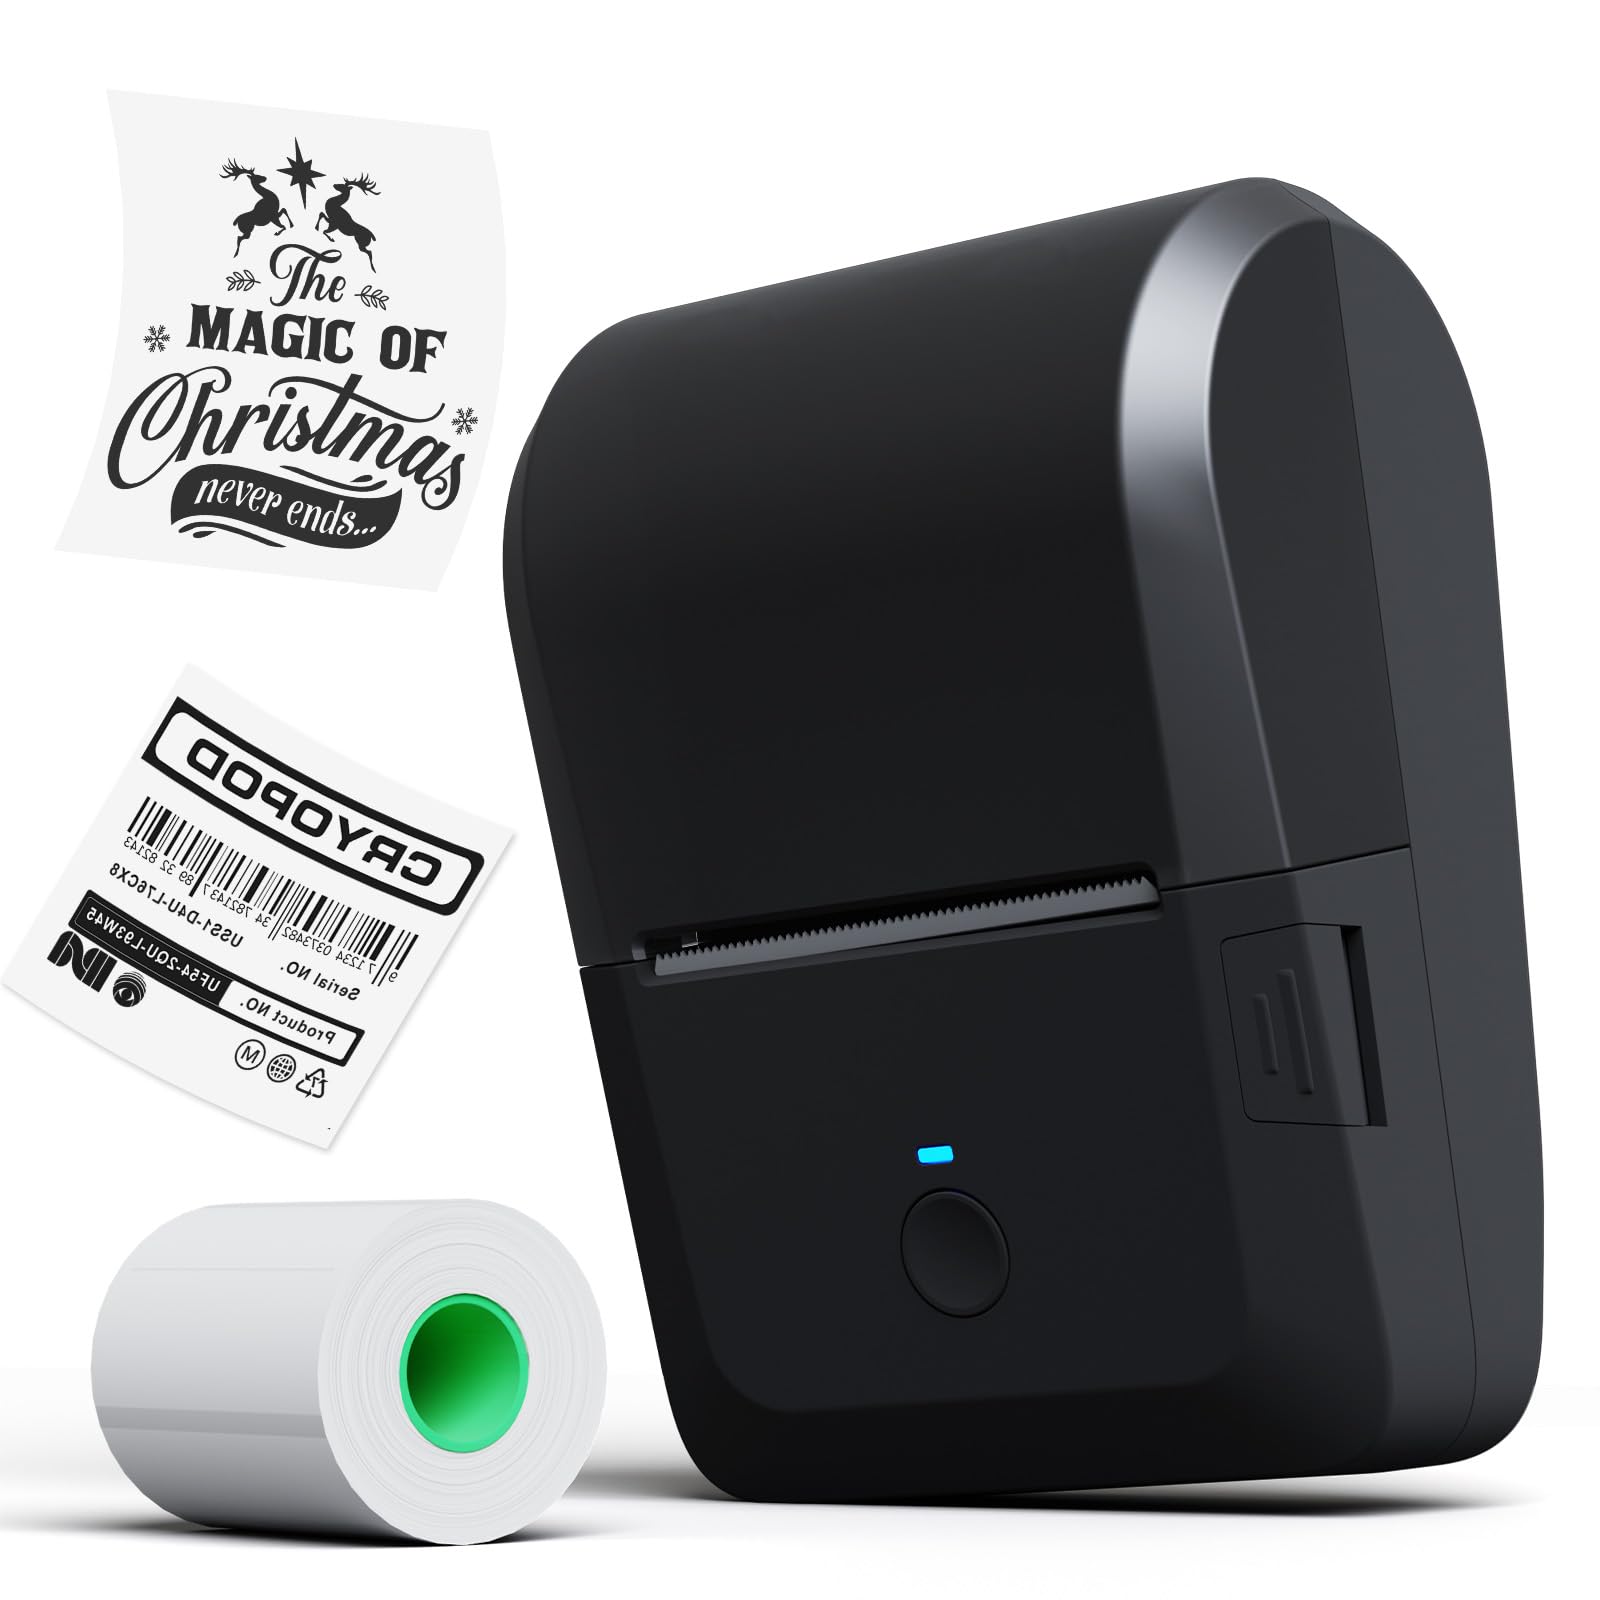
Image 1.1: The PeriPage PB20 Bluetooth Label Maker, a compact and portable thermal printer.
2. Setup Guide
2.1 Unboxing and Initial Charge
Upon unboxing, ensure all components are present: the PeriPage PB20 label maker, a roll of thermal label paper, and a USB-C charging cable. It is recommended to fully charge the device before first use.
- Connect the USB-C cable to the printer's charging port and the other end to a compatible USB power adapter (not included).
- The red indicator light will illuminate during charging.
- The green indicator light will turn on when the battery is fully charged.

Image 2.1: Illustration of the internal rechargeable battery (2000mAh) and charging process.
2.2 Installing the PeriPage App
The PeriPage PB20 operates via the dedicated "PeriPage" mobile application. This app is available for both Android and iOS devices.
- Scan the QR code located on the back of the printer or search for "PeriPage" in your device's app store (Google Play Store for Android, Apple App Store for iOS).
- Download and install the application.
- Grant necessary permissions when prompted.

Image 2.2: The PeriPage app interface shown on a smartphone, demonstrating Bluetooth wireless connection.
2.3 Connecting via Bluetooth
Ensure Bluetooth is enabled on your mobile device.
- Turn on the PeriPage PB20 by pressing and holding the power button.
- Open the PeriPage app.
- Within the app, navigate to the device connection section (usually indicated by a Bluetooth icon or "Connect Device").
- Select "PB20" from the list of available devices. The blue indicator light on the printer will turn on when successfully connected.
3. Operating Instructions
3.1 Loading Label Paper
The PeriPage PB20 uses thermal label paper rolls. It supports label widths from 1/2 inch to 2 inches (approximately 12.7mm to 50.8mm).
- Locate the easy push button on the side of the printer. Press it to open the top cover.
- Insert the label roll into the paper compartment, ensuring the printing side of the paper faces upwards and feeds out towards the paper outlet.
- Adjust the built-in calipers to fit the width of your label roll, ensuring the roll is snug and centered.
- Close the top cover firmly until it clicks into place. Ensure a small portion of the label paper extends from the paper outlet.

Image 3.1: Key features of the PB20, including the transparent cover for paper status, adjustable calipers, easy-open button, and paper outlet with a cutting gate.
3.2 Creating and Printing Labels
Use the PeriPage app to design and print your labels.
- Open the PeriPage app and ensure your PB20 printer is connected via Bluetooth.
- Select a template or start a new label design.
- Utilize the app's features to add text, images, barcodes, QR codes, and icons. The app offers various fonts, frames, and languages.
- Preview your label design.
- Tap the "Print" button in the app. The printer will automatically feed and print the label.
- Tear off the printed label using the integrated cutting edge at the paper outlet.
4. Maintenance
4.1 Cleaning the Print Head
Regular cleaning of the print head ensures clear print quality and extends the printer's lifespan.
- Turn off the printer and disconnect it from any power source.
- Open the top cover to access the print head.
- Gently wipe the print head with a cotton swab lightly dampened with isopropyl alcohol.
- Allow the print head to dry completely before closing the cover and turning on the printer.
4.2 Paper Storage
Thermal paper is sensitive to heat, light, and humidity. Store label rolls in a cool, dry place away from direct sunlight and heat sources to prevent premature fading.
5. Troubleshooting
| Problem | Possible Cause | Solution |
|---|---|---|
| Printer does not turn on. | Low battery or no charge. | Charge the printer using the provided USB-C cable. |
| Cannot connect via Bluetooth. | Bluetooth is off on the mobile device, printer is off, or app connection issue. | Ensure Bluetooth is enabled on your phone. Turn on the printer. Restart the PeriPage app and try connecting again. Ensure the printer is within Bluetooth range. |
| No print or blank print. | Paper loaded incorrectly (upside down), out of paper, or print head issue. | Check if the thermal paper is loaded with the printing side facing up. Replace the paper roll if empty. Clean the print head as described in Section 4.1. |
| Faint or unclear print. | Dirty print head, low battery, or poor quality thermal paper. | Clean the print head. Ensure the printer is sufficiently charged. Use high-quality thermal label paper. |
| Red light is on or flashing. | Paper shortage, overheating, charging, or low power. |
|

Image 5.1: Explanation of the LED indicator lights: Green (normal/full charge), Blue (Bluetooth connected), Red (paper shortage/overheating/charging), Red flashing (low power).
6. Specifications
| Feature | Detail |
|---|---|
| Model Name | PB20 |
| Brand | PeriPage |
| Connectivity Technology | Bluetooth |
| Printing Technology | Thermal |
| Printer Output | Monochrome |
| Max Print Speed (Monochrome) | 40 ppm |
| Product Dimensions (D x W x H) | 10 x 7 x 6 Centimetres |
| Special Feature | Portable |
| Battery | 1 Lithium Ion battery (included) |

Image 6.1: The compact design of the PeriPage PB20, highlighting its dimensions for portability.
7. Warranty and Support
For detailed warranty information and technical support, please refer to the official PeriPage website or contact their customer service directly. Keep your purchase receipt as proof of purchase for any warranty claims.
Manufacturer: PeriPage