1. Introduction
This manual provides detailed instructions for the installation, operation, and maintenance of your Yuezhongoo 10W Monocrystalline Solar Panel. This solar panel is designed to convert sunlight into electrical energy, providing a renewable power source for compatible devices, such as outdoor security cameras, via its USB interface. Please read this manual thoroughly before use to ensure proper function and longevity of the product.
2. Safety Information
- Do not attempt to disassemble or modify the solar panel. This may cause damage and void the warranty.
- Avoid exposing the solar panel to extreme temperatures or direct flame.
- Ensure all connections are secure before operation.
- Keep the solar panel clean and free from debris to maintain optimal performance.
- Handle the solar panel with care to prevent physical damage.
3. Package Contents
Verify that all items are present in the package:
- 1 x 10W Solar Panel with integrated USB interface
- 1 x Adjustable Bracket
- 1 x Fixing Plate
- 3 x Screws
- 3 x Expansion Anchors

Image: The solar panel shown alongside its adjustable bracket, fixing plate, screws, and expansion anchors, illustrating the complete package contents.
4. Product Overview
The Yuezhongoo 10W Monocrystalline Solar Panel features a compact design with a high-efficiency monocrystalline silicon surface for optimal energy conversion. It includes a built-in USB output for direct charging of compatible devices.

Image: A top-down view of the solar panel, highlighting its monocrystalline cells.

Image: A close-up view of the USB output port integrated into the solar panel, used for connecting charging devices.
5. Setup
5.1. Mounting the Bracket
- Choose a location that receives maximum direct sunlight throughout the day.
- Attach the fixing plate to your desired surface (wall, fence, etc.) using the provided screws and expansion anchors. Ensure it is securely fastened.
- Connect the adjustable bracket to the fixing plate.
- Attach the solar panel to the adjustable bracket.

Image: The rear side of the solar panel showing the adjustable bracket assembly, ready for mounting.
5.2. Adjusting the Angle
The 360-degree adjustable bracket allows you to position the solar panel for optimal sunlight absorption. Loosen the adjustment knob on the bracket, angle the panel towards the sun, and then tighten the knob to secure its position.
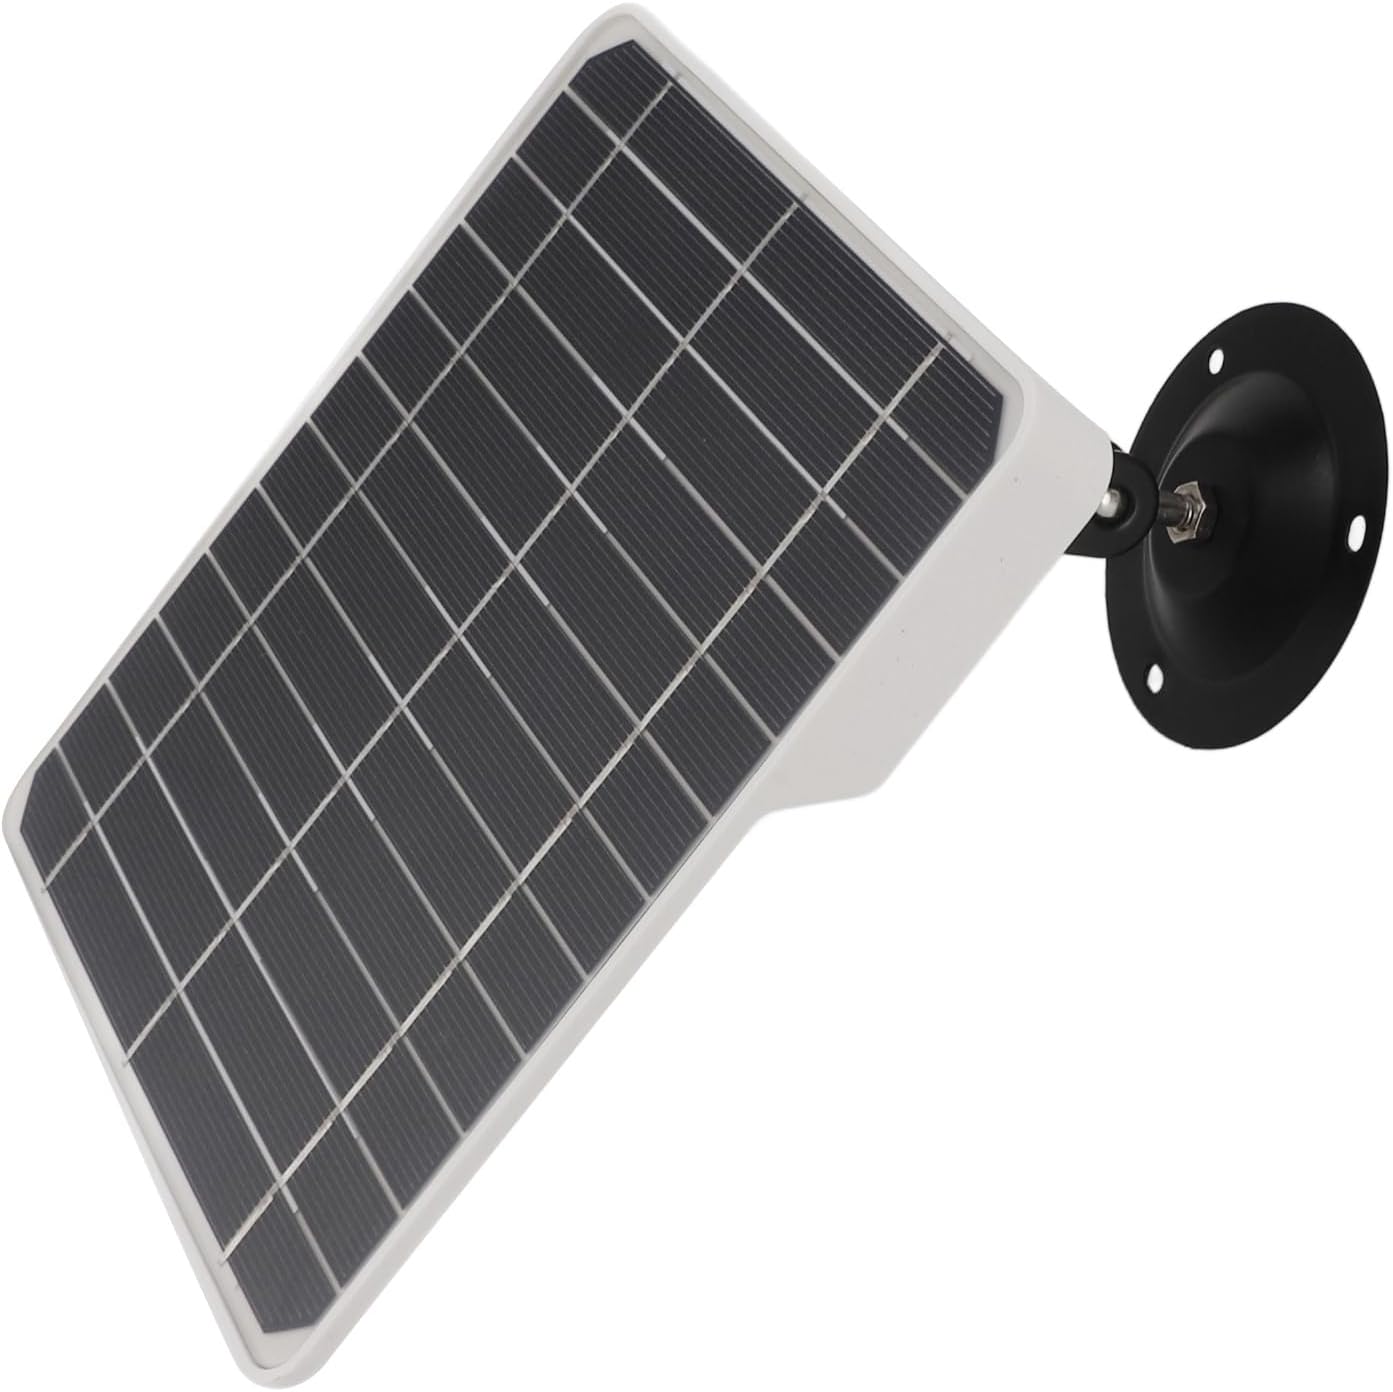
Image: The solar panel is shown mounted and angled, illustrating the flexibility of the adjustable bracket to maximize sun exposure.
5.3. Connecting Devices
Connect your compatible device (e.g., security camera) to the USB output port on the solar panel using a suitable USB cable. The panel will begin charging the device when exposed to sufficient sunlight.
6. Operating Instructions
The solar panel operates automatically when exposed to sunlight. Ensure the panel is positioned to receive direct sunlight for maximum charging efficiency. The panel does not have an internal storage function; it provides power directly when light is available.
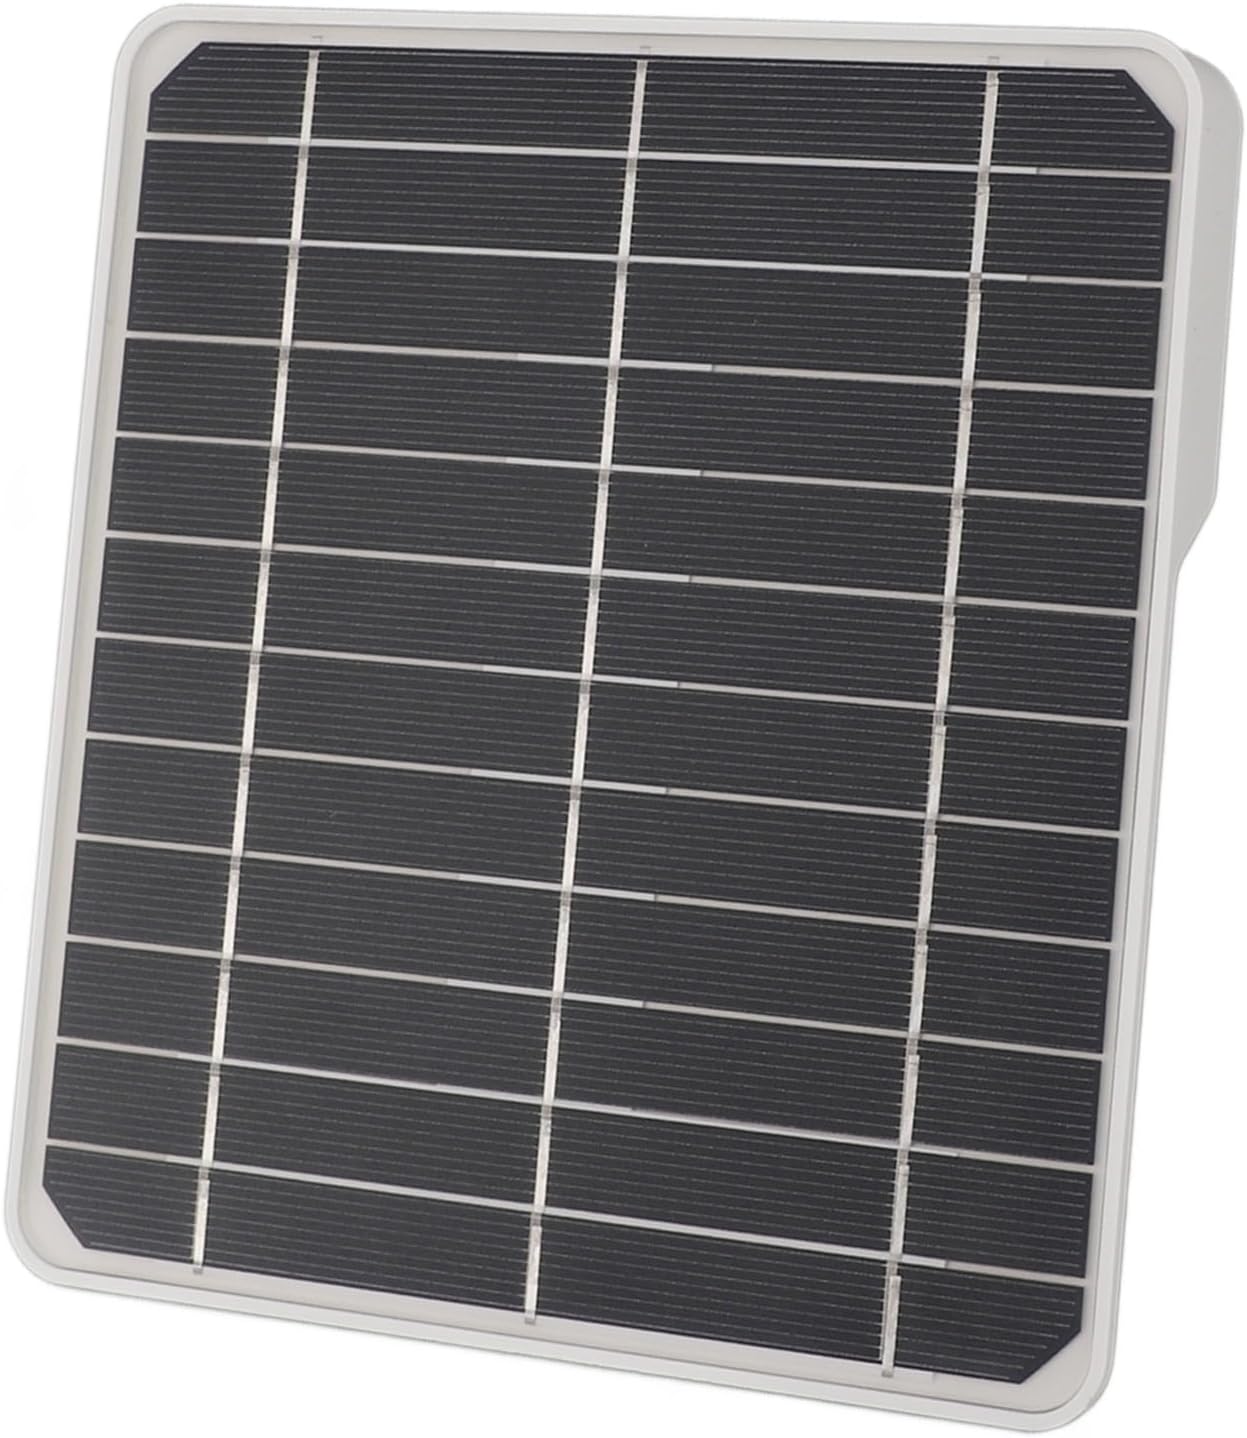
Image: The solar panel positioned outdoors under bright sunlight, demonstrating its operational environment.
7. Maintenance
- Cleaning: Regularly clean the surface of the solar panel with a soft, damp cloth to remove dust, dirt, or debris. A clean surface ensures optimal light absorption. Do not use abrasive cleaners or harsh chemicals.
- Inspection: Periodically check the mounting hardware and connections to ensure they are secure and free from corrosion or damage.
- Environmental Factors: In snowy or icy conditions, gently remove snow or ice from the panel surface to restore functionality.
8. Troubleshooting
- Device not charging:
- Ensure the solar panel is receiving direct sunlight.
- Check the USB cable connection between the panel and the device.
- Verify that the device is compatible with USB charging and the power output of the solar panel.
- Clean the solar panel surface if it is dirty.
- Low charging efficiency:
- Adjust the panel's angle to face the sun directly.
- Ensure there are no obstructions (trees, buildings) casting shadows on the panel.
- Consider the time of day and weather conditions; solar output is lower on cloudy days or during early morning/late afternoon.
9. Specifications
| Feature | Specification |
|---|---|
| Item Type | Solar Panel |
| Material | ABS, Monocrystalline Silicon |
| Solar Panel Power | 10W (Without Storage Function) |
| Solar Panel Size | Approx. 16.5 x 18 x 2 cm (6.5 x 7.09 x 0.79 inches) |
| Solar Panel Interface | 1 x USB Interface |
| Item Weight | Approx. 343.00g / 12.1oz |
| Product Dimensions | 9.84 x 8.66 x 1.18 inches (packaged) |
| Model Number | Yuezhongooayzkp95q7w |

Image: The solar panel with its approximate dimensions (16.5cm/6.5in, 18cm/7.09in, 2cm/0.79in) clearly marked.
10. Warranty and Support
For warranty information or technical support, please refer to the product packaging or contact Yuezhongoo customer service through your retailer. Keep your purchase receipt for warranty claims.