1. Introduction
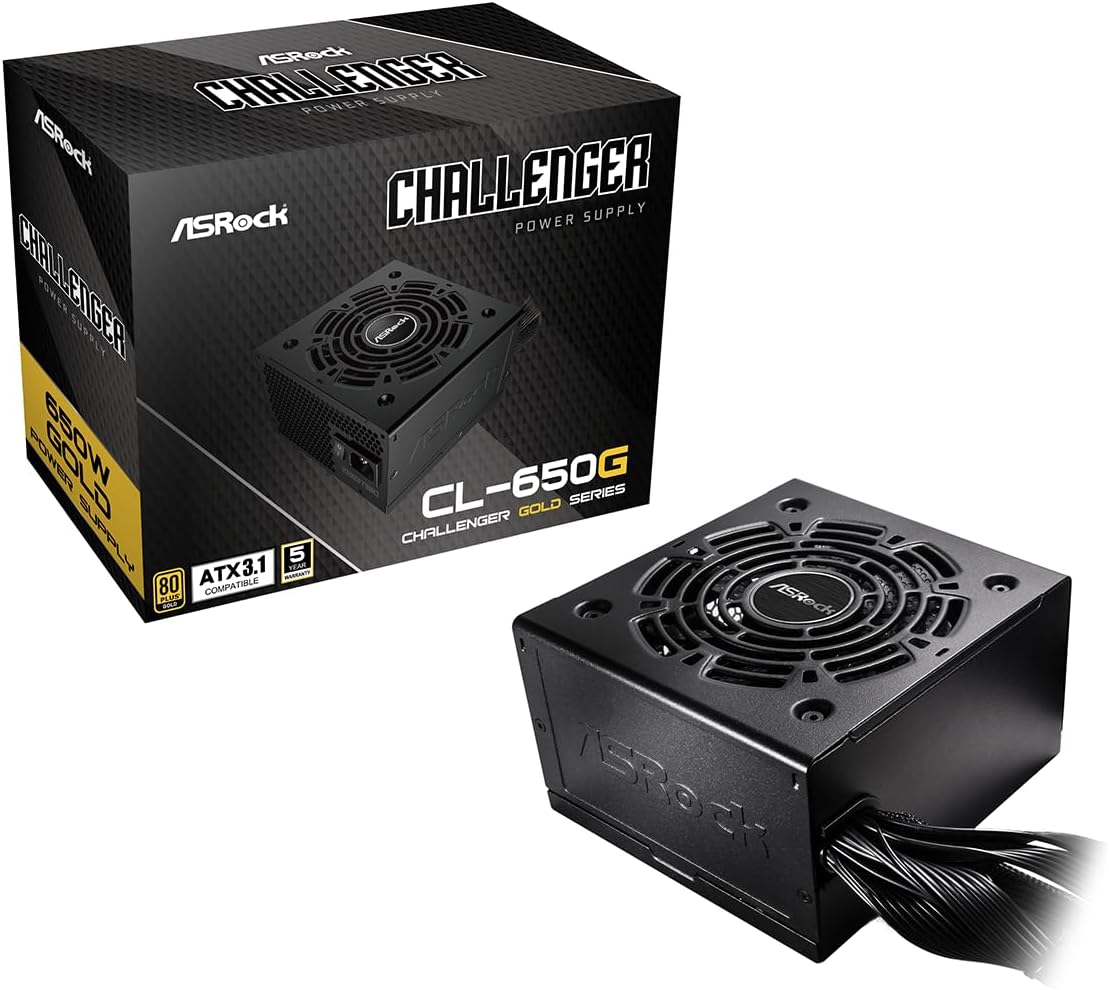
This manual provides essential information for the installation, operation, and maintenance of your ASRock Challenger 650W Power Supply (CL-650G). Designed for reliable and efficient power delivery, this unit is 80 Plus Gold certified and compatible with ATX 3.1 standards. Please read this manual thoroughly before installation to ensure proper and safe usage.
2. Important Safety Instructions
Failure to follow these safety instructions may result in fire, electric shock, or other injuries. Always exercise caution when handling electrical components.
- Professional installation is recommended.
- Do not operate the power supply in high humidity or wet environments.
- Ensure the power supply is properly grounded.
- Do not open the power supply casing; it contains high voltage components.
- Disconnect the power cord from the wall outlet before installing or removing any components.
- Use only the cables provided with the power supply.
3. Package Contents
Verify that all items are present in your package:
- ASRock Challenger 650W Power Supply Unit
- AC Power Cord
- Mounting Screws
- User Manual
- Fixed Power Cables (Non-Modular)

4. Setup and Installation
4.1 Physical Installation
- Ensure your computer is powered off and unplugged from the wall outlet.
- Open your computer case.
- Locate the power supply mounting area, typically at the bottom or top rear of the case.
- Carefully place the ASRock Challenger 650W Power Supply into the designated slot.
- Secure the power supply to the case using the provided mounting screws.

4.2 Cable Connections
Connect the fixed power cables to your system components. Ensure each connector is firmly seated.
- 24-pin ATX Motherboard Connector: Connect to the main power socket on your motherboard.
- 8-pin (4+4) CPU Connector: Connect to the CPU power socket on your motherboard.
- PCIe (6+2 pin) Connectors: Connect to your graphics card(s) as required.
- SATA Power Connectors: Connect to SATA devices such as SSDs, HDDs, and optical drives.
- Molex (Peripheral) Connectors: Connect to older peripheral devices if needed.


5. Operating Instructions
After all connections are made, plug the AC power cord into the power supply and a wall outlet. Flip the power switch on the rear of the PSU to the 'ON' position. Your system should now power on.
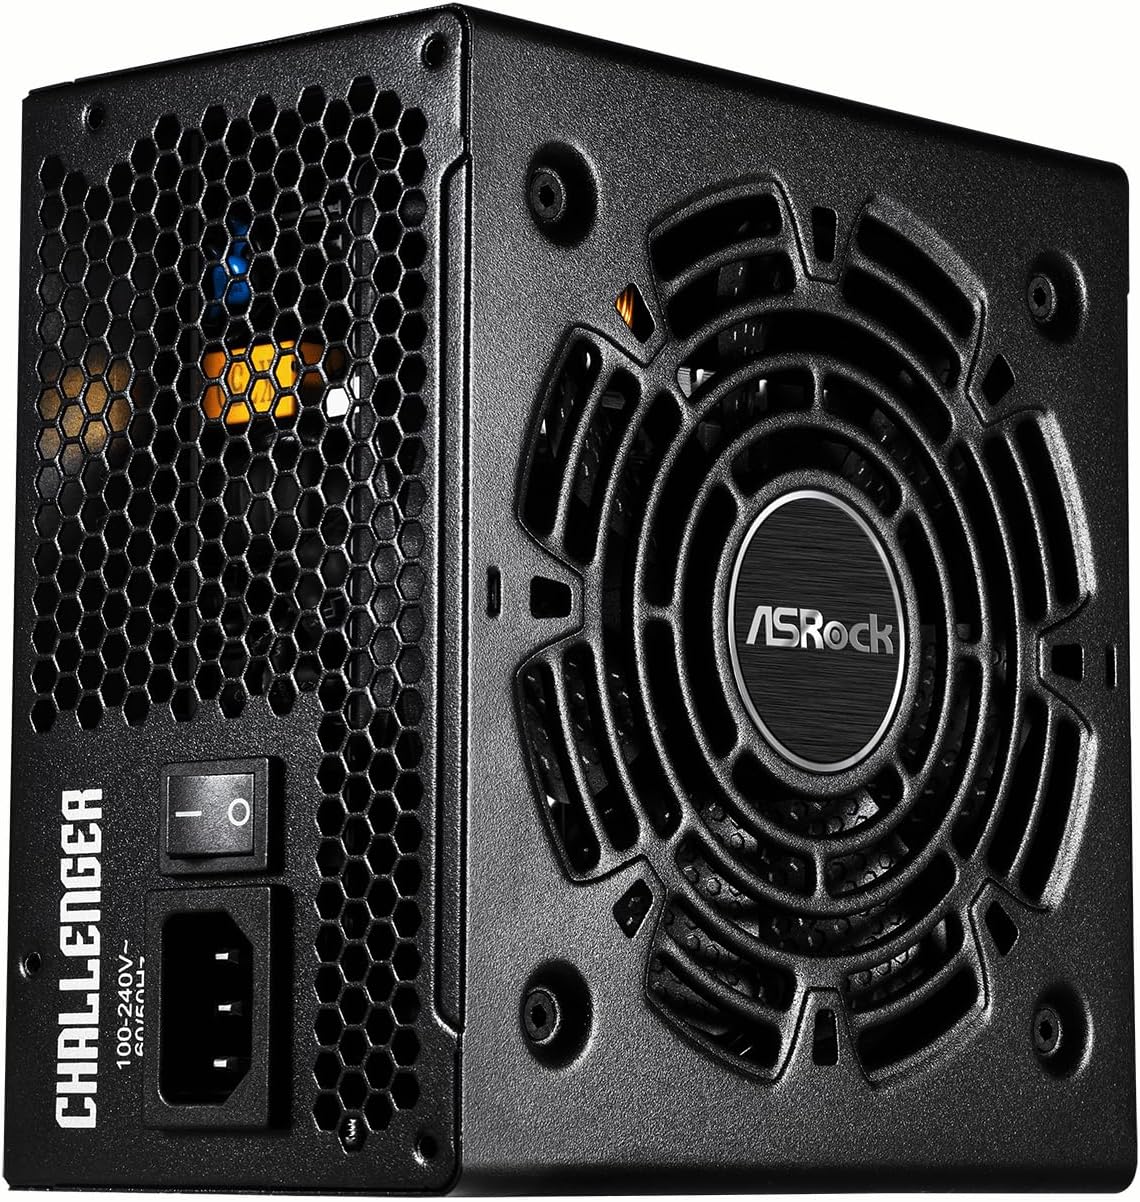
The ASRock Challenger 650W features Auto iCOOL Intelligent Fan Control, which automatically adjusts the 120mm Golf Blade fan speed based on the power supply's temperature, ensuring optimal cooling and quiet operation.
6. Maintenance
To ensure the longevity and optimal performance of your power supply:
- Keep the power supply and surrounding area free from dust. Use compressed air to gently clean the fan and vents periodically.
- Ensure adequate airflow around the power supply within your PC case.
- Avoid placing objects on top of the power supply or blocking its ventilation.
7. Troubleshooting
If you encounter issues with your power supply, try the following:
- No Power: Check if the AC power cord is securely connected to both the power supply and the wall outlet. Ensure the power switch on the PSU is in the 'ON' position.
- System Instability/Random Shutdowns: Verify all power cables are correctly and firmly connected to the motherboard and components. Ensure your system's power draw does not exceed the 650W capacity of the power supply.
- Loud Fan Noise: While the Auto iCOOL feature manages fan speed, excessive noise might indicate dust buildup. Refer to the maintenance section for cleaning instructions.
If problems persist, consult the ASRock support website or contact customer service.
8. Specifications
| Feature | Description |
|---|---|
| Model Name | CL-650G |
| Item Model Number | 90-UXC065-GNUAAA |
| Output Wattage | 650 Watts |
| 80 PLUS Efficiency | Gold (90%↑) |
| Form Factor | ATX |
| Power Supply Design | Non-Modular |
| Cooling Method | Air (120mm Golf Blade Fan with Auto iCOOL Intelligent Fan Control) |
| Dimensions (L x W x H) | 140mm x 150mm x 86mm (5.51 x 5.91 x 3.39 inches) |
| Item Weight | 4.8 pounds |
9. Warranty and Support
The ASRock Challenger 650W Power Supply comes with a 5-year warranty, ensuring long-term reliability and peace of mind. For technical support, warranty claims, or additional product information, please visit the official ASRock website or contact their customer service department.
Official ASRock Store: Visit ASRock Store on Amazon
10. Product Videos
ASRock Power Supplies
An overview video showcasing the ASRock Power Supplies series, including the Challenger line.
ASRock Power Supplies Challenger Gold Series
A promotional video highlighting features of the ASRock Challenger Gold Series power supplies.


