
Introduction
Welcome to your new MASTER COOK SRCG24025 Charcoal Grill. This manual provides essential information for the safe assembly, operation, and maintenance of your grill. Please read all instructions carefully before using the product to ensure optimal performance and safety.

Image: The Master Cook Charcoal Grill set up in a pleasant outdoor environment, ready for use.
Important Safety Information
Always follow these safety guidelines to prevent injury or property damage:
- Outdoor Use Only: This grill is designed for outdoor use in a well-ventilated area. Do not use indoors or in enclosed spaces.
- Keep Clear: Maintain a safe distance from combustible materials, children, and pets.
- Ignition Safety: Never use gasoline, kerosene, alcohol, or other volatile fluids to light or re-light charcoal. Use only charcoal chimney starters or approved solid fire starters.
- Hot Surfaces: The grill surfaces become extremely hot during operation. Always use heat-resistant gloves or mitts when handling hot components.
- Stable Surface: Ensure the grill is placed on a firm, level, non-combustible surface before use.
- Ash Disposal: Allow the grill and ashes to cool completely before disposing of ashes. Hot ashes can remain hot for hours.
- Supervision: Never leave a lit grill unattended.
Package Contents
Before beginning assembly, ensure all parts are present and undamaged. If any parts are missing or damaged, do not attempt to assemble or operate the grill. Contact customer support for assistance.
- Grill Lid
- Grill Body
- Legs (x4)
- Wheels (x2)
- Side Tables (x2)
- Cooking Grates (Primary and Warming)
- Charcoal Grate
- Ash Pan (Pull-out)
- Built-in Thermometer
- Bottle Opener
- Hardware Pack (bolts, nuts, washers)
- User Manual
Assembly Instructions
Assembly typically takes approximately 1 hour. It is recommended to have a second person assist with certain steps. Please refer to the included assembly diagram for visual guidance.
Tools Required:
- Phillips Head Screwdriver
- Adjustable Wrench
Assembly Steps:
- Attach Legs and Wheels: Secure the four legs to the main grill body using the provided bolts and nuts. Attach the wheels to two of the legs for mobility.
- Install Bottom Shelf: Fasten the bottom storage shelf between the legs. This shelf is ideal for storing charcoal or grilling utensils.
- Secure Grill Body: Ensure the main grill body is firmly attached to the leg assembly.
- Attach Side Tables: Mount the two side tables to the grill body. These provide convenient space for food preparation and condiments.
- Insert Grates: Place the charcoal grate at the bottom of the grill body, followed by the primary cooking grate and the warming rack.
- Install Thermometer and Air Vents: Insert the built-in thermometer into the designated opening on the lid. Ensure the top air vent is securely attached.

Image: An illustration detailing the overall dimensions of the grill, including height and width.
Operating Instructions
1. Charcoal Preparation
Place your desired amount of charcoal briquettes or lump charcoal onto the charcoal grate. For best results and even heating, use a charcoal chimney starter to ignite the charcoal. Once the charcoal is covered in a light gray ash, carefully spread it evenly across the grate.
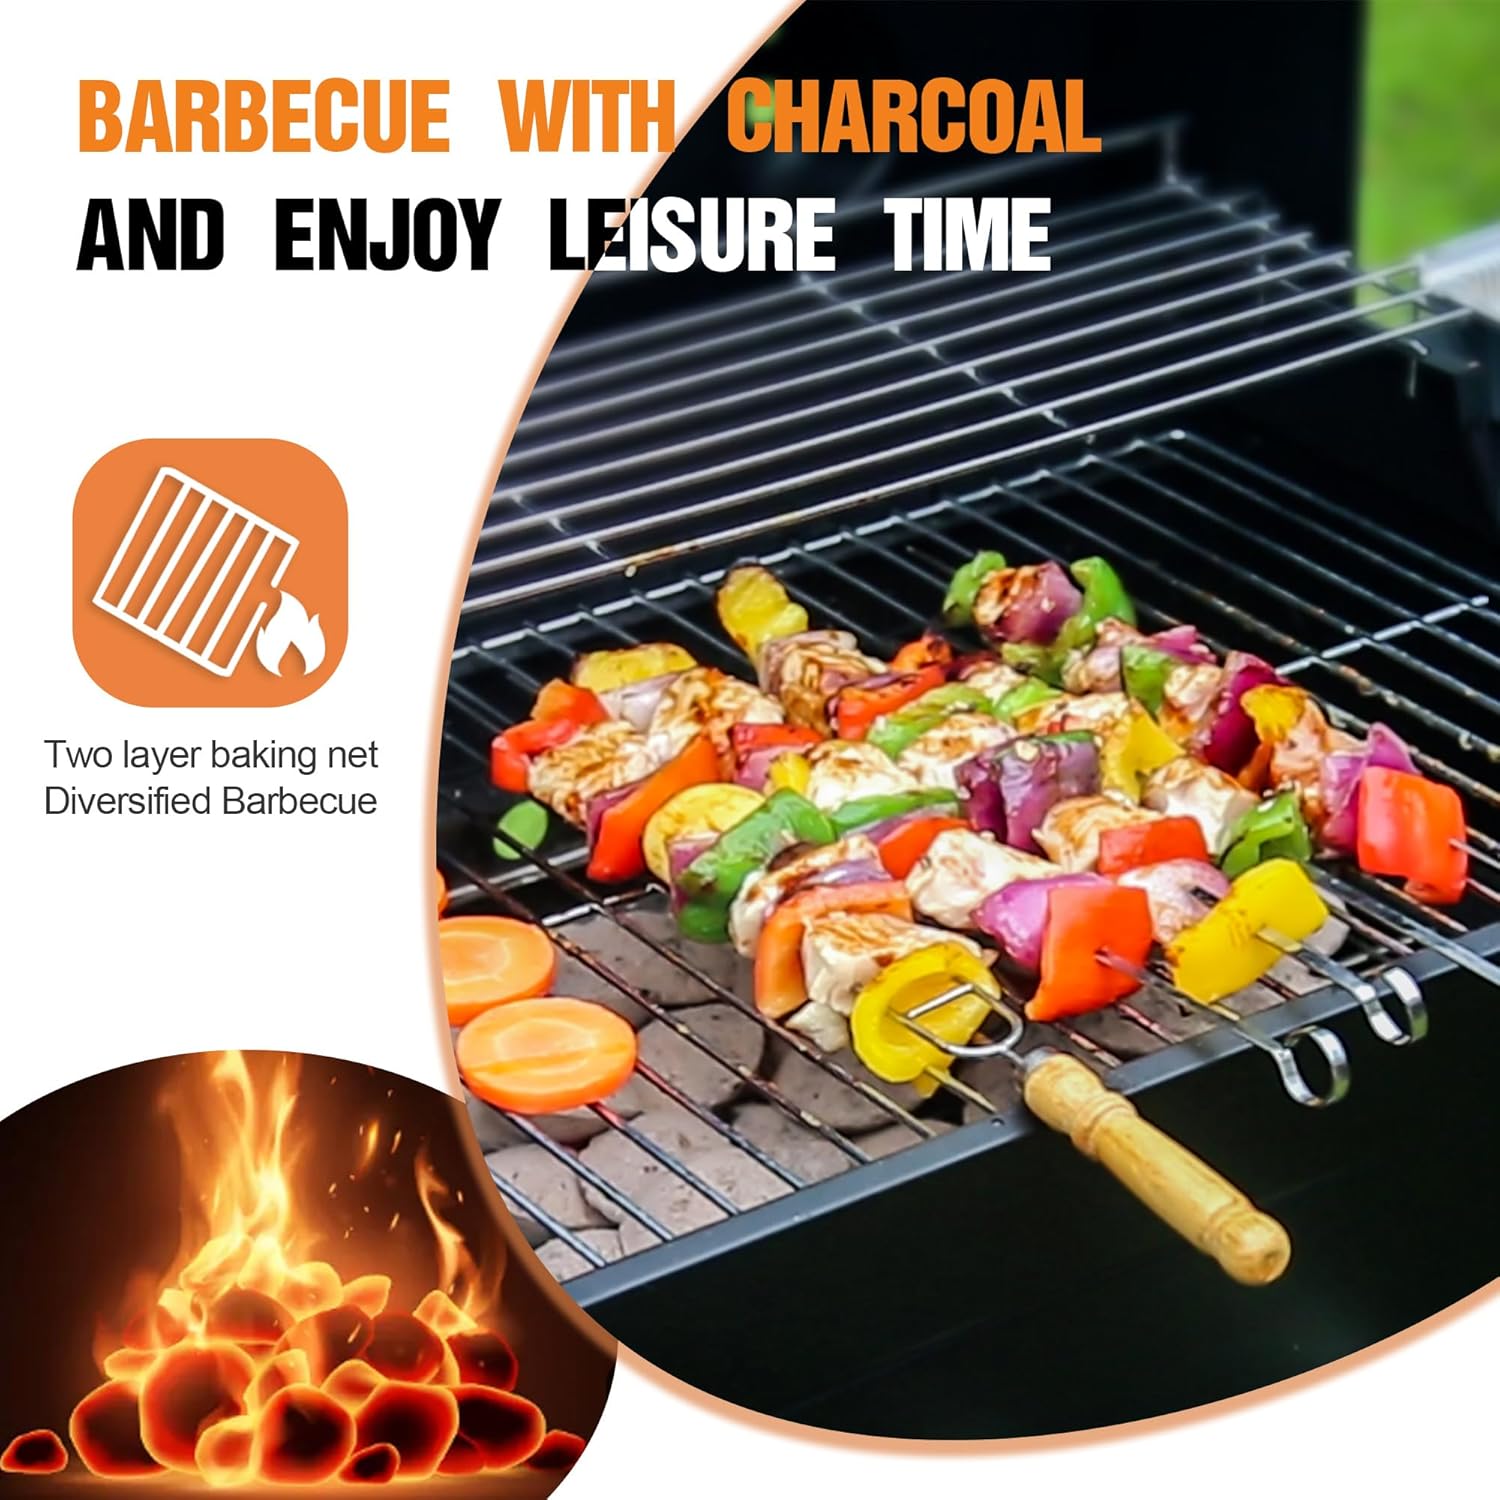
Image: Burning charcoal beneath the cooking grates, with food items on the two-layer baking net.
2. Temperature Control
The MASTER COOK grill features dual air vents for precise temperature management. The top air door on the lid allows you to control the exhaust of heat and smoke, while the back air vents regulate the oxygen supply to the charcoal, influencing combustion intensity. Use the built-in thermometer on the lid to monitor the internal temperature of the grill.
- To Increase Temperature: Open the air vents further to allow more oxygen to reach the charcoal.
- To Decrease Temperature: Close the air vents partially to reduce oxygen flow.

Image: Detailed view of the top air door and the back air vents, illustrating their function in controlling combustion.
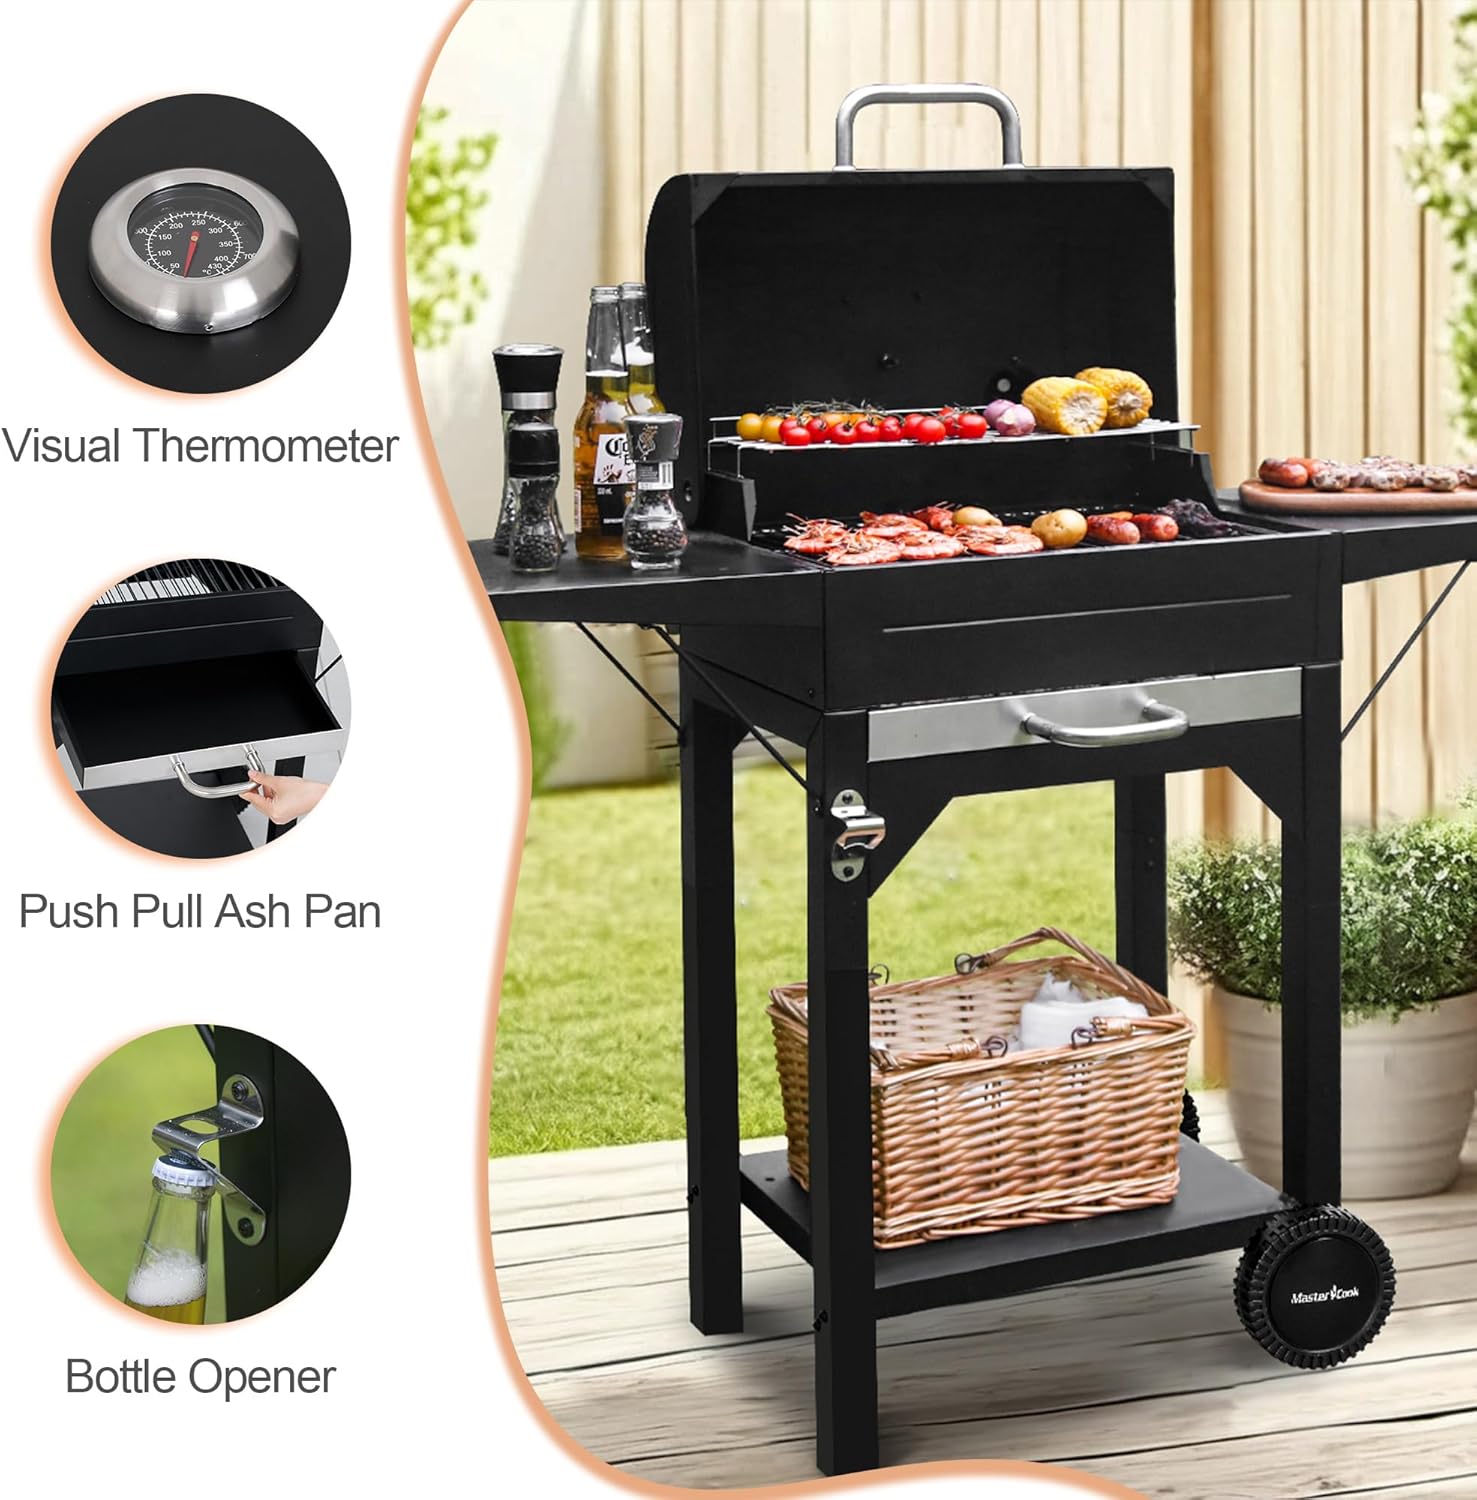
Image: A composite image highlighting the visual thermometer, the convenient pull-out ash pan, and the integrated bottle opener.
3. Grilling
Once the grill reaches the desired temperature, place your food on the primary cooking grate. Use the warming rack for keeping cooked food warm or for indirect cooking. The spacious side tables provide ample space for preparing food, holding utensils, or condiments.

Image: The grill in action, cooking a variety of foods including shrimp, corn, and vegetables, demonstrating its capacity.
Video: An official product video demonstrating the features and use of the Master Cook Outdoor Charcoal Grill, including assembly, lighting, temperature control, and grilling various foods.
Maintenance
Proper maintenance ensures the longevity and safe operation of your grill.
1. Ash Removal
After each use, once the grill has completely cooled, pull out the ash pan located at the bottom of the grill body. Dispose of the ashes safely in a non-combustible container. Regularly cleaning the ash pan prevents buildup and maintains optimal airflow.
2. Cleaning Grates
Clean the cooking grates after each use. While the grates are still warm (but not hot), use a stiff wire grill brush to remove any food residue. For stubborn residue, the grates can be washed with warm, soapy water and thoroughly dried.
3. General Care and Storage
Wipe down the exterior surfaces of the grill with a damp cloth. Store the grill in a dry, covered area when not in use to protect it from weather elements. A grill cover is recommended to extend the life of your grill.
Troubleshooting
Here are solutions to common issues you might encounter:
Problem: Charcoal not lighting or burning unevenly.
- Solution: Ensure all air vents are open during ignition to provide maximum oxygen. Use a charcoal chimney starter for more consistent and efficient lighting. Check that the charcoal grate is not clogged with old ash.
Problem: Grill temperature is too high or too low.
- Solution: Adjust the top air vent and back air vents to control airflow. Closing the vents reduces oxygen and lowers the temperature, while opening them increases oxygen and raises the temperature. Allow time for temperature changes to take effect.
Problem: Smoke is escaping from areas other than the top vent.
- Solution: This is normal for charcoal grills, especially if the lid is not perfectly sealed. Ensure the lid is properly seated. Minor smoke leakage does not typically affect cooking performance.
Specifications
- Brand: MASTER COOK
- Model: SRCG24025
- Product Dimensions (D x W x H): 17" x 43" x 38"
- Primary Cooking Area: 238 sq. in.
- Warming Rack Area: 94 sq. in.
- Fuel Type: Charcoal
- Material: Metal (Body), Stainless Steel (Frame), Powder Coated (Finish)
- Item Weight: 26.4 Pounds
- Special Features: Adjustable Air Vent, Built-In Thermometer, Spacious Side Table, Integrated Bottle Opener, Sturdy Wheels, Removable Ash Pan
- Required Assembly: Yes

Image: An infographic summarizing key features and specifications, including cooking area dimensions and mobility.
Warranty and Support
Your MASTER COOK SRCG24025 Charcoal Grill comes with a 1 Year Limited Warranty. This warranty covers defects in materials and workmanship under normal use.
Manufacturer: Shinerich Industrial Ltd.
For warranty claims, technical assistance, or to inquire about replacement parts, please contact the retailer where you purchased the product or visit the official MASTER COOK website for further support information.