Introduction
Thank you for choosing the Bukumo 3.0 Cub Home Safe. This safe is designed to provide secure storage for your valuables, documents, and personal items. It features a robust alloy steel construction, a digital keypad for primary access, and an emergency key system. Please read this manual thoroughly before setup and operation to ensure proper use and to maximize the security features of your safe.

This image displays the Bukumo 3.0 Cub Home Safe with its door open, showcasing the interior capacity filled with various valuables such as money, jewelry, and documents. A fireproof bag is visible in the foreground.
Safety Information
- Always keep the emergency keys in a secure location away from the safe and out of reach of unauthorized individuals.
- Do not store the emergency keys inside the safe.
- Ensure the safe is placed on a stable, level surface or securely mounted to a wall or floor to prevent tipping.
- Keep the safe door closed and locked when not in use to maintain security.
- The included fireproof bag is designed to offer additional protection for documents against fire and water. The safe itself is constructed from alloy steel.
Package Contents
Please verify that all items listed below are included in your package:
- 1 x Bukumo 3.0 Cub Home Safe
- 1 x Fireproof Bag
- 2 x Emergency Keys
- 1 x External Battery Case
- 4 x Expansion Screws (for mounting)

This image displays all items included in the product package: the home safe, two emergency keys, a fireproof bag, an external battery case, and four expansion screws for mounting.
Specifications
| Feature | Detail |
|---|---|
| External Dimensions (H x W x D) | 17.72" x 13.78" x 12.2" (45cm x 35cm x 31cm) |
| Capacity | 3.0 Cubic Feet |
| Material | Alloy Steel |
| Lock Type | Electronic Combination Lock |
| Weight | Approximately 25 Pounds |
| Special Features | Alarm System, Removable Shelf, Sensor Light |
| Power Source | 4 x AA Batteries (not included) |
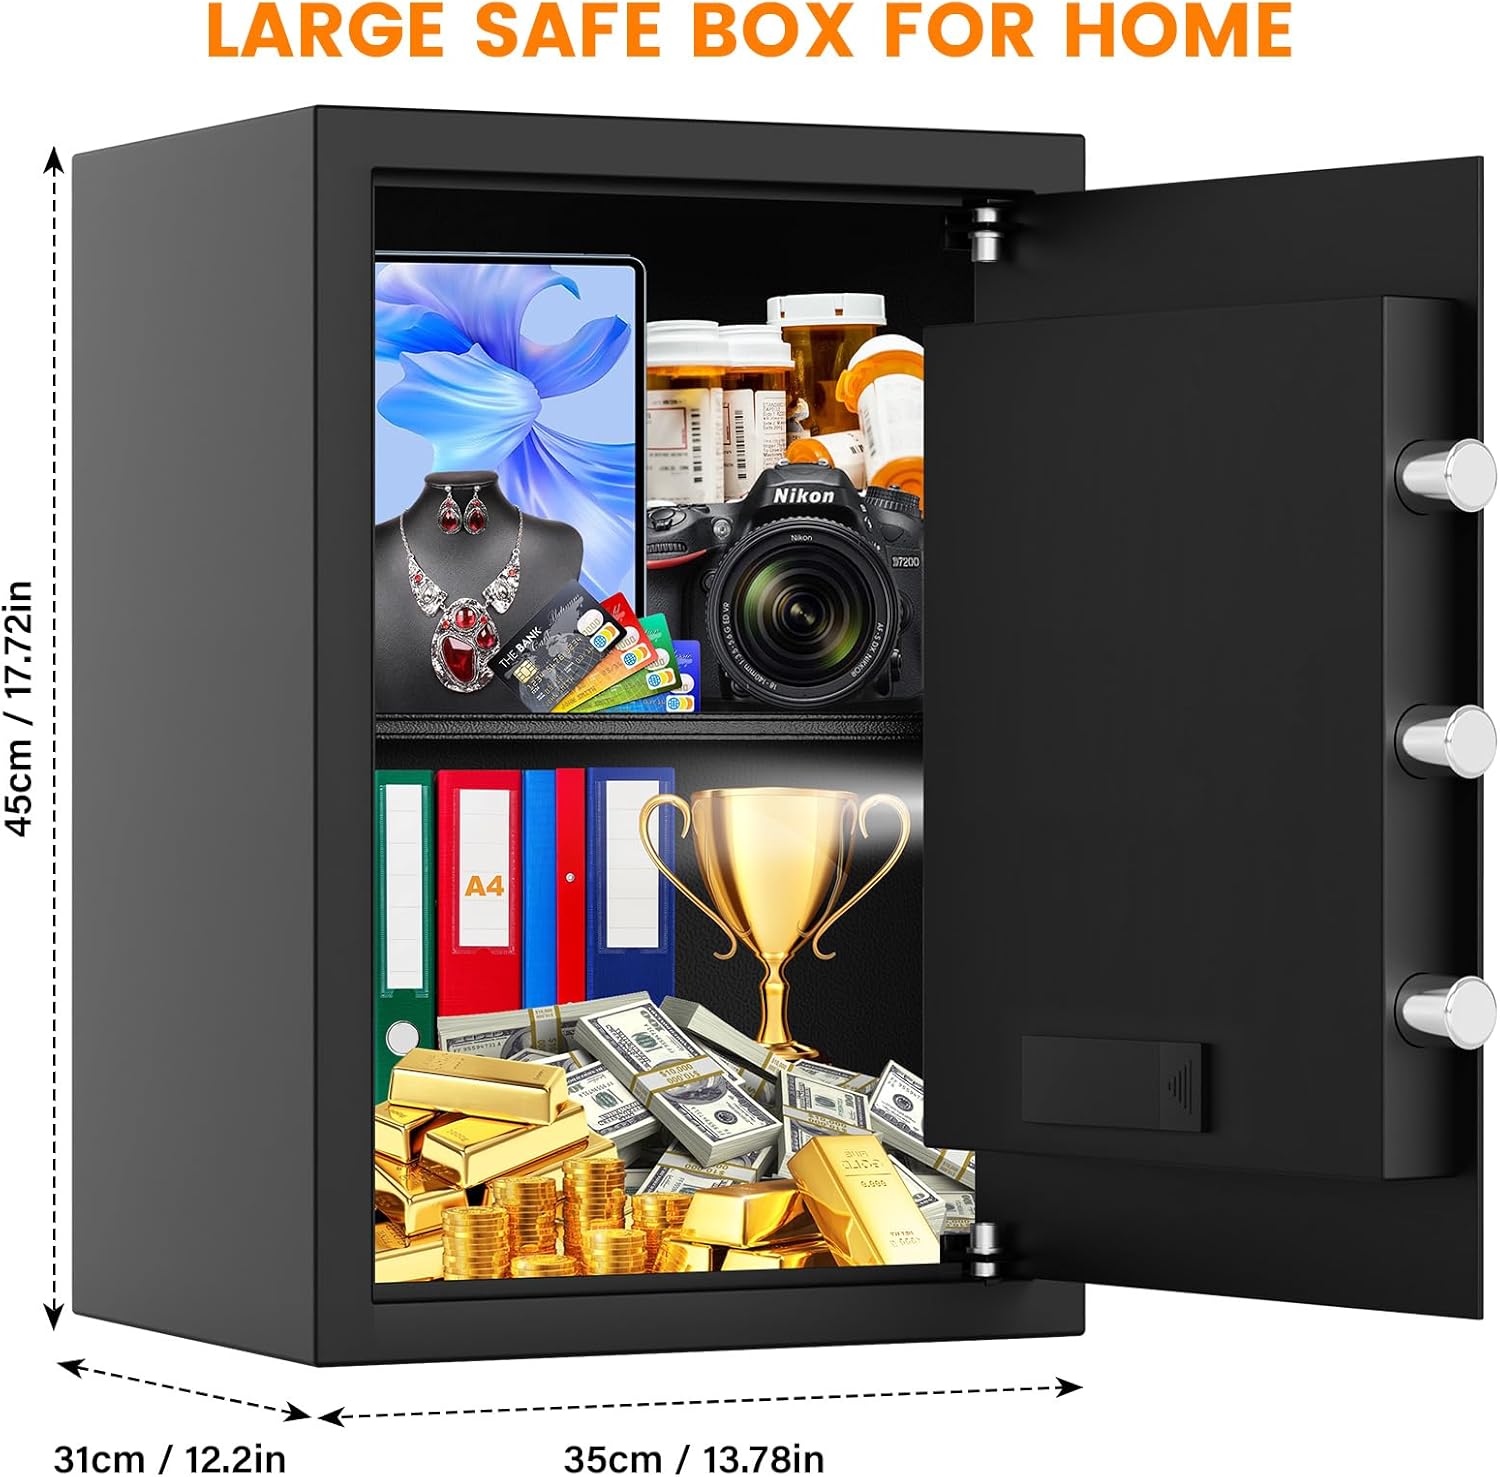
This diagram illustrates the external measurements of the Bukumo 3.0 Cub Home Safe, indicating a height of 17.72 inches (45 cm), a width of 13.78 inches (35 cm), and a depth of 12.2 inches (31 cm).
Setup
1. Initial Opening
Upon receiving your safe, it will be in a locked state. Use one of the provided emergency keys to open it for the first time.
- Locate the keyhole, usually concealed behind the digital keypad cover or a small plate.
- Insert the emergency key and turn it clockwise.
- While the key is turned, rotate the knob on the safe door clockwise to open the door.
2. Battery Installation
The safe requires 4 AA batteries (not included) to power the digital keypad and internal light.
- With the safe door open, locate the battery compartment on the inside of the door.
- Open the battery compartment cover.
- Insert 4 new AA batteries, ensuring correct polarity (+/-).
- Close the battery compartment cover.
3. Setting Your Personal Password
It is recommended to set a personal password immediately after battery installation.
- With the safe door open, press the red reset button located on the inside of the door, near the hinge. You will hear a beep.
- Within 5 seconds, enter your desired 3-8 digit password on the keypad.
- Press the '#' key to confirm. The safe will beep twice, indicating successful programming.
- Test the new password with the door open before closing it. Enter your password, then press '#' and turn the knob.

This diagram details the three primary methods for accessing the safe: using a personal digital password with the knob, using the emergency key with the knob, and using the external battery case in conjunction with the password and knob in case of internal battery depletion.
4. Mounting the Safe
For enhanced security, it is highly recommended to mount the safe to a wall or floor using the provided expansion screws.
- Choose a suitable location, such as inside a closet or against a sturdy wall.
- Mark the drilling points through the pre-drilled holes at the back or bottom of the safe.
- Drill pilot holes in the wall or floor using an appropriate drill bit.
- Align the safe with the drilled holes and insert the expansion screws.
- Tighten the screws firmly to secure the safe in place.

This step-by-step diagram illustrates the process of securely mounting the safe to a wall or inside a closet using expansion screws. It shows drilling pilot holes, inserting the safe, and tightening the screws.

This image highlights the robust construction of the safe's door, featuring three solid steel anti-pry bolts. It also depicts a drill attempting to penetrate the steel, emphasizing the anti-drilling and burglar-proof features.
Operating the Safe
1. Opening with Digital Code
- Enter your 3-8 digit personal password on the keypad.
- Press the '#' key. The green light will illuminate.
- Within 5 seconds, rotate the knob clockwise to open the safe door.
2. Using Emergency Key
The emergency key provides access if you forget your password or if the batteries are completely depleted.
- Locate the keyhole (refer to 'Initial Opening' in Setup).
- Insert the emergency key and turn it clockwise.
- While the key is turned, rotate the knob clockwise to open the door.
3. External Battery Case
If the internal batteries are dead and you do not have the emergency key, the external battery case can provide temporary power.
- Insert 4 new AA batteries into the external battery case.
- Plug the external battery case into the port located on the digital keypad.
- Enter your personal password and press '#' to open the safe as usual.
- Once the safe is open, replace the internal batteries immediately.
4. Alarm System
The safe is equipped with an alarm system to deter unauthorized access.
- Activation: The alarm will activate if three consecutive incorrect password attempts are made.
- Duration: The alarm will sound for a set period and then reset.
- Silent Mode: To enter silent mode (mute keypad beeps), input '663' on the keypad.
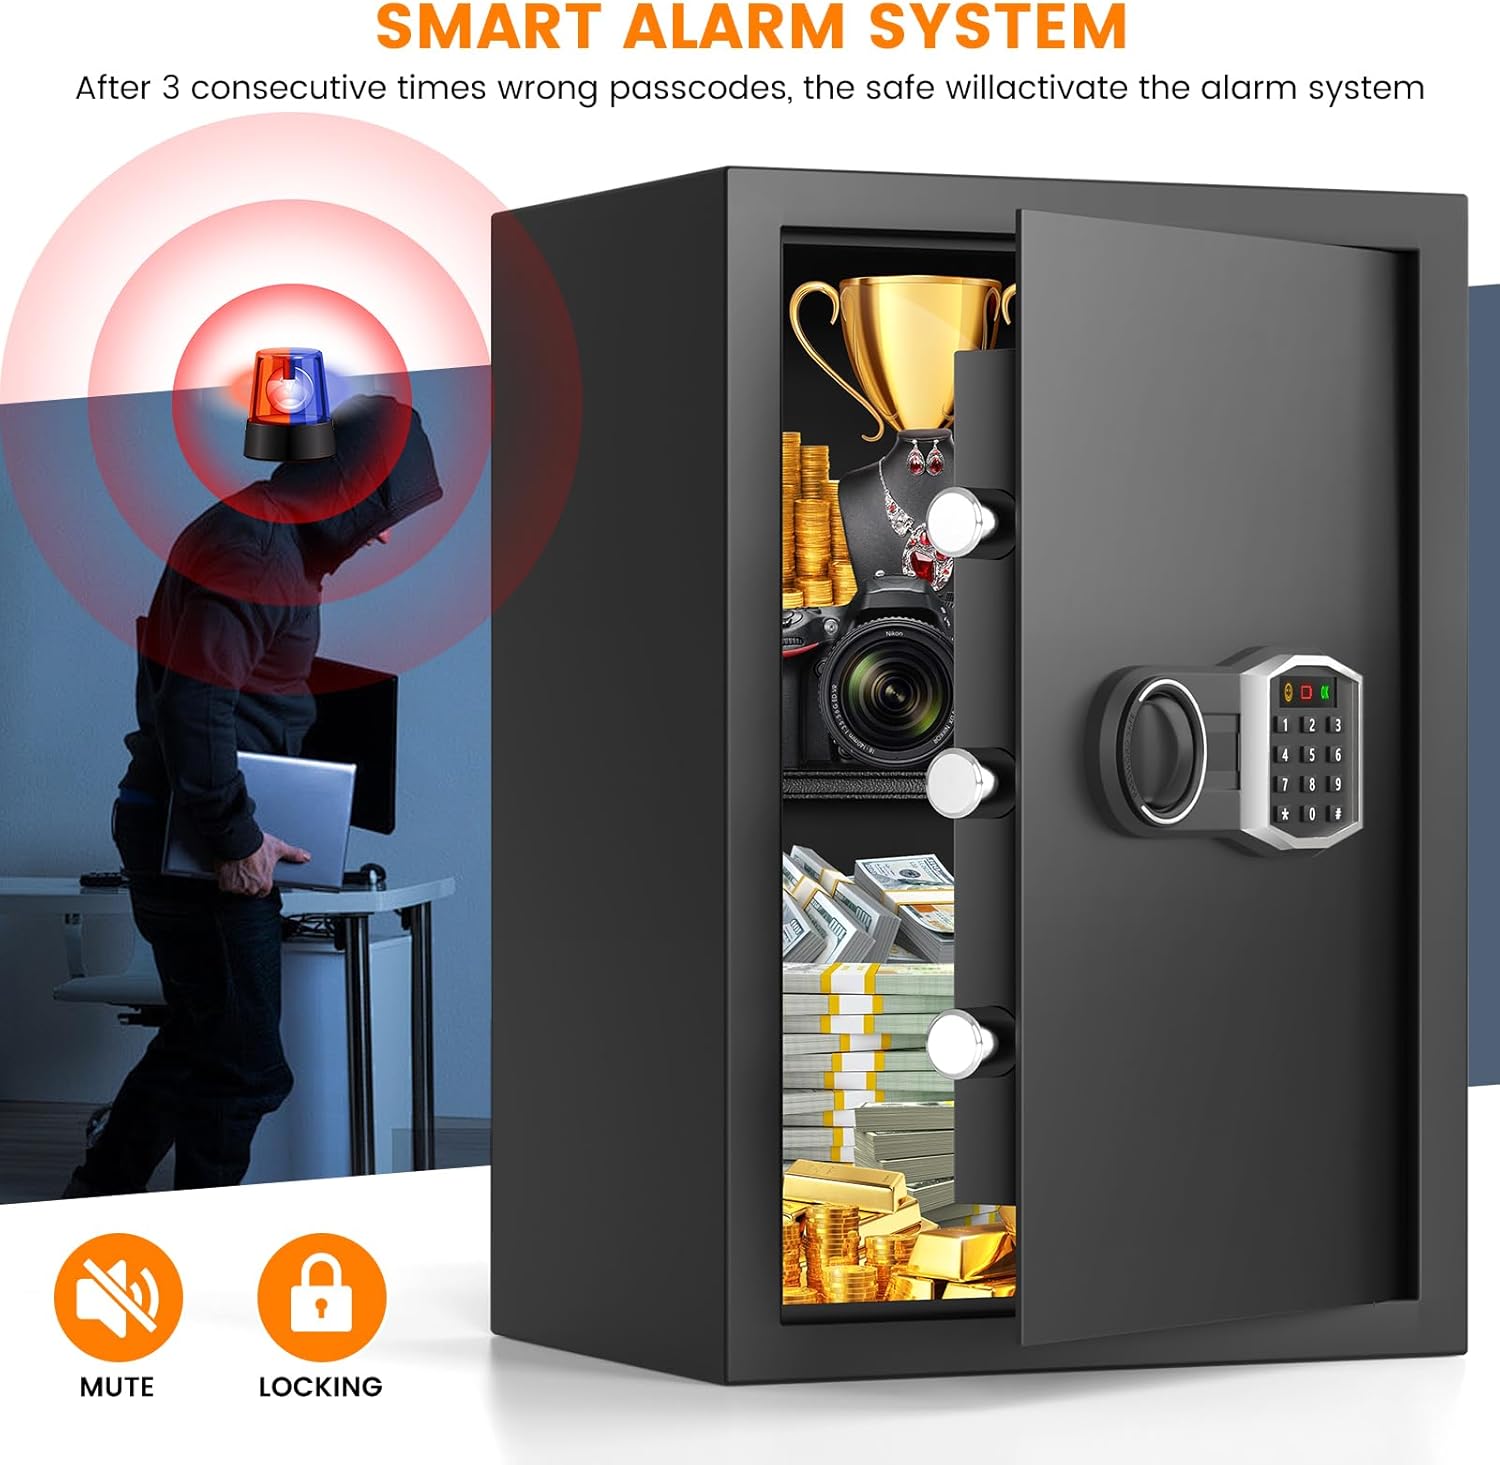
This image depicts the smart alarm system in action, showing a red and blue siren light and sound waves emanating from the safe, indicating an alarm triggered by incorrect passcode entries.
5. Removable Shelf
The safe includes a removable shelf to help organize items of different sizes.
- To install or remove the shelf, simply slide it into or out of the designated slots inside the safe.
- This allows for flexible storage configurations, accommodating both smaller items and larger documents or objects.

This visual comparison demonstrates the versatility of the safe's interior. One side shows the safe with the removable shelf installed, organizing smaller items, while the other side shows the shelf removed to accommodate larger items like trophies or binders.

This image emphasizes the safe's role in securing dangerous items like firearms and medication from children, and protecting valuables from prying eyes or theft.
Maintenance
1. Battery Replacement
Replace the batteries when the low battery indicator appears on the keypad or if the keypad becomes unresponsive. Always use 4 new AA batteries.
2. Cleaning
Wipe the safe's exterior with a soft, damp cloth. Avoid using abrasive cleaners or solvents that could damage the finish or electronic components.
Troubleshooting
- Safe will not open with password:
a. Ensure batteries are not depleted. Use the external battery case or emergency key if needed.
b. Re-enter your password carefully. If you forgot it, use the emergency key to open and then reset the password. - Keypad is unresponsive:
a. Check battery installation and replace if necessary.
b. Use the external battery case for temporary power. - Alarm sounds unexpectedly:
a. This may indicate three incorrect password entries. Enter the correct password to disarm.
b. If the alarm persists, check for any obstructions preventing the door from closing properly. - Emergency key is lost:
Contact customer support with your safe's serial number to inquire about replacement options.
Warranty and Support
Bukumo provides a lifetime warranty for this product. Additionally, we offer 24-hour online service and a 120-day return or exchange service for your convenience. For any questions, technical assistance, or warranty claims, please contact our customer support team through the retailer's platform or the contact information provided with your purchase.