
Introduction
This manual provides essential information for setting up, operating, maintaining, and troubleshooting your Nokia C12 smartphone. Please read this guide thoroughly to ensure proper use and to maximize the device's features.
1. Setup
1.1 What's in the Box
- Nokia C12 Smartphone
- USB Cable
- Screen Protector
1.2 Inserting SIM Cards and Memory Card
The Nokia C12 supports Dual SIM functionality. Ensure your phone is powered off before inserting or removing SIM or memory cards.
- Locate the SIM tray on the side of the device.
- Use the SIM ejector tool (if provided, otherwise a thin pin) to open the tray.
- Place your Nano-SIM cards into the designated slots with the gold contacts facing down. If using a microSD card for additional storage, insert it into its dedicated slot.
- Carefully push the tray back into the phone until it clicks into place.

Image: Side view of the Nokia C12, illustrating the location of the SIM tray and physical buttons.
1.3 Initial Power On and Setup
- Press and hold the power button until the phone vibrates and the Nokia logo appears.
- Follow the on-screen prompts to select your language, connect to a Wi-Fi network, and set up your Google account.
- Review and accept the terms and conditions to complete the initial setup.

Image: Front view of the Nokia C12, showing the display with a lock screen.
2. Operating Your Nokia C12
2.1 Basic Navigation
Your Nokia C12 runs on Android 12. Navigate using touch gestures: swipe up for the app drawer, swipe down for notifications and quick settings, tap to open apps, and pinch to zoom.
2.2 Camera Usage
The Nokia C12 features an 8MP rear camera and a front camera, both equipped with Night and Portrait modes for enhanced photography.
- Open the Camera app from your home screen or app drawer.
- Tap the shutter button to take a photo.
- Swipe left or right to switch between different modes like Video, Portrait, or Night mode.
- Tap the camera icon to switch between the front and rear cameras.

Image: Close-up view of the Nokia C12's rear camera module and a portion of the display.
2.3 Battery Management
The Nokia C12 is designed for extended battery life. To optimize performance:
- Adjust screen brightness.
- Close unused applications running in the background.
- Utilize battery saver mode when needed.

Image: Front and back view of the Nokia C12, highlighting its battery life capabilities.
2.4 Connectivity
Your device supports Wi-Fi, Bluetooth, and USB connectivity.
- Wi-Fi: Go to Settings > Network & internet > Wi-Fi to connect to available networks.
- Bluetooth: Go to Settings > Connected devices > Bluetooth to pair with other Bluetooth devices.
- USB: Connect your phone to a computer using the provided USB cable for data transfer or charging.
2.5 Carrier Compatibility
The Nokia C12 is exclusively compatible with GSM carriers. In the US, this product is confirmed to work with T-Mobile, Boost, Metro, Mint, H2O Wireless, and other carriers using the T-Mobile network. It is not compatible with AT&T, Verizon, or their subsidiaries. Please confirm compatibility with your network service provider before use.
3. Maintenance
3.1 Device Durability and Care
The Nokia C12 is built with enhanced durability against dust, moisture, and accidental drops. However, proper care is still recommended.
- Avoid exposing the phone to extreme temperatures or direct sunlight for prolonged periods.
- Clean the screen and body with a soft, lint-free cloth. Do not use harsh chemicals.
- Ensure ports are free of dust and debris.
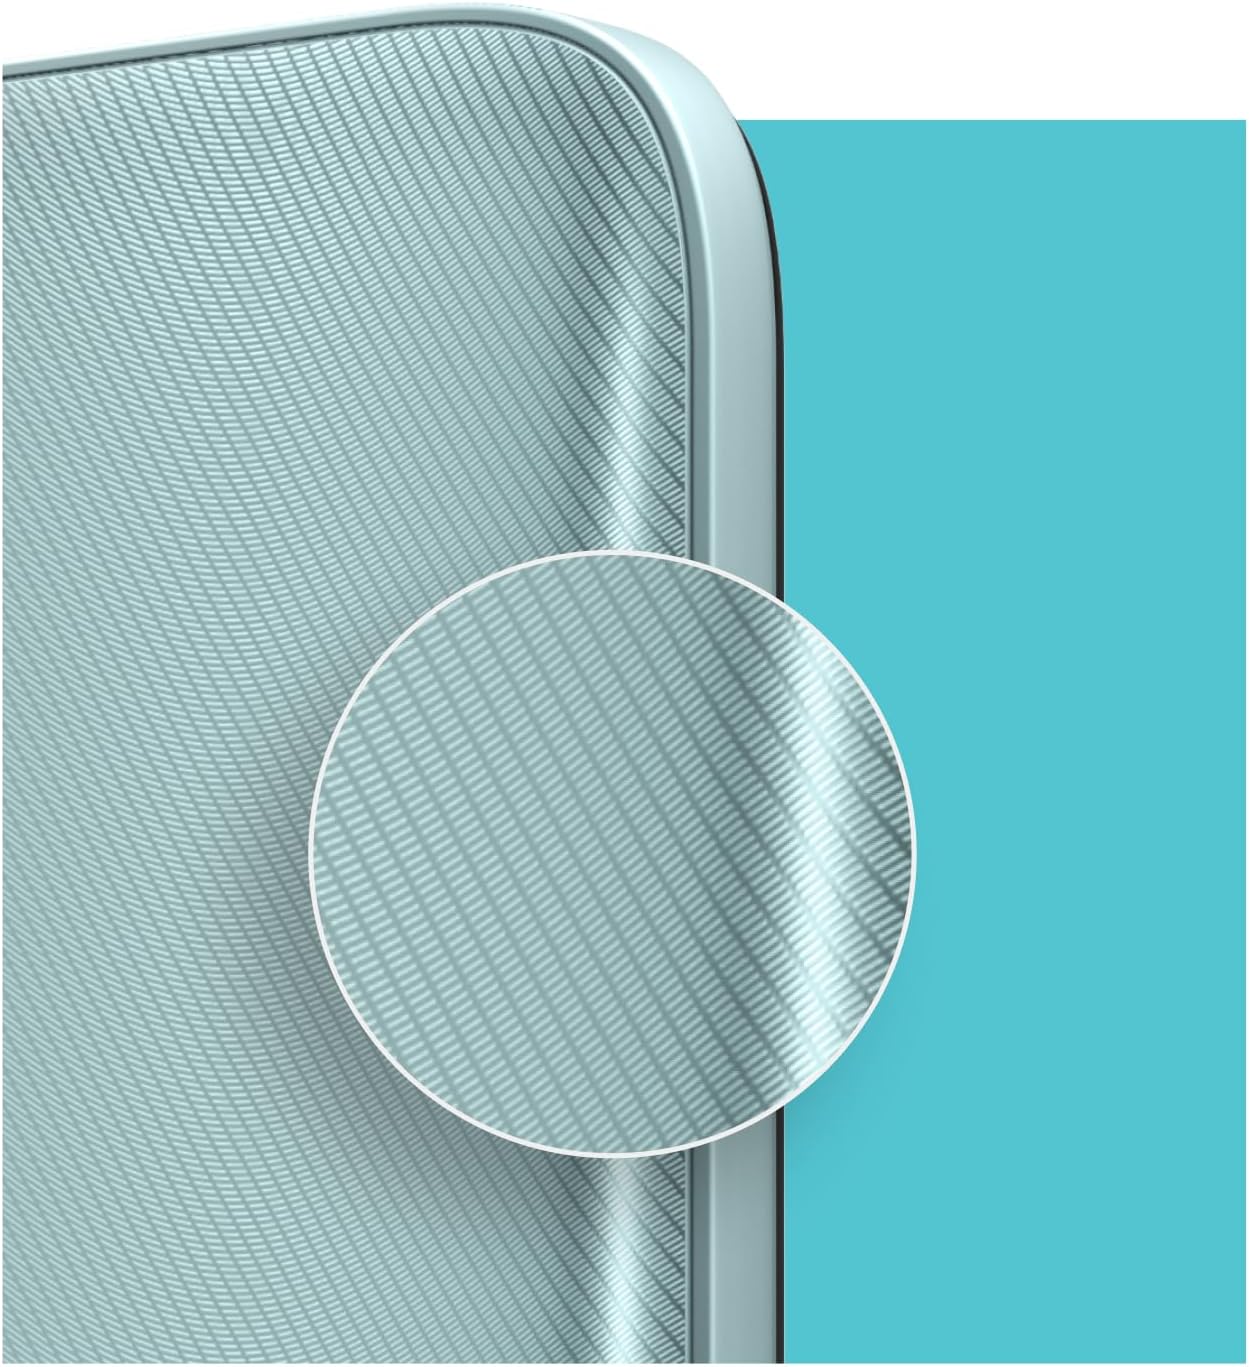
Image: Detailed view of the Nokia C12's textured back panel, designed for better grip and durability.
3.2 Battery Charging
Charge your Nokia C12 using the provided USB cable and a compatible power adapter. A full charge typically takes approximately 3 hours. Avoid overcharging the battery.
3.3 Software Updates
Your device receives regular software updates to ensure the latest security features and optimal performance. Check for updates via Settings > System > System update.
4. Troubleshooting
4.1 Common Issues and Solutions
- Phone not turning on: Ensure the battery is charged. Connect to a charger for at least 30 minutes, then try powering on.
- Network issues (no signal/calls): Verify SIM card insertion. Check carrier compatibility (refer to section 2.5). Restart the phone.
- Apps freezing or crashing: Close and reopen the app. Clear the app's cache (Settings > Apps > [App Name] > Storage & cache > Clear cache). Restart the phone.
- Slow performance: Close unused apps. Clear unnecessary files and data. Consider a factory reset as a last resort (back up data first).
4.2 Factory Reset
A factory reset will erase all data from your phone and restore it to its original settings. Back up all important data before proceeding.
- Go to Settings > System > Reset options.
- Select "Erase all data (factory reset)".
- Confirm your decision and enter your PIN/password if prompted.
5. Specifications
| Feature | Detail |
|---|---|
| Model Name | C12 |
| Item Model Number | TA-1508 |
| Operating System | Android 12.0 |
| CPU Model | Core i5 Family (1.6 GHz) |
| RAM Memory Installed Size | 2 GB |
| Memory Storage Capacity | 64 GB |
| Screen Size | 6.3 Inches |
| Resolution | 720 x 1600 |
| Refresh Rate | 60 Hz |
| Rear Camera | 8 MP |
| Front Camera | Yes |
| Battery Power Rating | 3000 mAh (Lithium Ion) |
| Phone Talk Time | 8 Hours |
| Charging Time | 3 Hours |
| Product Dimensions | 6.29 x 2.9 x 0.34 inches |
| Item Weight | 6.3 ounces |
| Connectivity Technologies | Bluetooth, USB, Wi-Fi |
| Special Features | Built-In GPS, Dual SIM |
| Audio Jack | 3.5 mm |
| Manufacturer | HMD Global Oy |
6. Warranty and Support
For detailed warranty information, technical support, and service inquiries, please visit the official Nokia support website or contact your retailer. Keep your proof of purchase for warranty claims.
Manufacturer: HMD Global Oy


