Introduction
This manual provides comprehensive instructions for the safe and efficient installation, operation, and maintenance of your Casanoov VOGEL Aluminum Gate. Please read these instructions carefully before beginning assembly or use to ensure proper function and longevity of your product. Keep this manual for future reference.
The Casanoov VOGEL gate is designed for pedestrian access, offering a robust and durable solution for securing your garden, green spaces, or properties. Its anthracite grey aluminum construction ensures resistance to corrosion, weather, and rust, combining strength with a modern aesthetic.
Safety Instructions
- Always wear appropriate personal protective equipment (PPE) such as gloves and safety glasses during assembly and installation.
- Ensure all components are present and undamaged before starting assembly. Do not use damaged parts.
- Installation should be performed on a stable and level surface.
- Securely anchor the gate posts to prevent tipping or instability.
- Keep children and pets away from the work area during installation.
- Do not attempt to modify the gate structure or components, as this may compromise its integrity and void the warranty.
- Regularly inspect the gate for any signs of wear, damage, or loose fasteners. Address any issues promptly.
Package Contents
The Casanoov VOGEL gate kit includes all necessary components for installation. Please verify that all items listed below are present in your package:
- 3 welded frames
- 2 round posts (Ø60 mm)
- Adjustable stainless steel hinges
- Strike plate
- Cylinder lock
- Black handle
- 3 keys
- Covers and screws

Image: Detailed diagram illustrating the gate's dimensions and a visual representation of the included components such as posts, hinges, lock, handle, and keys.
Setup and Installation
The VOGEL gate is designed for straightforward assembly. Follow these steps for a secure installation:
- Prepare the Site: Ensure the installation area is clear, level, and free of obstructions. Mark the positions for the gate posts, allowing for the gate's width and necessary clearances.
- Post Installation: The extended posts allow for solid embedding 44 to 46 cm deep. Dig appropriate holes for the posts. Ensure posts are plumb and level before securing them with concrete. Alternatively, the gate can be mounted on base plates (not included, if applicable) for surface installation.
- Attach Hinges: Mount the adjustable stainless steel hinges to the gate frame and posts. The opening direction is reversible during installation to adapt to your entrance configuration.
- Install Gate Leaf: Carefully lift and attach the gate leaf to the installed hinges. Adjust the hinges to ensure the gate swings freely and aligns correctly.
- Install Lock Mechanism: Install the strike plate, cylinder lock, and black handle as per the provided diagram. Ensure the lock operates smoothly and securely.
- Final Adjustments: Check all fasteners for tightness. Verify the gate's alignment and smooth operation. Make any final adjustments to the hinges or lock mechanism.

Image: The Casanoov VOGEL gate, anthracite grey, installed between two pillars in a garden setting, demonstrating its aesthetic integration.
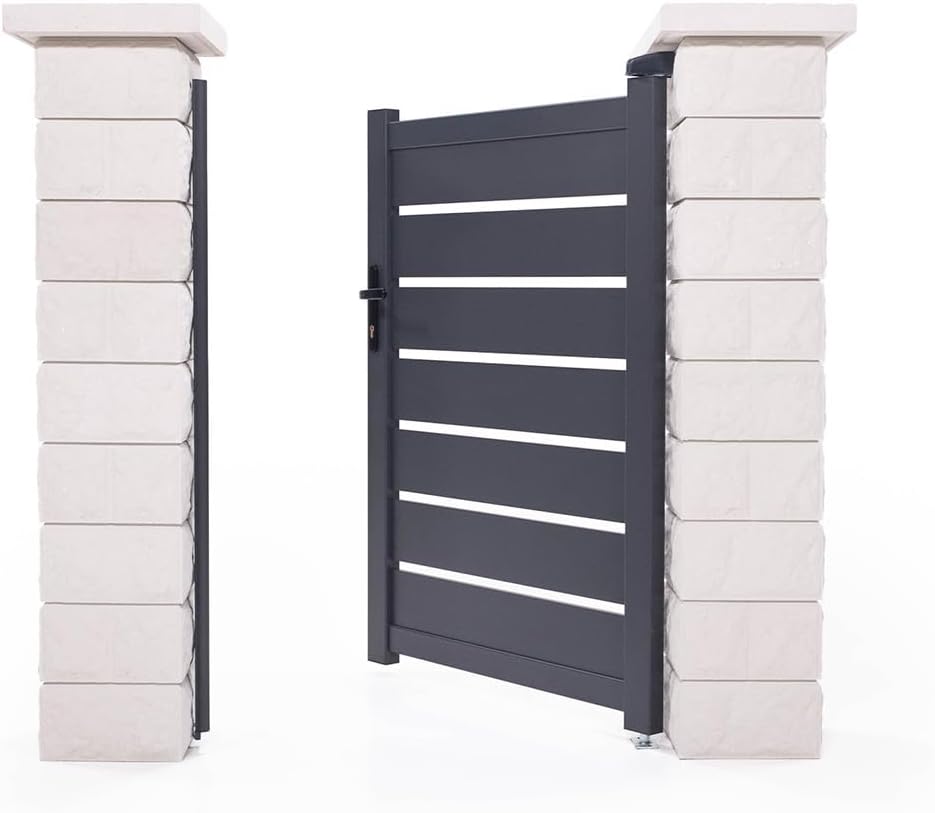
Image: The Casanoov VOGEL gate, slightly ajar, showcasing its robust construction and how it integrates with masonry pillars.

Image: Close-up view of the top hinge mechanism, showing the connection between the gate frame and the post.

Image: Close-up view of the gate panel, highlighting the horizontal slat design and the robust aluminum frame construction.

Image: Close-up view of the bottom hinge and stopper, illustrating the gate's pivot point and ground clearance.
Operating Instructions
The Casanoov VOGEL gate is designed for simple and secure operation.
- Opening the Gate: Insert one of the provided keys into the cylinder lock and turn to unlock. Press the handle down to disengage the latch, then push or pull the gate open in the desired direction.
- Closing the Gate: Gently push or pull the gate until it closes against the strike plate. The latch should engage automatically.
- Locking the Gate: Once the gate is closed, turn the key in the cylinder lock to secure it. Remove the key and store it in a safe place.

Image: Detailed view of the gate's lock mechanism, showing the strike plate installed on the post and the latch on the gate frame.

Image: Close-up of the black handle and cylinder lock with keys inserted, demonstrating the locking mechanism.
Maintenance
Regular maintenance will ensure the longevity and optimal performance of your Casanoov VOGEL gate.
- Cleaning: The aluminum surface requires minimal maintenance. A simple cleaning with soapy water is sufficient to restore its shine. Avoid abrasive cleaners or harsh chemicals that could damage the finish.
- Hinges and Lock: Periodically lubricate the hinges and lock mechanism with a suitable lubricant to ensure smooth operation and prevent rust.
- Inspection: Regularly check all screws, bolts, and connections for tightness. Inspect the gate frame and posts for any signs of damage, corrosion, or wear. Address any issues promptly to prevent further deterioration.

Image: Comparison illustrating the low maintenance of aluminum (simple soapy water cleaning) versus iron (anti-corrosion treatment twice a year).
Troubleshooting
| Problem | Possible Cause | Solution |
|---|---|---|
| Gate does not open/close smoothly | Misaligned hinges, lack of lubrication, obstructions. | Check and adjust hinges. Lubricate hinges. Remove any obstructions. |
| Lock mechanism is stiff or jammed | Lack of lubrication, debris in lock, misaligned strike plate. | Lubricate the lock cylinder and latch. Clean any debris. Adjust the strike plate if necessary. |
| Gate appears loose or wobbly | Loose post anchors, loose hinge screws. | Check and tighten all post anchors and hinge screws. Ensure posts are securely set. |
Specifications
| Brand | Casanoov |
| Model Number | STW-000036 |
| Material | Aluminum |
| Color | Anthracite Grey (Note: Product data lists "Vert" (Green), but title and images indicate Anthracite Grey. Following title/images for consistency.) |
| Product Dimensions (L x W x H) | 143 x 100 x 0.1 cm (Gate leaf dimensions) |
| Overall Dimensions (L x W) | 125L x 100W centimeters (This seems to be a different measurement, possibly for the opening or a different model. Using the 143x100x0.1 for the gate itself, and the 1x1.4m from the title for overall context.) |
| Assembly Required | Yes |
| Weight | 17.5 KG (from image 51ZxRW6rYML) |
Note on dimensions: The product title specifies 1x1.4m, which typically refers to width x height. The specifications list "143 x 100 x 0.1 cm" and "125L x 100l centimeters". The diagram (image 51ZxRW6rYML) shows a gate width of 103 cm and a height of 143 cm. For clarity, we will use the diagram's dimensions for the gate leaf and the title's 1x1.4m (100cm x 140cm) as a general model identifier. The diagram also shows an overall height of 148cm including posts.
Warranty and Support
For warranty information or technical support, please refer to the documentation provided with your purchase or contact Casanoov customer service directly. Keep your proof of purchase for any warranty claims.
Seller: Hoortrade
Return Policy: 30 days for refund/replacement.